


|
|
|
#31
 02-09-2012, 11:09 AM
|
|||
|
|||
|
It's absolutely stunning build!
This model designed in 1/33 scale, then re-scaled to 1/48 and then re-scaled to 1/72 and i've found it very complex to build in 1/33  I think better do not attach intakes to formers at all, only to skin segments - it is easy to align intakes edges when they free. My build:http://paperwings.fatal.ru/table/index.htm (not finished yet) 
|
|
#32
02-09-2012, 12:01 PM
|
||||
|
||||
|
Hey Marmot, thanks for responding. I've actually been watching your build and using it as a guide - a very stunning job you're doing there!
 Brilliant idea not attaching the intakes to the formers - but a bit too late for me - mine are attached and solidified - no way to free them now. However I do believe I've repaired the unevenness between the two sides of the intakes (pics to come), now its just a matter of coaxing the skin to attach nicely. I may still separate the one-piece upper skin into the fuselage skin and the intake cover.
__________________
Put on hold build (someday I'll finish): F-35A Lightning II 1:72 Previous builds: cMags' Card Model Builds
|
|
#33
02-10-2012, 12:33 PM
|
||||
|
||||
|
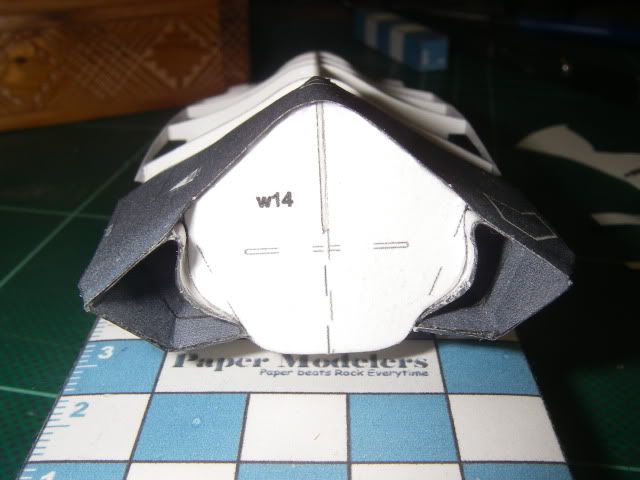
Intake repair
Ok so, this is exactly the reason I always print two copies of the model, one on card and one on thin paper. Thin paper makes for good building of tiny details or rolled parts (especially when the thickness of card is too thick for my scaled-down kits), and they also make great laminated patches and repairs.
What I did on the intake was to cut out the parts again from plain paper and glue them on to extend the intake in the right places. I think the resulting patch is pretty seamless and worked to even out the sides quite nicely. Here are the parts I laminated (I only needed a couple small sections of the reprint parts - on the outside I cut it right on the panel line to hide the paper edge) 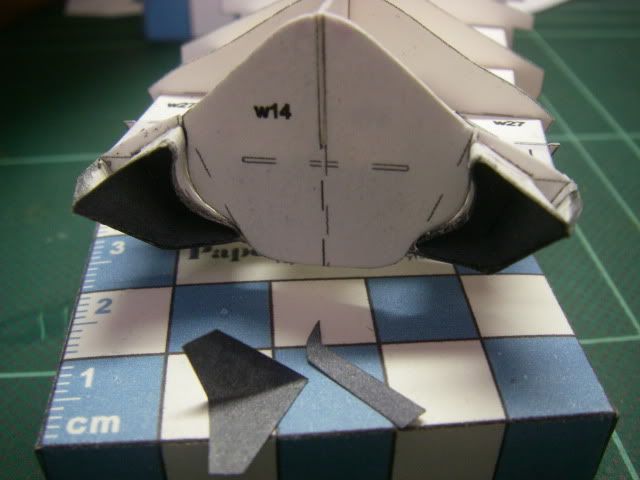 Here you can see that I inserted the inner skin, sticking out the millimeter or so that I needed to even up with the right side: 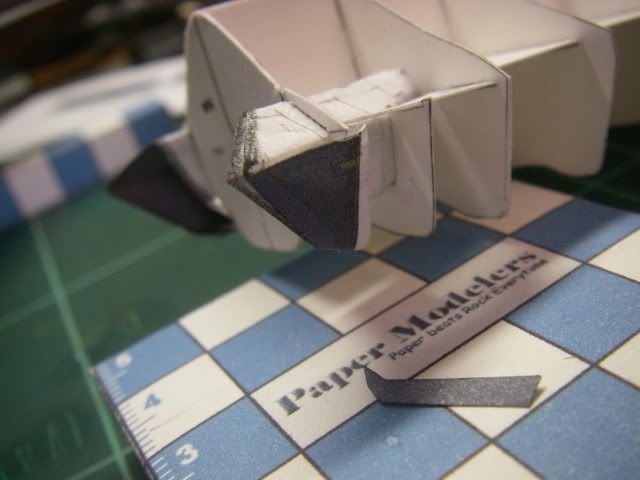 Then I covered it up with the outer skin to hide the extra flap, and the result is two even intakes! (or at least close enough for me)  
__________________
Put on hold build (someday I'll finish): F-35A Lightning II 1:72 Previous builds: cMags' Card Model Builds
|
|
#34
02-10-2012, 12:38 PM
|
||||
|
||||
|
Outer skinning begins
And finally to confirm that the intakes are even and where I need them, I attached the upper skin. I was able to do so without needing to cut it apart, it just took a little bit of careful gluing, a little coaxing, and some patience holding parts together until the glue would hold the somewhat forced shape. But everything came out smooth, even, and symmetrical, I think the mistake has been sufficiently corrected.
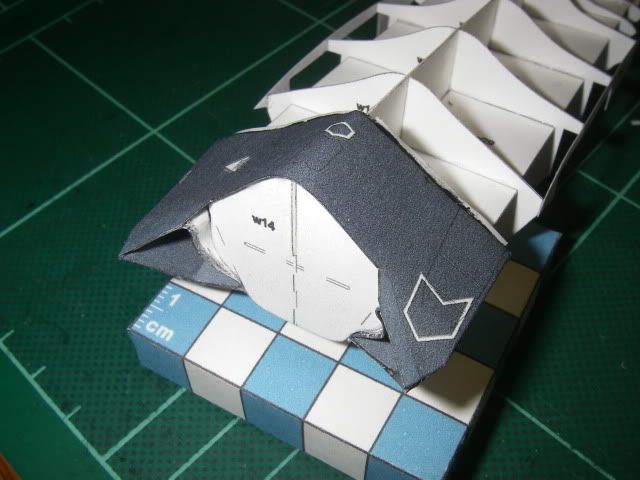 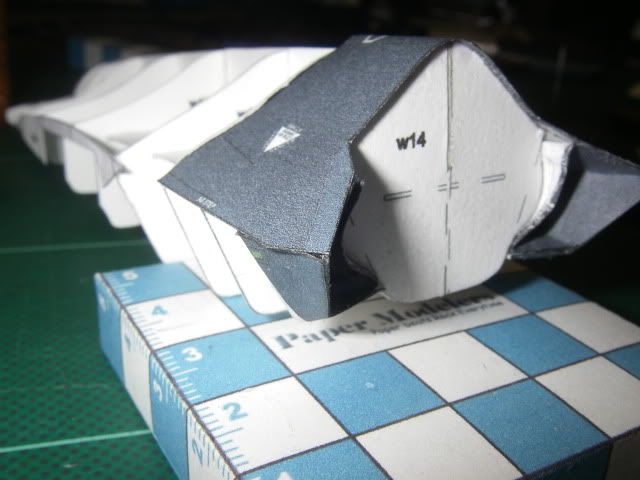  I also added the next section back and the small transition piece at the spine to confirm that the slight misalignments wouldn't ripple back along the fuselage. I'm happy with the result, and that's what's important. 
__________________
Put on hold build (someday I'll finish): F-35A Lightning II 1:72 Previous builds: cMags' Card Model Builds
|
|
#35
02-10-2012, 01:08 PM
|
|||
|
|||
|
This is the mark of a true craftsman - one who can correct mistakes seamlessly. I've always felt it is easier to build something flawlessly, than to take something that has a flaw and make it look flawless.
|
| Google Adsense |
|
#36
02-12-2012, 08:55 PM
|
||||
|
||||
|
Forward fuselage / nose
Now that I'm satisfied that the main fuselage is going to be OK, I began work skinning the forward fuselage section.
First, I installed the cockpit tub and landing gear bay. 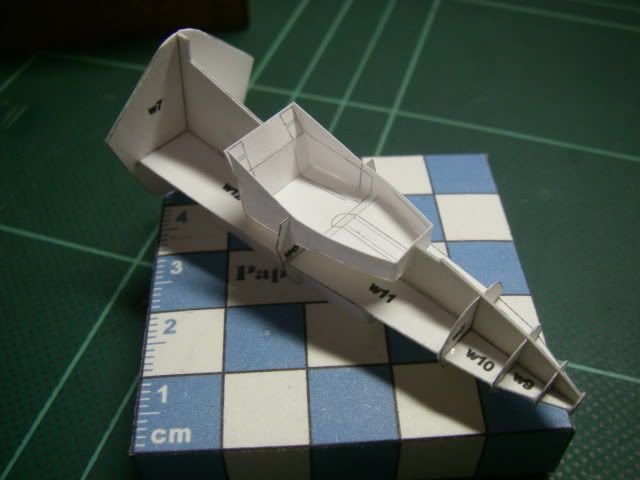 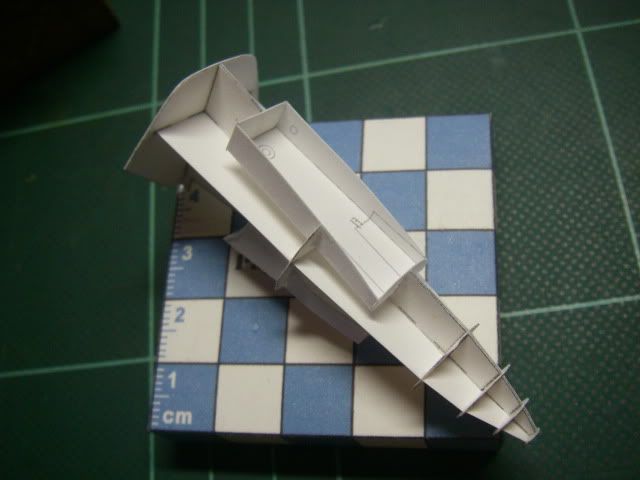 Next, around each of the tubs, the rims are installed so the skins can be installed over them.  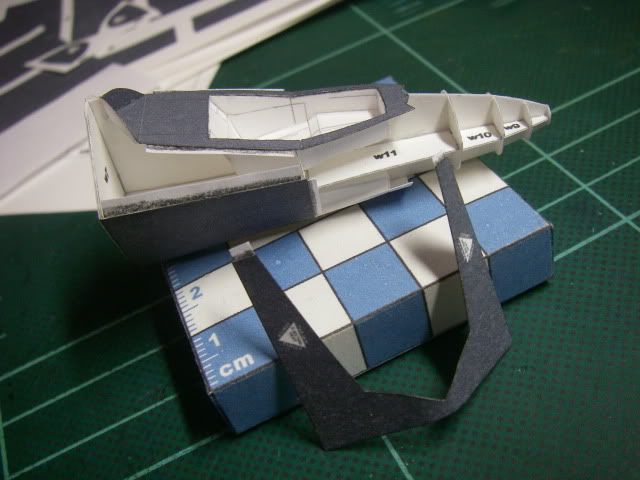 Then its just a matter of skinning. I used a second copy of the parts on plain paper to create tabs for the conic sections.  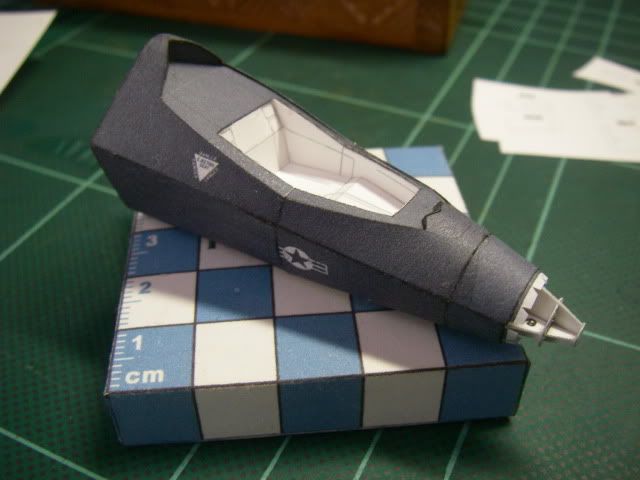 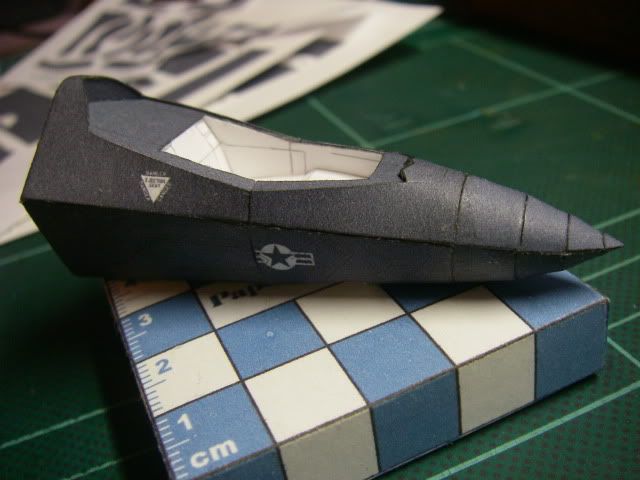 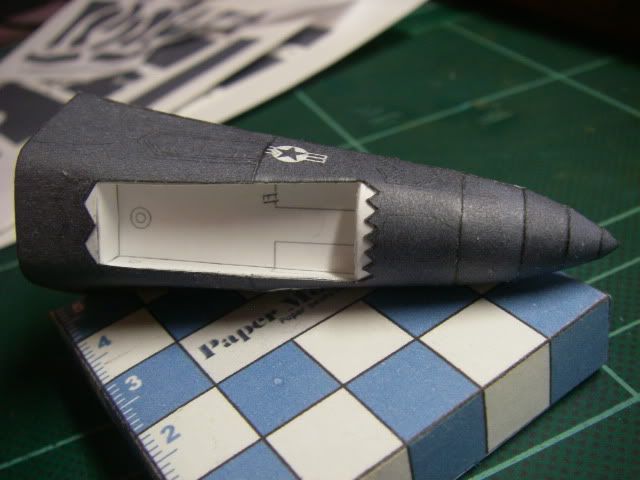 And of course I had to dry-fit the fuselage sections to see how it'll come together, but I think I'm going to detail the cockpit prior to attaching the forward fuselage. It should make the cockpit details easier to install. 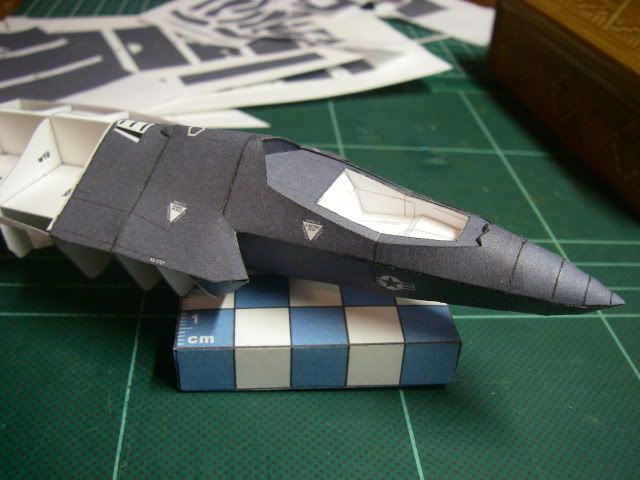
__________________
Put on hold build (someday I'll finish): F-35A Lightning II 1:72 Previous builds: cMags' Card Model Builds
|
|
#38
02-12-2012, 09:11 PM
|
||||
|
||||
|
I second Ray's comment....very impressive. I've been wanting to build this one full size myself. Can't wait to see Ray tackle this one in 1/144.
|
|
#39
02-12-2012, 09:13 PM
|
||||
|
||||
|
Thanks Ray! If you've never built one of Pavel's kits, you should try one. The fit is excellent on all the parts. I've got his Hopeless Diamond printed out as well and that's a much simpler build - only 2 pages in 1:72 scale. It might even be build-able at 1:144 if you skip some of the smallest cockpit and landing gear details.

__________________
Put on hold build (someday I'll finish): F-35A Lightning II 1:72 Previous builds: cMags' Card Model Builds
|
|
#40
02-12-2012, 09:14 PM
|
||||
|
||||
|
Hah Robert! We're thinking alike.
I would fall out of my chair if anyone pulled this off at 1:144 though. It would *definitely* have to be done in plain paper. Card would be far too thick. ")
__________________
Put on hold build (someday I'll finish): F-35A Lightning II 1:72 Previous builds: cMags' Card Model Builds
|
| Google Adsense |
 |
|
|


 Linear Mode

