


|
|
|
#71
 02-29-2012, 12:00 PM
|
||||
|
||||
|
Beautiful precise work. It's really beginning to look like an F-35.
I appreciate the Krylon advice. I am working at a much lower level of skill and experience than you, and with far less complex models, but I usually spray the model sheet with Krylon UV prior to construction, mostly to avoid smudges and to make it easier to clean off squeezed-out glue. Don 
|
|
#72
02-29-2012, 12:21 PM
|
||||
|
||||
|
The UV works pretty well also. I've used the UV matte in the past - this time around I grabbed Preserve It! as that's what I've been using in glossy, and it seems to work better. We'll see how the matte works out, as compared to the UV matte. I can say this about the UV matte - it certainly does protect against UV. I have a FG Spad XIII hanging from my rearview mirror that I sprayed in UV matte prior to building. It still has nice color a year and a half later, in full GA sun.

__________________
Put on hold build (someday I'll finish): F-35A Lightning II 1:72 Previous builds: cMags' Card Model Builds
|
|
#73
04-14-2012, 06:41 PM
|
||||
|
||||
|
Control Surfaces
A long overdue update. I have been working on this build slowly (and had a couple smaller (or larger in the case of the B-17) builds in between to break up the serious building) but am back on it now. By this point, I've completed all the major body components and am now on to details, details, details. This post (and possibly a second) will show all the control surfaces that the model was still lacking in my last update.
Ailerons and slats Starting with the leading-edge slats on the wings, I could see that the details on this model were going to be quite fine. The upper surface is rolled to a slight downwards curve with a sharp leading edge, and straight lower surface. The outside edge is flat but the inside edge has a bevel top and bottom which used a tiny separate piece that kind of looked like insect wings. There's a close up so anyone building this can see how it goes together: 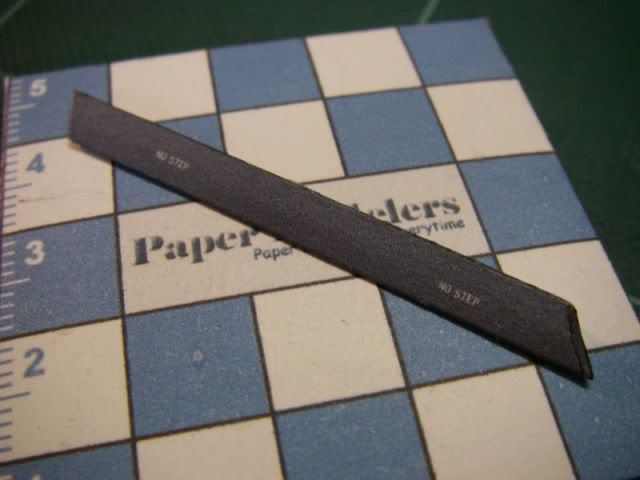 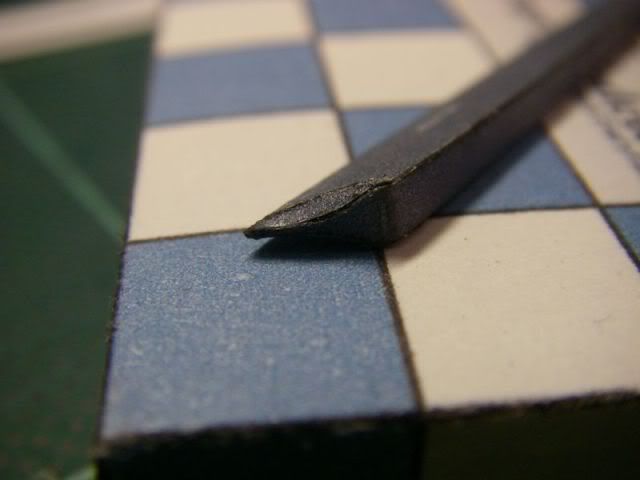 The ailerons are basically the same but rather than a beveled edge on the inside, the landing gear and internal stores bay fairing is continued and molds down to a fine trailing edge. This one little piece requires a bit of massaging to get the compound curves right, but is designed superbly to get the shape accurately but simply. 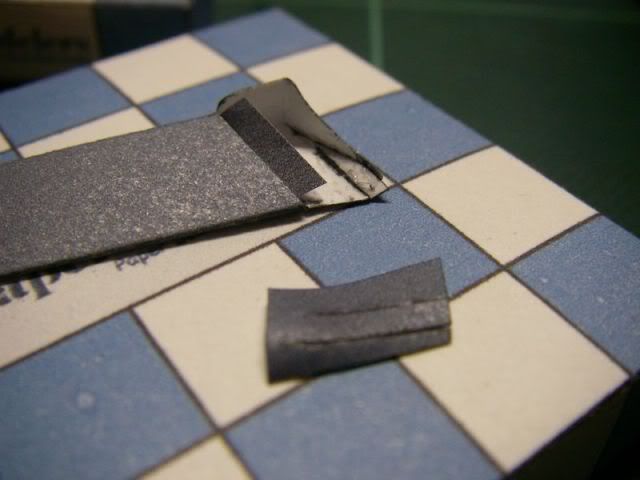 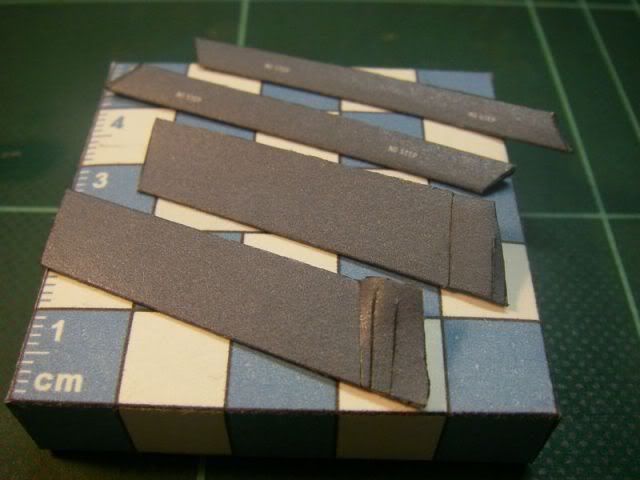 And here we have the surfaces mounted (and yes, they are a slightly different color, and this is by design): 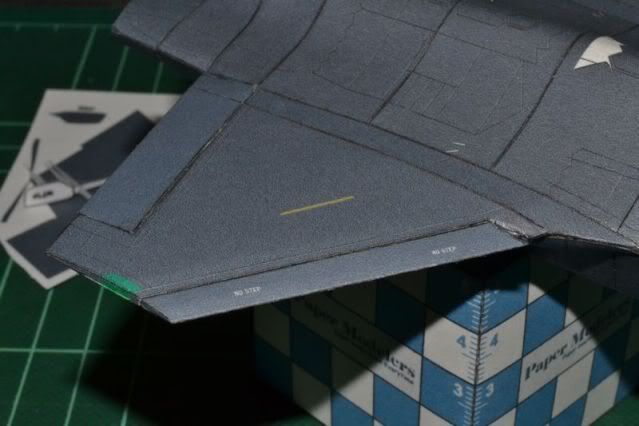 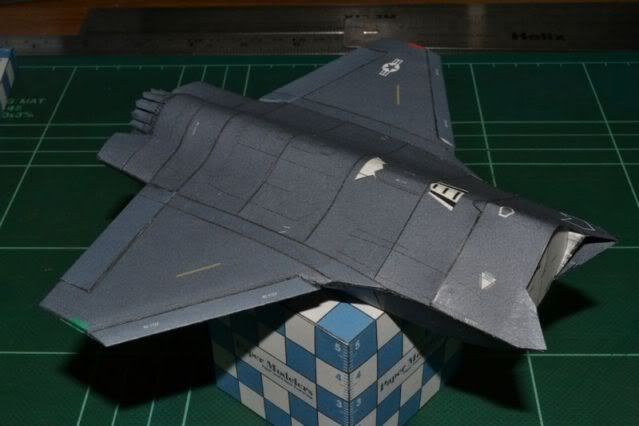 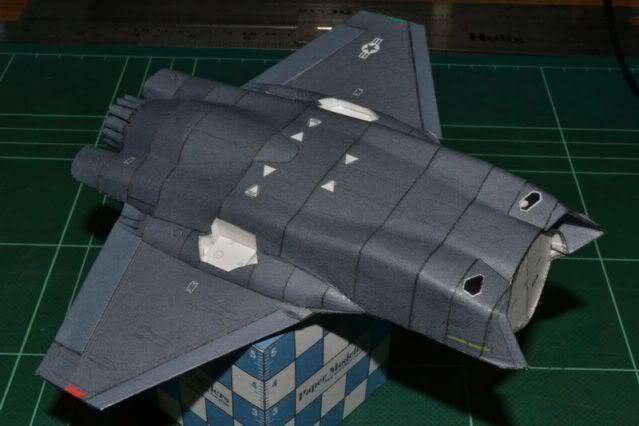
__________________
Put on hold build (someday I'll finish): F-35A Lightning II 1:72 Previous builds: cMags' Card Model Builds
|
|
#74
04-14-2012, 06:43 PM
|
||||
|
||||
|
Control Surfaces (continued)
Empennage
Next we have the empennage - the horizontal and vertical stabilizers, elevators and rudders. The horizontal stabilizers are a single unit elevator like the F-35's big brother, the F-22 for exceptional maneuverability (and makes for a simpler build too). The part uses a well-designed framework and skins similarly tot he wing and aileron to smooth a bulge shape down to a fine trailing edge: 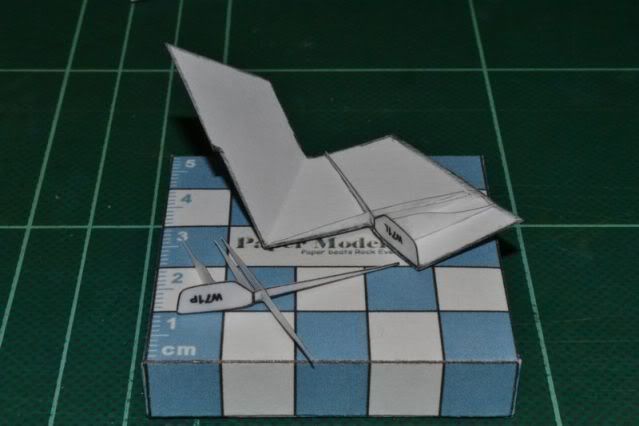 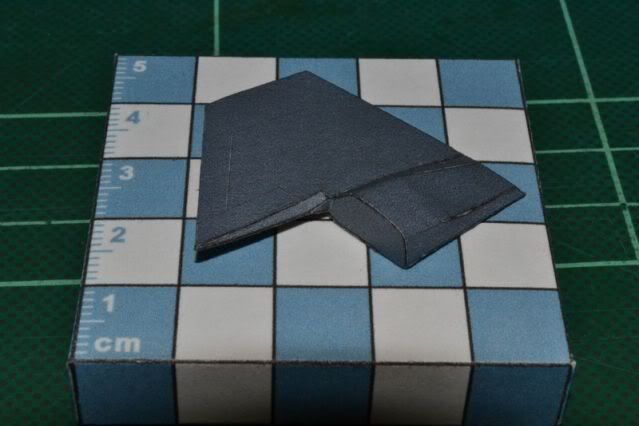 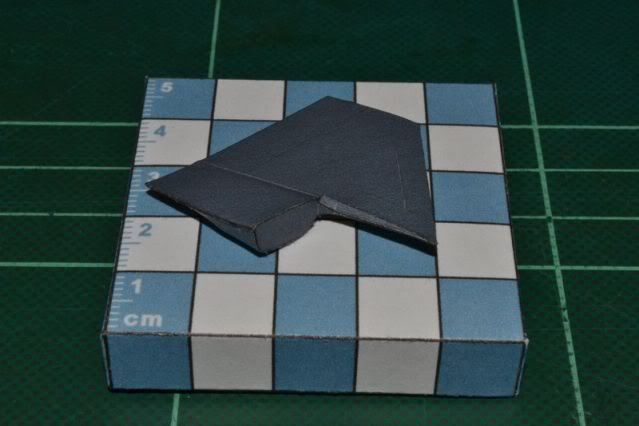 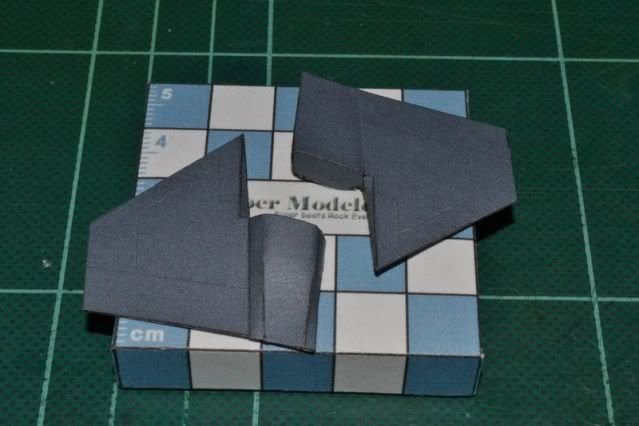 They attach simply to the end of the fuselage sides, and I used a burnisher once completely dry to smooth the transition: 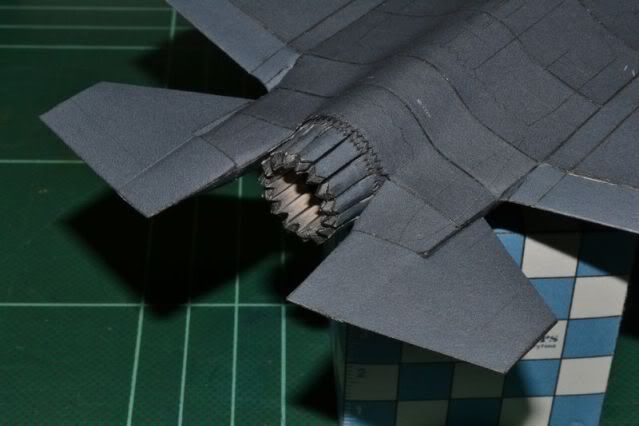 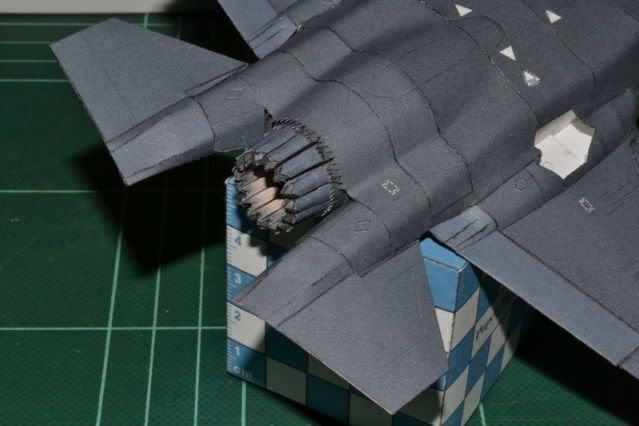 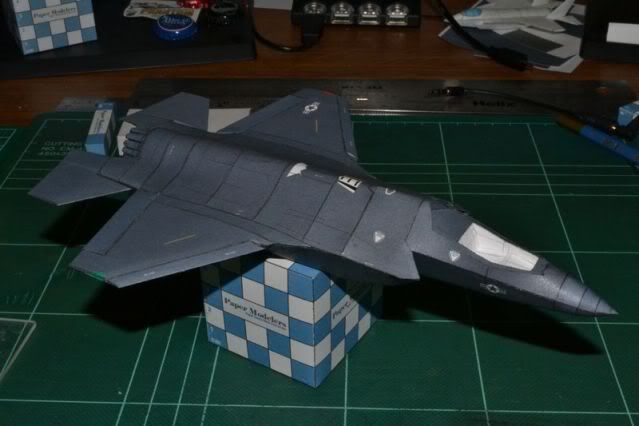 For the vertical stabilizers and rudders, each is made of a base fairing, and a four-part stabilizer/rudder assembly. There are a number of thin formers for this section, but I only used the ones for the base fairing, as the others simply were unnecessary at the scale, complicated the build, and wouldn't allow for the joiner strips I needed to get a smooth transition from the upper to lower pieces. But once I figured that out, they went together easily enough, and the design is so precise that the exact angles needed are created from the shapes of the joining surfaces.  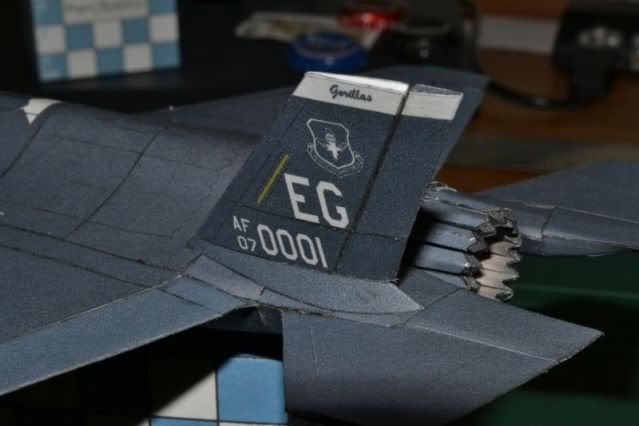 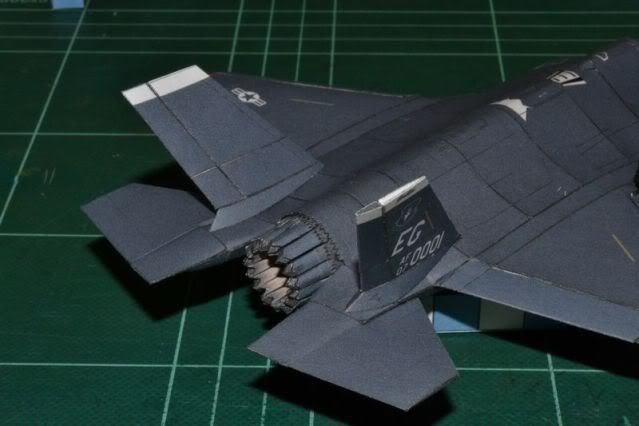 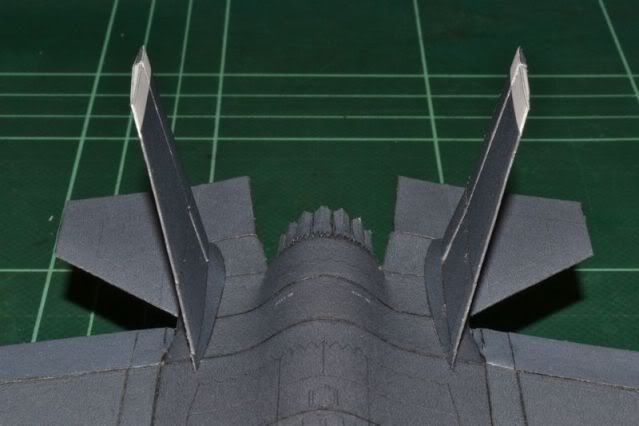 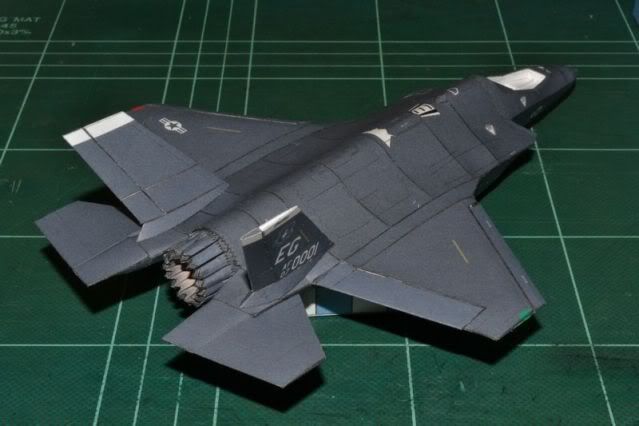 And there we have the full shape of the F-35A. Now its all details - I think I'll start in the cockpit, then its landing gear, external stores, and fuselage surface details. Hoping to get this built for June's IPMS show/competition in Warner Robins, GA. Time's getting short!
__________________
Put on hold build (someday I'll finish): F-35A Lightning II 1:72 Previous builds: cMags' Card Model Builds Last edited by cMags; 04-14-2012 at 07:21 PM.
|
|
#75
04-14-2012, 07:56 PM
|
||||
|
||||
|
WOW! Incredible craftsmanship cMags!
__________________
"Every hero has his or her time, but when that time comes, will that hero be prepared to sacrifice everything for the lives of others?" - Unknown
|
| Google Adsense |
|
#76
04-14-2012, 11:23 PM
|
||||
|
||||
|
Quote:
This build (and other similarly complicated ones) are forcing me to carry-on with my long overdue Nobi (Model Worx) HV-22J Osprey build... Keep the photos coming. Regards Niki
|
|
#78
04-15-2012, 07:37 AM
|
||||
|
||||
|
Thanks guys, the trick with this model (and others by Pavel, and probably also other high-detail models) is to just take it slowly. I'm told I have an abnormally high level of patience (which my wife appreciates
 ) but it really is the key. After that, the kit is designed so well that it practically builds itself. ) but it really is the key. After that, the kit is designed so well that it practically builds itself.Hopefully my narrative here is helpful to others in building this or other kits using similar techniques. If anyone has any questions, comments, or criticisms, I'm happy to hear them. If you'd like to see any closer shots of something or an explanation of a technique, I'd be happy to show it. 
__________________
Put on hold build (someday I'll finish): F-35A Lightning II 1:72 Previous builds: cMags' Card Model Builds
|
 |
|
|


 Linear Mode

