


|
|
|
#11
 09-16-2012, 06:36 PM
|
||||
|
||||
|
Thank's!
 Resuming the build... 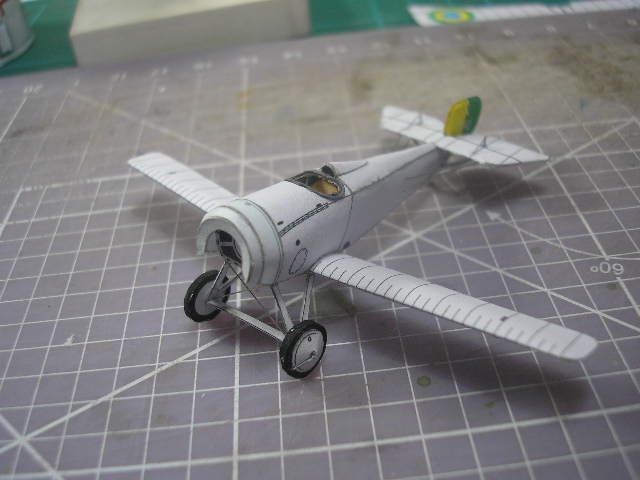 I glue the wheels covers and start the engine...  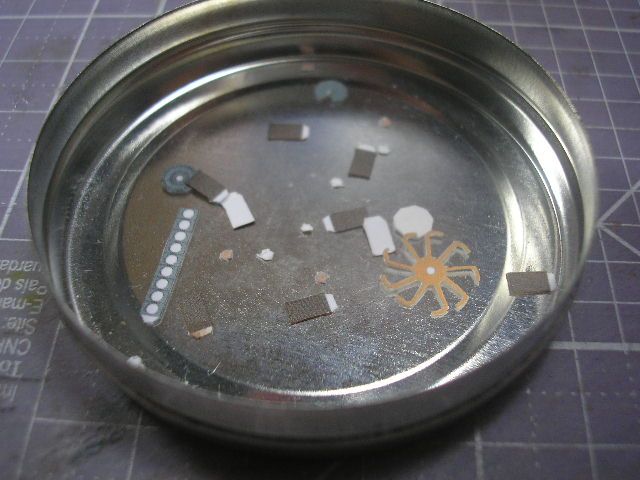 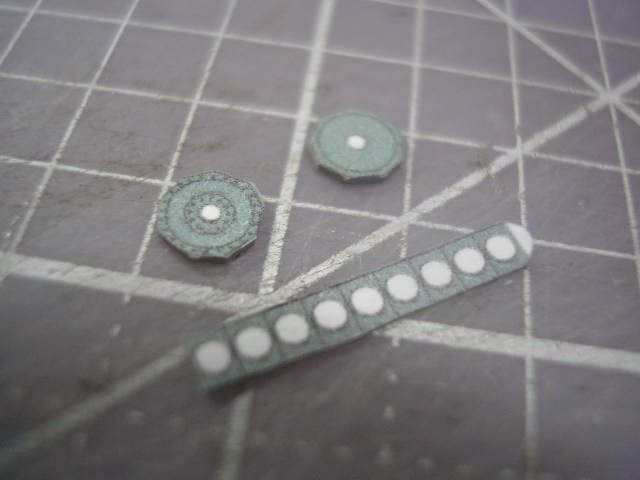 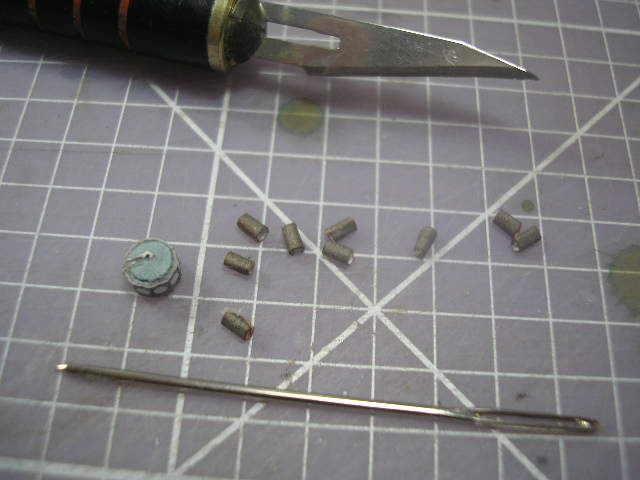  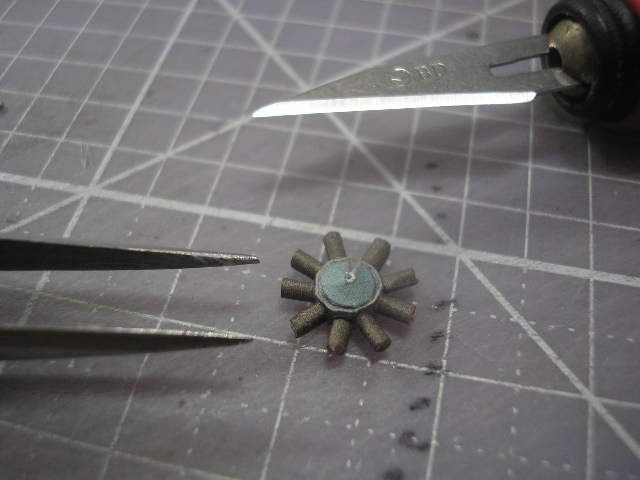 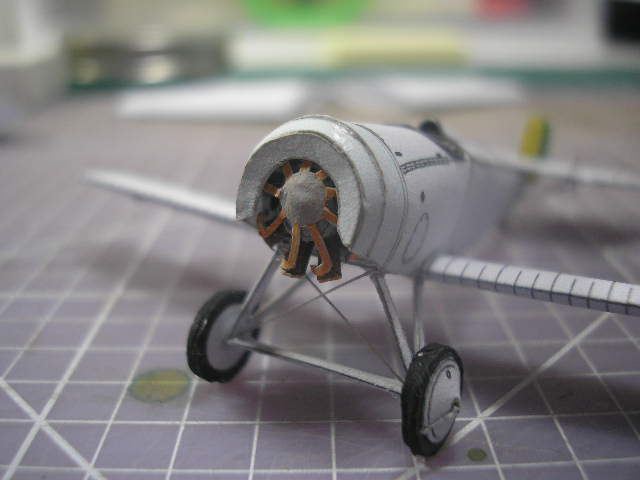 Is a tedious work because a small size of pieces, note the engine is Le Rohne from Nieuport 11 kit from Der Kampfflieger, is a correct engine for represent a genuine Nie 21 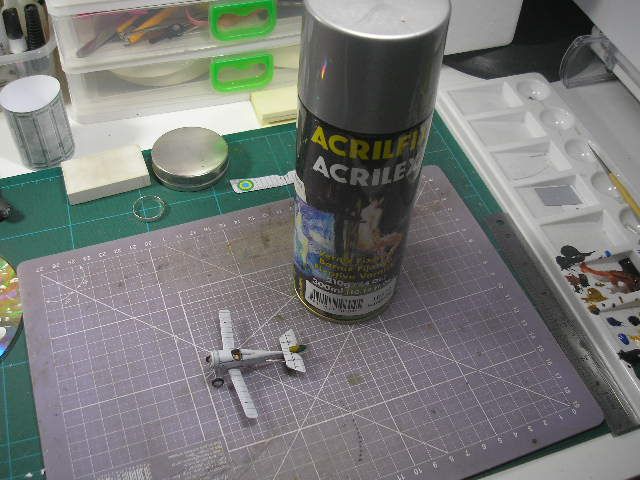 I applied a layer of semi mat varnish 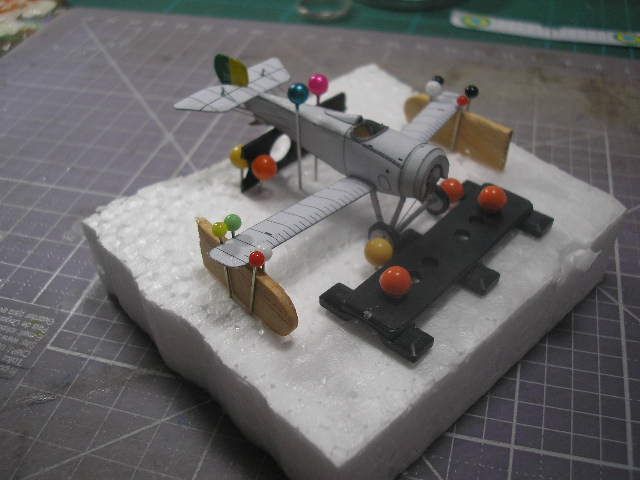 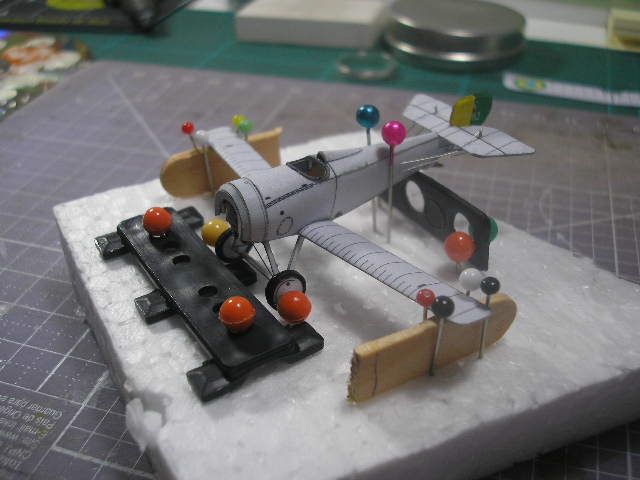 After dry I fix the model in a foam jig, as usual in my biplane builds... Continue... 
|
|
#12
09-16-2012, 06:41 PM
|
||||
|
||||
|
I start the building of central cabane components...
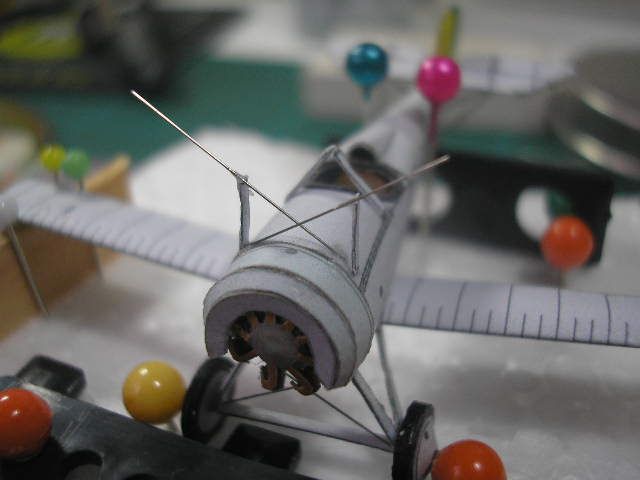 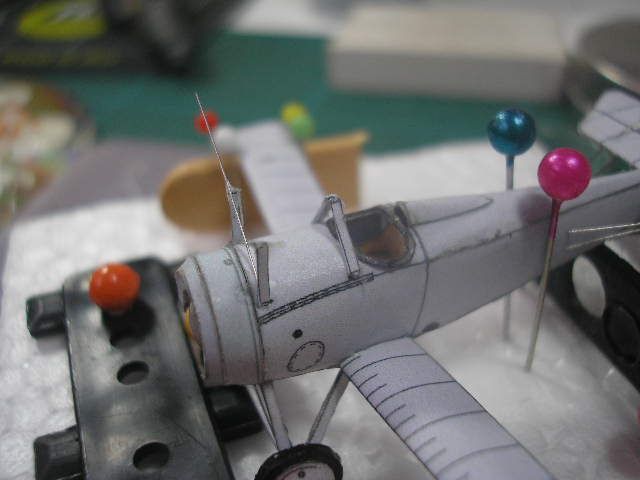 I made higher wing metal hardware, with orthodontical wire (flexible and rigid)... 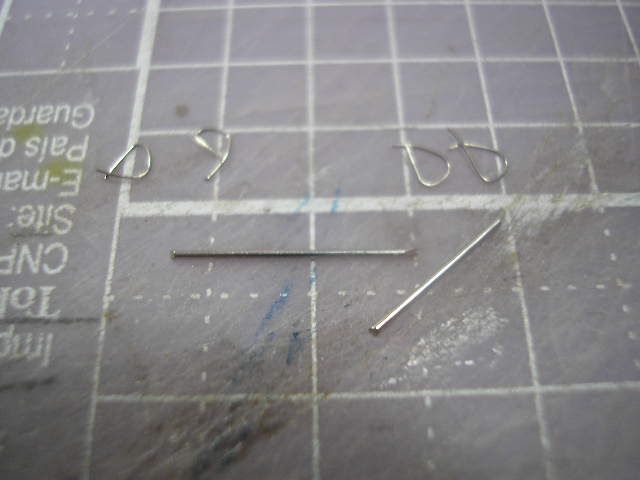 I fix the wing with carefull... 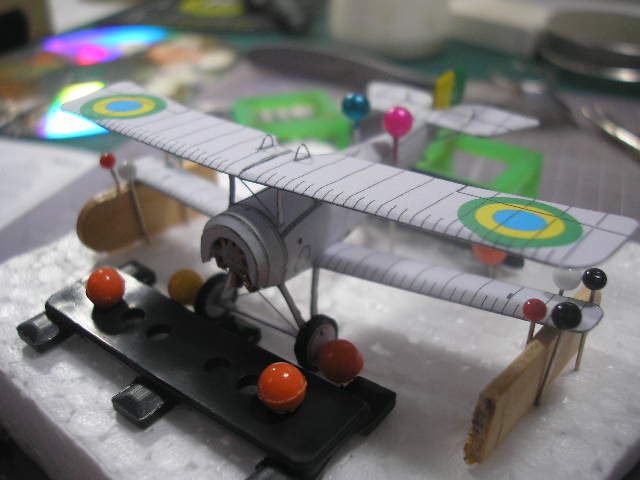 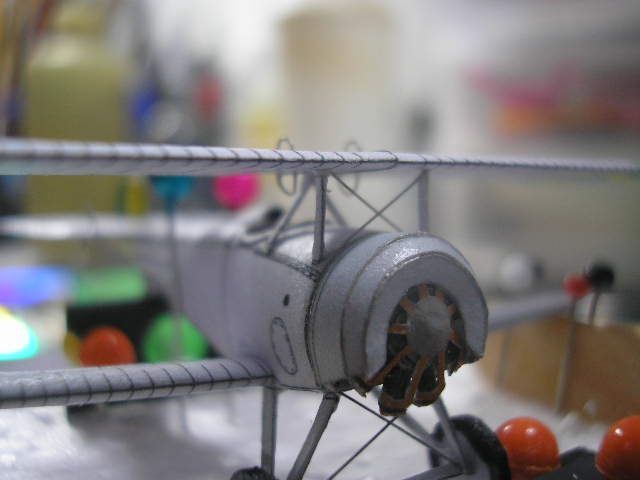 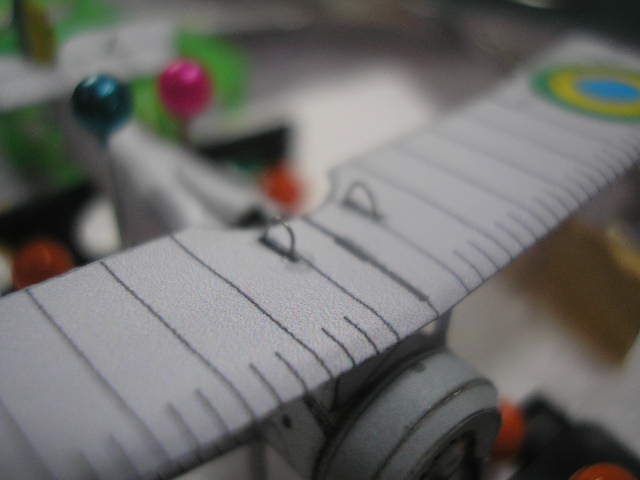 I view of hardware in the wing... 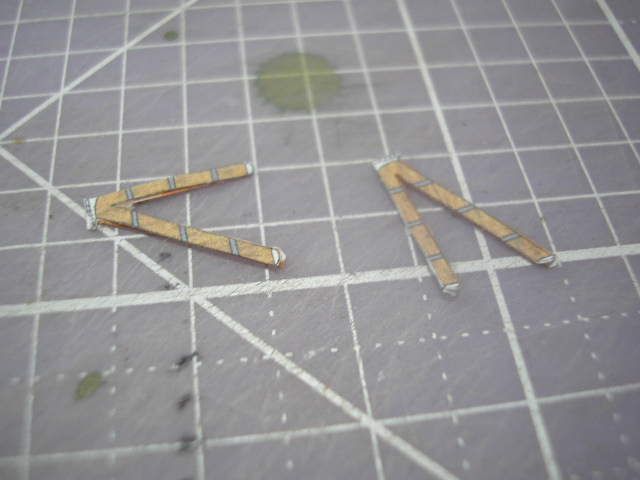 Building of main mounts  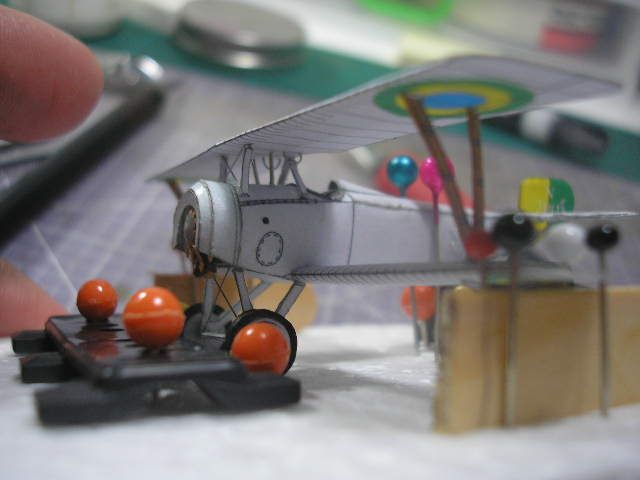  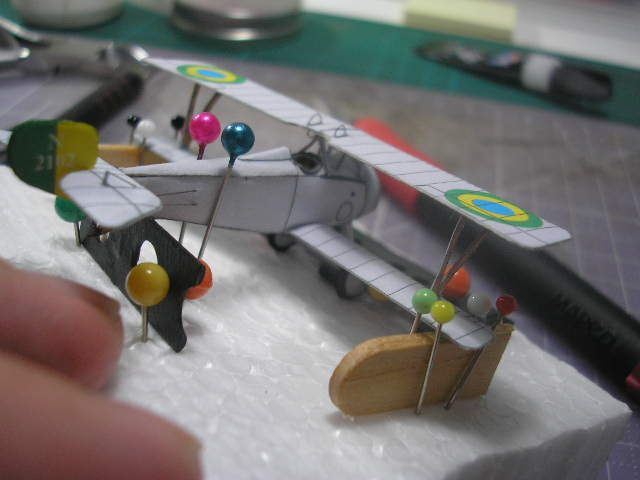 In the first I glue the mounts in higher wing with PVA glue, after dry i use in the base of mounts CA glue for made a strenght and correct alligment... Continue...
|
|
#13
09-16-2012, 06:45 PM
|
||||
|
||||
|
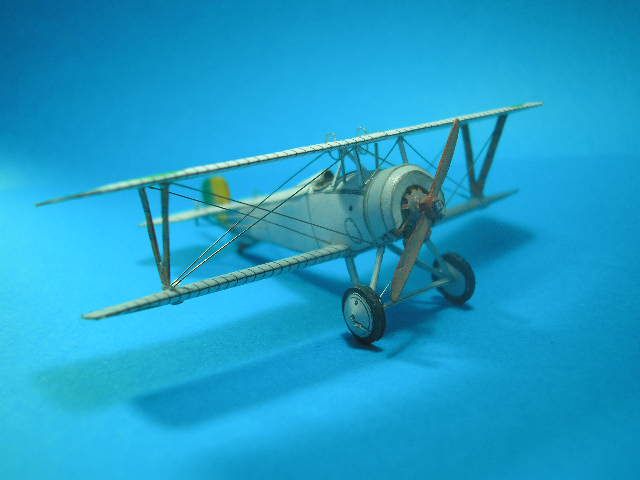
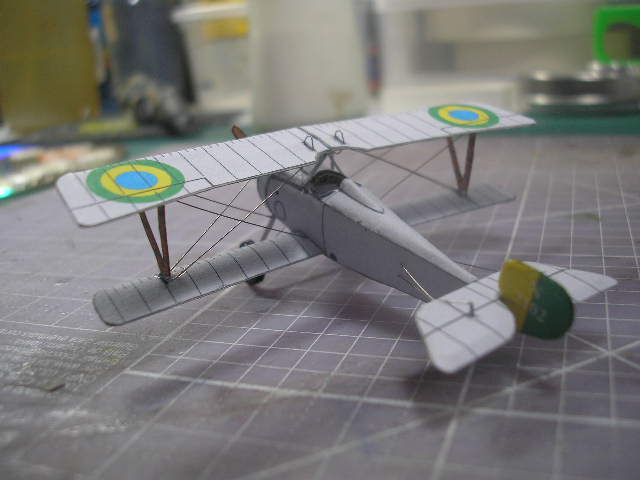
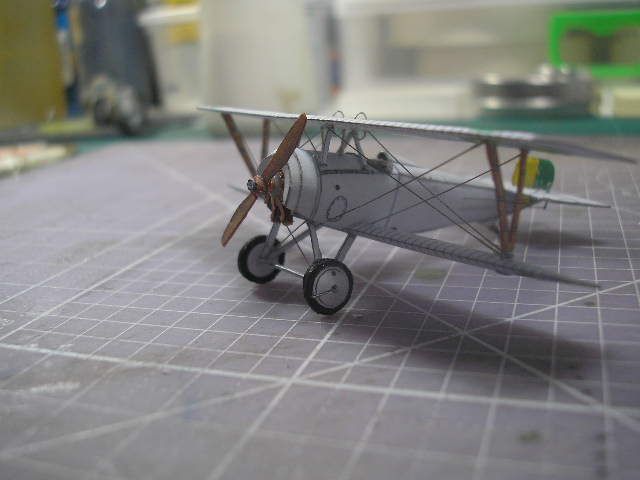
I start the rigging, the method is a same for control cables...
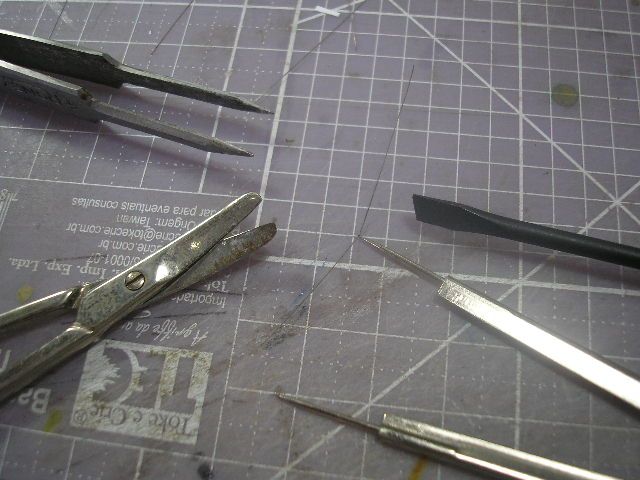 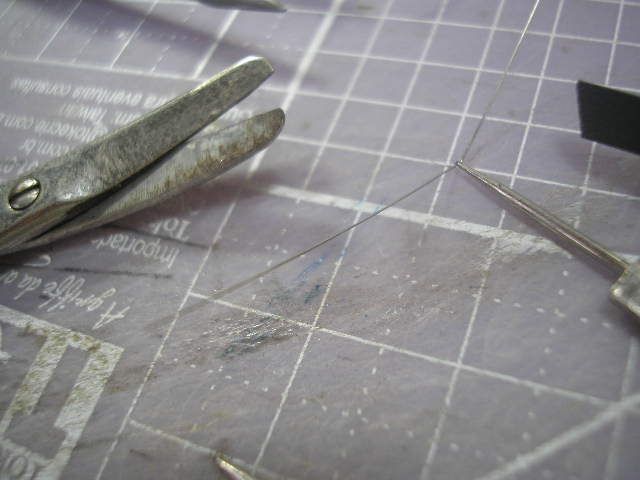 I start the sequence of interplane cables build... 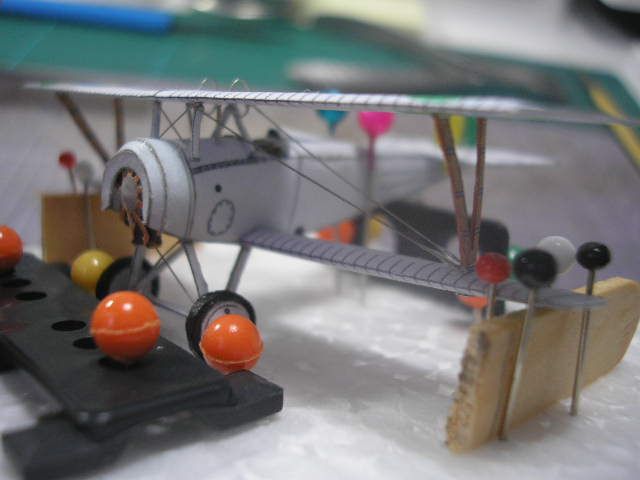 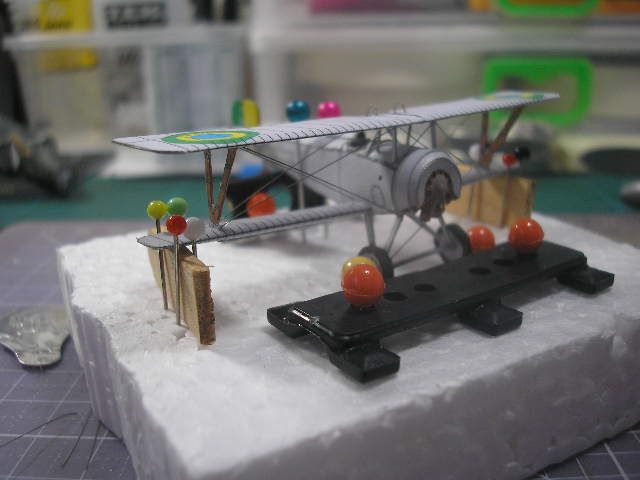 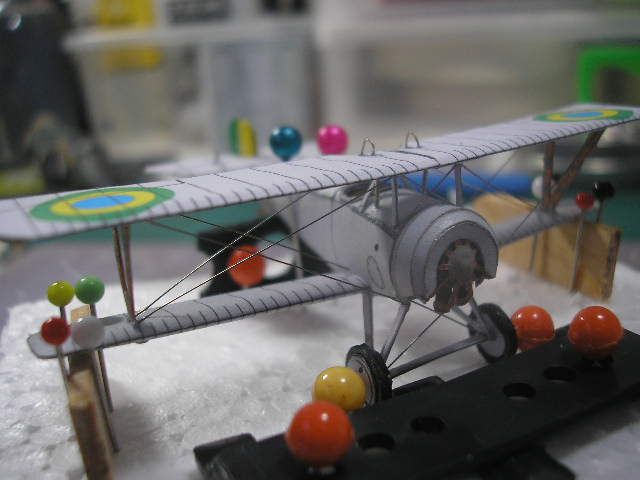 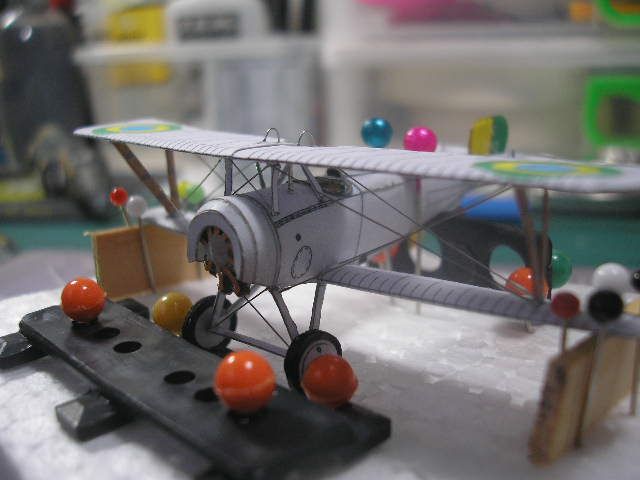 Finally I build the propeller and fix in this model 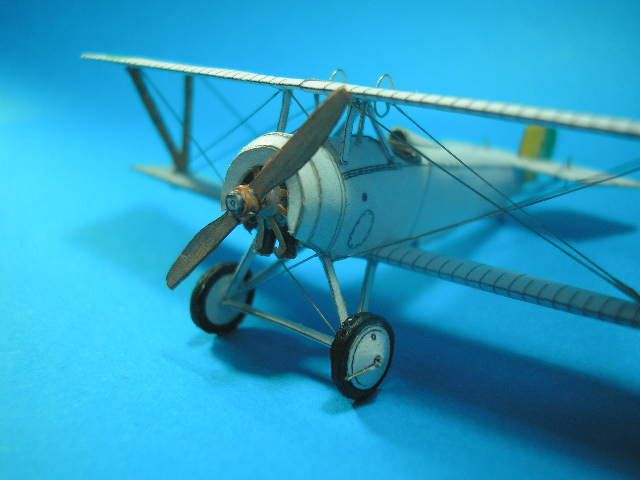
|
|
#14
09-16-2012, 06:51 PM
|
||||
|
||||
|
Finish model...
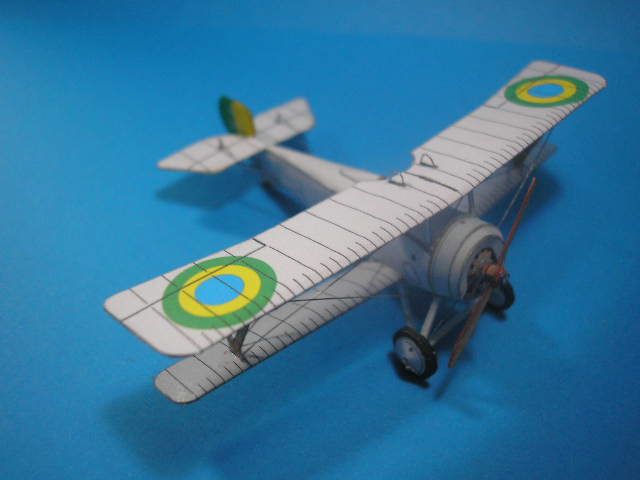  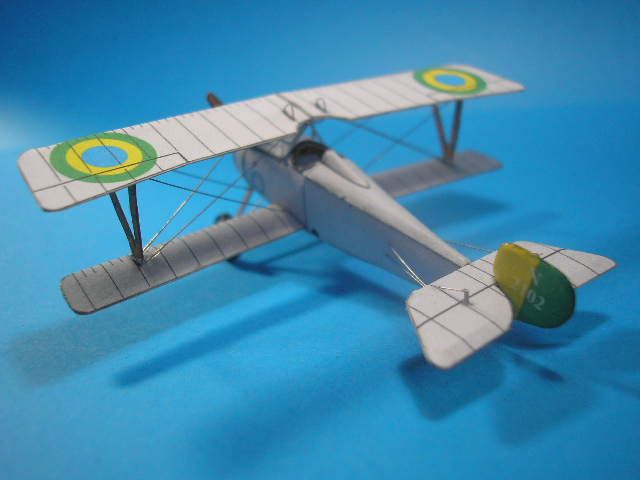 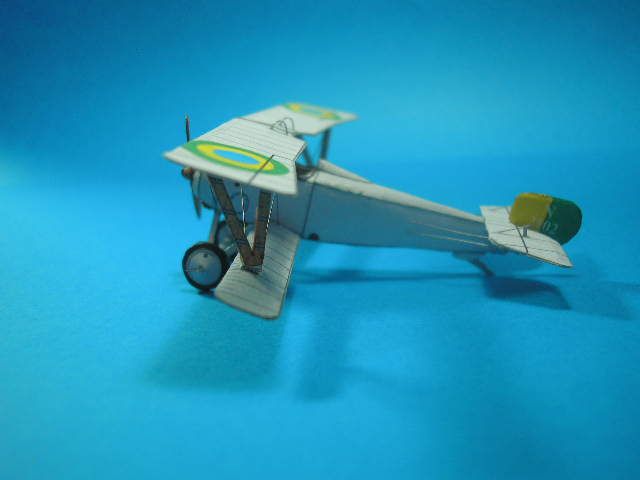 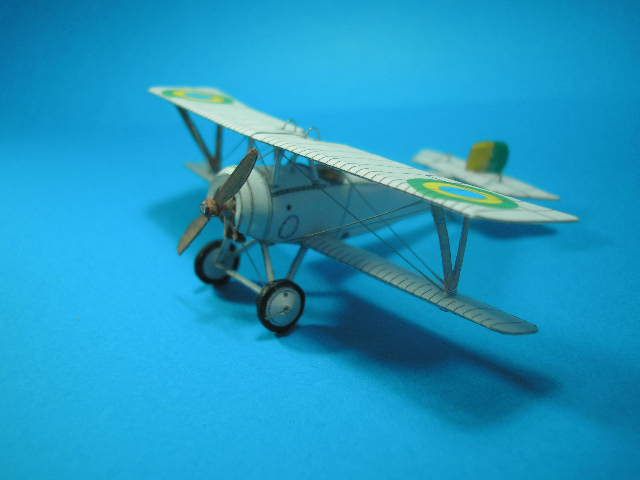   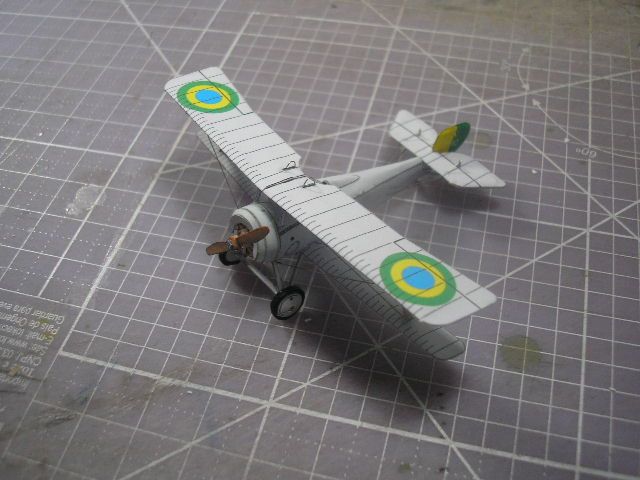 Some size comparations... 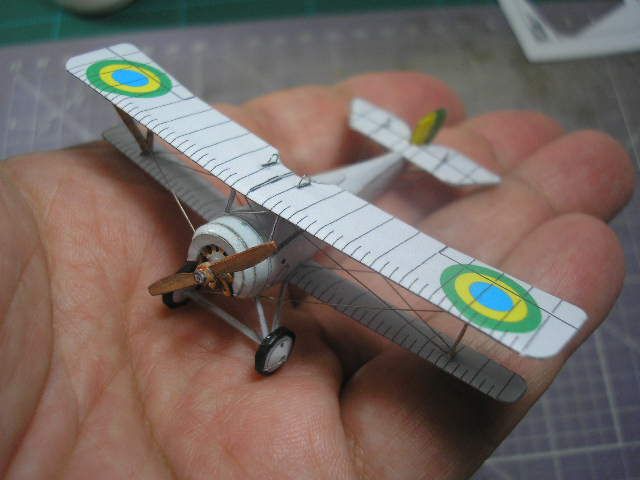 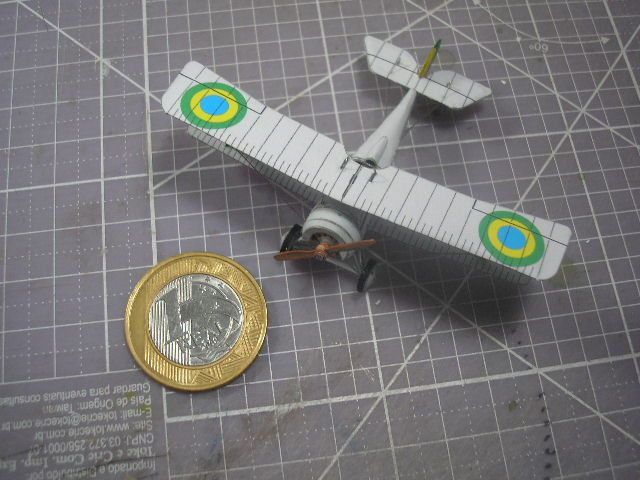 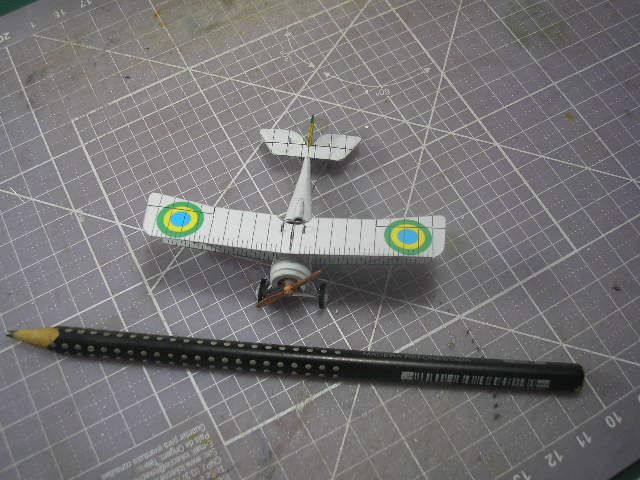 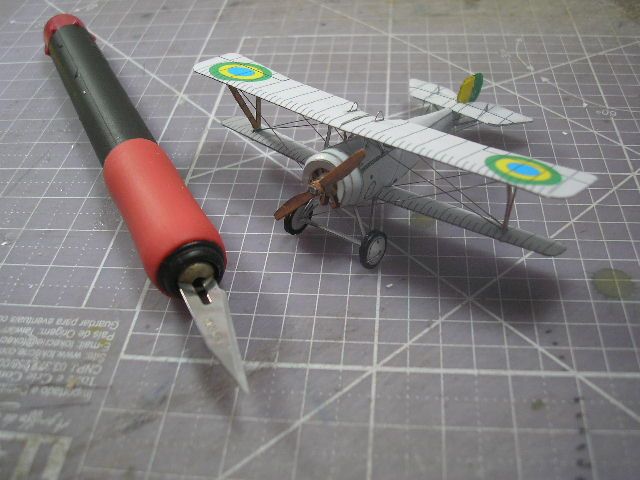 The model in permanent display in my showcase in Brazilian Military Aviation section... 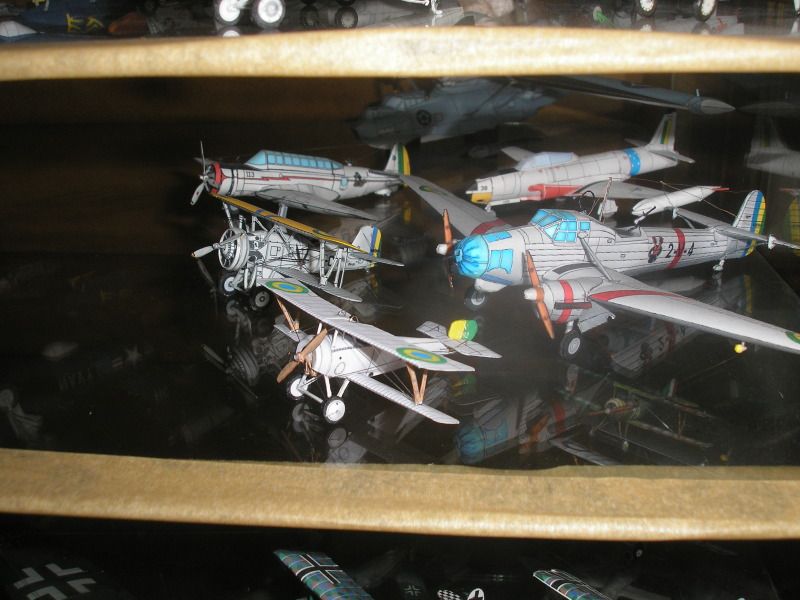
|
|
#16
09-16-2012, 09:08 PM
|
||||
|
||||
|
Thank's Don! My pleasure...
|
|
#19
09-17-2012, 07:39 AM
|
|||
|
|||
|
Amazing work, your jig for holding the model is a great idea as well!
Doug
|
|
#20
09-17-2012, 09:00 AM
|
||||
|
||||
|
Quote:
Many thank's...
|
| Google Adsense |
 |
|
|


 Linear Mode

