


|
|
|
#11
 01-16-2013, 09:33 PM
|
||||
|
||||
|
Quote:
__________________
Mate Amargo models. 
|
|
#13
01-17-2013, 10:56 AM
|
||||
|
||||
|
Thank's Wyvern.
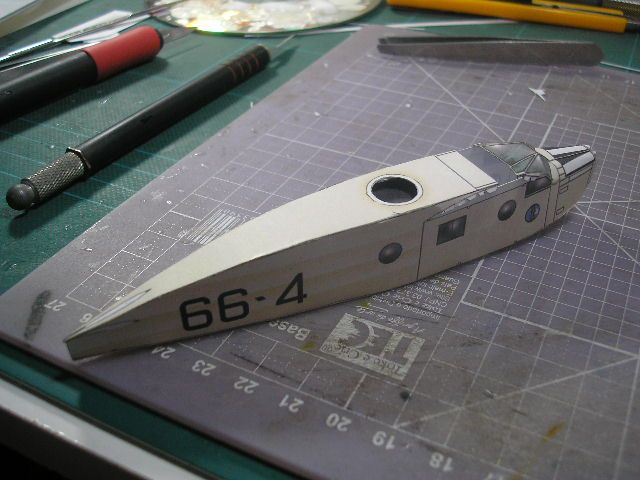
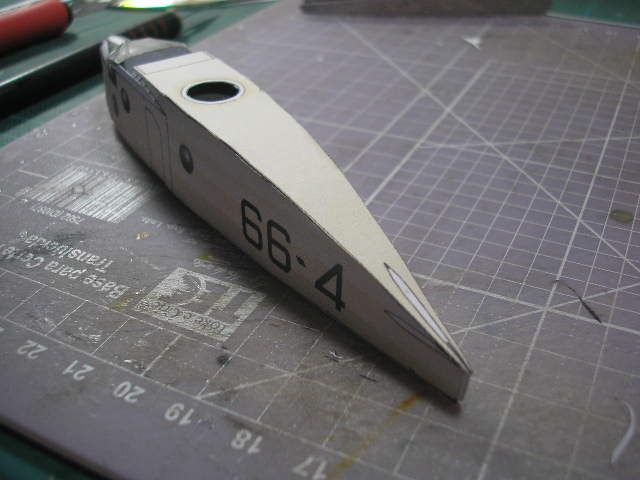
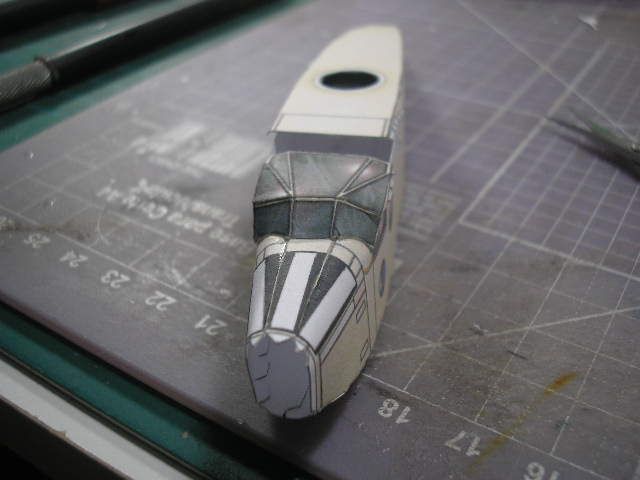
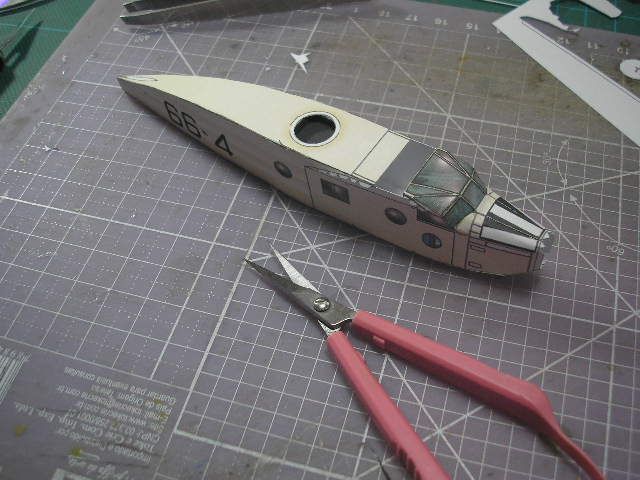
The build process: The Zio Prudenzio kit beside a simple aparence not easy for beginners in some aspect, the buid process is not easy if you make a mistake in steps sequence. The Caproni Ca-111 is one of last designs of Fabrizio Prudenziati before a long time of absence (2002) is a good kit an interesting subject of Golden Era. Ca-111 is a colonial airplane made in Italia before WWII, designed to operate in several clima in Africa and Middle East Italian Possesions. Is a versatile machine (bomber, transport, recon, ground attack) whit good flight caractheristics and a great STOL capacity, Regia Aeronautica used the Ca-111 in WWII too. 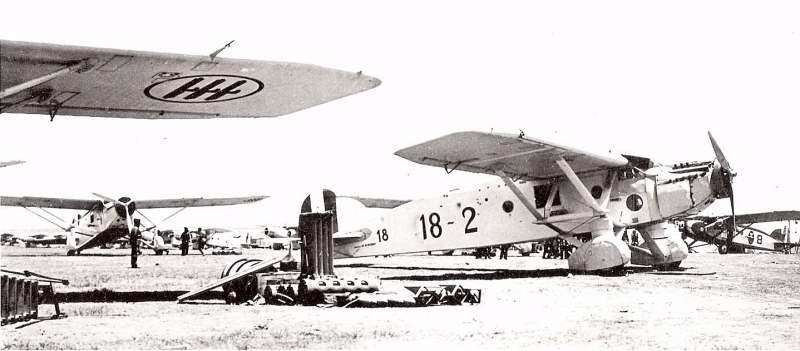 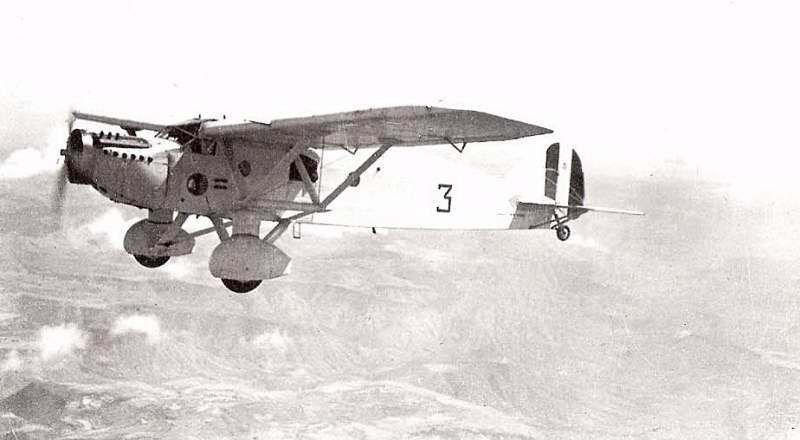 The model are in two sheets, the PDF file are in high resolution and great printable area, need fit to A4 paper. In A4 the scale is 1/70, so I reduced to 1/100 scale and print in my new Epson L200. 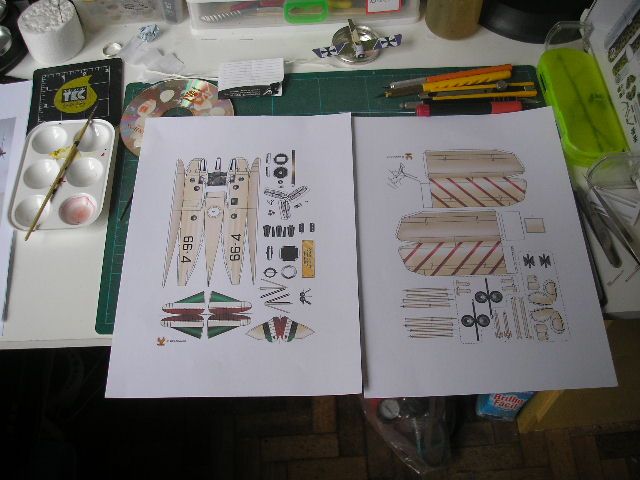 I start cutting fuselage... 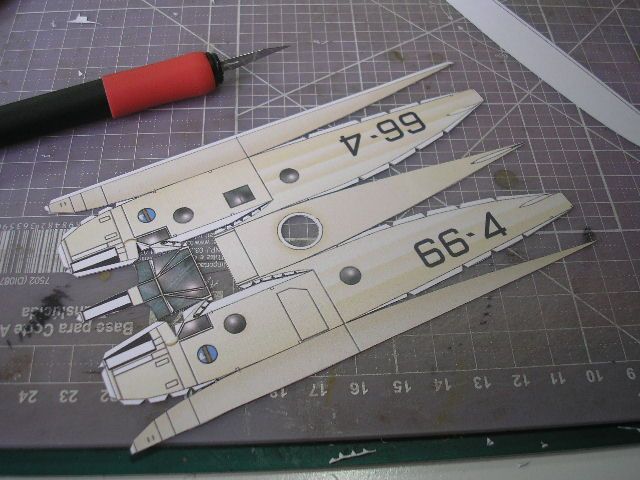 After I paint white edges with watercolors I mix to made color close to italian pre-war cream... 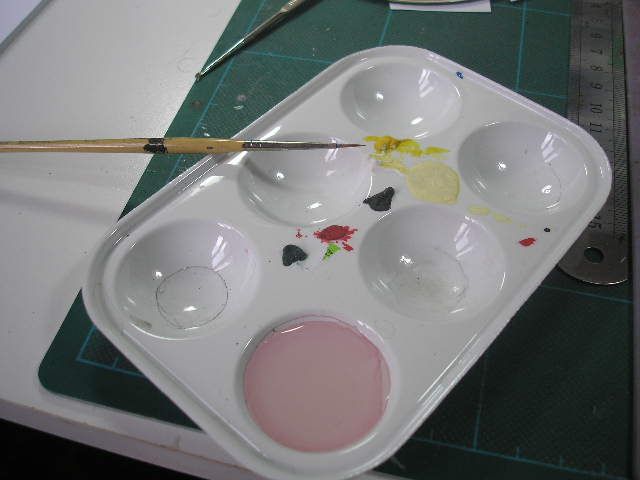 After dry I made with old 11 scalpel folds. (the fuselage of Ca-111 is a box, I need fold in 90º) 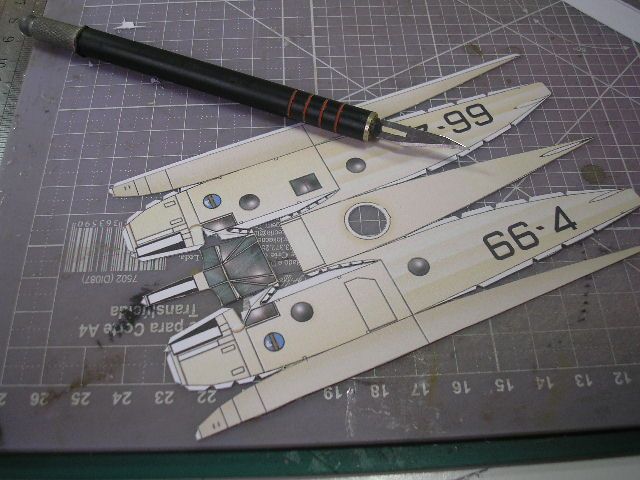 I start the gluing job for the nose, note the semi round shape... 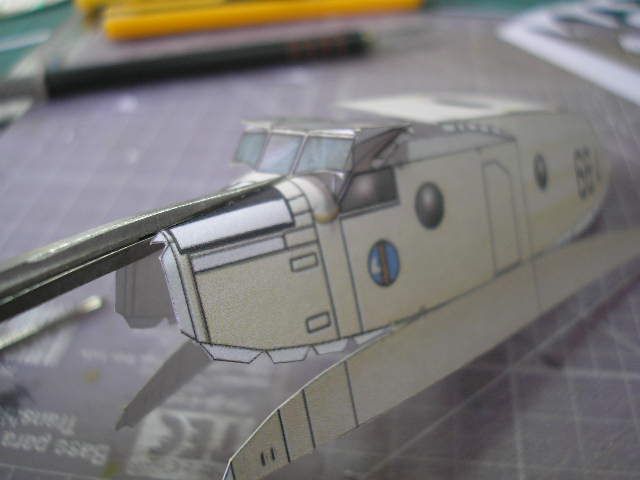 After I made the canopy, the secret is a fold the two frames above the windshield for a correct form... 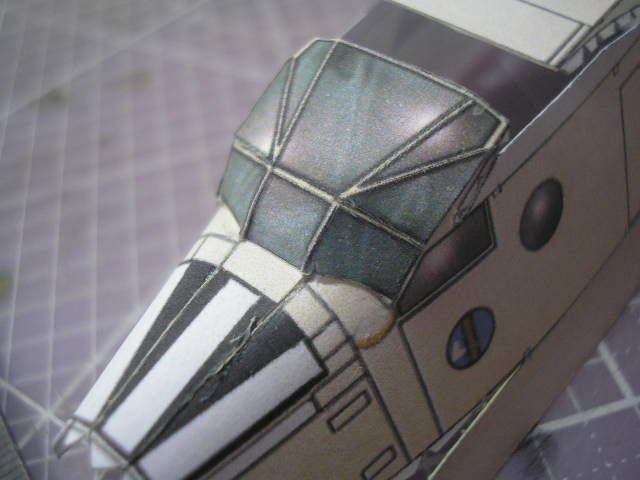 After I made a black box to simulate deep in gunner position, is a interesting design feature in this model. 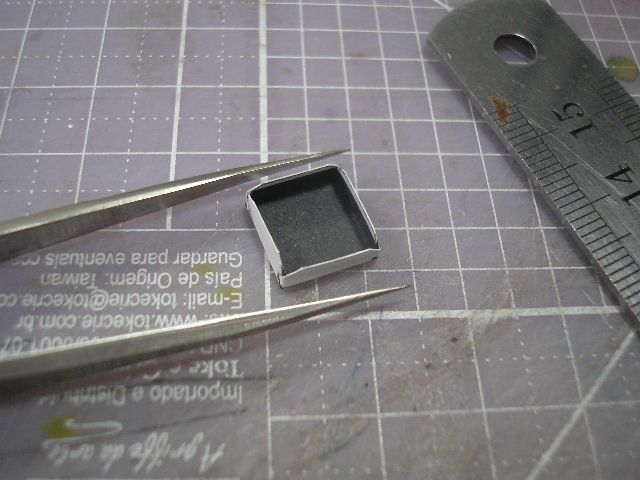 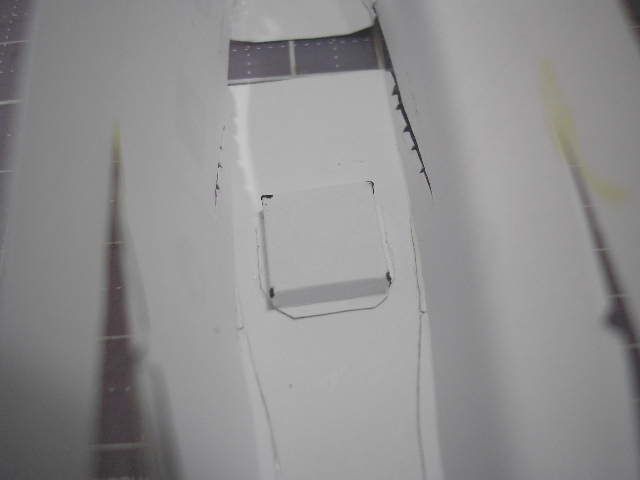 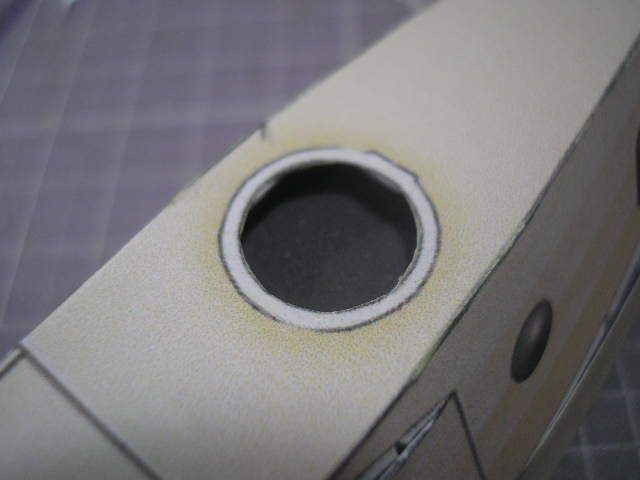 Continue.
|
|
#14
01-17-2013, 11:09 AM
|
||||
|
||||
|
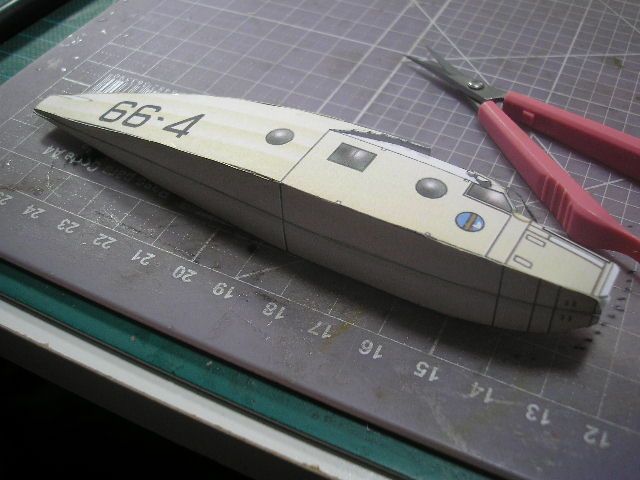
Before gluing the gunner posiotion I glue the rest of the fuselage close the bottom. I not use the Zio due fold tab (in this kit have only in bottom fuselage) my choice is one tab in right position, but not have problems in this part.
     Fuselage completed. After I made the wings, the only problem in the zio kits is a lack of internal former or structural reinforcement, the major problem is deform build or torsion in the chord, because a big wingspam. For prevent I made a volumetric reinforcement with duplex paper (used in architetural maquete).     Note the arrange for made a diedro in wing, for insert in fuselage, this feature made a great dificult I prefer the methods of Aaron Murphy or DGA: a central pilon glue in fuselage and external part of wings glue in pilon.  The conpound curves of wing need a carefull to build...      After I gluing the wing in fuselage, the first part of job is gluing the top fuselage area and a central panel, before dry gluing the bottom. And the most critical part of assembly finished. Continue...
|
|
#15
01-17-2013, 11:35 AM
|
||||
|
||||
|
I made the tail set...
  Again I use the method of reinforcement with a layer of duplex paper, is made a good shape and easy gluing.   The set gluing in the position... I start the wing/undercarriage struts.      The duo-fold strut system of Prudenziati is not realistic, so I improve made a "soul" with 150g heavy cardboard strip, the result is better. You see a first sequence of struts...   I gluing the connector with undercarriage legs and main wing struts...    I made the main wing struts, I used ths same method to reinforcement...     After I made thw undercarriage, the wheel carenage is a interesting piece (I love the design), for gluing a use a micro clamp to made a correct gluing.  I made the wheels...  Gluing in correct place. Continue:
|
| Google Adsense |
|
#16
01-17-2013, 11:42 AM
|
||||
|
||||
|
The next piece is a undercarriage leg of damper
  Something wrong? What do you think? Right is a missing leg in a dumper, is a error in the model, study pics or real aircraft and found this. The solution: I printed another set of model and same dumper leg I made a missing part  After this problem, I made a rigging wit 005 metal wire for suture...   I made a gunner position, the most dificult is cutting the machine gun, but I like the result...  After I made the tail struts and tail wheel.  I made a 180g cardboard circle for made a good representation of wheel.  After I gluing the tailwheel and struts in place, in this case because a small thickness of strtus I use a duo fold method... Continue
|
|
#17
01-17-2013, 11:49 AM
|
||||
|
||||
|
Engine build process.
Is a nice feature in this plane, the Isotta Asso engine. 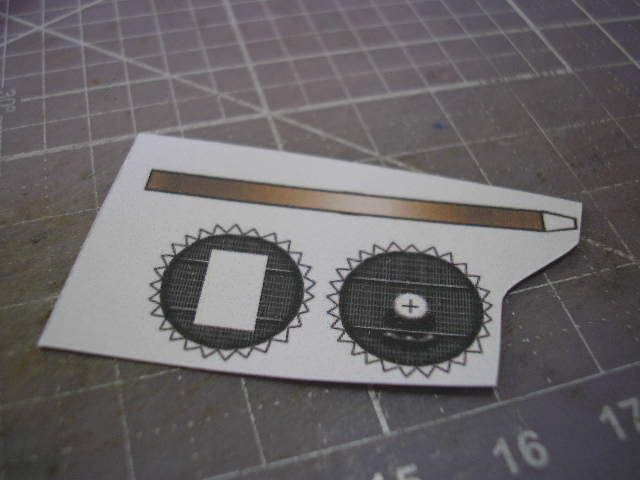 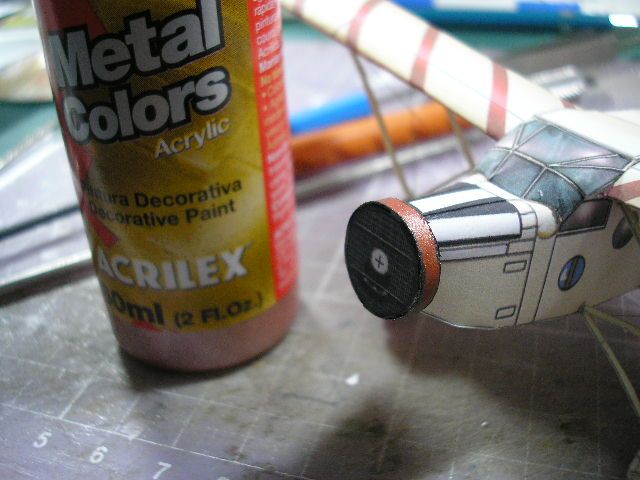 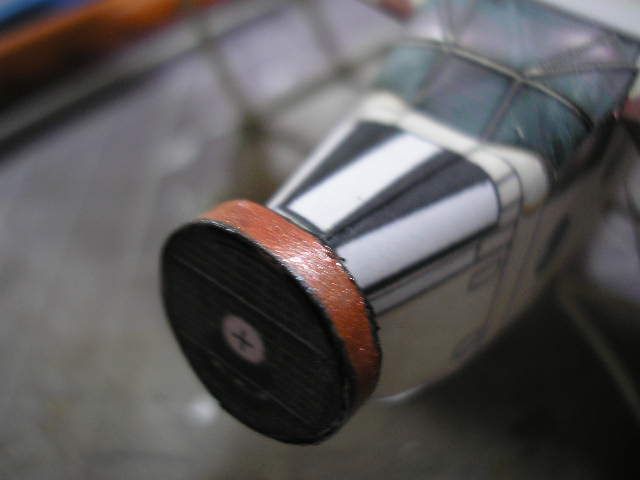 I start by radiator, the metal part I paint with acrylic paint... 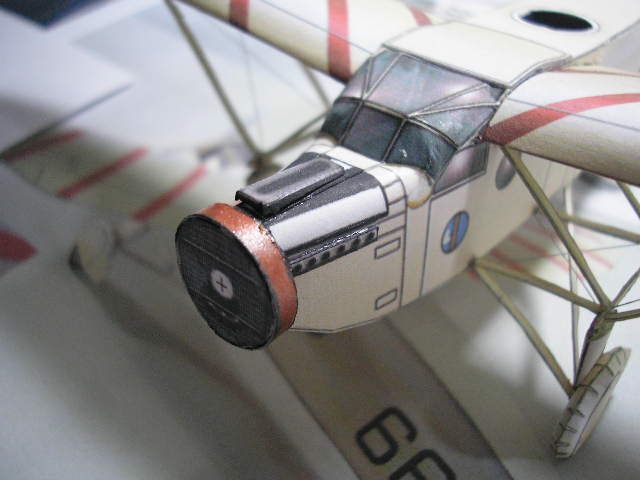 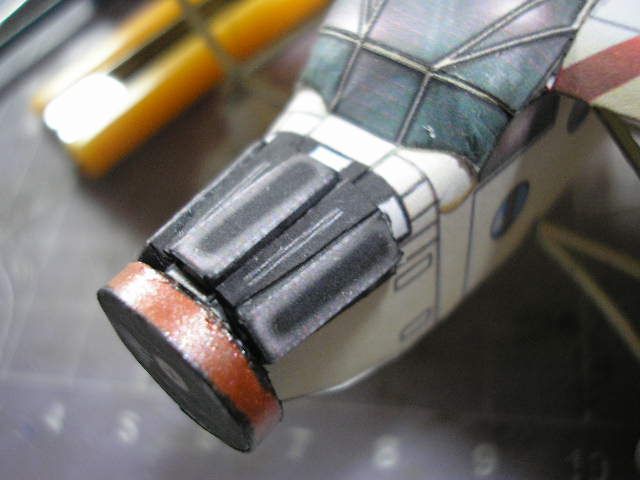 Components of the engine...  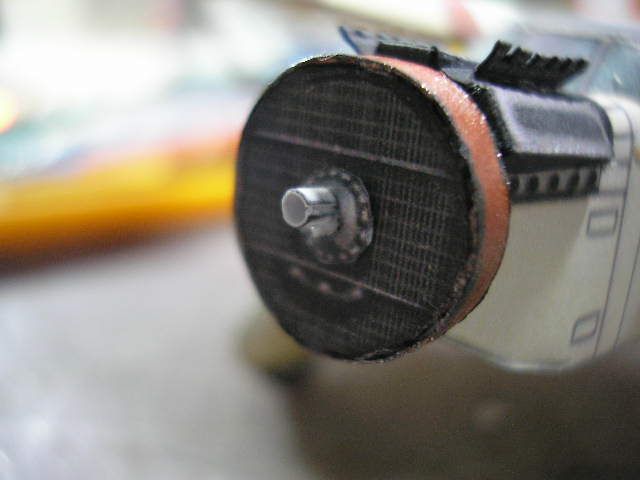 More components, and gear reduction box... The only problem in engine sub assembly is the size of pieces, is smaller, note the rest of white area for gluing, I painted this area... After I start the propeller... 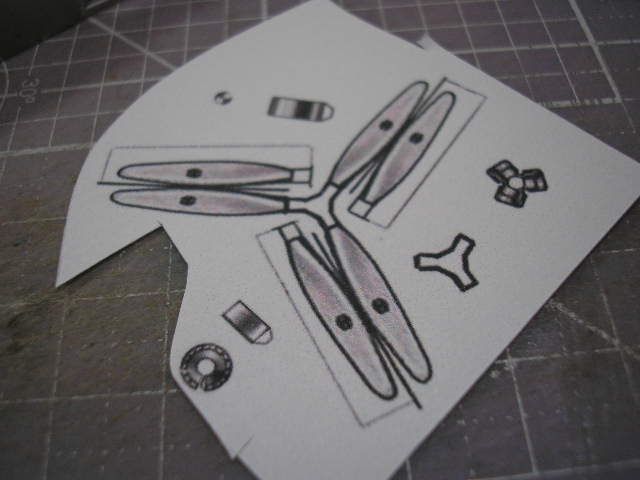  Prudenziati is made a interesting method of made propeller with pseudo 3D effect in the hub, I like a lot. 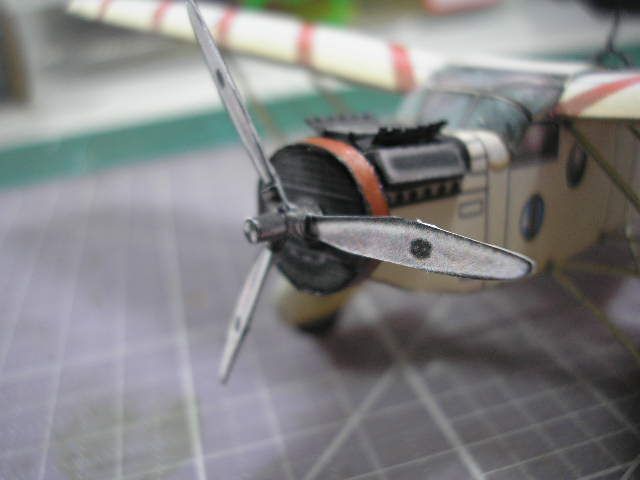 Engine and propeller finished. And the model ready. I apply a layer of matt varnish in spray and go to my display   Until the next model. Best regards my friends!
|
|
#18
01-17-2013, 01:44 PM
|
||||
|
||||
|
Ah, so that's how made it!
Thanks for sharing the secrets! Obrigado! And it's nice to see Zio's web site with new additions.
|
 |
| Thread Tools | |
| Display Modes | |
|
|


 Linear Mode

