
 |
|
#21
|
||||
|
||||
|
For me Chrome yeelow looks fine, but the light is a factor...
Time to update the build log. Going to the final assembly, we treat a sensitive part, the cyclone engine, which in this case is very well represented, started cutting all the pieces that make up the same, including the cylinders with their covers, the gearbox and the block . 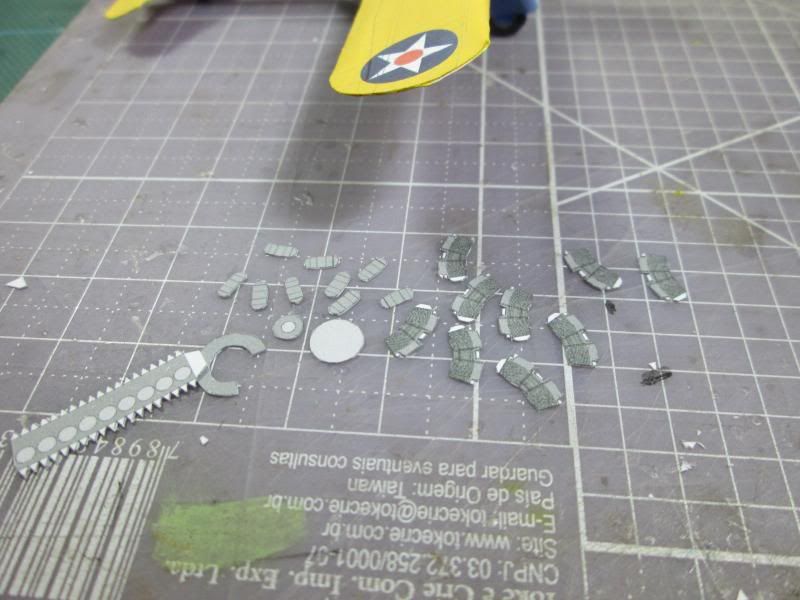 We started with the assembly of cylinders which have a characteristic way, is a repetitive work and why not to say tedious but worth it ... 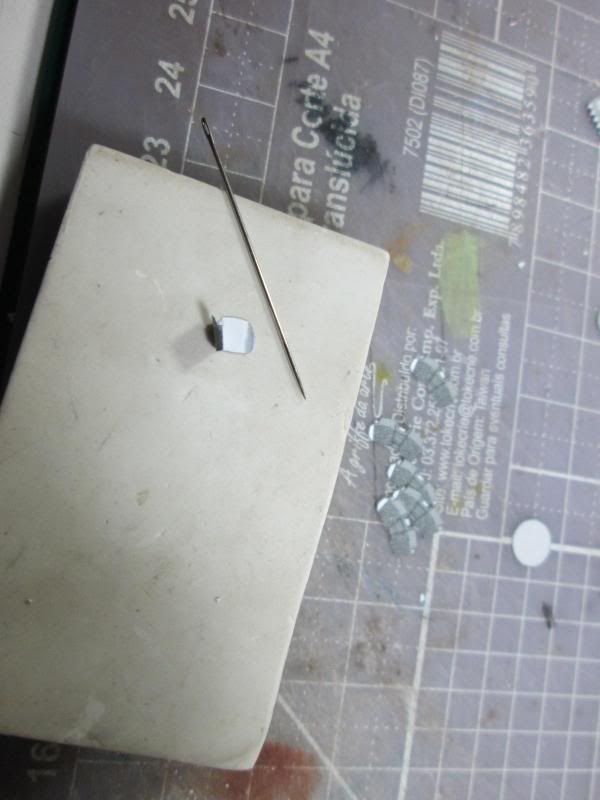 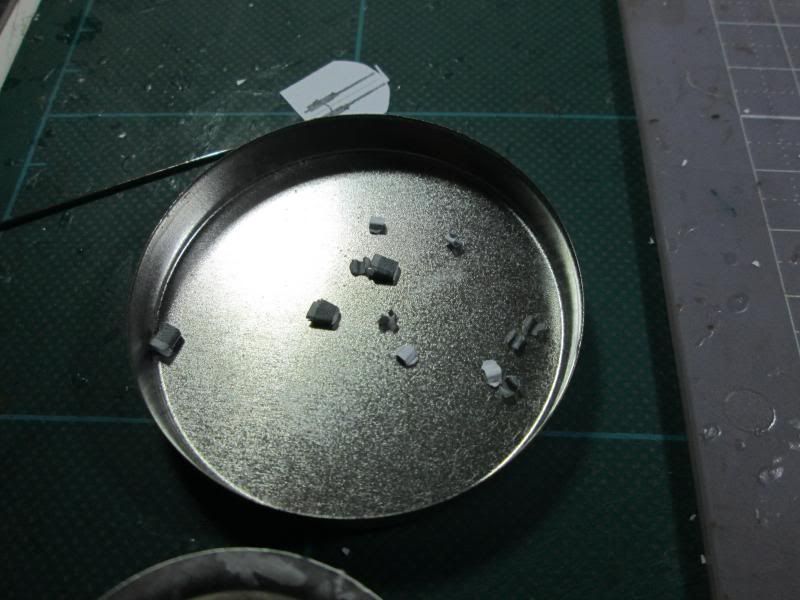 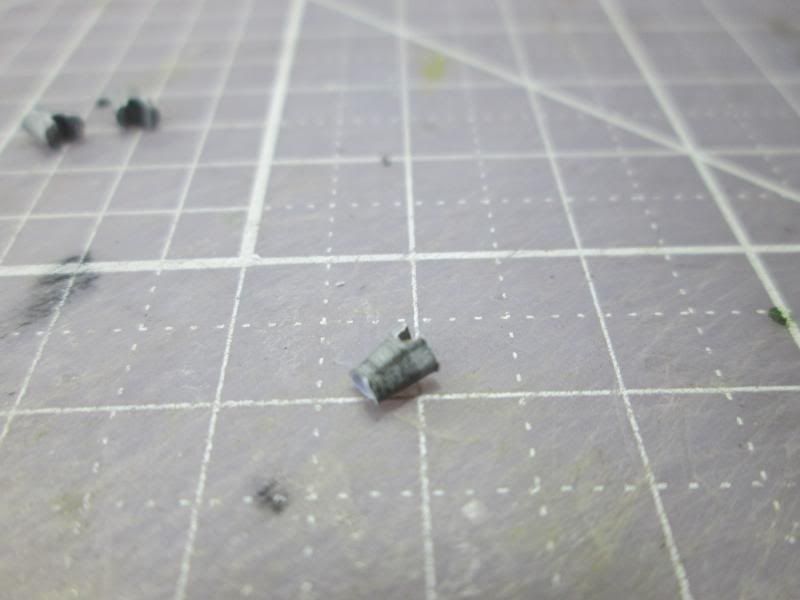 The finish engine... 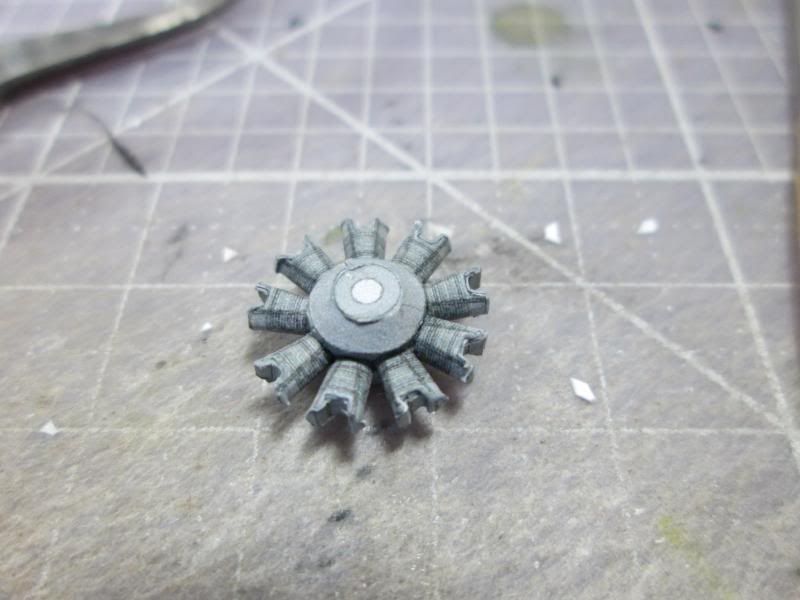 We then began to ride the cownling a sensitive part consists of several cones and truncated semicones, started from the back. going to the "equator" of the piece is the larger ring. Very careful alignment of the numerals on the side. 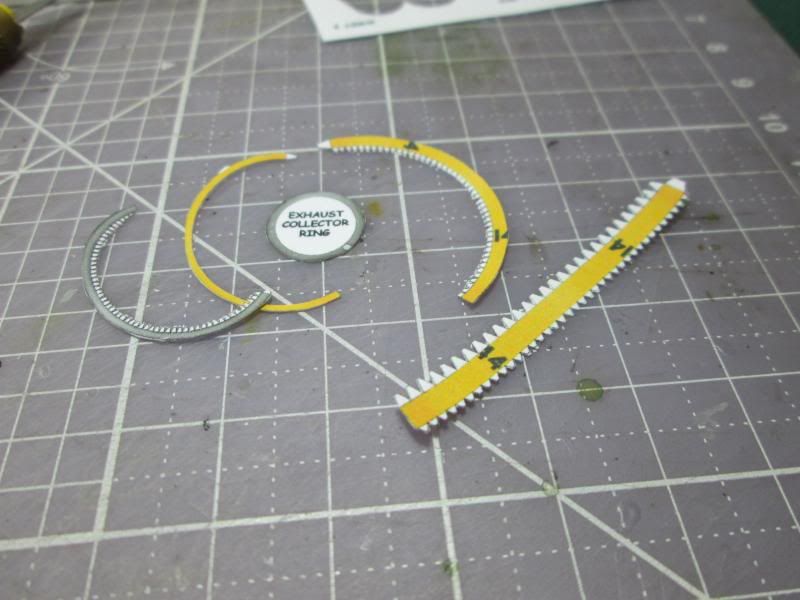 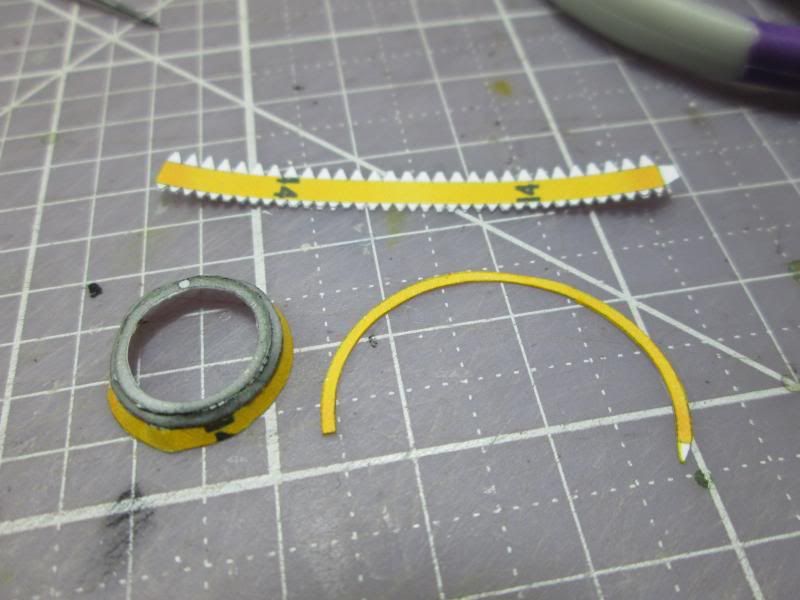 Attached are installed and the engine then pasting the last ring cownling. 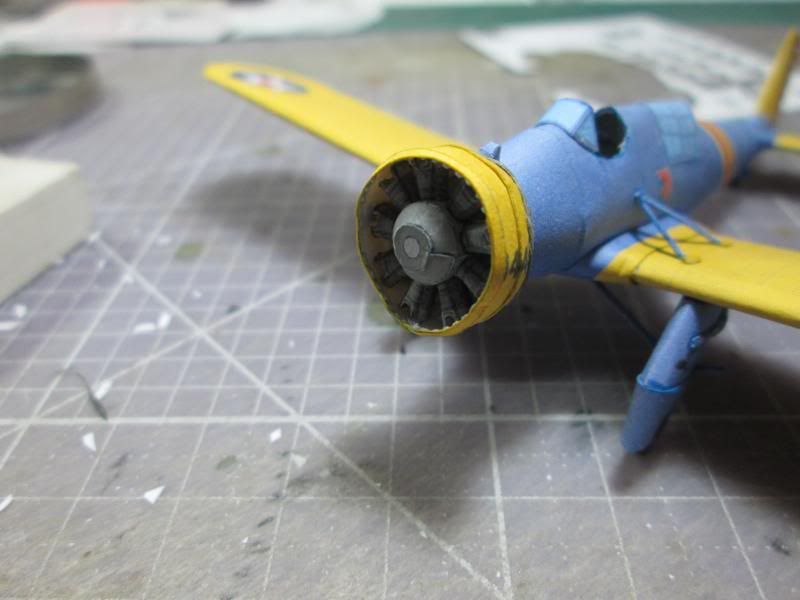 The model almost finished ... 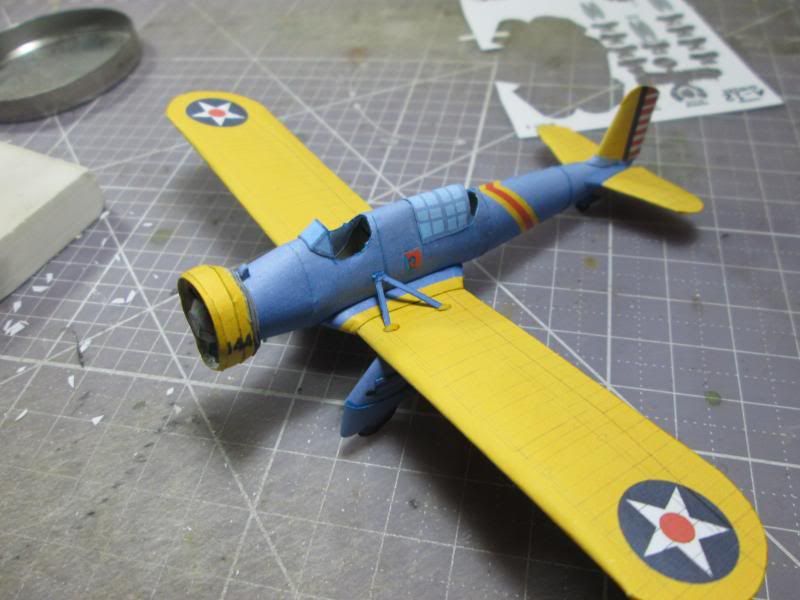 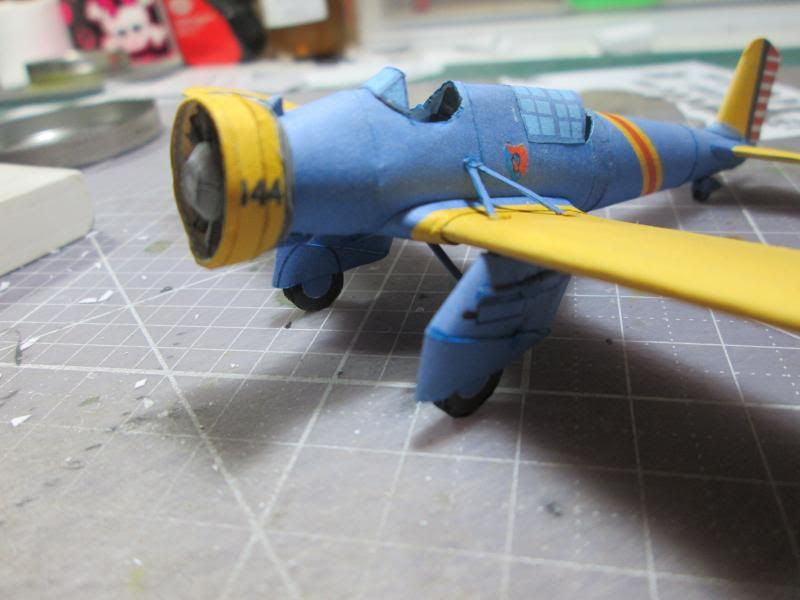 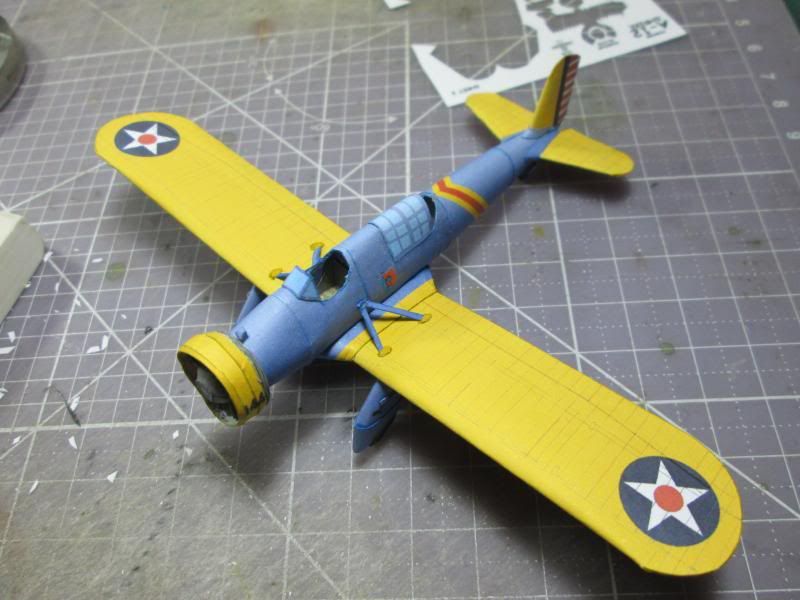 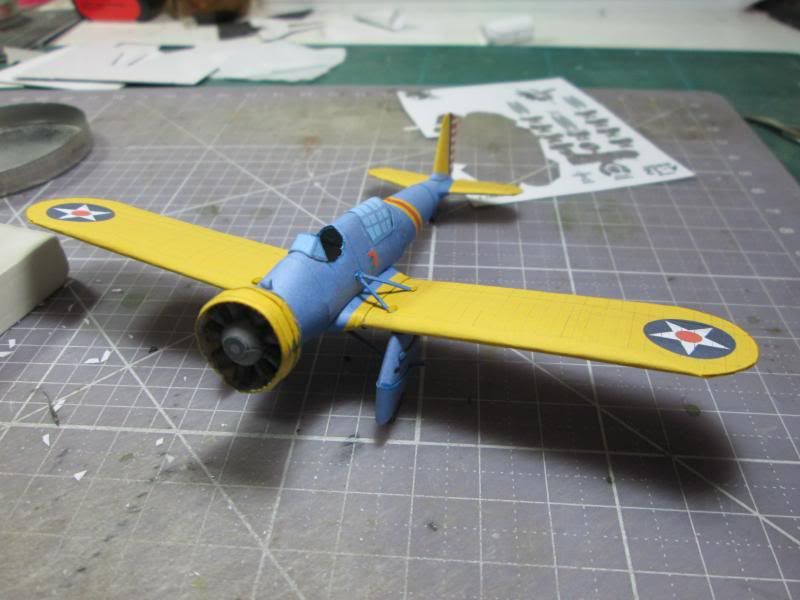 The escape assembly 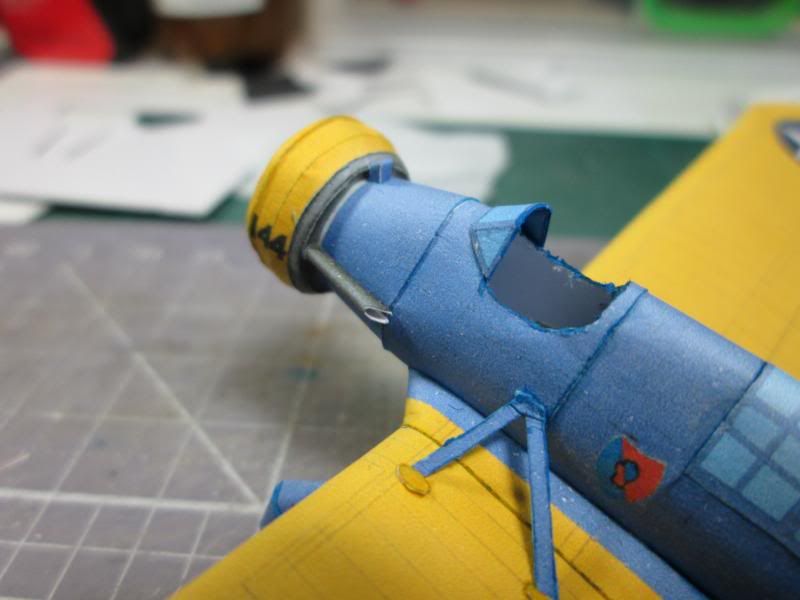 Continue... |
|
#22
|
||||
|
||||
|
Oops, I just noticed the exhaust pipe is on the left side. If I read all the info right, it's supposed to be on the right side... Gotta clarify that in the instructions.
Don't worry, the next series is all jet engines. (check your email) |
|
#23
|
||||
|
||||
|
That's a really nicely detailed engine. LOTS of cylinders!
|
|
#24
|
||||
|
||||
|
Only 9. I haven't even touched the Wright Cyclone, Pratt & Whitney Double Wasp, or even the the 28 Cylinder P&W Wasp Major. I wonder if any oddball planes used that one?
Edit: I just found info on a Wright R-2160 Tornado, an experimental 42-cylinder, 7-bank liquid-cooled inline radial. Hmmm. I see a line of Radial engines in the near future. |
|
#25
|
||||
|
||||
|
Aaron
I believe study the pics and plans is a right side too. I checked my email, is a bigger birds! I started tomorrow as always  Now preparing the final details of our model, focusing initially on the rigging which is quite simple and focuses primarily on the wings. For those not familiar with my builds, the material I use to simulate surgical ligature wires is a fairly thin steel that is sold straight to install cut the thread in the right measure, obtained with a compass transfer, the segment is labeled with an electronic tool (used to remove components) and cut with nail scissors. 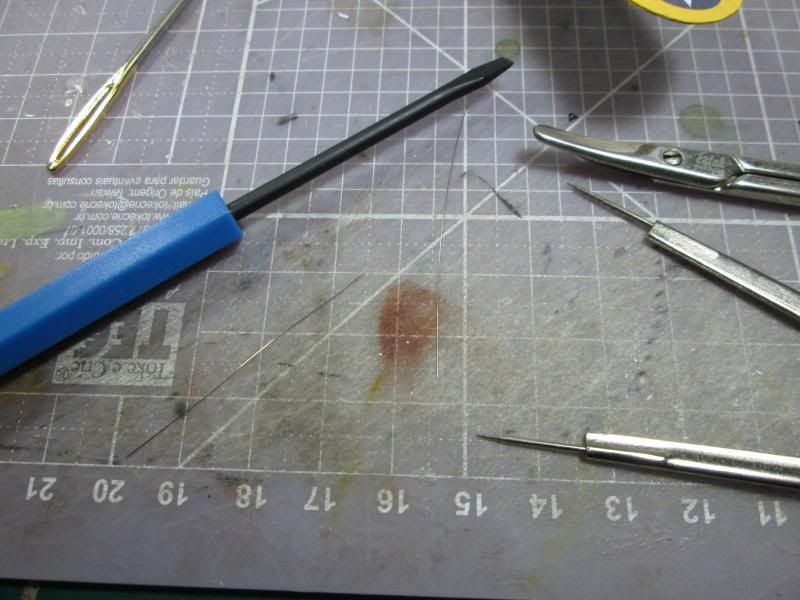 Observing the documentation available, I started installing the cables, being stuck with a small drop of CA glue gel. 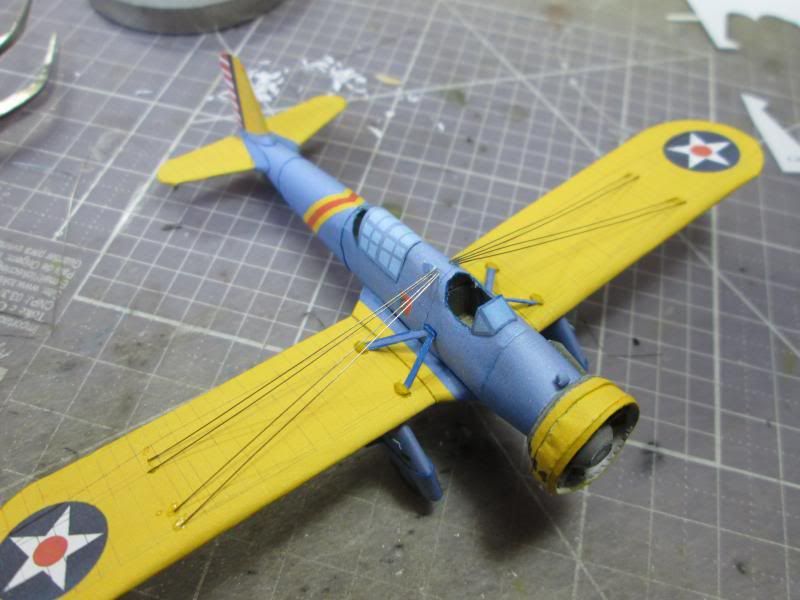 Up.. 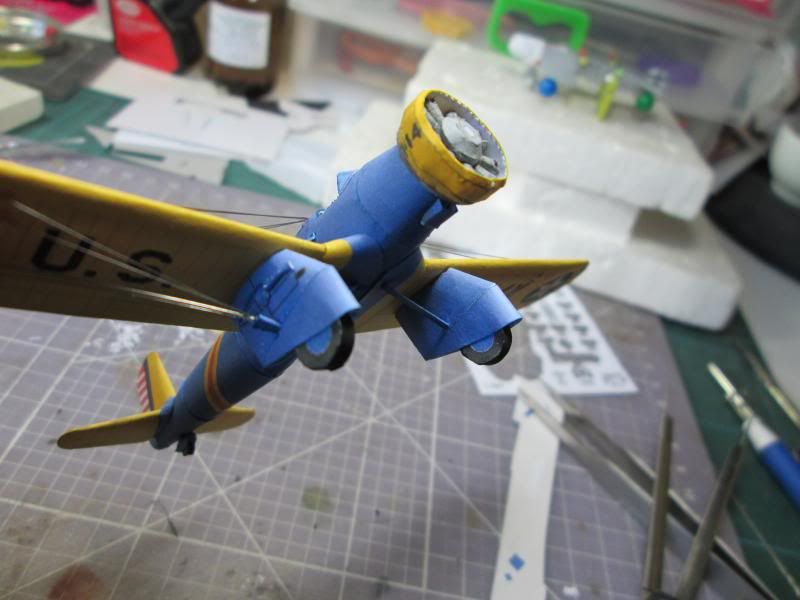 Bottom... With a small piece of Vivaldi paper , (pulp colored in black color) I fabricated separators cables. This is a custom detail, but it gives enough life to the model. 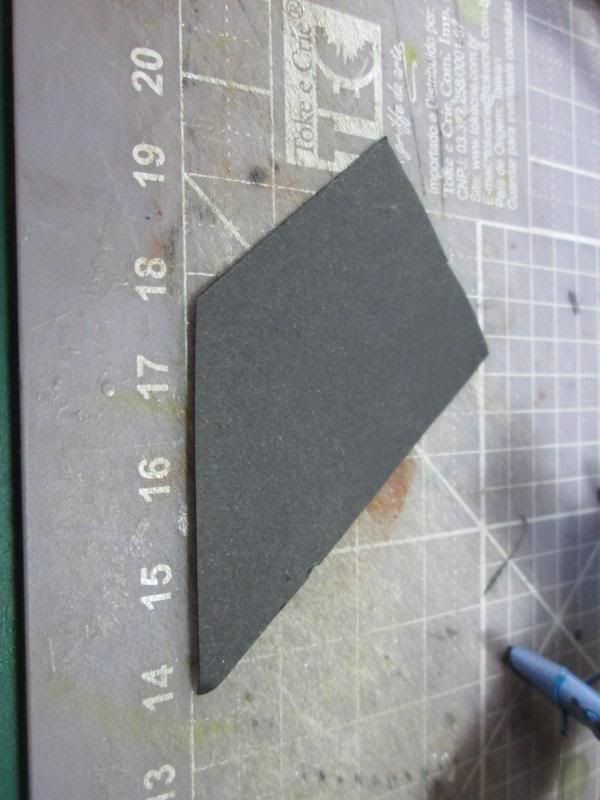 With the help of a small clamp, installed with CA glue separators, again referring to my documentation, the secret and build the strips with larger size and then go cutting with scissors properly in correct sizes. 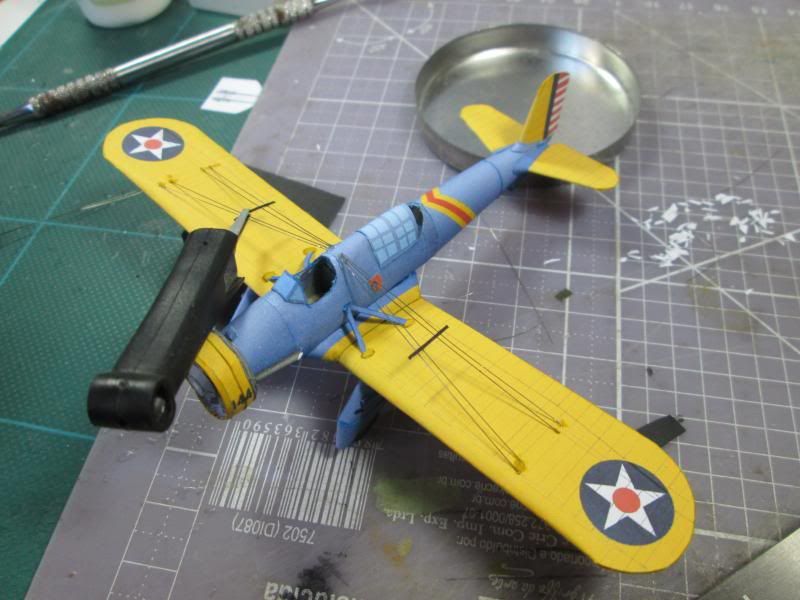 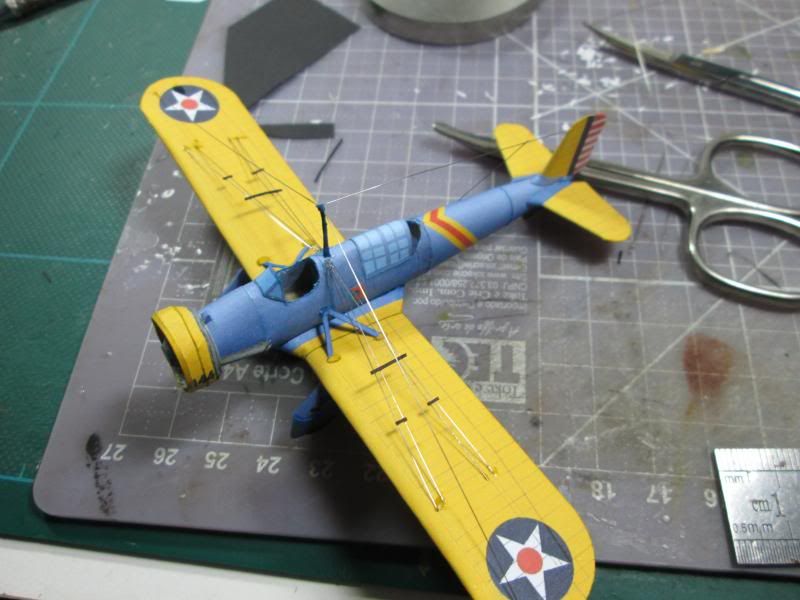 Finally I build the antenna mast and installed radio cables. 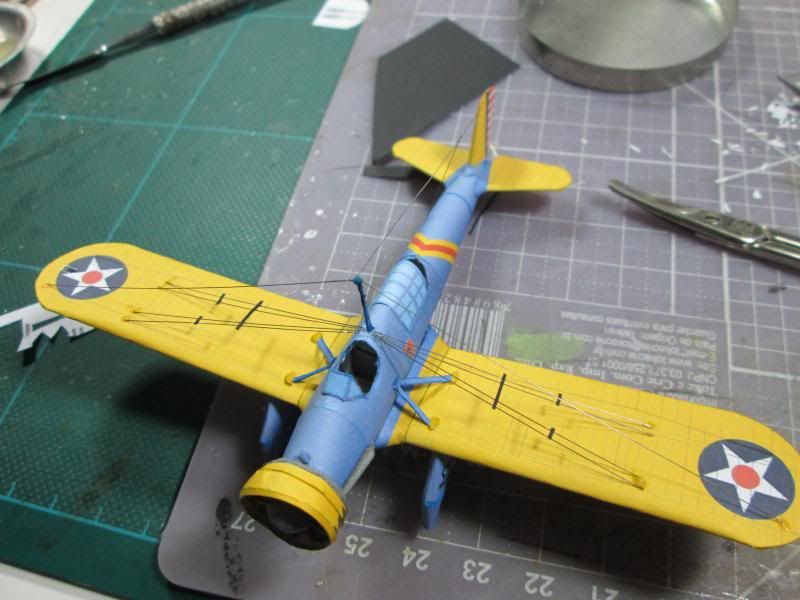 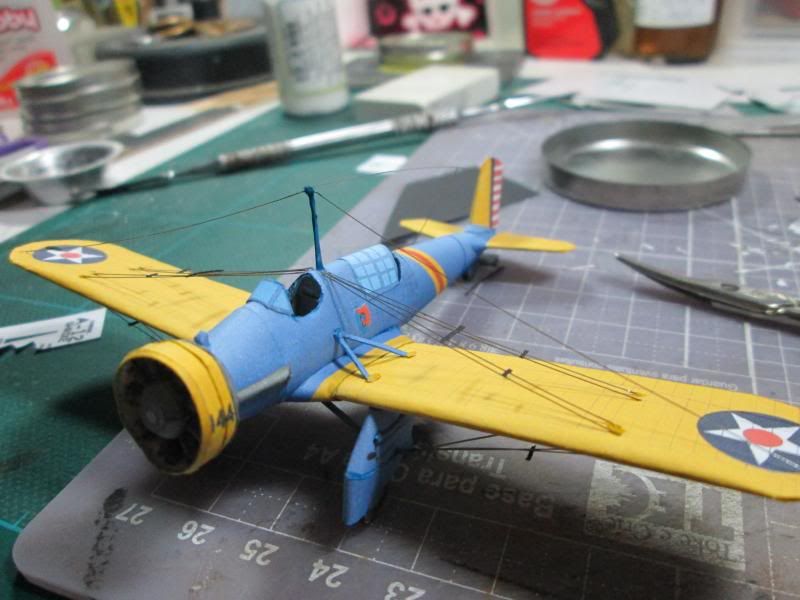 Last parts: those that make up the propeller, easy to assemble without the aid of templates because there is the hub, the marking where gluing position. 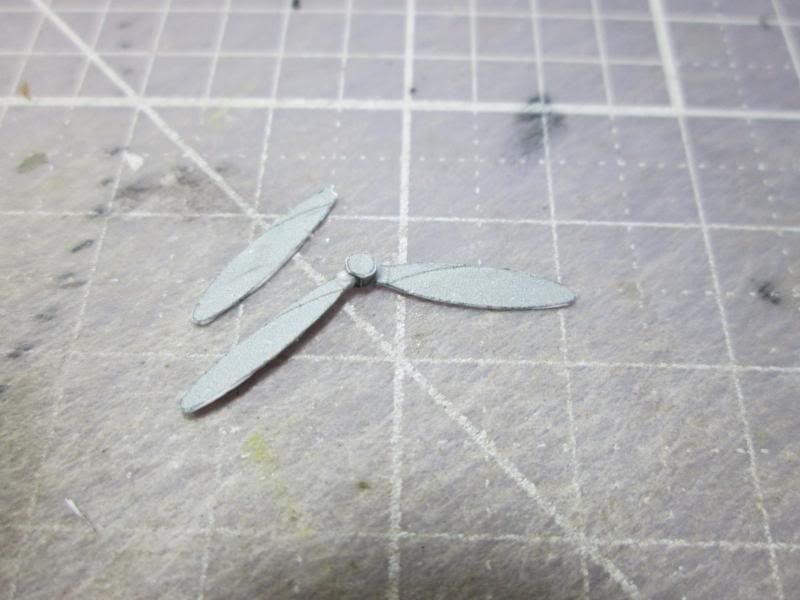 A good UV varnish layer and is ready.. 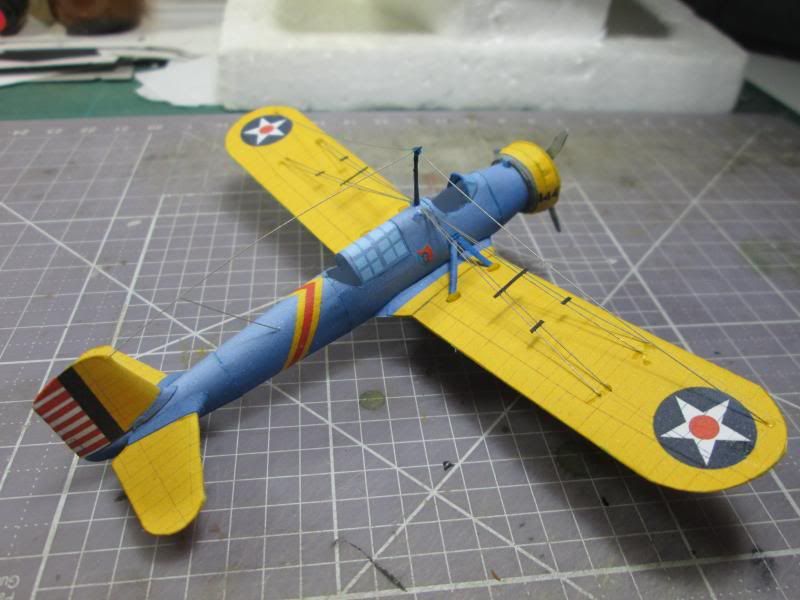 Next post: finished model. |
| Google Adsense |
|
#26
|
||||
|
||||
|
Finished
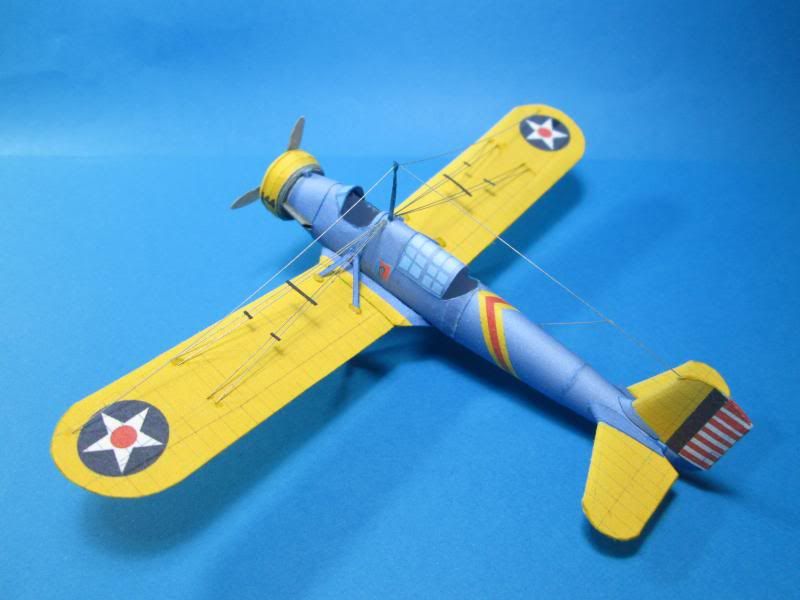 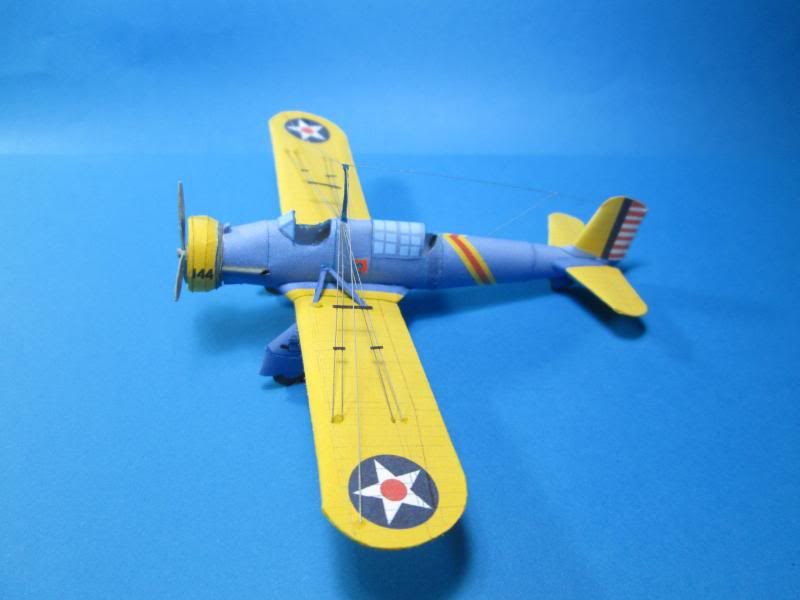 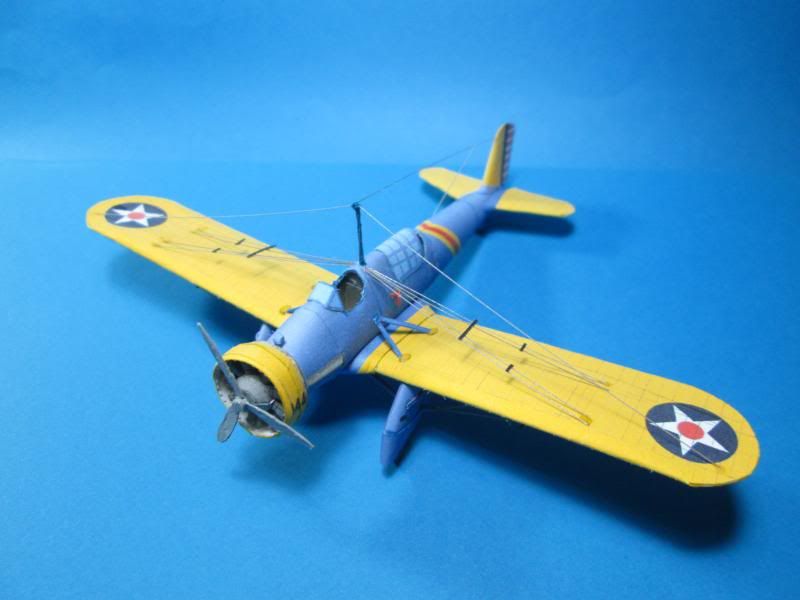 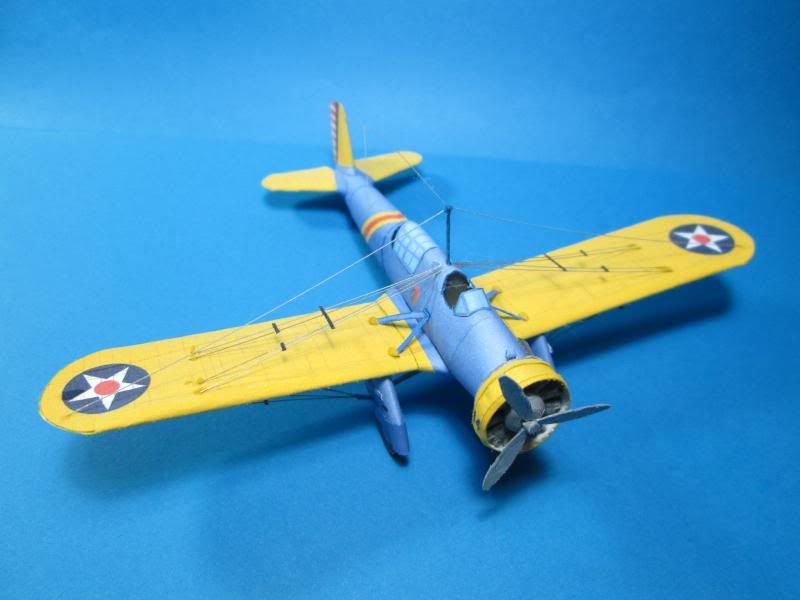 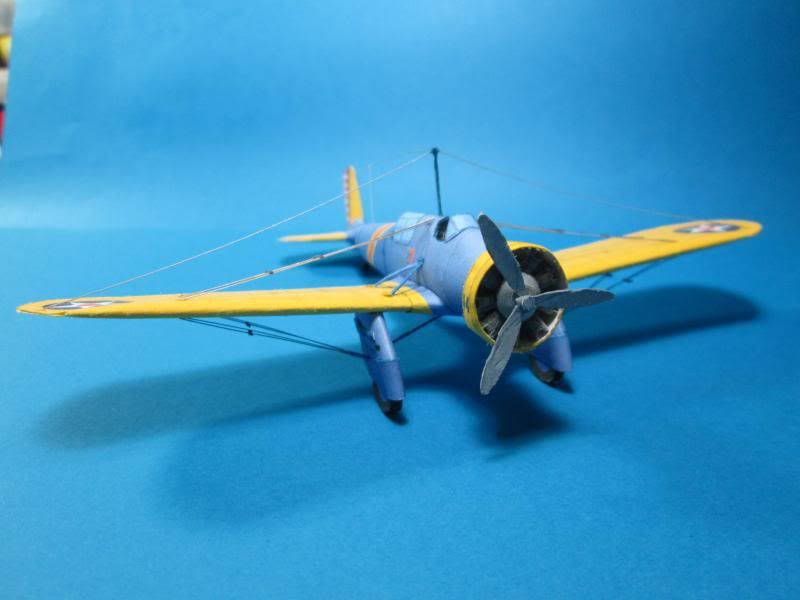 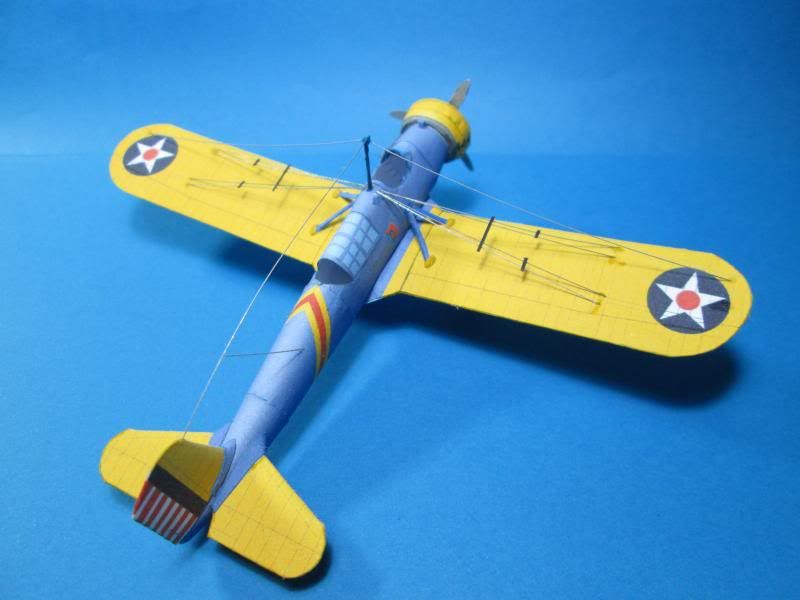 Some size comparations: 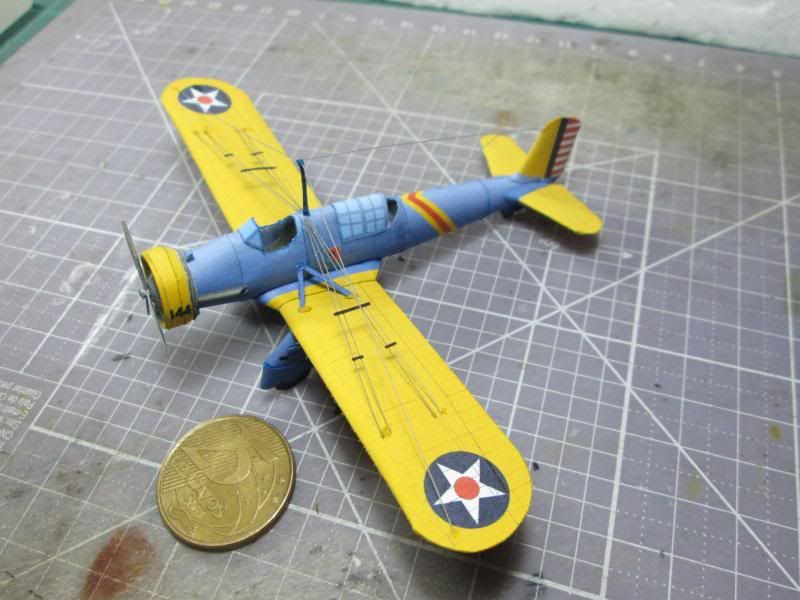 With 25 cents of Real (is very close to 1 euro coin in size) 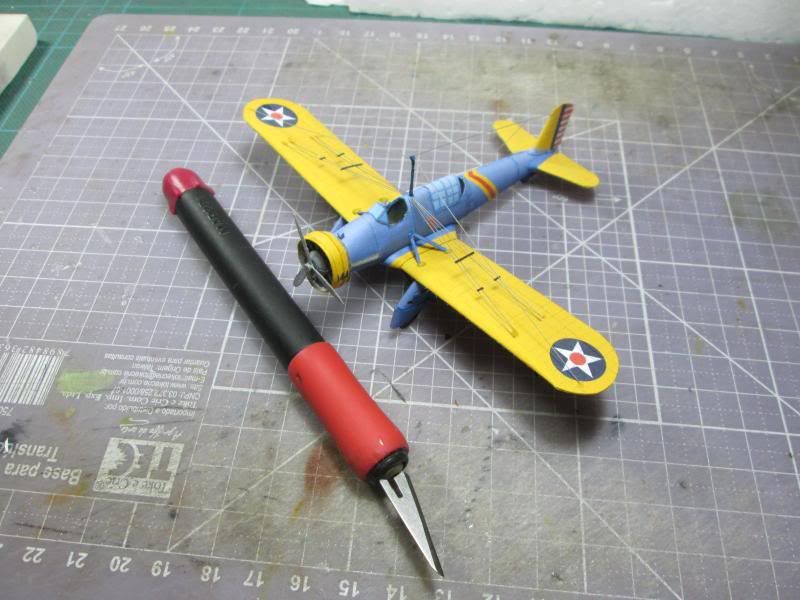 With my cutter... 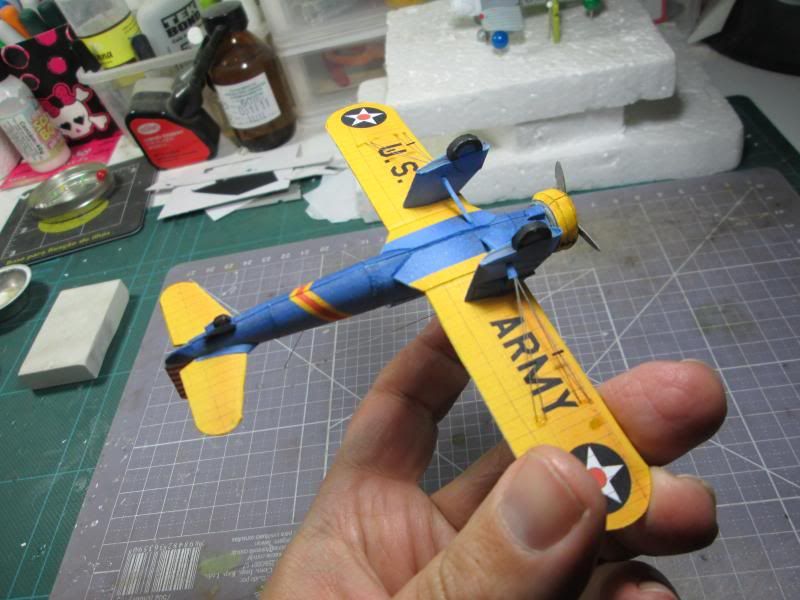 On the hand... I not resist to show a comparation with A-8 and A-12 in same scale. 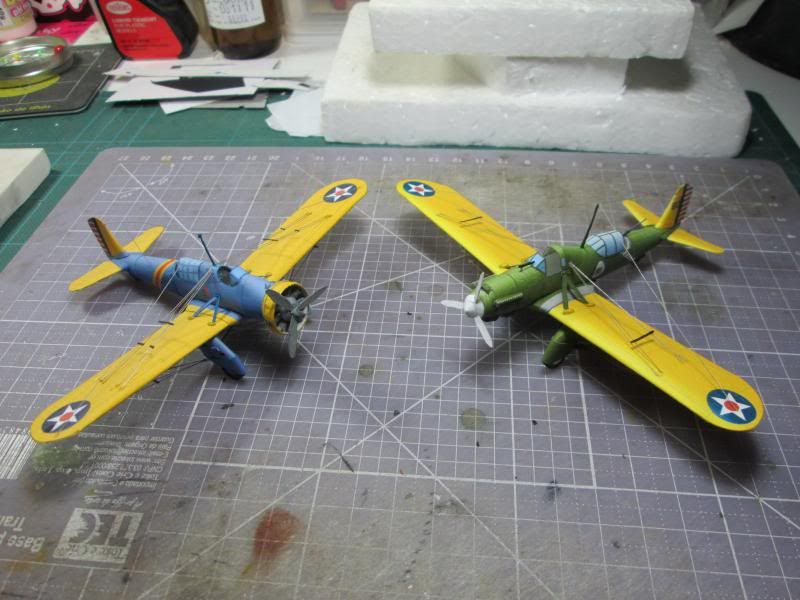 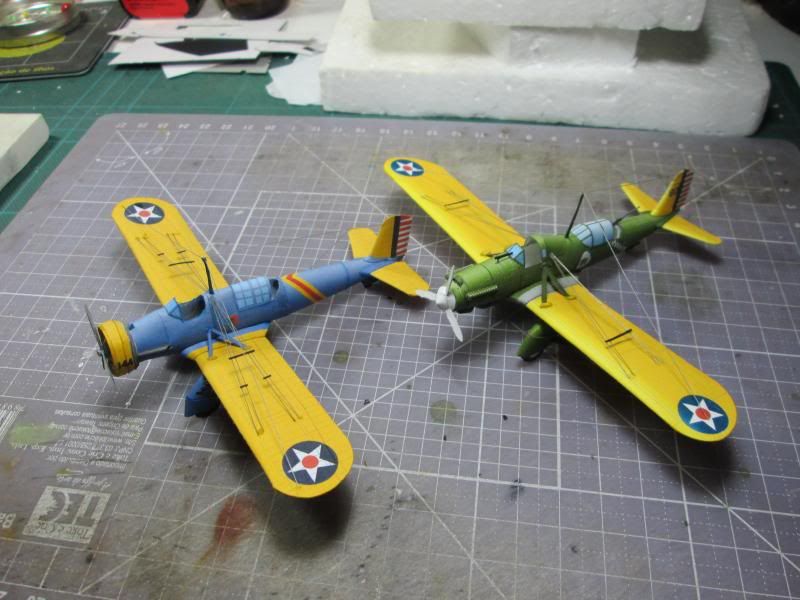 Here we are with this construction. I believe that soon this model will be available in Fiddlers Green. Both the A-12 and the A-8 models are very beautiful, which in the original scales (1/32) allow a large number of customizations, especially in the cockpit and engine cyclone. For me it was a pleasure to have added to my collection over a classic of the 1930s. Until next time. And thanks for the comments and assistance. 
|
|
#27
|
||||
|
||||
|
They sure knew how to make pretty planes back in the 30's.
|
|
#28
|
|||
|
|||
|
nice couple.
YOAV |
|
#29
|
||||
|
||||
|
Excellent work!! Very impressive at such a small scale, too. Thank you for sharing this build with us. I think we've all learned something.
Jeff |
|
#30
|
||||
|
||||
|
Beautiful work. It is clear that there are some complexities to this model.
Don |
| Google Adsense |
 |
|
|