


|
|
|
#1
 08-08-2013, 12:56 PM
|
||||
|
||||
|
Curtiss A-12 Shrike 1/100 Build log.
Hi people!
Aaron send me for a test one of the new models, a Curtiss A-12 Shrike. So I intent share a my buid log in (close) real time. I believe is useful and I show my techniques to build in 1/100 scale. The first post is a aviation story. The Model 60 or A-12, was a superlative development of Curtiss A-8, among the biggest differences besides a complete redesign of the canopy, is the adoption of a radial engine to replace the heavy and complicated Curtiss Conqueror inline engine of A-8. The predilection for radial engines by the U.S. military primarily for attack aircraft, was justified by the small size (harder to be hit by anti-aircraft fire) and have a much simpler system cooling.  The new version was called the A-12. Had a little more success and a production slightly larger than the previous version. But it was soon supplanted by other more modern aircraft and a change in the mindset of the strategic USAAC who preferred to attack profile twin-engine aircraft  A small batch was sent to the Chinese Nationalists in 1936, were used in the attack profile, achieving some successes against the Japanese naval aviation as fighter vectors. However, in its original function as attack aircraft, the Shrike proved slow and vulnerable if revealing a failure. The Koumitang Air Force just relegating them to training.  In the U.S. A-12 was never used in combat, although several of them were stationed at Wheeler Field in Hawaii at the time of the Pearl Harbor attack. The last were withdrawn from service in 1942.  Continue 
|
| Google Adsense |
|
#2
08-08-2013, 12:58 PM
|
||||
|
||||
|
Considerations before building... (sorry for my english)
For the builds in 1/100 scale I use "bond" paper 120gsm in general this paper absorbs the ink well on inkjet prints, have good traction mechanics, preventing the breakdown of fibers when making folds or conformations in parts of model . It's cheap and easy to find in supermarkets, large bookstores, and papershops. This paper called to aka sulfite, filiset. I not know the names in USA and anothers countries, in Brazil is a Sulfite.  Eventually I use the same paper but in another havy thickness (180 and 240 gsm) for laminations and anohter special tasks... To prepare the pieces, use only in cutting sharp scalpes. One is the Olfa No. 15 for curved parts, a surgical scalpel # 11 for straight cuts and chinese olfa (aka Xing Ling, I buy in one dollar shop in Brasilz is called 1,99 shop) that mimics the OLFA for sequential and repetitive cuts (like the glue flaps). I paint the edges white with artistic pens or watercolors. To form the parts, I use form sculpting tools, needles, metal rods, tweezers and all the pieces are press palm or on top of a rubber. Larger parts like wings are press sound in soft surfaces such as the top of the leg, or on top of a magazine. 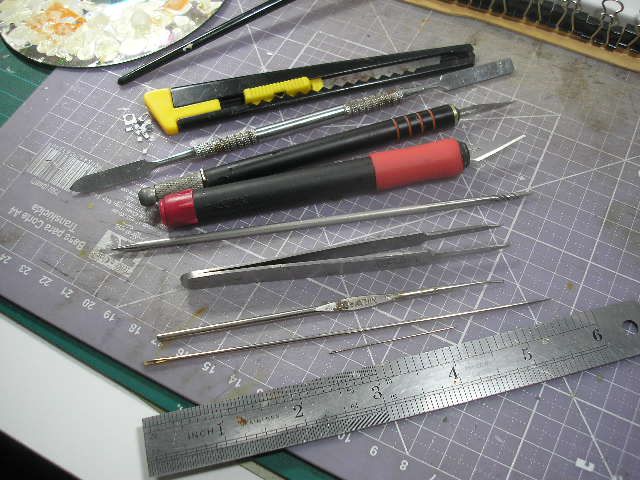 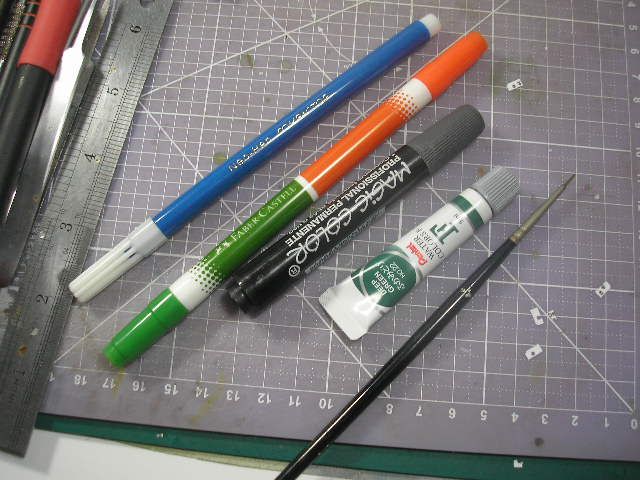 For gluing after much attenpts and errors, I use three types of adhesives: glycerin stick glue for lage areas, styrofoan glue and a special white glue to made scrapbook. Eventually for gluing different materials I use CA glue in gel form. 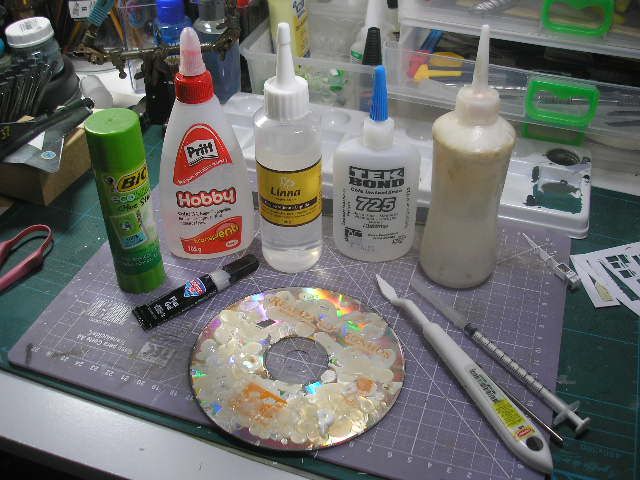 I use to apply cement a spataula or hypodermic needle... Reducing scale: All betas from Oddball not have a determinated scale but Aaron made all kits in 1/48, 32 or 22/24 scale (depend of size) for bigger planes (1/70/90/120). I print a drawning in 1/100 scale of subject and determinated the size of wing, and another area (like stabilizer or rudder) and use a software to made a convertion. Or I build a wing in original scale and made a wingspam found the scale, if you not have a scale calculator soft (exist many free in WWW) is a easy formula to determinate the scaling factor I use in some times. Before WSAM calculator I use the metthod: Scales are ratios of measures in like units: 1/72 is 1 inch on the model = 72 inches on the full-sized original (or 1 centimeter, furlong, or parsec on model to 72 of same at full size). The desired scale is then the existing scale times some unknown percentage or fraction, i.e. the conversion factor (either enlargement or reduction): 1. DesiredScale = ExistingScale * ConversionFactor 2. Therefore, to find the conversion factor, we regroup and divide to get the universal scale conversion formula: ConversionFactor = DesiredScale / ExistingScale Example: to convert 1/72 to 1/48 ConversionFactor = 1/48 / 1/72 = 72 / 48 = 1.5 = 150% A 6-ft (72-inch) pilot figure is thus 1-in tall in 1/72 scale and 1.5-in tall in 1/48 scale. Advantages of the formula: You can always figure out the intermediate ratios correctly when using photocpier enlargement. In the above example, most copiers would not do the full 150% in one pass. Most copiers max out at 121% or 141%. I have seen almost every other possible figure too. So having a chart of common scale conversions is not likely to be all that useful in many cases. Using the formula, you just figure out what the scale will be after the 121% enlagement: IntermediateScale = ( ExistingScale * .121) + ExistingScale. Then you use IntermediateScale as the ExistingScale in the formula. After the conversion I made the reduction in my PDF program. The scale of A-12 is 1/32 to 1/100, the reducton factor is 32%. So i start the print sheets in my Epson L200 Bulk Ink in high quality photographic mode...
|
|
#3
08-08-2013, 12:59 PM
|
||||
|
||||
|
Going to the actual assembly, started composing by cutting the fuselage to the wing root and cockpit formers.
Despite the designer does not like these formers that simulated the rear walls of the cockpit are widely needed as they help to give a rather peculiar A-12 fuselage.  I paint all white edges with blue watercolor...  I gluing all fuse segments...  I started by assembling the fuselage center section because of the formers, these in turn were not laminated. I used the double feature of the part itself. Two building approaches can be applied here: The first is that it is more complicated cement formers in the wing root, in positions that are already marked and from there to glueing the central segments of the fuselage, and then glue the fuselage in the two central segments, open holes, insert the wing root and then enter the formers. I opted for the second possibility seemed easier and got success.   After dry. I glue the other fuselage segments.   Continue soon...
|
|
#4
08-08-2013, 01:36 PM
|
||||
|
||||
|
Péricles -
This is a truly outstanding build log and tutorial. I am saving the entire thing to use as a guide if I ever attempt to build a 1/50 version. Many thanks for the detailed historical information and images, for the clear description of your methods, and for the step-by-step images of the model under construction. Don
|
|
#5
08-08-2013, 05:35 PM
|
|||
|
|||
|
I always liked those early mono-wing airplanes!
(I hope that wasn't a Wayne Newton CD in the picture) Ken
__________________
Comments, questions, advice and critical feedback are welcome! 
|
| Google Adsense |
|
#6
08-09-2013, 01:02 PM
|
||||
|
||||
|
Thank's my friends! I'm glad to help.
Go to resume my build. In this section I prepared alar surfaces our friend. Initially built the supports of wings that already provide regulation for the correct dihedral.  Later, I cut and prepared wings, rudders and stabilizers, creasing glue tabs and painting the white edges with yellow.  I started by gluing the wings, they were fixed with Styrofoam glue because it does not cause deformation of the paper in large areas of glue...  I mounted the tail smoothly. Note that the edges of both wings as the tail are not glued yet, it serves to regulate if necessary chord of wings, after all I did set gluing the ends.  Verified correct alignment sealed the wing tips and tail ...    In the next update, wings roots and spats...
|
|
#7
08-09-2013, 02:48 PM
|
||||
|
||||
|
Excellent build. I'm really enjoying watching this come together.
Great idea, Don. I'll be saving this one, too. Jeff
|
|
#8
08-09-2013, 04:29 PM
|
||||
|
||||
|
As always Pericles you're doing a great job at 1/100 scale. I enjoy the detail in your builds full of tips but I was wondering: Is this build a bit misleading? Because you build the model with formers and you said the model needs it. But the model don't include the formers. So, a person who buys the models has to be aware of that.
Please, this are just my thoughts on a detail. The design and your build are great.
__________________
Mate Amargo models.
|
|
#9
08-09-2013, 04:58 PM
|
||||
|
||||
|
Alcides
I think, or I did not express myself properly (which is quite possible that my English is not good) or you did not understand what I said. The model has two formers ranging in cockpit. Are standard parts of the model, these parts are to be fold duo formers. I'm not "tricking" anyone up for it if there was a need to build formers I indicate. This is a rare case in which Aaron predicts the assembly using this feature. Tomorrow update construction.
|
|
#10
08-09-2013, 04:59 PM
|
||||
|
||||
|
In this case, the formers are included. They were needed to form the cockpits.
|
| Google Adsense |
 |
|
|


 Linear Mode

