


|
|
|
#1
 02-09-2014, 11:26 AM
|
||||
|
||||
|
Step by step - Stampe SV4 building - [DGA] - 1/72
Hi, this tutorial was intended for the friends of a french plastic model forum : " fightersforum " to let them know about the paper modelling.
It can not teach you not be much, but if it can be useful , here : In this post , you can follow the completion of a paper model in 1/72 . The model chosen is the legendary Stampe SV4 . The paper airplane models are in the form of cutting pre-printed booklet : 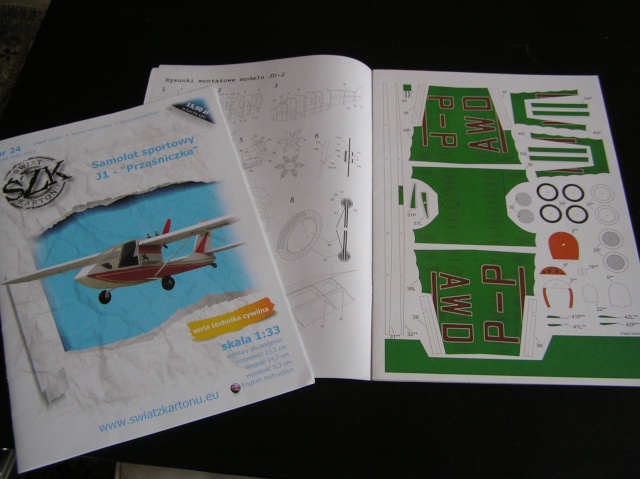 Photo 1 or as PDF files for download , which can be free or paid . The model is then printed by you : 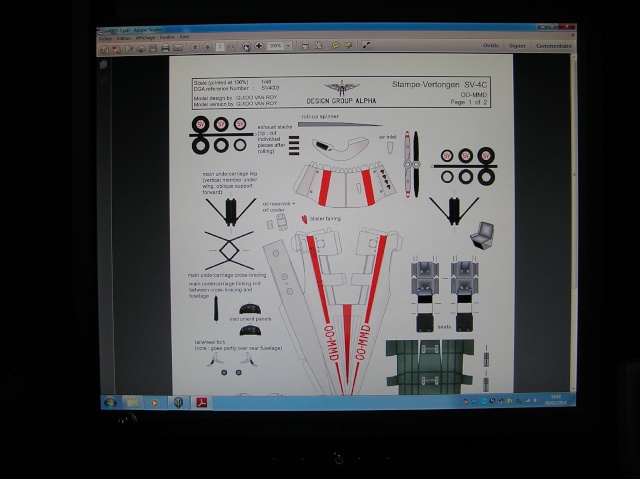 Photo 2 I bought my model on this site for $ 2.50 : Ecardmodels.com Search results for: 'stampe' Many Stampe are available here. This is the largest site for the purchase of paper models to download. Soon paid, you can download it immediately , no problem for a package lost or delayed . The file is then printed on my inkjet paper and here the paper I use: 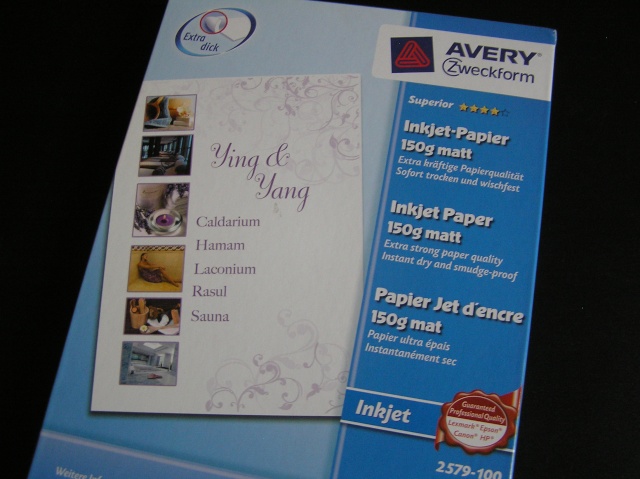 picture3 Printed as such , the model is 1/48 , I reduce it to 1/72 ( 67% print function of the printer or use software for printing documents). After printing, the sheet receives a coat of varnish spray (see photo): 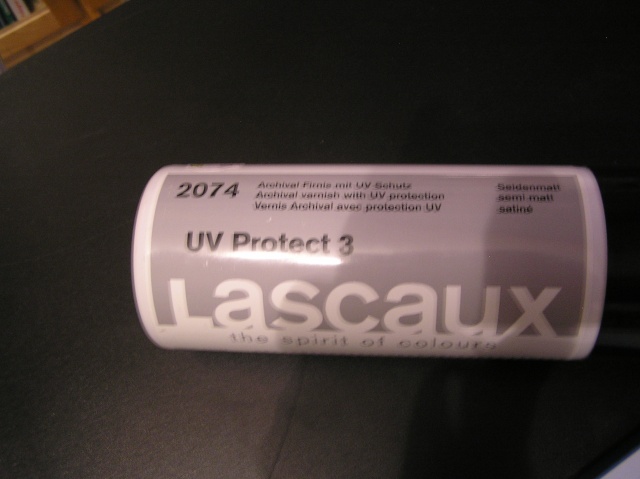 photo4 The aim is to protect the print and make it insensitive to future manipulations and mitigate the attack of UV color. I then brush a coat of acrylic satin varnish Pebeo on main parts (fuselage , wings, empennage ) . The paper curls a little but at this stage it does not matter . 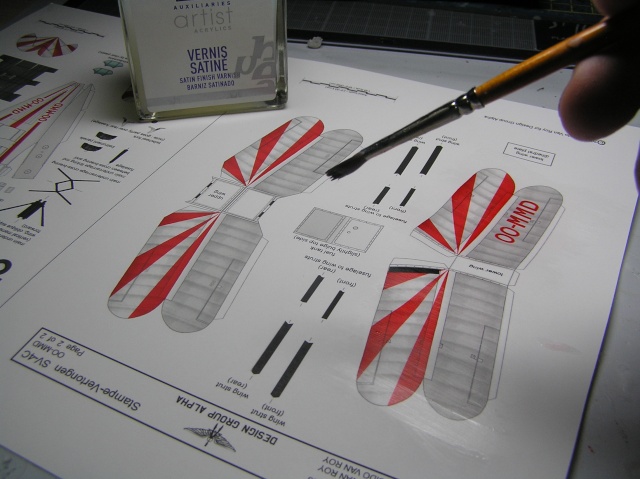 Photo5 After drying , the plate is returned. For transparency , the contour of the body is marked and all this part is painted in interior green color using Citadel acrylic paint. I let it dry until tomorrow . 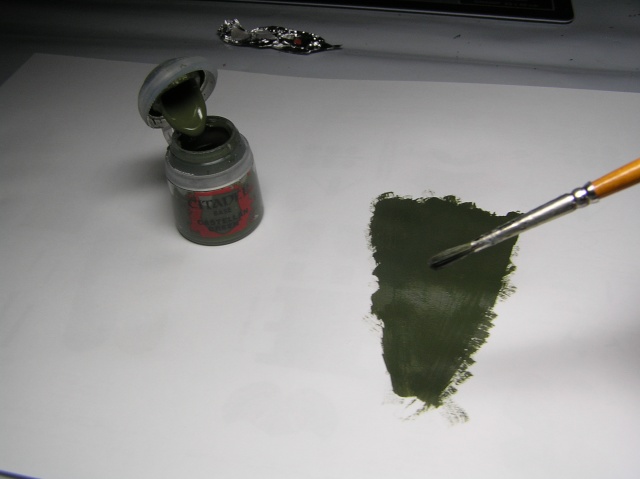 photo6 We attack ! Cutting tools : X -acto knife and scissors . 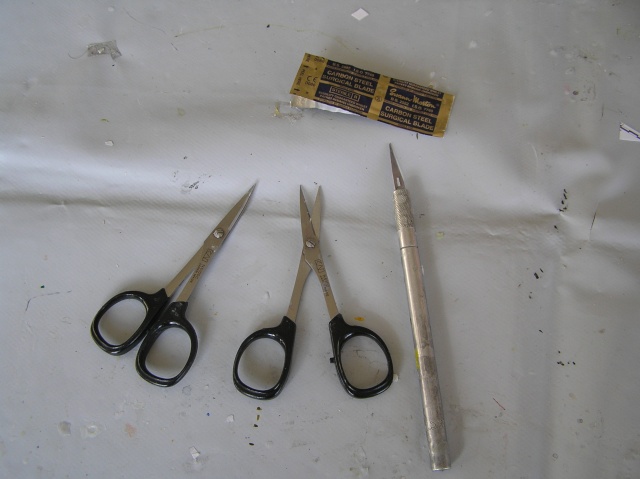 Photo7 The body was recovered on board: 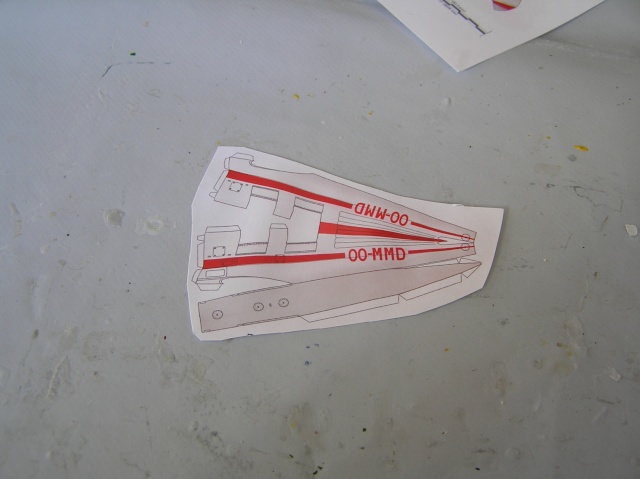 photo8 I do not perform as expected because I completely separates the bottom , I removed the tabs above the fuselage bonding and I do not cut the passage of the lower wings in the fuselage. Why ? After testing my method seems not necessarily easier but alignments are better ; 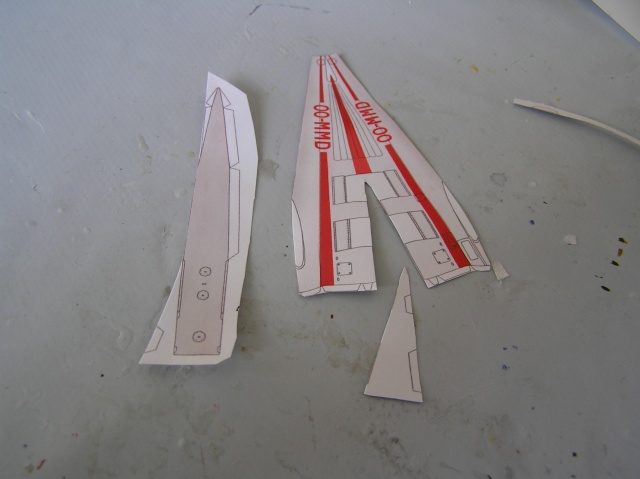 photo9 The tabs are redone in 80g paper and pasted on the inside ( wood glue ) , therefore there will be no step effect at this location ( there is no more overlap between opposing parties but juxtaposition ) : 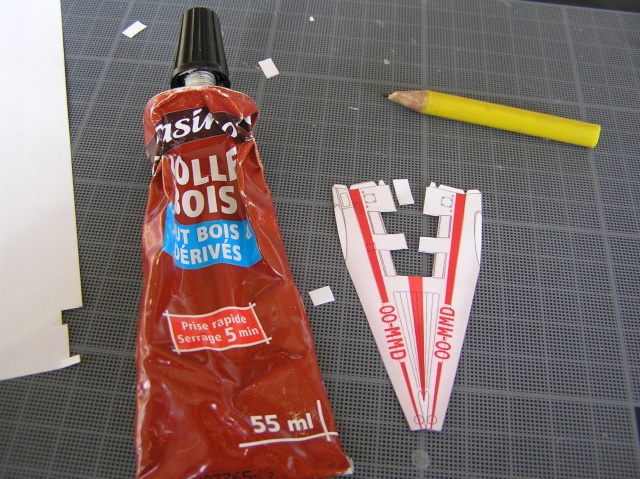 Photo10 The body is shaped with the help of round tools ( lime sticks , tubes, etc. ..) . Getting there gradually. 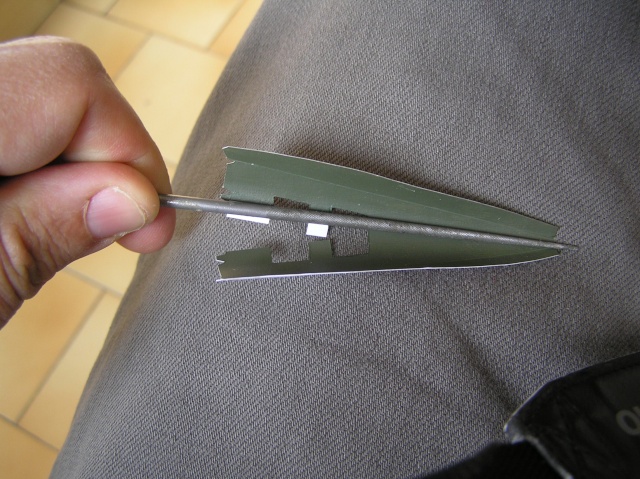 photo11 The bottom of the fuselage and instrument panels ( replaced by real Stampe panels taken from internet and printed to scale) are glued onto cardboard . 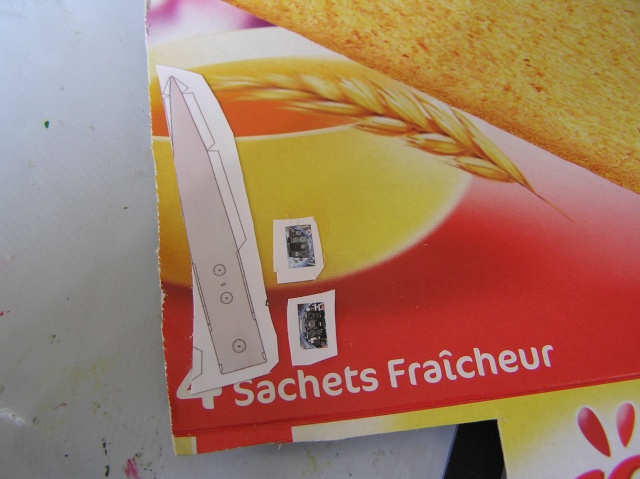 Photo12 After cutting and passing black felt on the edges, instruments panels are glued with cyanoacrylate gel inside (note the symmetry and alignment ) 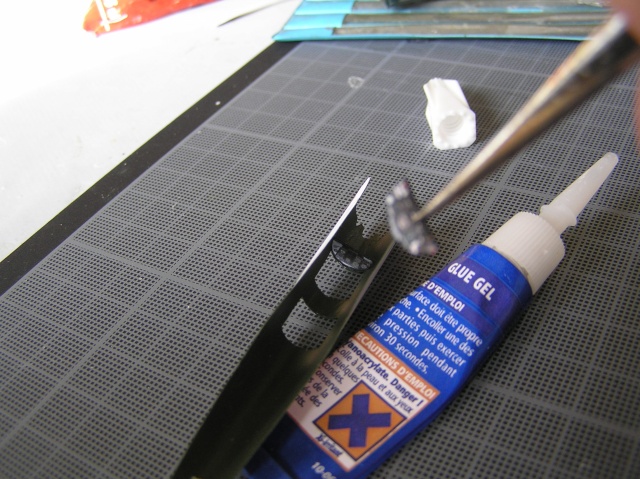 Photo13 The tub is cut , shaped and inserted into the fuselage. We then glue the bottom against the flanks alongside 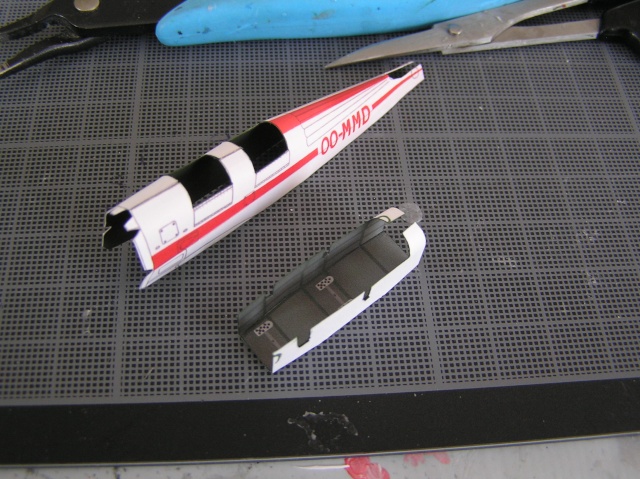 photo14 
|
| Google Adsense |
|
#2
02-09-2014, 11:30 AM
|
||||
|
||||
|
OK......... this will be made into a PDF and posted on our site!!
|
|
#3
02-09-2014, 01:41 PM
|
|||
|
|||
|
Jan,
Thanks so very much. This is the exact Stampe that I have been "fiddeling with". I hope to build it in 1/48 half as well as you have at a smaller scale. Thanik you for taking the time to teach. I am a happy student. John
|
|
#5
02-10-2014, 09:24 AM
|
||||
|
||||
|
Now , the lower wings:
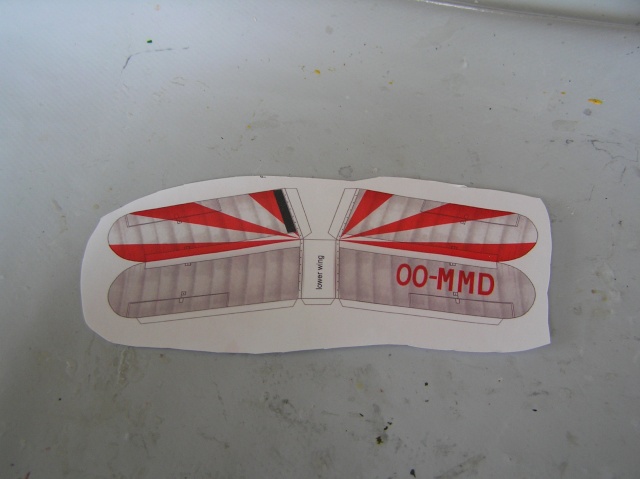 Photo15 Note that I separate the left and the right wing. The interior is reinforced with recycling cardboard and spar ; 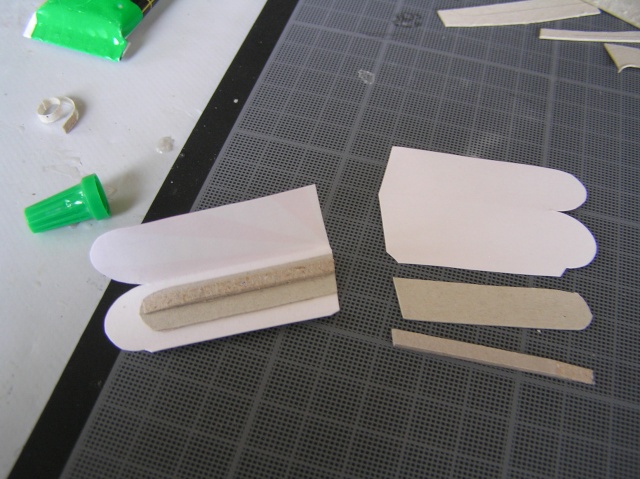 Photo16 The curvature is given with a round file placed on the thigh 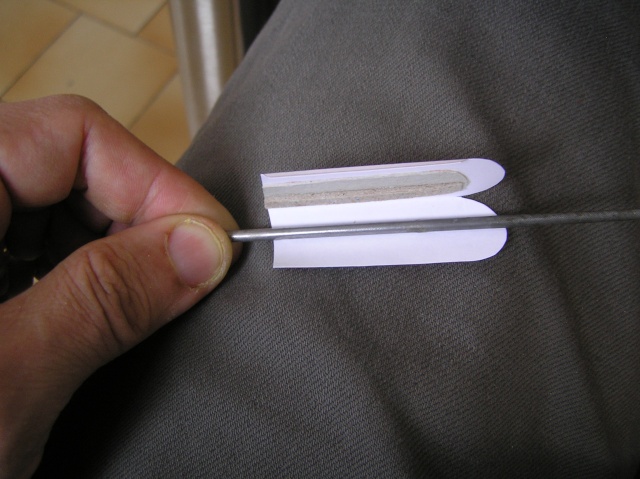 Photo17 The future location of the mats is pierced with a needle : 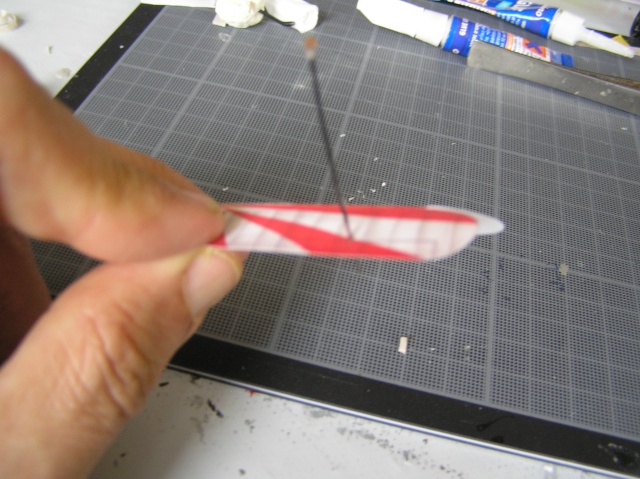 Photo18 The half wing is glued directly to the fuselage with cyano gel. It is essential to have a good plan to get a good alignment and dihedral in all directions . 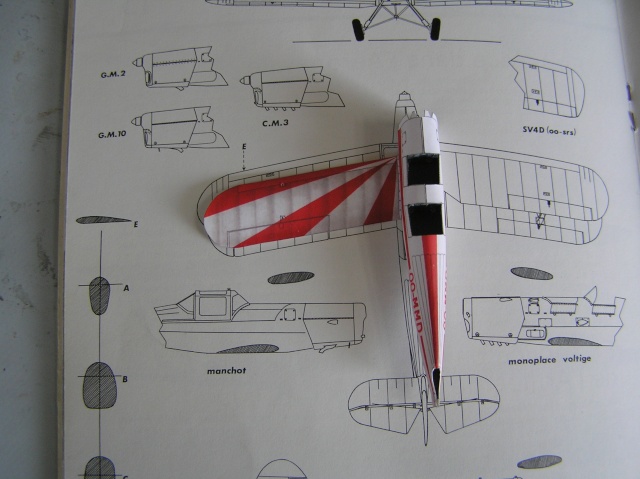 Photo19 I recommend these books , especially the small one who has an excellent 1/72 drawing . The author is certainly the person who knows the most about Stampes .  Photo20 To finish diluted wood glue is brushed along all the joints , to bond them. 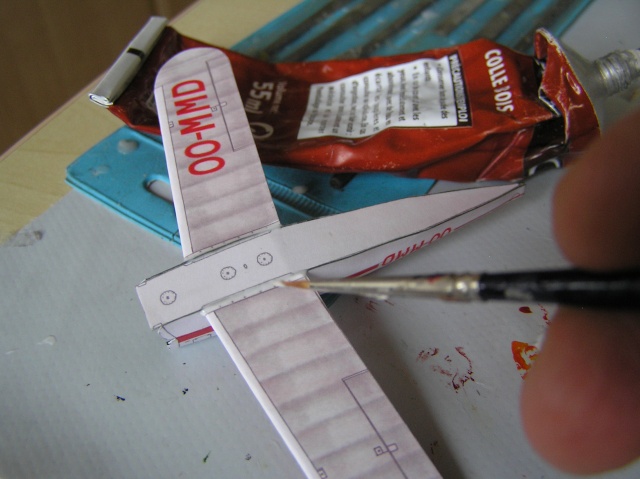 Photo21
|
| Google Adsense |
|
#6
02-10-2014, 09:58 AM
|
||||
|
||||
|
Quote:
__________________
Mate Amargo models.
|
|
#7
02-10-2014, 11:17 AM
|
||||
|
||||
|
Quote:
|
|
#10
02-11-2014, 02:17 PM
|
||||
|
||||
|
Amazing Jan, many thank's for generosity! I love the tip of varnish!
|
| Google Adsense |
 |
| Thread Tools | |
| Display Modes | |
|
|

![Step by step - Stampe SV4 building - [DGA] - 1/72](https://www.papermodelers.com/forum/iconimages/aviation/step-step-stampe-sv4-building-dga-1-72-a_ltr.gif)


 Linear Mode

