
 |
|
#101
|
||||
|
||||
|
Glad to see this Messer still going on! Interesting subject.
Not bad at all!! |
|
#102
|
||||
|
||||
|
Thank you Yoav, Johnny and Milenio.
Jim |
|
#103
|
||||
|
||||
|
You are doing a really fine job on this model. The exposed engines really add to the appearance and provide some insights into the construction of the aircraft.
Don |
|
#104
|
||||
|
||||
|
Thank you Don.
I know it would have been easier if I had built it without the engines. I love the engines and the look they give to the model. Jim |
|
#105
|
||||
|
||||
|
The engines finally get some covers.
Good evening all.
The section that covers the prop shaft area, which is fixed, is not defined in the kit parts. It is part of section "e" of the top skin and part of the removable engine cover. If you were building this without the engines, it would not be a problem. Using dividers measured the distance from the prop mount fairing to the former at the back of the engine department and transfered this to part e along several points. Then cut along that line. Do not throw away the left over piece. Copy this piece with the equivalent inside skin and laminate together. the resultant piece is then shaped and attached over the prop shaft section. 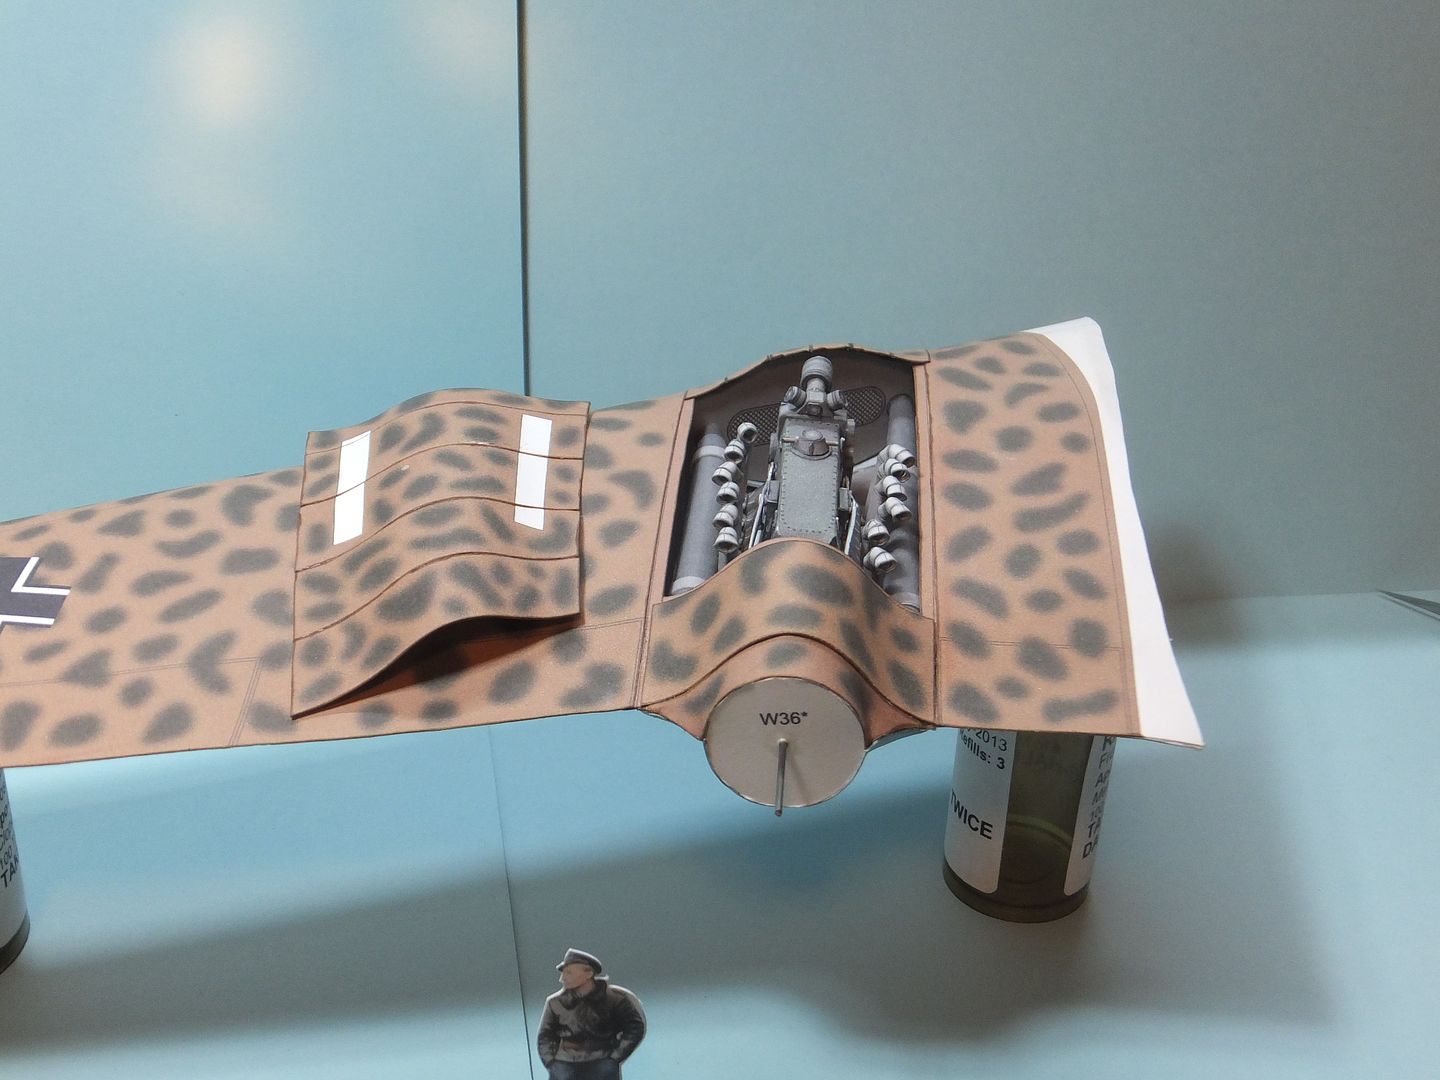 Shape and assemble the rest of the upper skin of the engine cover as normal, including the left over piece of part e. 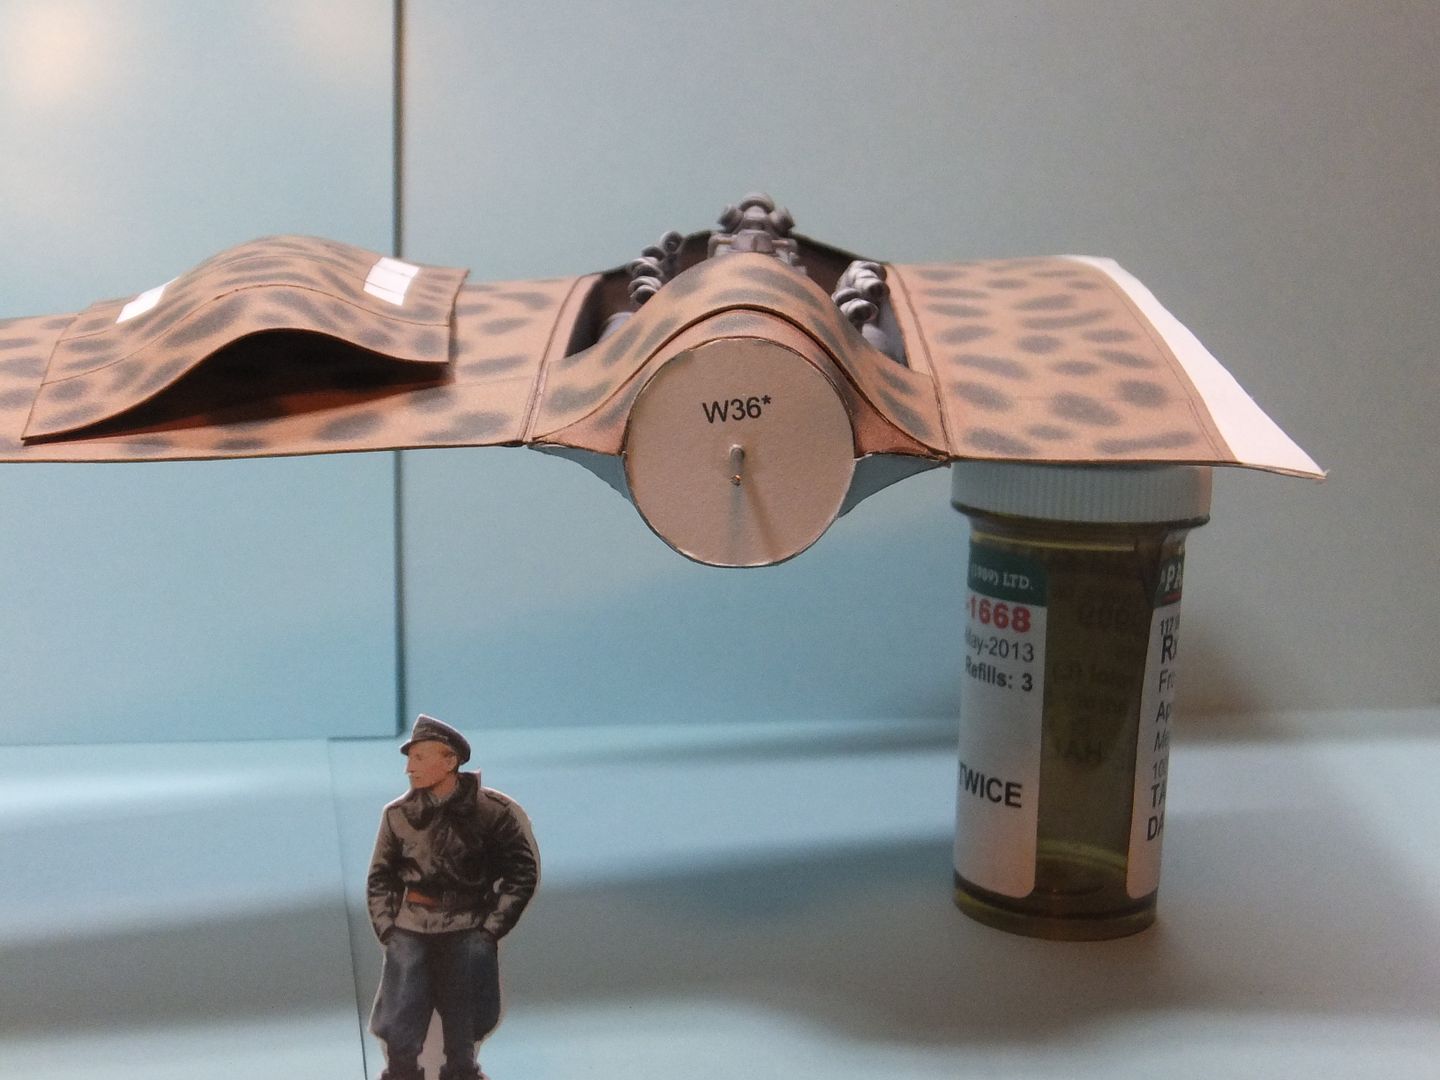 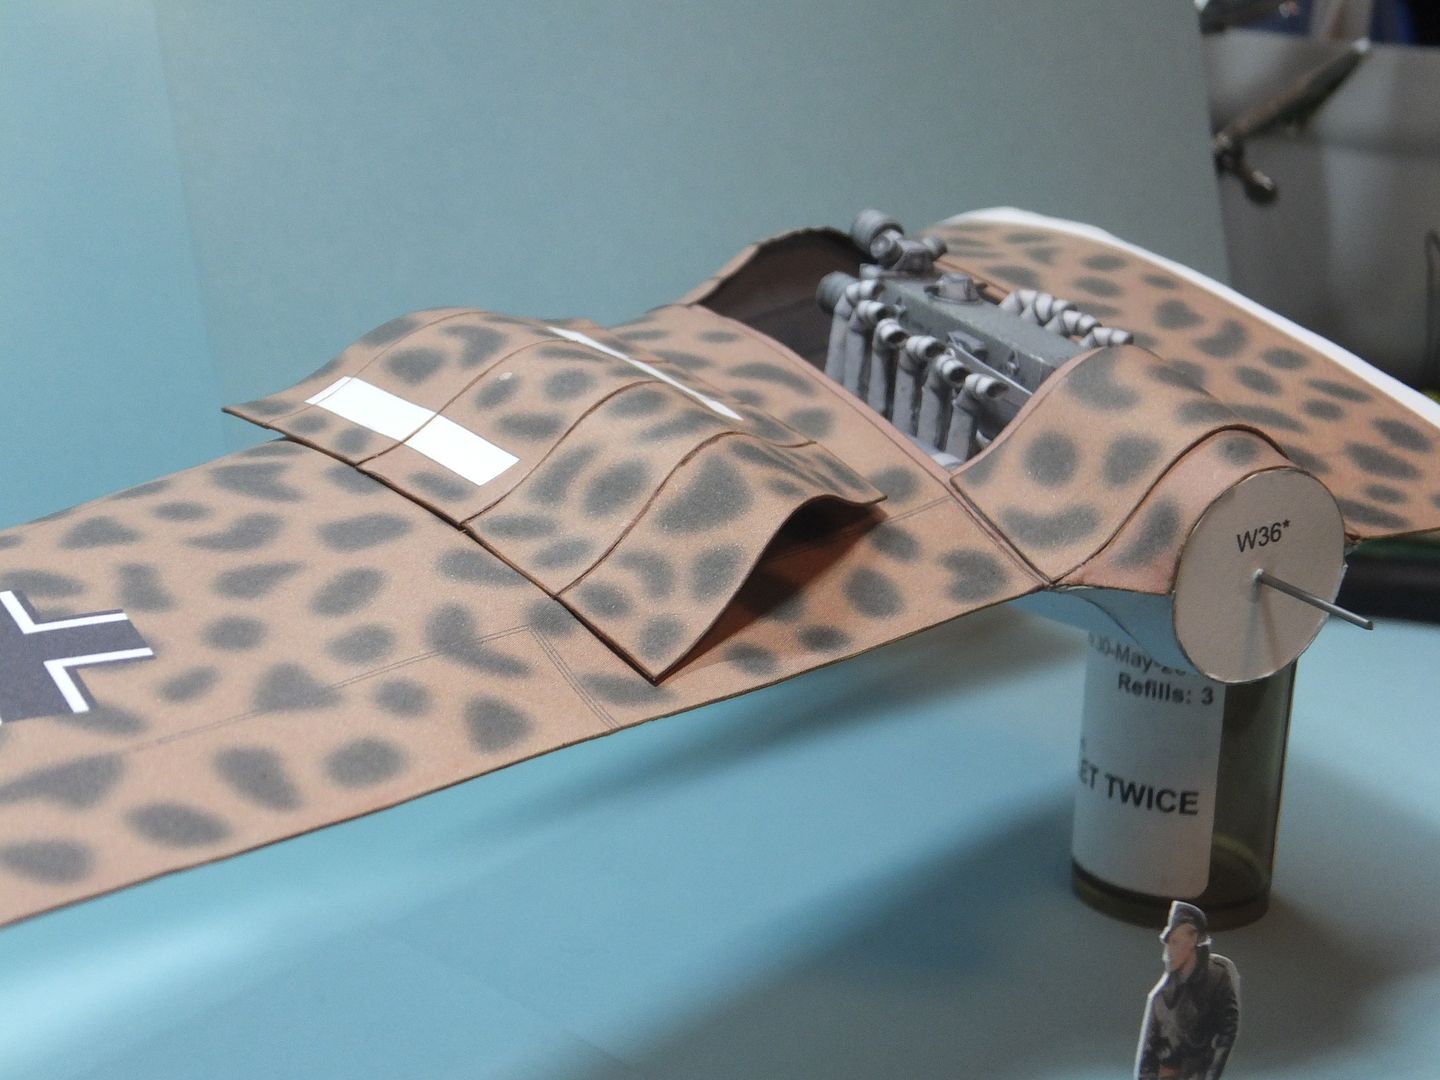 The inside skin for the cover is now cutout, shaped and glued to the top skin. When it was dry, the openings for the exhaust stacks were then cut out. The whole unit is now tweaked and fitted around the engine. Had one problem. The front of the engine cover would not stay down. It would always pop up. First I thought of installing a pin from the front of the cover to into the front former, but found that I did have a slight overhang from the leading edge skins, into the engine compartment. Instead of a pin, made a small dog of double layer card glued to the underside of the front of the cover, with enough exposed to catch the overhang. This worked out perfectly. This finishes the skins on the left nacelle. Now to repeat the process with the right nacelle. 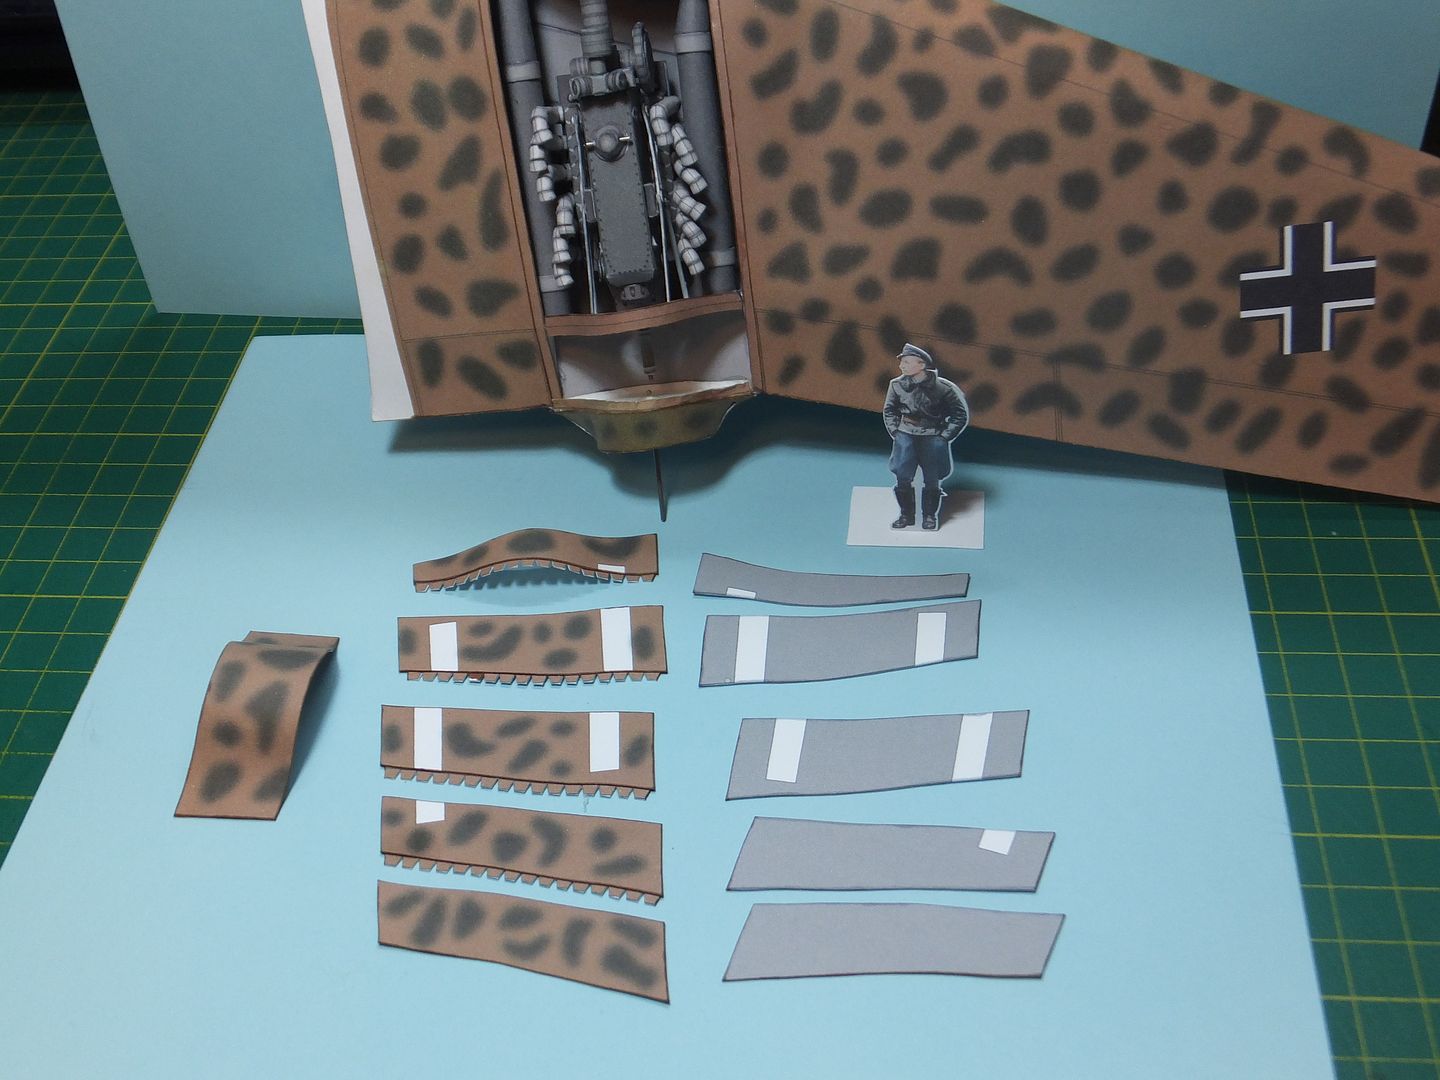 Both nacelles are now complete. Still some slight tweaking on the shape of the engine covers, but will deal with that later on. This is where I am at tonight. 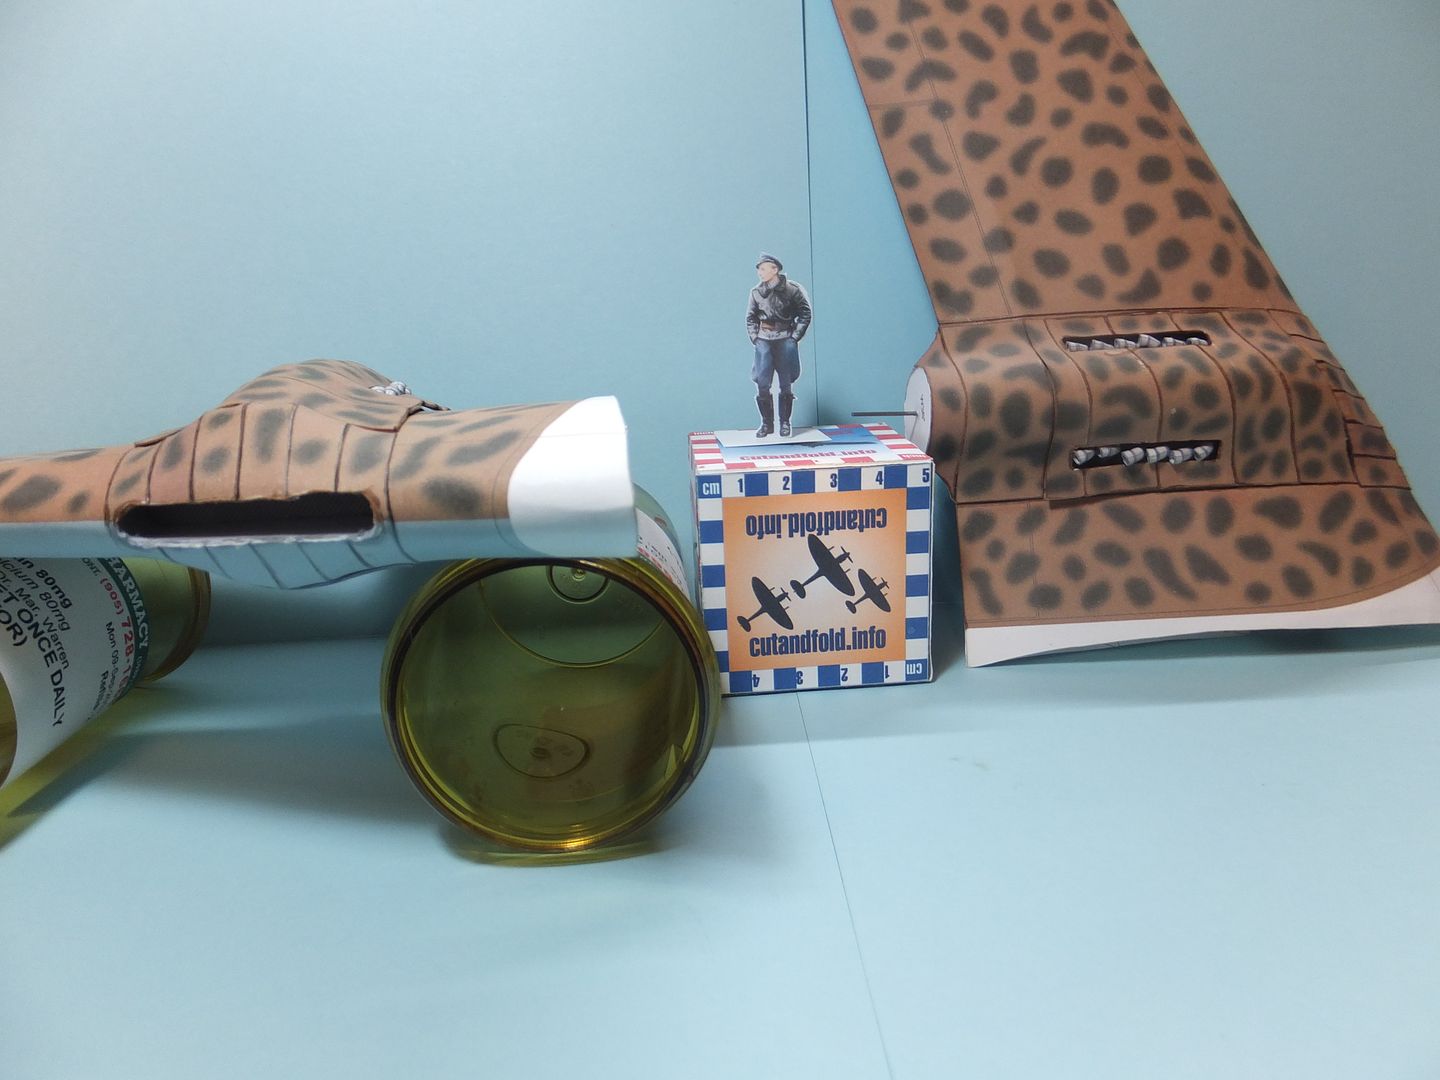 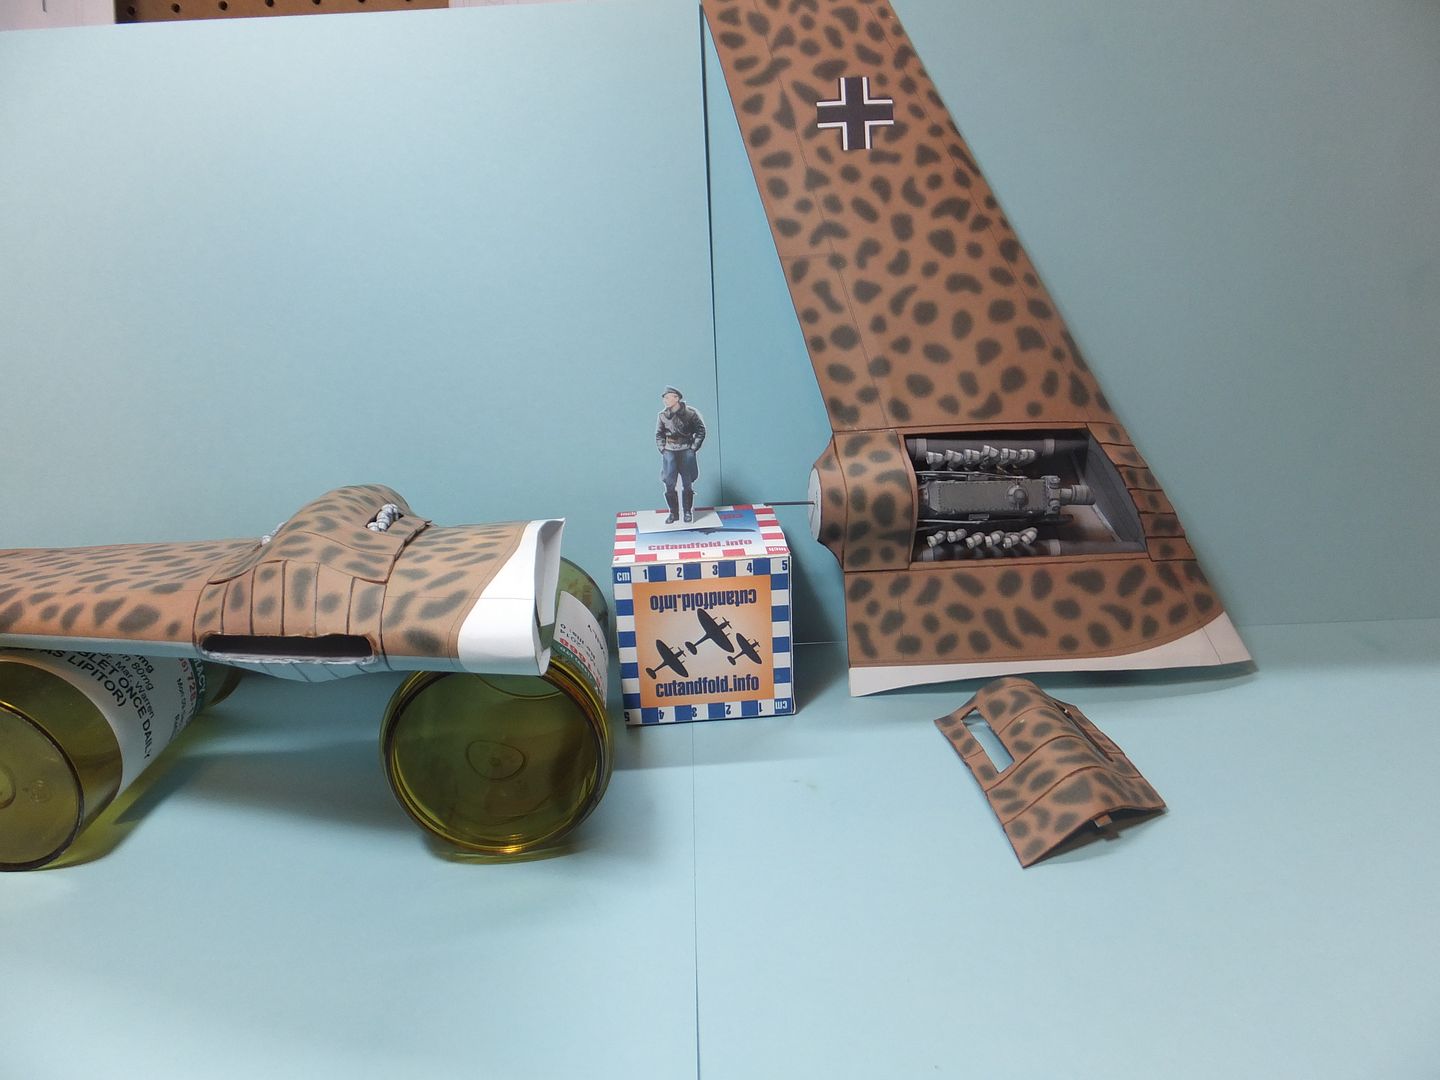 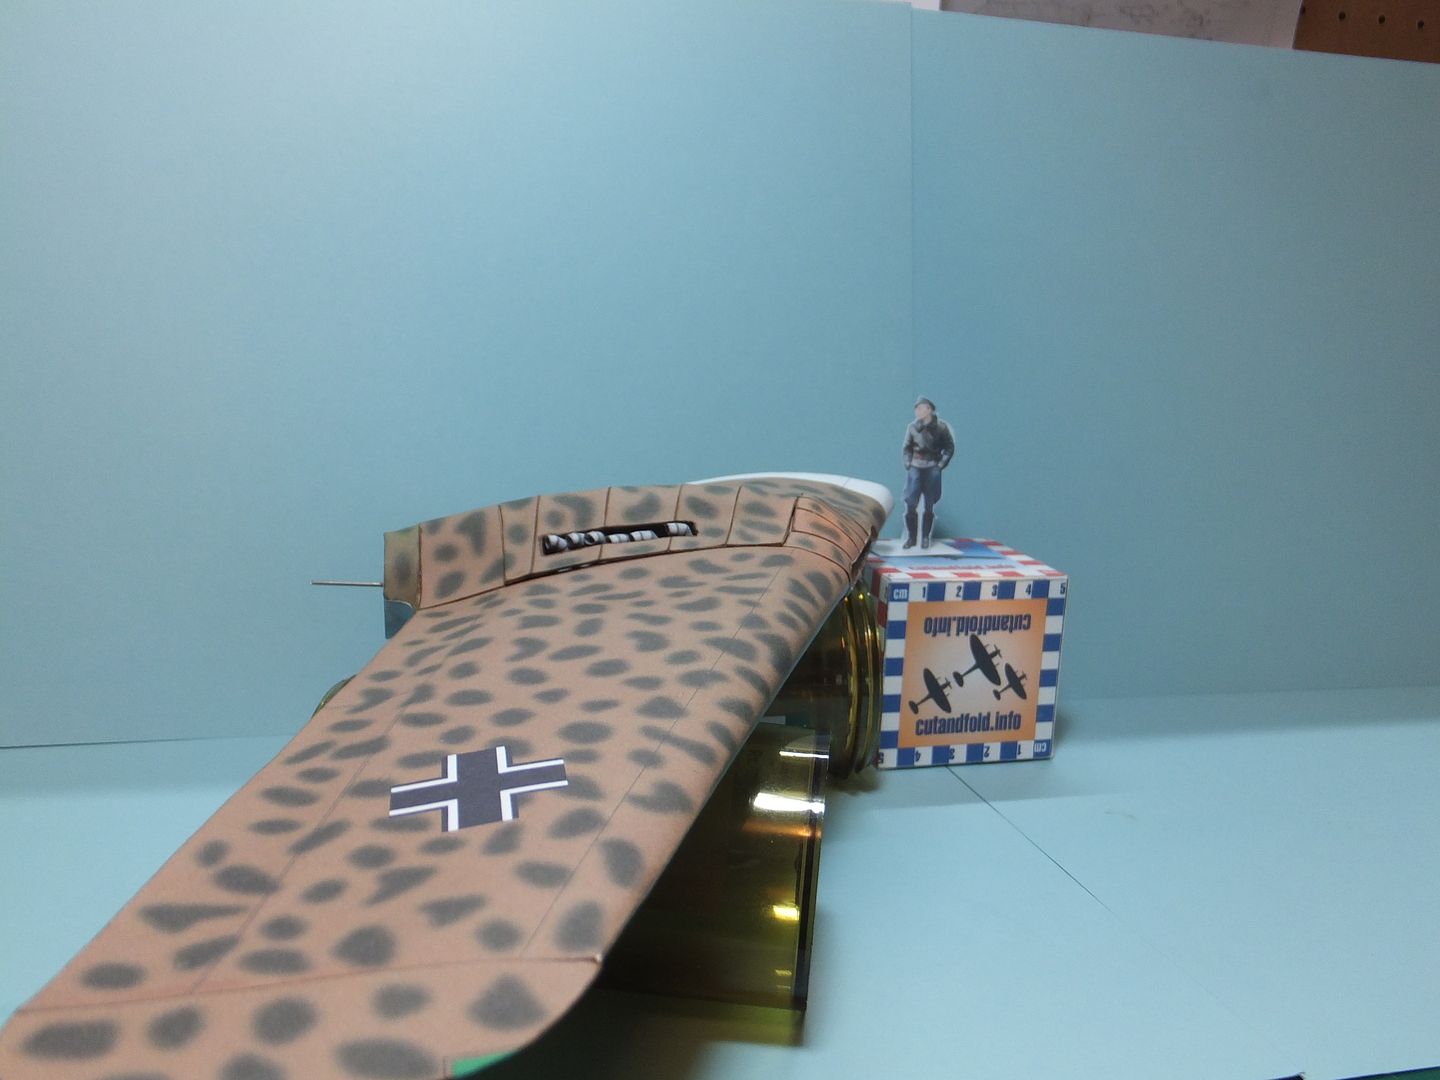 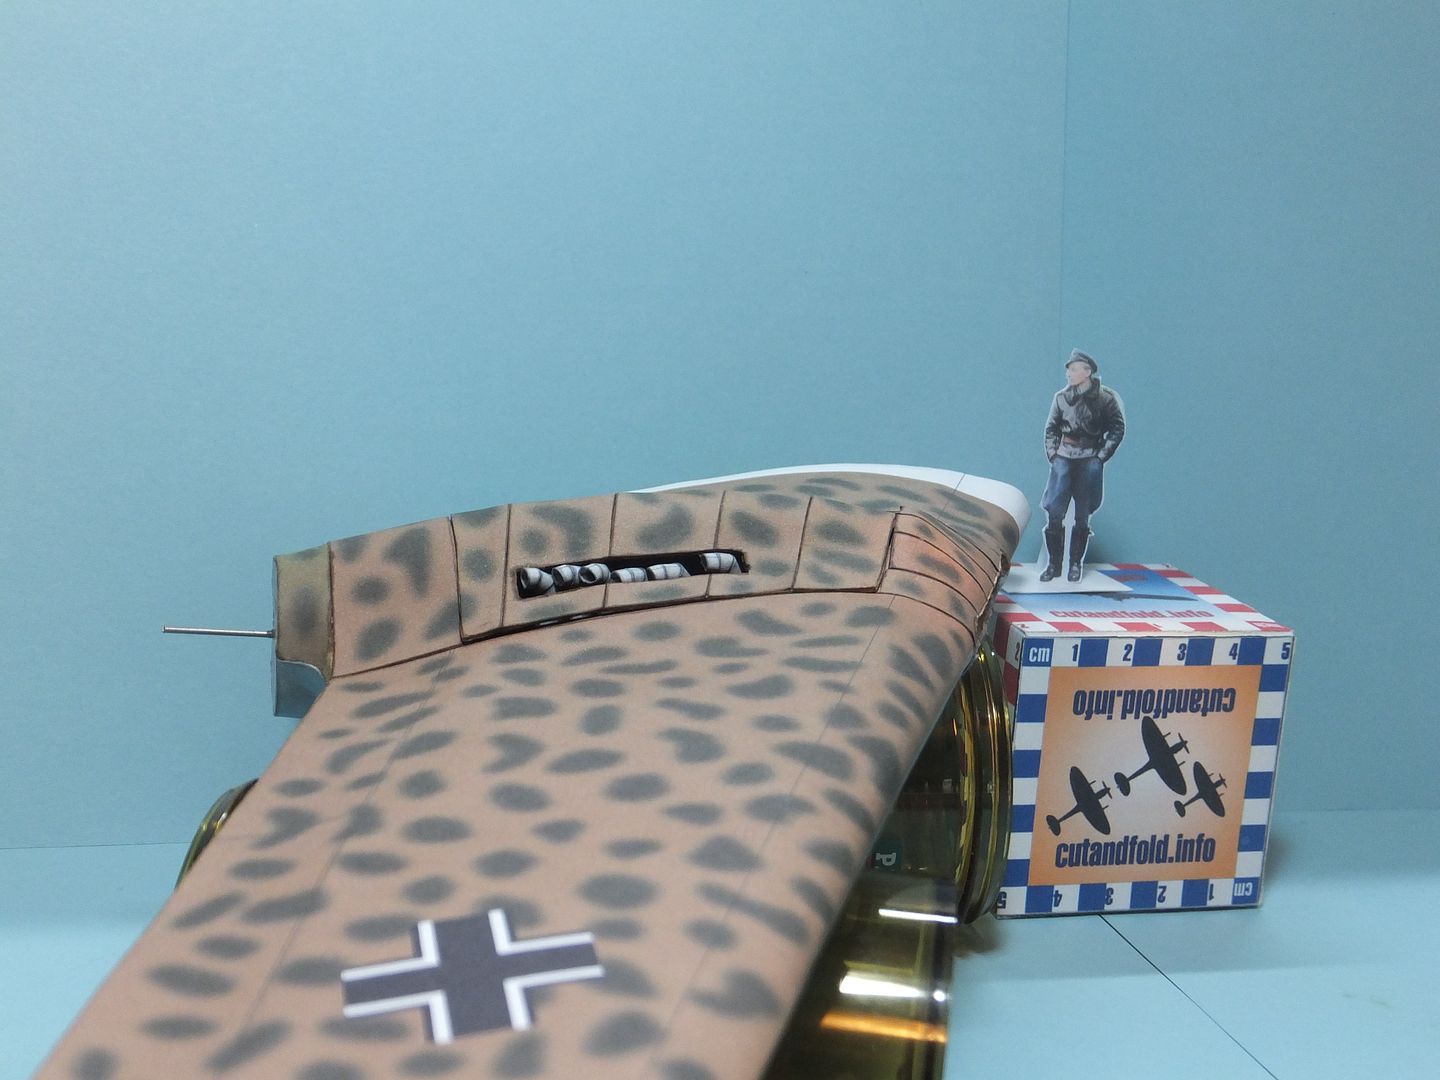 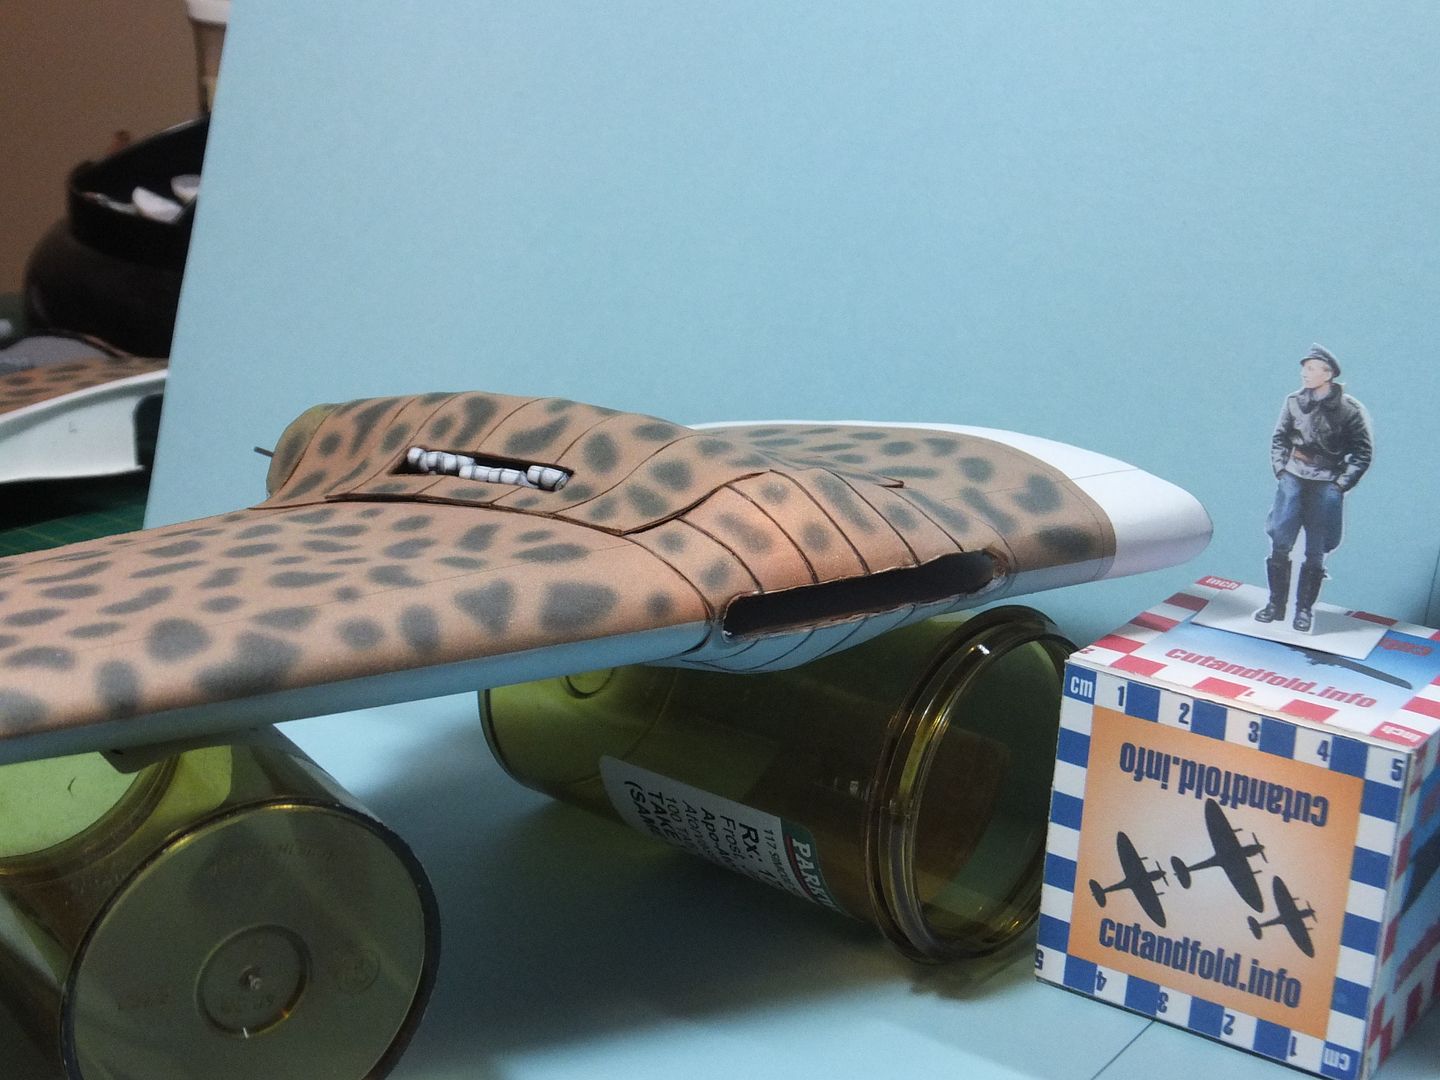 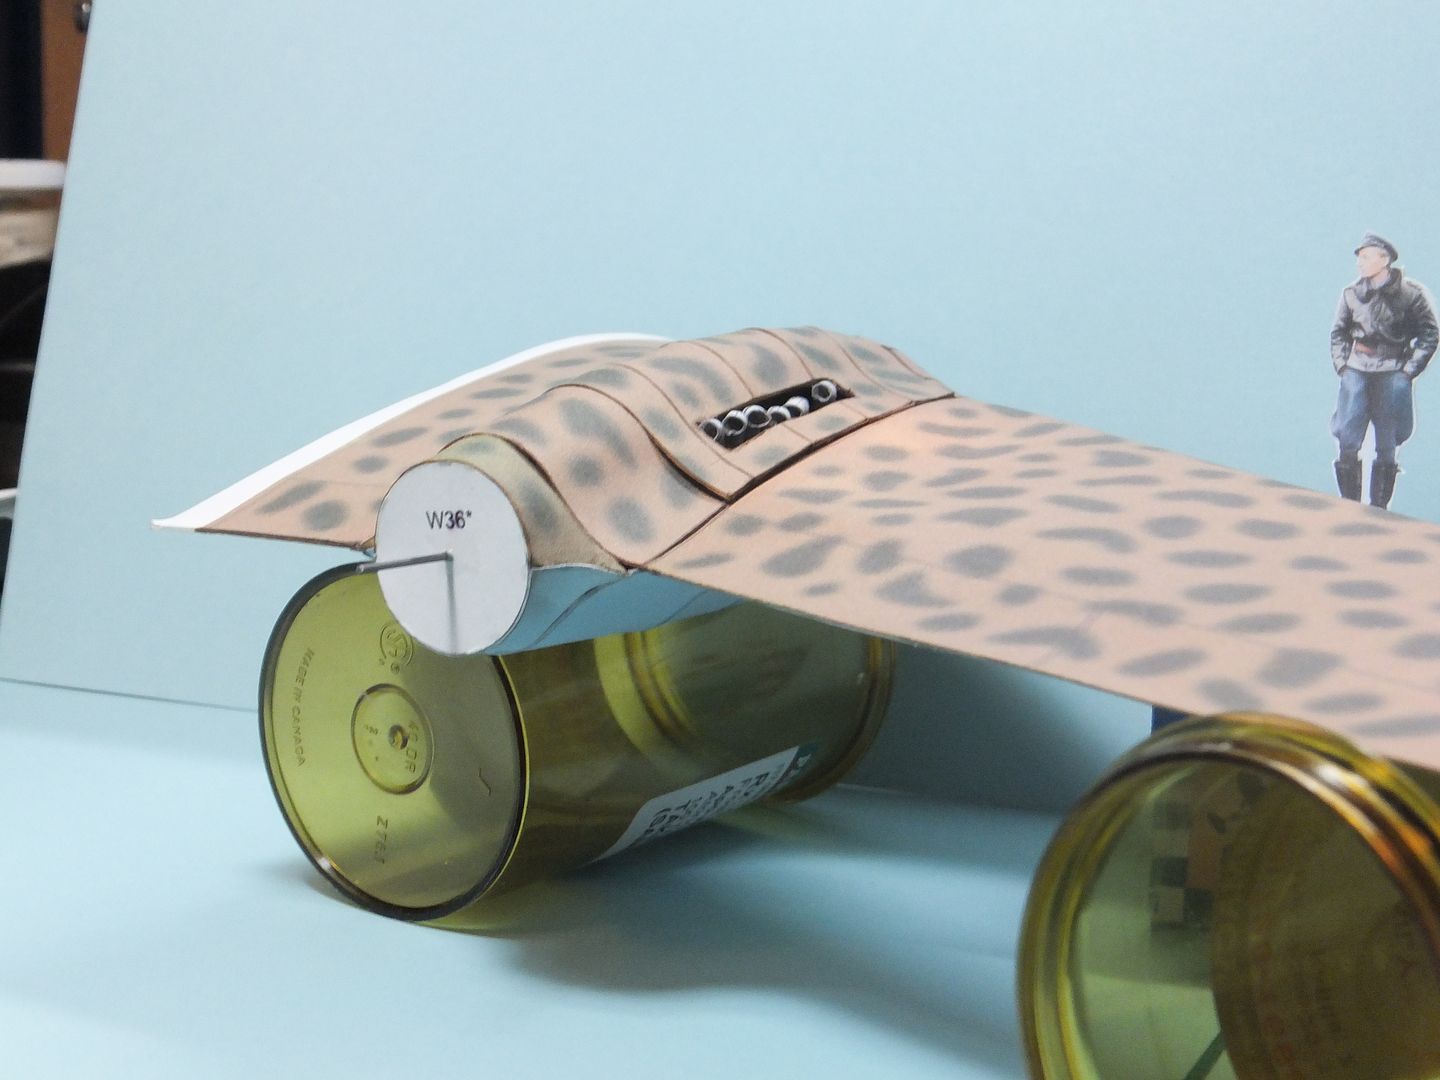 I am going to set the wings aside and start work on the canopy. I want to get that cockpit covered before attaching the wings. Too many fragile parts in there and the sooner they are covered the better. Thank you for following. Questions and comments are always welcome. Jim |
| Google Adsense |
|
#106
|
||||
|
||||
|
Jim
I always was wondering why they use the strips sections for engine covers? I guess as you said, if no engine is built, then the upper skins may fit better. Also, I want to see how your canopy comes out? I guess you will vacuform it? If so, I may ask to have you make a couple extra for me ( I'll pay for the expenses and shipping ). Thanks Isaac
__________________
My gallery [http://www.papermodelers.com/gallery...v-r-6&cat=500] Recent builds  Meteor F1, Meteor F8, Mig-Ye8, NA Sabre, A-4E Skyhawk,Mig-15 red, Mig-17 repaint Meteor F1, Meteor F8, Mig-Ye8, NA Sabre, A-4E Skyhawk,Mig-15 red, Mig-17 repaint
|
|
#107
|
||||
|
||||
|
Hi Issac, that should not be a problem. Once the plug is made, it will be simple enough to pop a couple more.
Jim |
|
#108
|
||||
|
||||
|
Quote:
Great!!!!!!!!! I can forward to you details when you are ready. In the past, I floated the idea of sharing the vacuform plugs, or canopies, but that idea went nowhere. I look forward to building this model. Also, I don't think that I will have the engine compartment built. Looks like allot of work in an area that is not my strong suit. Thanks Isaac
__________________
My gallery [http://www.papermodelers.com/gallery...v-r-6&cat=500] Recent builds  Meteor F1, Meteor F8, Mig-Ye8, NA Sabre, A-4E Skyhawk,Mig-15 red, Mig-17 repaint Meteor F1, Meteor F8, Mig-Ye8, NA Sabre, A-4E Skyhawk,Mig-15 red, Mig-17 repaint
|
|
#109
|
|||
|
|||
|
Hello All,
Was there any more progress on this model? I am in construction of one now. |
|
#110
|
||||
|
||||
|
Quote:
any progress? I too have the kit ready to build. Let me know if you vacuformed the canopy as I would like to have one or two for my build if you can ( or send me the plug and I will form my own ). Thanks Isaac ( no longer in Toronto ; In Dayton Ohio now )
__________________
My gallery [http://www.papermodelers.com/gallery...v-r-6&cat=500] Recent builds  Meteor F1, Meteor F8, Mig-Ye8, NA Sabre, A-4E Skyhawk,Mig-15 red, Mig-17 repaint Meteor F1, Meteor F8, Mig-Ye8, NA Sabre, A-4E Skyhawk,Mig-15 red, Mig-17 repaint
|
| Google Adsense |
 |
|
|