


|
|
|
#11
 05-26-2009, 11:19 AM
|
||||
|
||||
|
Ok so I have fix together the parts for the second Coleoptere body.
I make the segments again and sand down the template forms some what now. I have to use much less pressure to fix both the templates inside and the segment together... 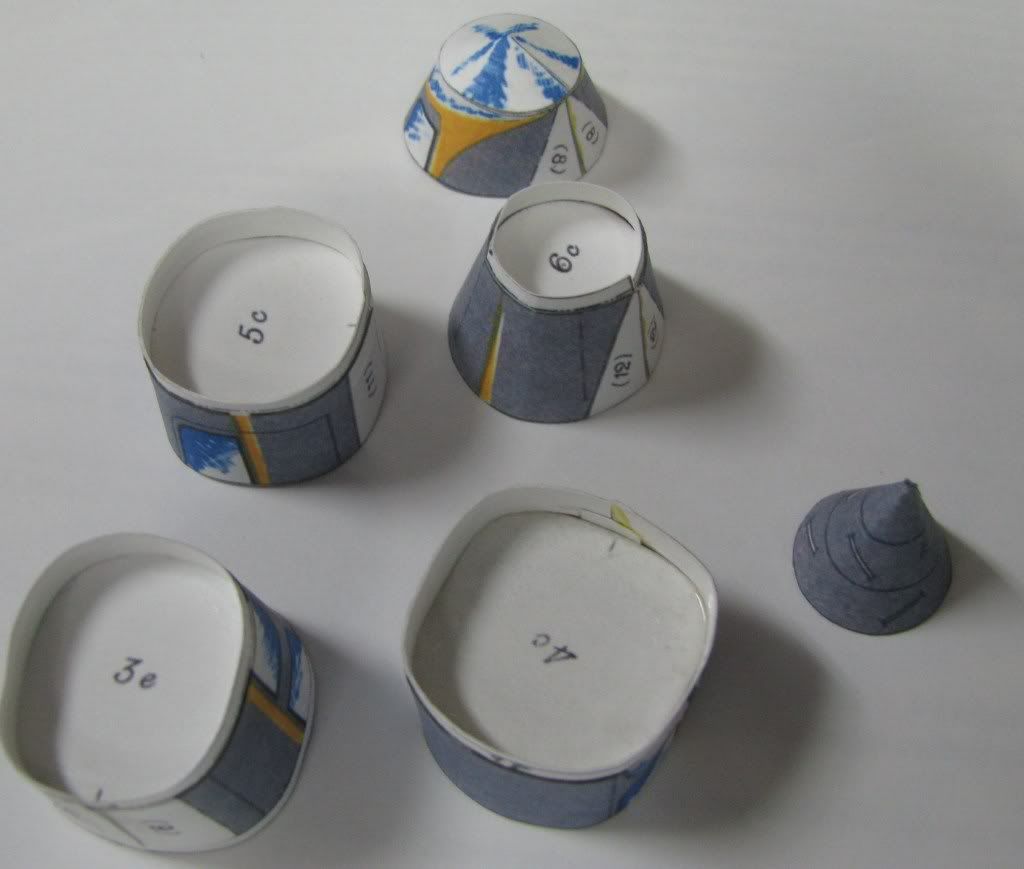 I am most proud of this piece 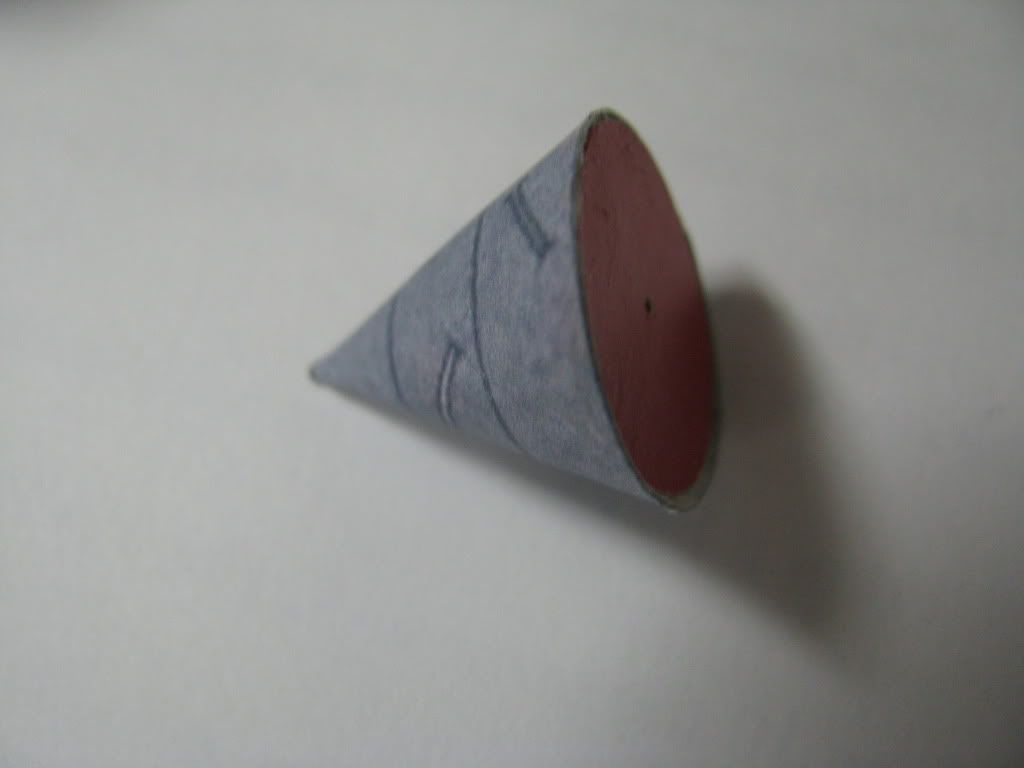 And now I have two of this... The new model it is the one on the left/bottom. I think it is better especially if you see in person. In the picture it is not so different but there is much less tension on the parts. And I learn a lot... 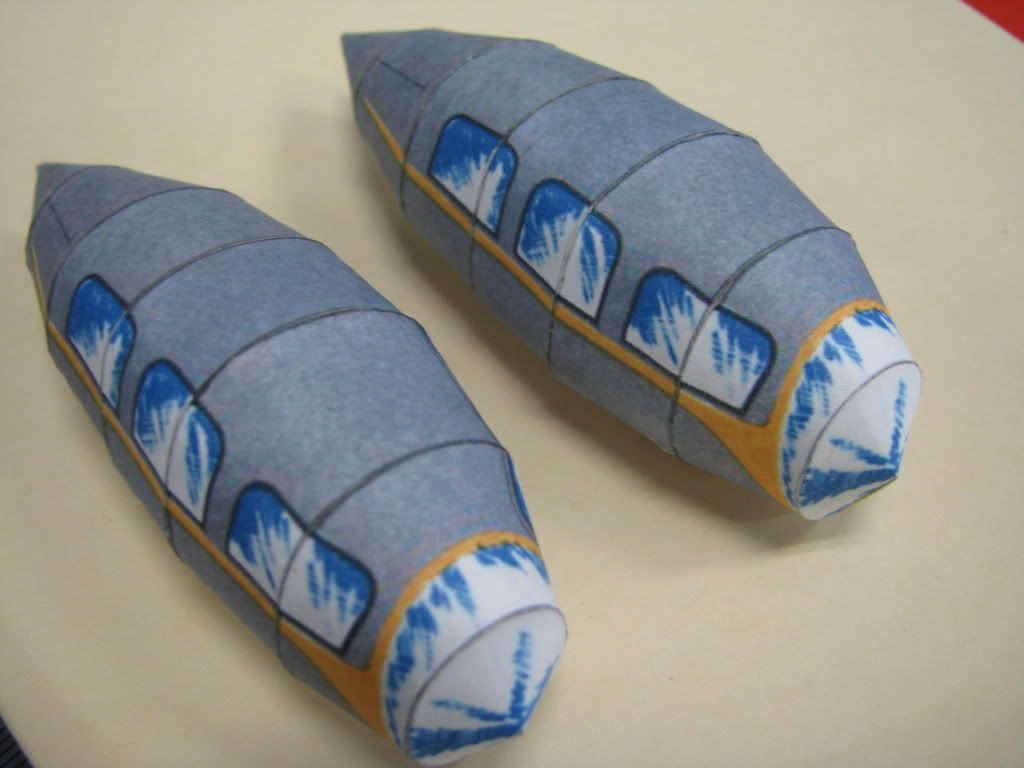 It is possible I can make two of these only that I have print the kit twice and I have not ruin any extra part from the second kit yet. 
|
|
#13
05-27-2009, 01:10 PM
|
||||
|
||||
|
I think some reason I am not happy with the way the model looks is that the grey color it will fade or darken here and there, and with the dark edges to the part segments, it look more like they do not fit. But they fit fairly well, actually, considering this is very complicated.
So they have you make this tunnel along the body with five sections of wrap and some brace pieces inside. The instructions, they propose you make this off the model then fix it in place. But I decide that is not so smart... I fix the front and back triangle shape parts first and also I added some extra forms from wood for the outer wrap to fix around. 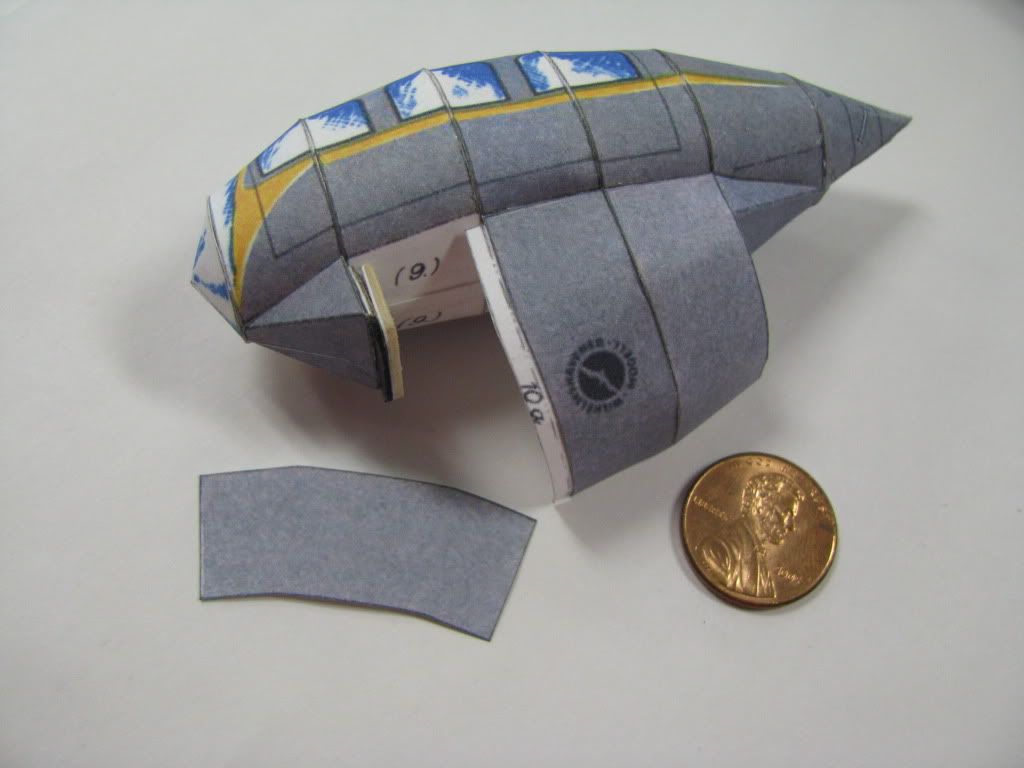 You can see also this model it is not as large as you may think... I use some of the Aleene's Paper Glaze to fill some small gaps. I will seal the model with spray Matte Varnish any way. If I want the windows to be shiney, I will use more Glaze. 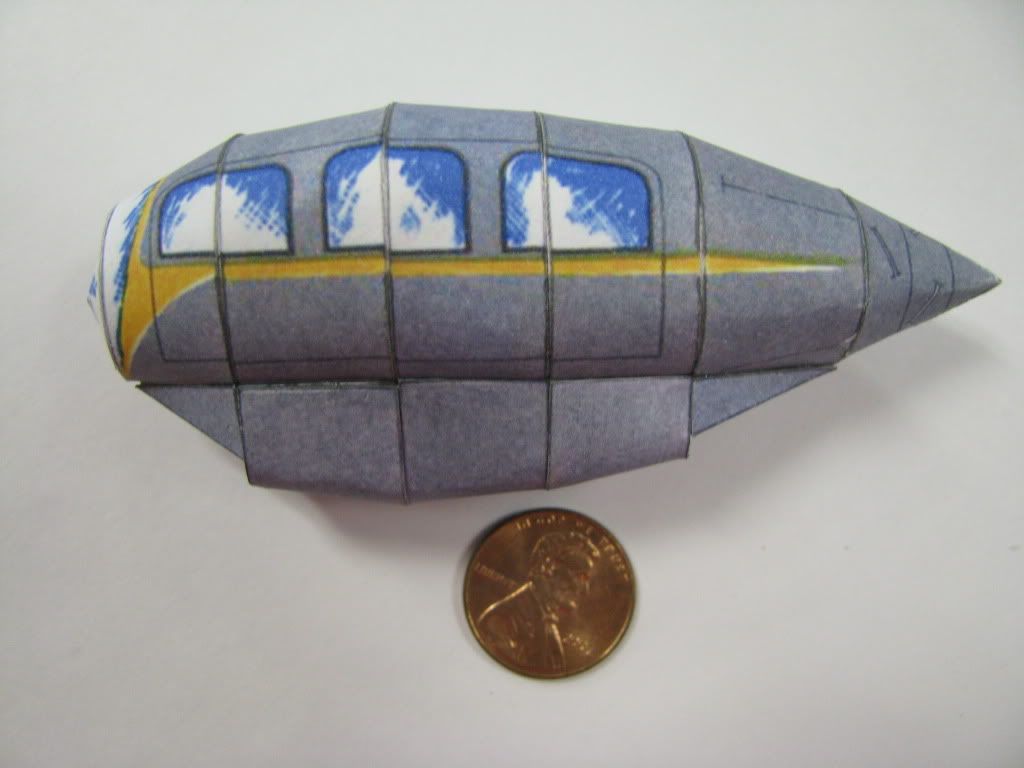 The wring is not so hard so far. You make the inside first from one large part plus tabs and strips. Then you add the card board stiffener ring. I use the cardboard from a popcorn box here. It was not so easy to find the center of this ring for my circle cutter, so I cut it with a scissors on the outside and knife inside. You can see the blemish spots inside the ring where the paper it is bleached. The download file come this way from the original. 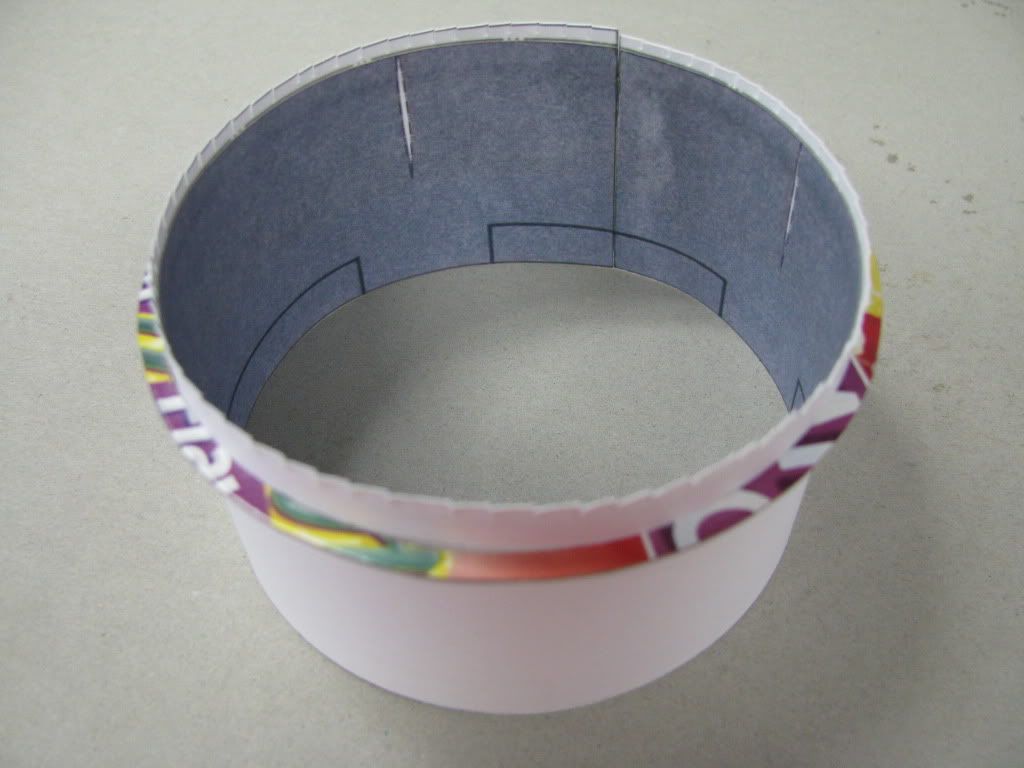 I do not want to ruin this... I am not feeling like I want to make this all again if I make too many mistakes.
|
|
#14
05-28-2009, 11:01 AM
|
||||
|
||||
|
Well this morning I have fix the main wing ring. The parts almost all fit very well, but I can see perhaps it is good to make one ring then make a second with what I learn. But i do not want to make this again ...:p
They have you to make the inside ring which is good... And then you make the rings for the outside. 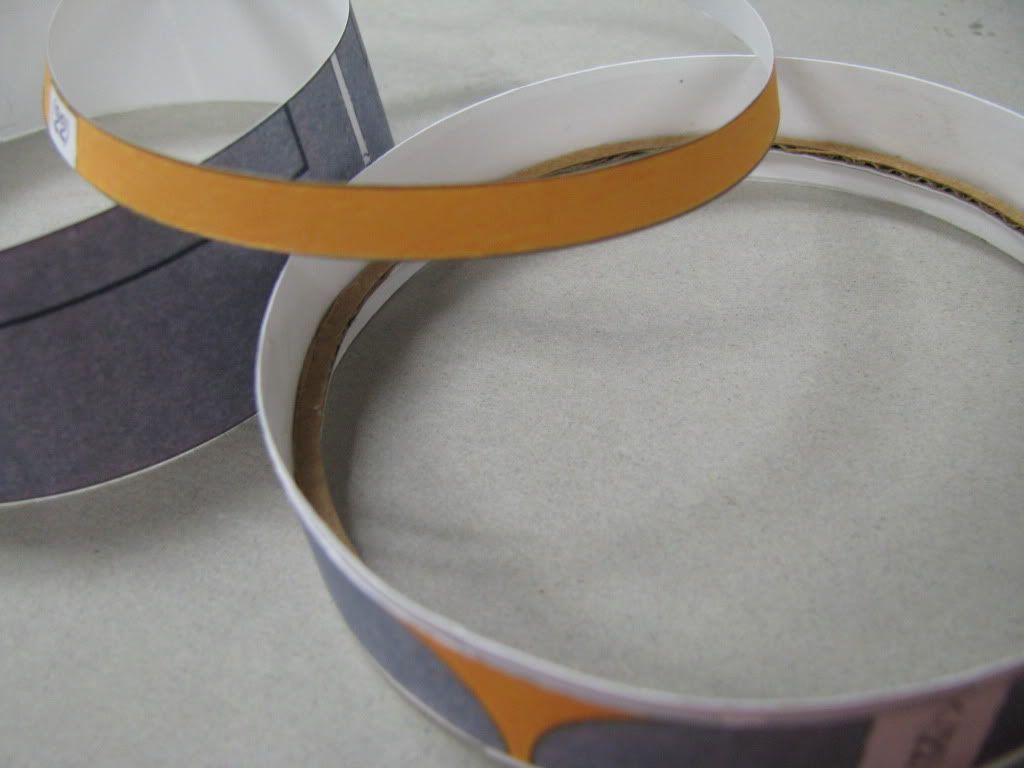 You see there is another segment wtih a cardboard ring inside. This cardboard it is more important than the cardboard I show yesterday attach to the inside ring. To be honest, I cut that card off with scissors today it is not needed. But this is important here. Then it is easy to put the outside back to the outside middle 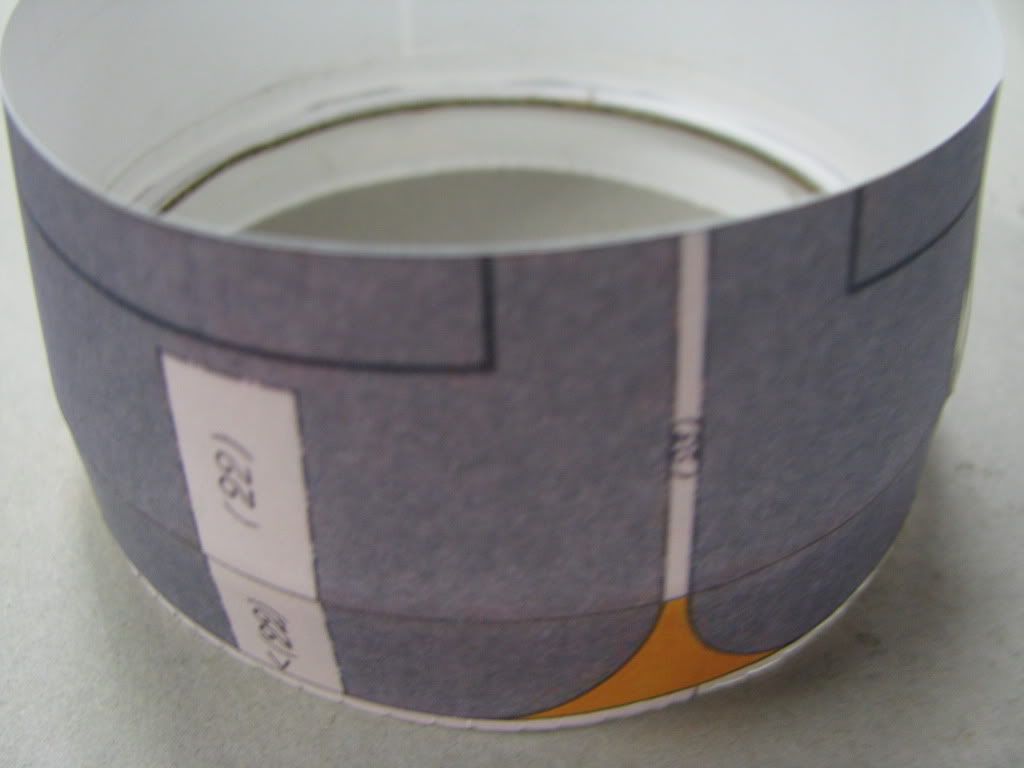 Then you apply glue in the rim of the tail of the wing and slide this over the inside parts. This is where the cardboard forms work. The instructions, they say to carefully refer to the diagram... but there is NO DIAGRAM... just very clear words. 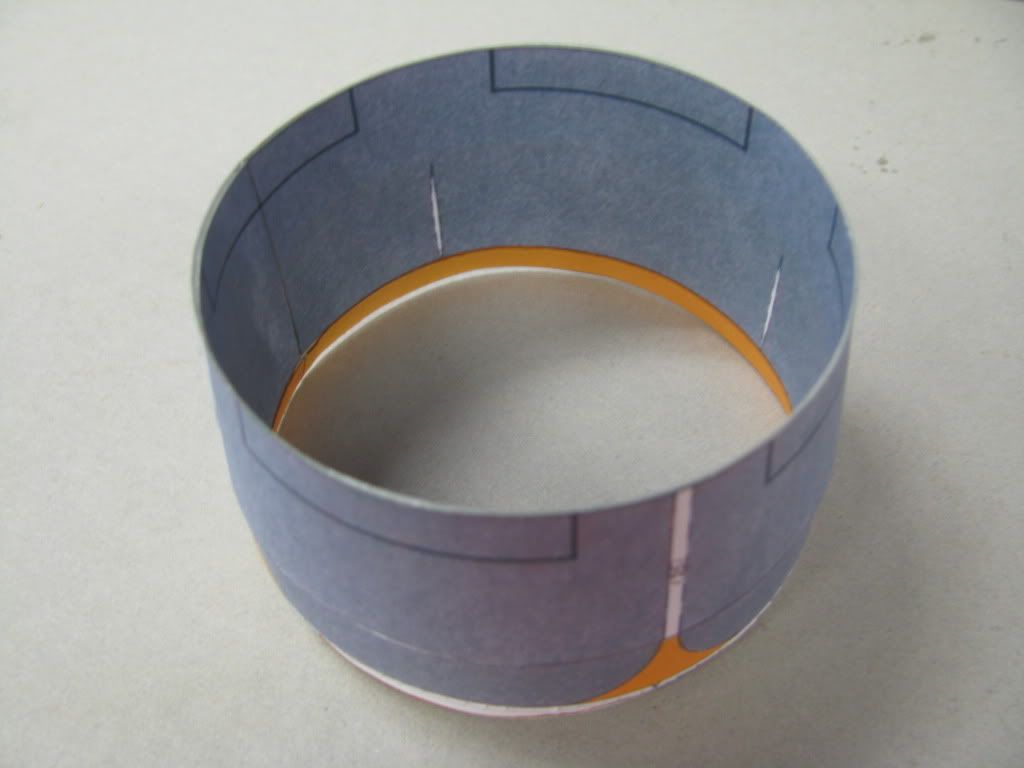 Now things they get ugly... the yellow ring for the front it is too small but that is easier to fix. It is also too short. I think it is short (front to back) becuase when I cut the yellow ring for the inside, I make it just a mm long with where I decide to cut the lines or not. 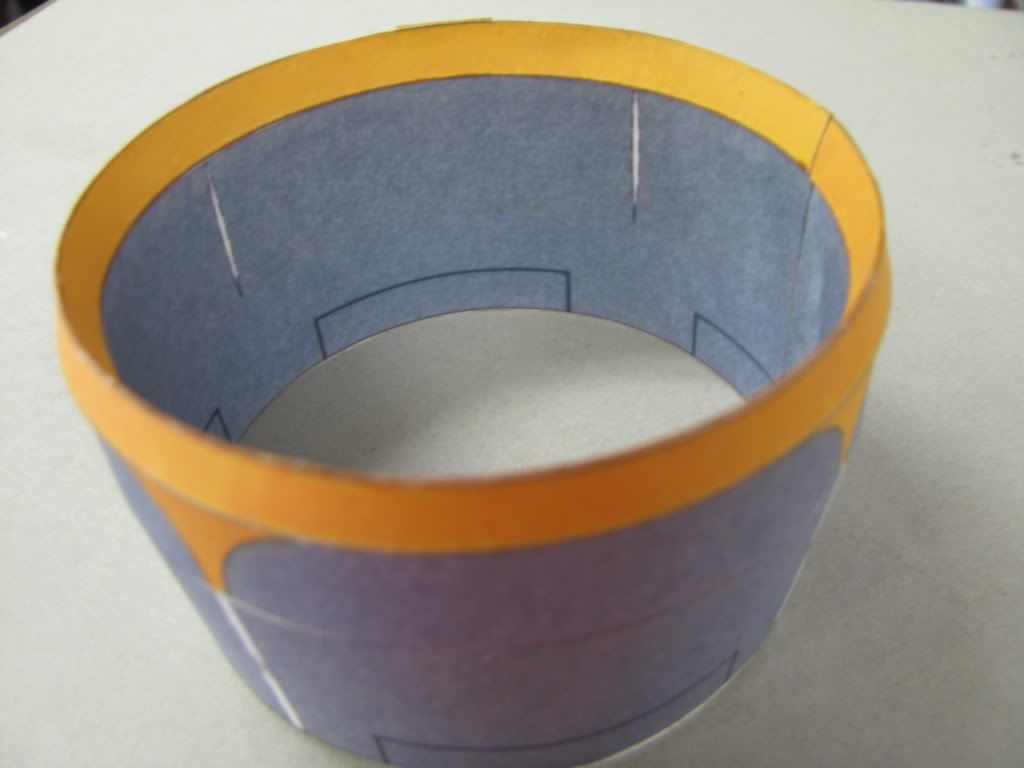 Because the ring it is short, I decide instead of making a complete band and to try to force it in place, I will wrap it around and add some extra card where another piece will cover the spot for the most part. 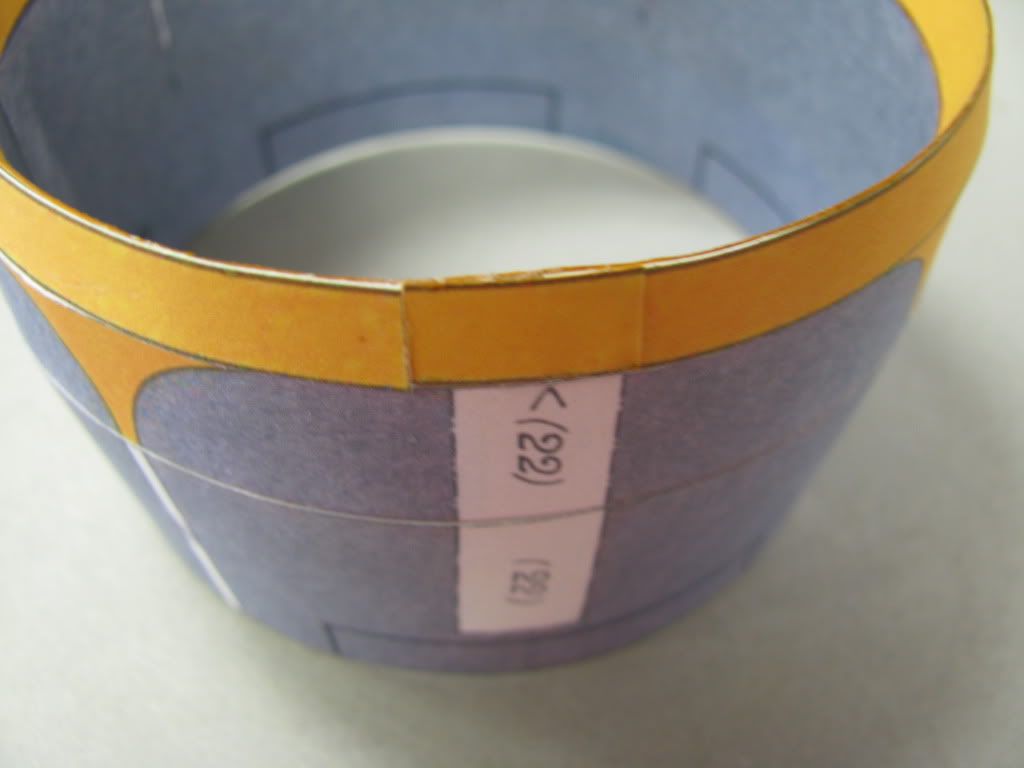 I will cover some of the edge with yellow paint. But I am disappointed here in my workmanship some. I learn things now I would make differently. I would make the inside ring lastly instead of the outside yellow ring. This way I can have a good joint mostly outside and then adjust on the inside. The wing, if you are to cut it in half, it has an airfoil shape so it is not just a tube.
|
|
#15
05-28-2009, 11:51 AM
|
||||
|
||||
|
Quote:
|
| Google Adsense |
|
#16
05-28-2009, 12:39 PM
|
||||
|
||||
|
Well I say I do not want to make this again, but I have already cut out half the rings for a second wing! It is not so hard really. The large inner ring it has no taper and can be cut with a ruler. The two grey outer rings are large. Even the two yellow front rings they are not so bad. Mostly I have to cut two more disc rings from card board.
|
|
#17
05-29-2009, 09:53 AM
|
||||
|
||||
|
Ok I ruin the second ring. And I try to fix the first ring and ruin it also. So now I have no ring wing GAAAAAAAAKKKKKKKKKKKK!!!!!!!!
|
|
#18
05-29-2009, 01:16 PM
|
||||
|
||||
|
Well it is done! I have made the wing finally after the third attempt. It is not the "best" in every aspect. But it is the only one that line up correctly! I was not in a good mood to have to make this again...
Each band is very close in fit and if you cut inside or outside the line incorrectly, things will not fit. Of course the parts they all fit until the very end when you have to add the yellow color ring around the outside front! But by then it is too late if you have made some minor mistake! 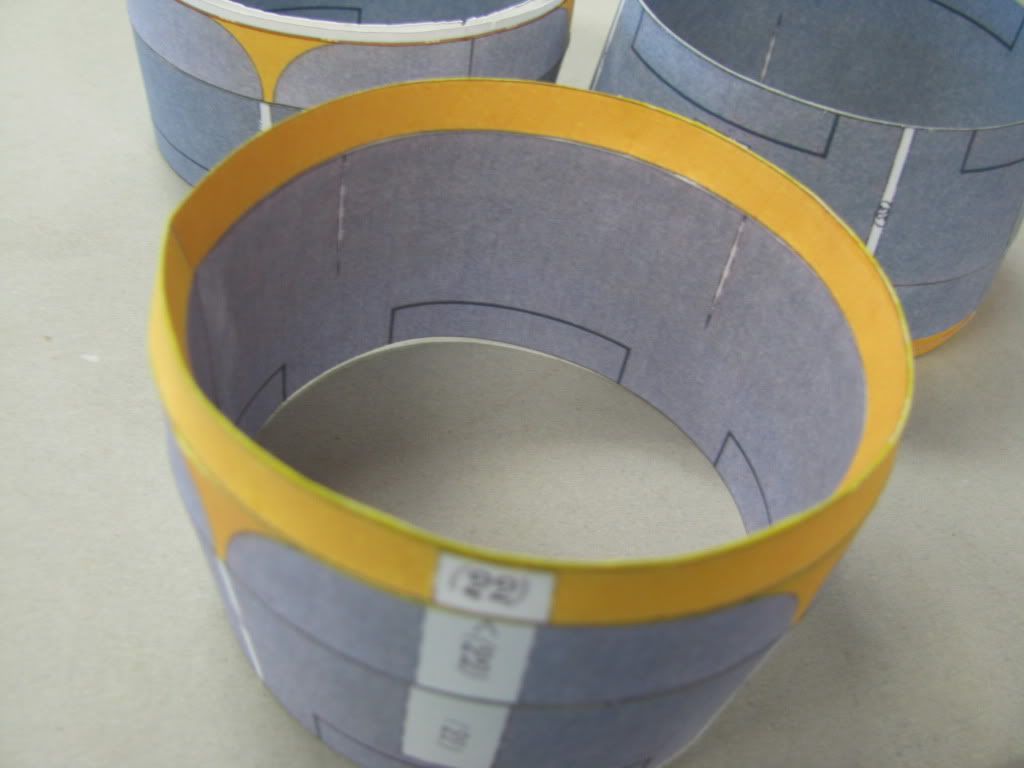 On the finish wing, it is not the smoothest circle of the three. But it is aligned the best. Very tricky! These are the arm wings that hold the body of the Coleoptere inside the big wing. I think it is going to be interesting to see if the arms are the right length or else the body it will not be center properly... 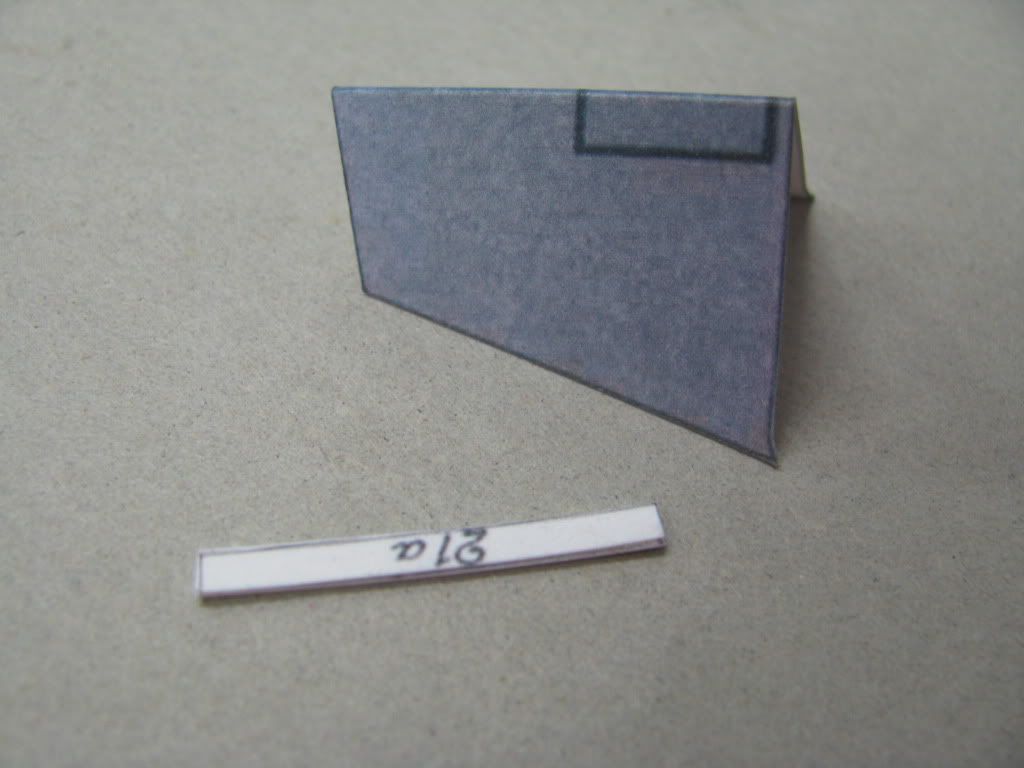
|
|
#19
05-30-2009, 01:15 PM
|
||||
|
||||
|
Okay the end is in sight! I make the four wings and glue them in place inside the ring with Devcon Weldit cement. The instructions they say to mount the body in this fashion, so I follow them, but was afraid the body would not fit.
I use some Zap-A-Gap and glue just one wing at a time to the body. They fit well actually and to get the body and the wings mostly straight was not hard. 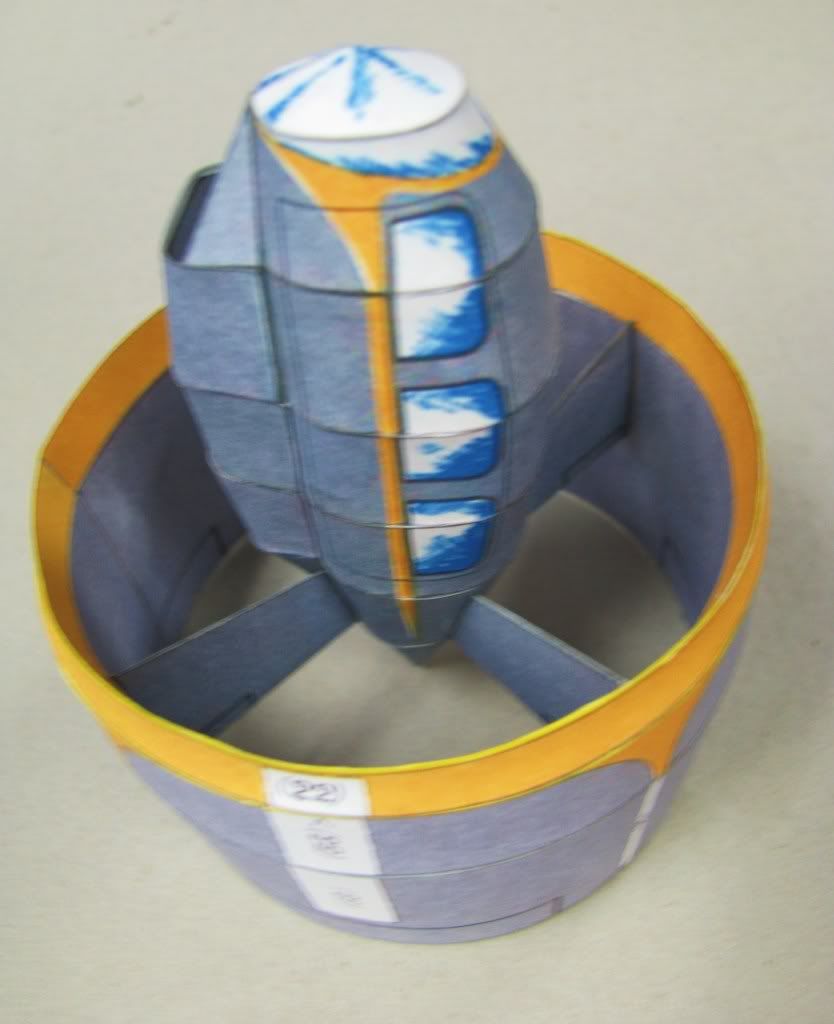 So after this, I make up the parts for the propellers. There are three large and three small. Then I make the large box that go on the white area on the side of the ring. And lastly I make the four landing legs and two wings that fit to two of the legs. The model it is finish. But I have not yet put a varnish on it and take photos. I know this is not the most interesting model for every one, but it was some thing unusual that I see and decide to build.
|
|
#20
05-30-2009, 03:41 PM
|
||||
|
||||
|
KGL,
It IS an interesting model and the unusual subject is a nice change from all the typical ones. I think many of us on here like to see what others are interested in, and every on-line build has something to teach. How you solved the problems you encountered will come in handy for some of us, somewhere, sometime, on some model. As a companion to this model, The Haggard has a model of a concept NASA Warp Test Ship based on a painting in the NASA offices. Go here The Haggard?s FREE Papermodels and scroll down. You can't miss it - it looks very similar to the Coleopter. Last edited by jagolden01; 05-30-2009 at 04:25 PM.
|
| Google Adsense |
 |
|
|


 Linear Mode

