


|
|
|
#1
 05-23-2009, 12:59 PM
|
||||
|
||||
|
Wilhelmshaven Coleoptere
This is a strange French flying thing. Aparently it did not fly very well. The instruction say it crash on its first flight!
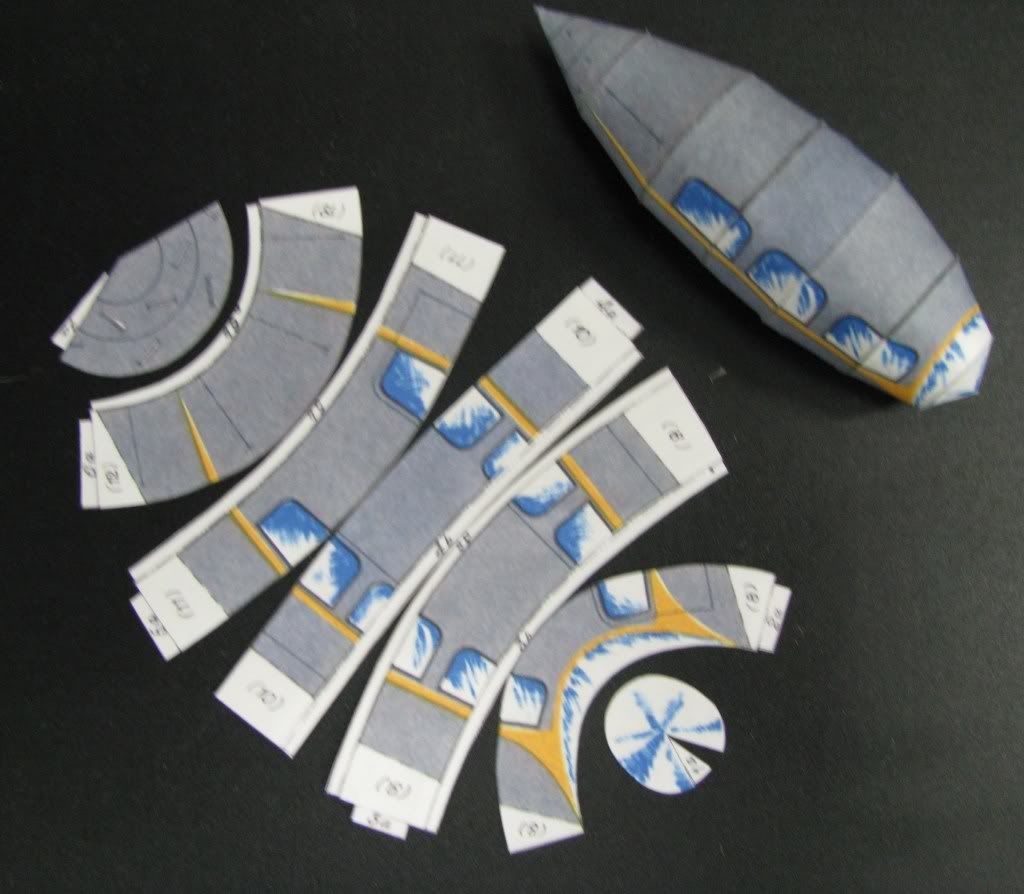
It is another Wilhelmshavener download model for 3 Euros. You get parts on two page plus excellent instruction! The instruction, it is all in English (or German) with writing only and no diagram, but it is VERY clear. For example, when you make the sectiont parts for the body, it instruct you to carefully glue the tab edge in place and then when you make the double think former parts, they slide inside the body tube section until they fit against the tab edge inside. Some section, it has a wrapping in the middle so it will trap the former parts both in the front and back and fix them in place perfectly in alignment! So here is the pieces and picture of the Coleoptere machine... 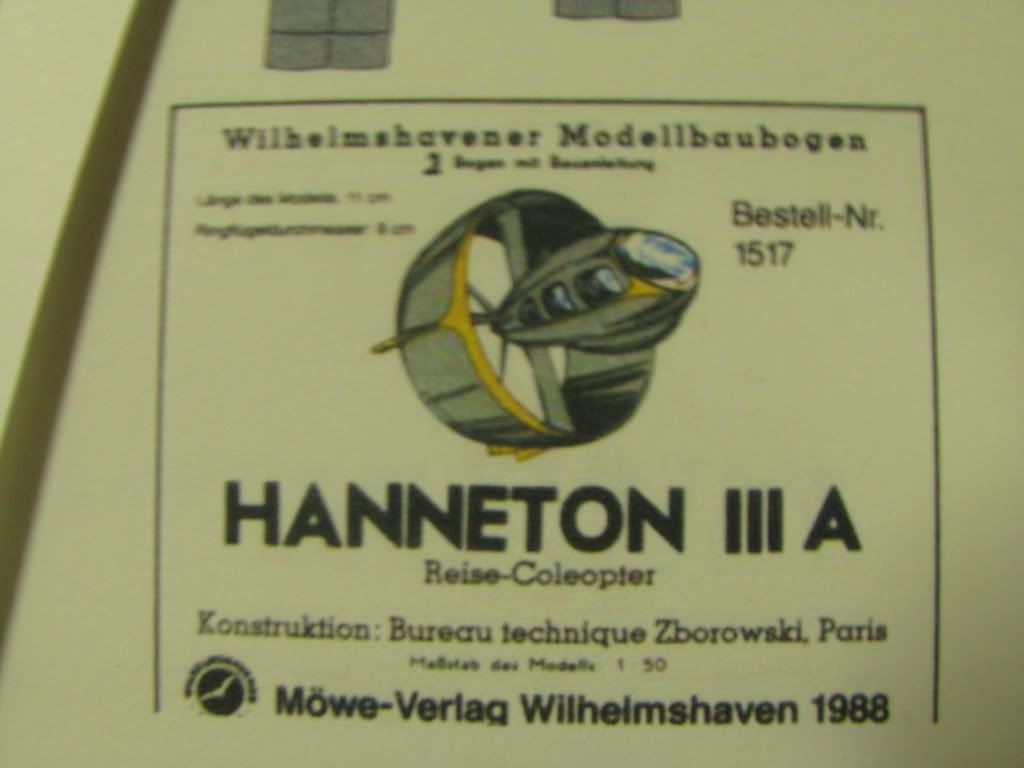 There is a blemish one one part but I may fix with grey pencil or crayon? 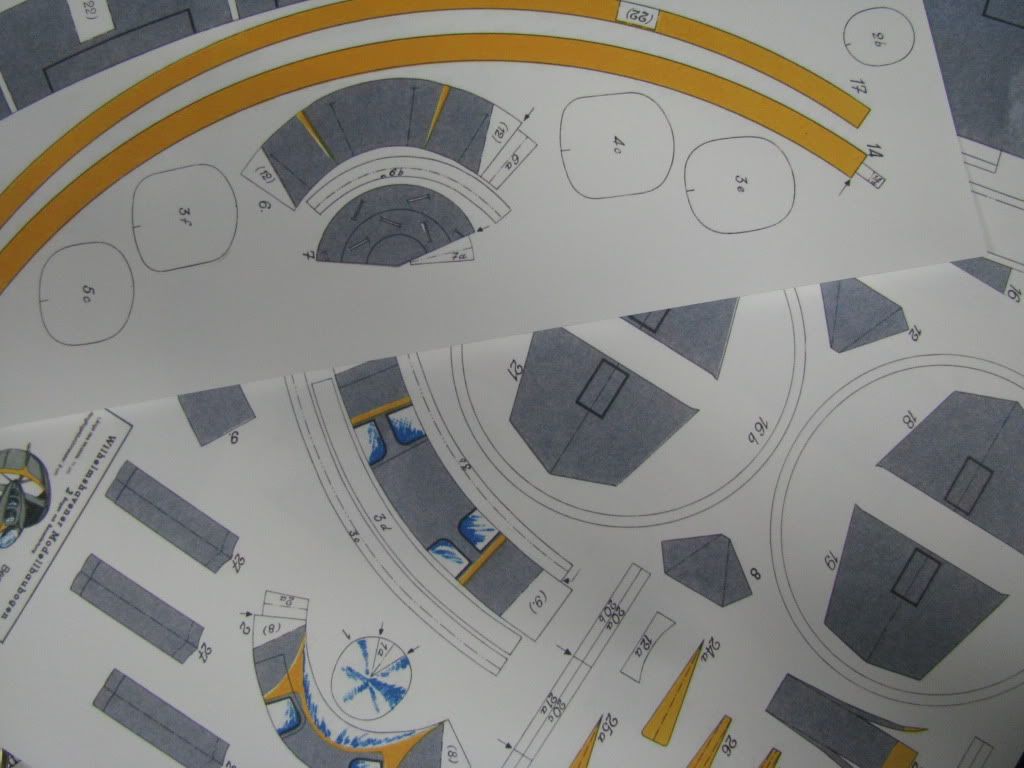 The sections started  And with the former template install inside. 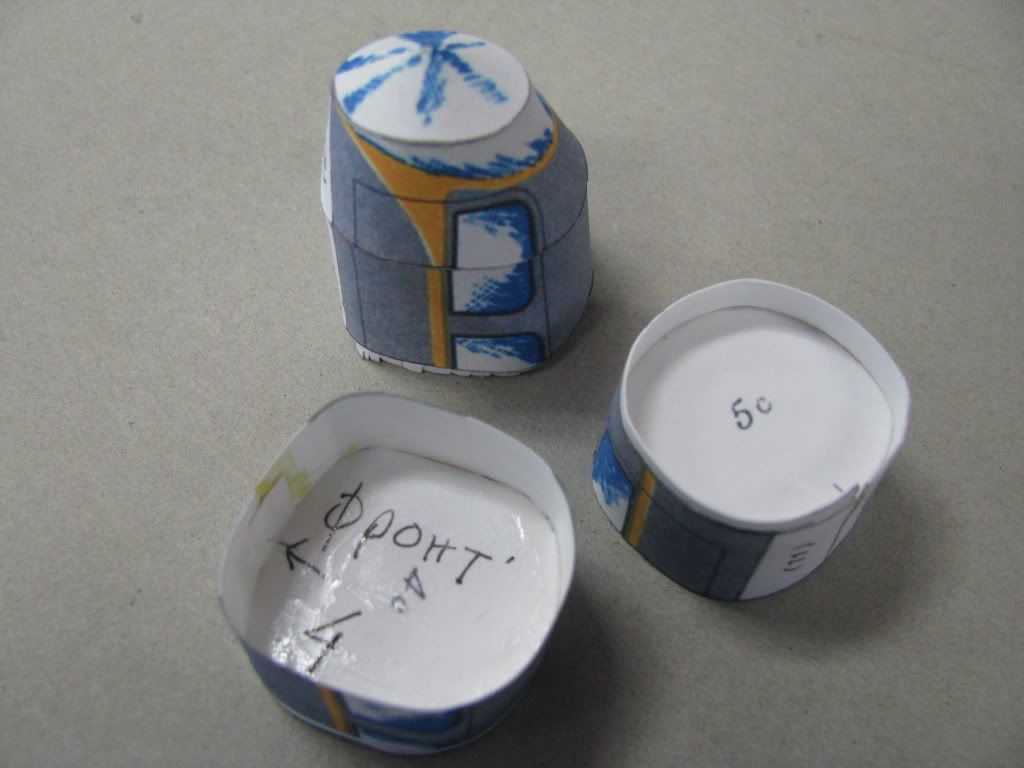 And put together. Some former parts, they are perhaps too large and I have too tight of a fit, resulting in segmentation. It is hard to judge becuase you have to glue the form in place before you can test fit the next section. It is deceptive, so far this has perhaps 20 parts with the tabs, forms, sections, etc. 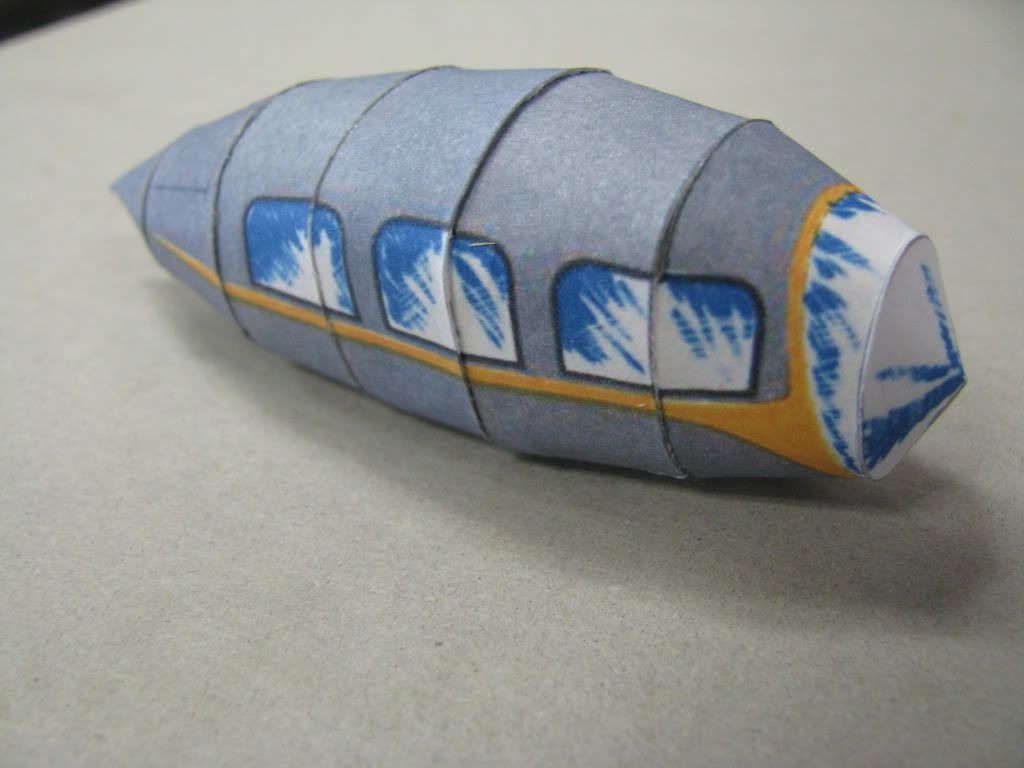

|
| Google Adsense |
|
#2
05-23-2009, 01:23 PM
|
||||
|
||||
|
You're off to a fast start. Is it my imagination, or does that one part have the word 'front' transliterated into Cyrillic?
Cheers!
__________________
Chris Coyle Greenville, SC "When you have to shoot, shoot! Don't talk."
|
|
#3
05-23-2009, 01:47 PM
|
||||
|
||||
|
Thank you. I work on this over two afternoon time. I make some note in ink with the former template parts. I take the paper part and glue to wood from a food package. But then it is thick, so I angle the wood with a bevel. I must then say okay this side it is the front so the angle it is correct when I put the segment of the body together. It is hard to explain.
|
|
#4
05-23-2009, 02:24 PM
|
||||
|
||||
|
Explained and understood perfectly
 . .
|
|
#5
05-23-2009, 02:28 PM
|
||||
|
||||
|
Quote:
With lovely greetings the Wilfried PS: @ Lala, normally the real printed models of that time fits very well - it was a brandmark of Wilhelmshavener - but nowadays, in time of downloading, some things differed ...
|
| Google Adsense |
|
#6
05-23-2009, 03:06 PM
|
||||
|
||||
 Things from Wilhelmshavener they do fit well. I think my mistake in where I make my cut lines it is my fault. Actually, today I make anew every single segment, and glue all their tabs and linings in place for a second attempt. I can see the paper wrapping segments will fit perfectly but that when force the slightly large forms inside, then they do not fit. So, tomorrow or Monday, I will make a second Coleoptere body knowing now perhaps to make the forms just a mm smaller across. The Messerschmitt, it was the same. The pieces they fit very well although my interpretation of some of the structure result in minor problem. Interesting, for being old, it still fit better than the Marek LaGG which should fit better but do not. Last edited by Keds_Girl_Lala; 05-23-2009 at 03:21 PM. Reason: to add picture
|
|
#7
05-23-2009, 03:30 PM
|
||||
|
||||
|
Quote:
|
|
#8
05-23-2009, 03:40 PM
|
||||
|
||||
|
Hello Lala,
your parts for glueing stands in one line; please reverse part 10 ... With lovely greetings the Wilfried
|
|
#9
05-23-2009, 03:45 PM
|
||||
|
||||
|
Quote:
|
|
#10
05-23-2009, 03:51 PM
|
||||
|
||||
|
Quote:
Yes they say to fix the paper form to double it up to a second sheet. But I fix it to wood that is approx 1mm thick and very hard (it is from a large brie cheese box). If you see close in this picture again, they thoughtfully provide a tick mark to align with the seam on the bottom of the segment it fit inside of. I bevel the wood and paper with a finger nail board. I had just made these a very tight fit. I could coerce each one inside but then when I stick the pipes together, there is much tension and pressure on the edges. It is not so much the model's fault as my construction method. So I say ok I can make the new parts in 15 minutes... I very much like the inside of some of the wrapping bands becuase you put not only the tab on the edge to join the segments, but a band inside that will hold the wood form in place. And the instructions, they are very explicit. I see nicely that despite the flaw in the printing (it is like there was a faint spot on the original that was scan for the down load) it is on the inside of the large body ring not the outside. Ok I go to work now... so i will finish this perhaps Monday.
|
| Google Adsense |
 |
|
|


 Linear Mode

