


|
|
|
#92
 09-15-2018, 03:51 AM
|
||||
|
||||
|
Quote:


|
|
#93
09-15-2018, 04:04 AM
|
||||
|
||||
|
Helpers
Morning all from Sunny Madrid
Yes guys any ideas are good ones. I saw the message Mike posted and had a look at the Smithsonian site anyway. There is a search engine there and I looked at everything Italian. I found a number of gauges I haven't seen before and so have marked those links for future ref - Cheers Mike I didn't find the MC202 item I was after unfortunately. My hope lies with Allemano who I think actually made it. As I mentioned some posts earlier, a buddy of mine in the Italian Air Force managed to have the staff there gain access into their MC202 (see pics below), all the gauges are gone. They did a comparison on a similar indicator on the Macchi 200. This item is huge at 115mm in diameter. Bernoullis - how do you manage to know all this info? Keep the ideas flowing Enjoy Last edited by alzictorini; 09-15-2018 at 04:09 AM. Reason: Spolling
|
|
#94
09-15-2018, 08:06 AM
|
||||
|
||||
|
Quote:
Quote:
So, if I were the talented modeller (and I am not  ) looking for authentic detail of a C.202, I then wondered how I would approach the problem. The NASM has a huge repository of archived material, so how would I find out more about it? It only took seconds to find the contacts page, and that is where I would start. I would tell the NASM what a wonderful institution they are (and they are), explain what I was after, and see if they could help! It may take a bit of time to get answers, but it would be daft not to at least ask this world-famous resource if they have my sought-after treasure somewhere in their archive - they can only say "No"! But at least I would be satisfied knowing I had tried. ) looking for authentic detail of a C.202, I then wondered how I would approach the problem. The NASM has a huge repository of archived material, so how would I find out more about it? It only took seconds to find the contacts page, and that is where I would start. I would tell the NASM what a wonderful institution they are (and they are), explain what I was after, and see if they could help! It may take a bit of time to get answers, but it would be daft not to at least ask this world-famous resource if they have my sought-after treasure somewhere in their archive - they can only say "No"! But at least I would be satisfied knowing I had tried.If I had no luck at the NASM, then it would be time to move on to somewhere else! Thats the way I try to approach such things. And finally, Al Z, I reckon you'll need to make another C.202 panel and offer it to the Italian Air Force to display alongside/near their instrument-less C.202!!
|
|
#95
10-01-2018, 01:43 PM
|
||||
|
||||
|
Landing Gear Indicator
PMs
OK, its taken some time and a lot of research to start the build of this Indicator. First of all, thanks to all the many pms Ive received information from and the Italian Air force museum for looking inside their Macchi for me. There is very little good close up pictures of this Indicator, everything is either out of focus or at a distance. The best info has come from 3D modelers and the sim guys. What you see below is the best depiction of the Indicator based on a number of pics and similar indicators from other Italian war-birds of the period: example of a similar indicator from a Macchi C205: 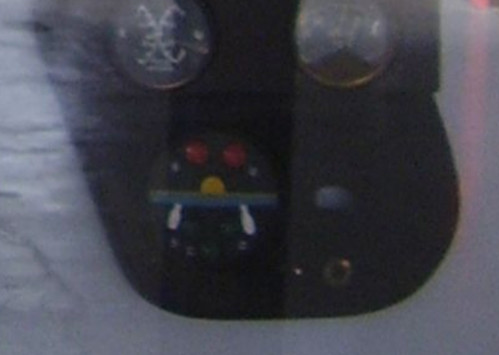 After designing the indicator on my laptop I printed it out and pritsticked it to Cornflakes card. Here I cut out the holes for the lights (none will be fitted): 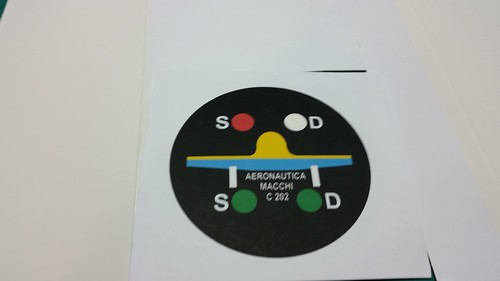  To the rear I attached green and red cellophane (red to the top). To simulate the undercarriage down I also placed black behind the red cellophane to make the lights look out and white behind the green. This give the impression of lights on and lights off (I think anyway): 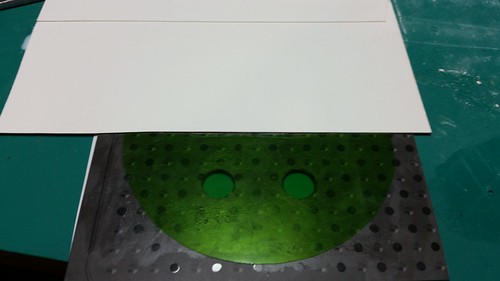  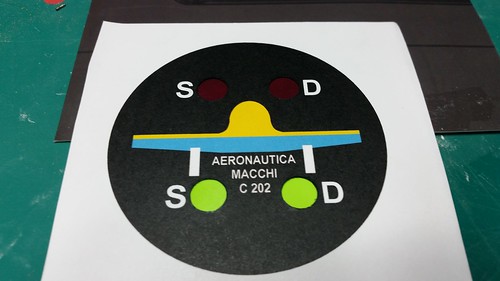 I was unsure of this but I wanted the fuselage shape to look embossed out - So, I cut out the fuselage and placed it on thick card which I cut out again before placing it onto the previous work: 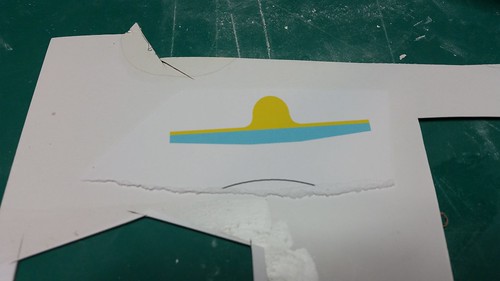 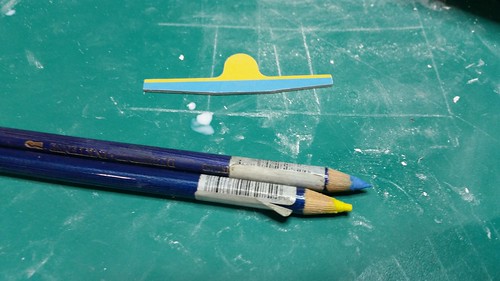 Unlike the previous gauges, the indicator is attached from the front of the panel and not the rear so the indicator has attachment lugs: 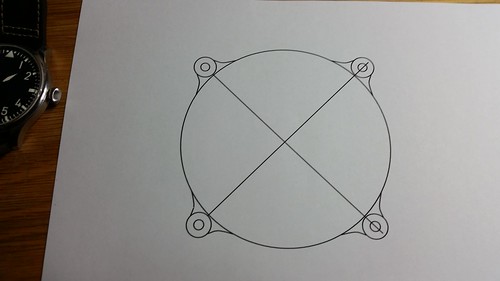 This is how it looks so far! I think its what the real thing would have looked like going from the info Ive been provided. 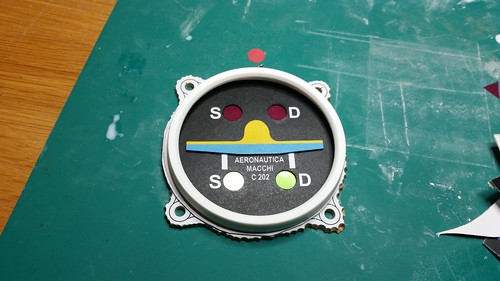 More to follow, once again, thanks for all the help and support from my many helpers. Enjoy
|
| Google Adsense |
|
#96
10-03-2018, 02:38 PM
|
||||
|
||||
|
Completion
PMs
Its finished! After some sanding and test fitting and final paint, the indicator is complete! The glass effect came from another old CD case: 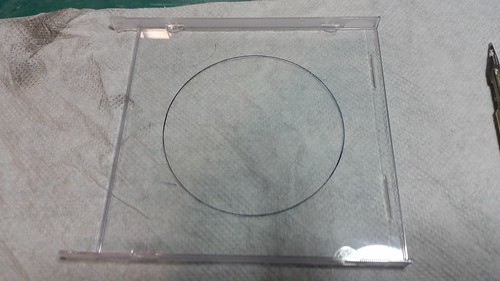 After about an hour of sanding, I painted the bezel and inner collar black ready for final assembly: 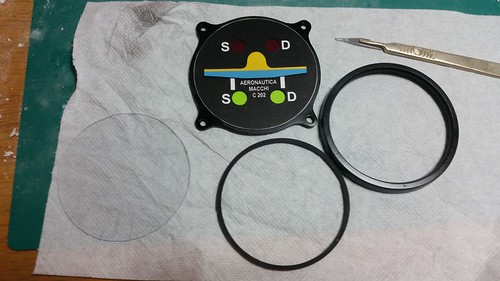 Looks pretty Good? 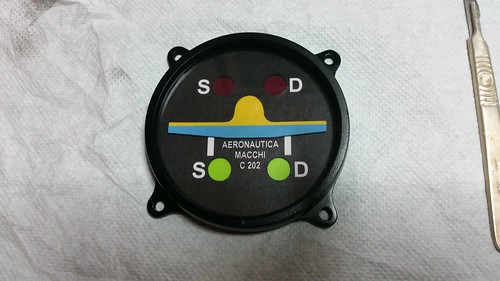 In position: 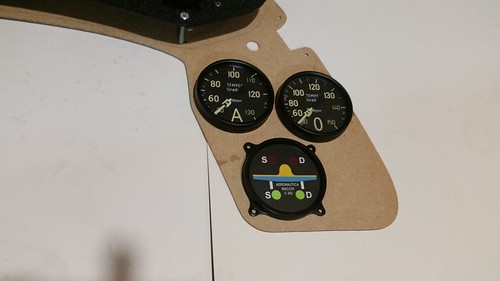 Full view: 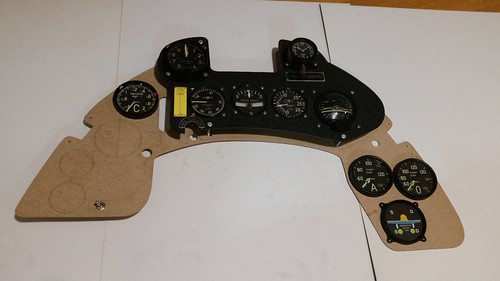 Thats all on this one, not many to go now Enjoy
|
|
#97
10-03-2018, 06:35 PM
|
|||
|
|||
|
Looking good from here Al. Really anticipating the finished pics on this one. Got any idea what you're going to do with this one?
__________________
This is a great hobby for the retiree - interesting, time-consuming, rewarding - and about as inexpensive a hobby as you can find. Shamelessly stolen from a post by rockpaperscissor 
|
|
#98
10-04-2018, 12:58 AM
|
||||
|
||||
|
Al,
This is looking very good, even better than the outstanding ME109 project I havent chatted with you lately but I am watching. I have also been keeping an eye on the other Project you have been working on. Jim
__________________
There is a very fine line between paper modeling and mental illness.
|
|
#99
10-04-2018, 09:17 AM
|
||||
|
||||
|
Good spot
Quote:
|
|
#100
11-05-2018, 02:12 PM
|
||||
|
||||
|
Fuel pressure gauge
The latest gauge off the production line is the fuel pressure gauge:
The pic below is of an actual gauge: 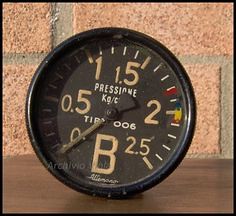 OK, the outer part of this gauge needs to be thin! The only idea I can come up with is to make it from the inner sleeve of a paper hand towel role. Two reasons, its thin enough and I found one at work which is the correct diameter.... 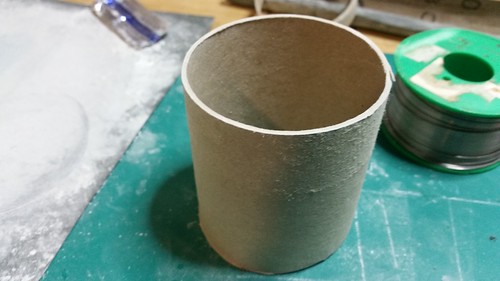 Next job is to cut this to the correct length. I did this with a scalpel held at the correct height then I spun the role onto the blade: 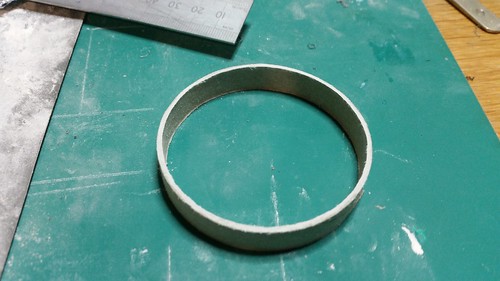 The top of the lip needs to be thicker so I cut off a smaller piece and inserted into the larger cone (trimmed to size): 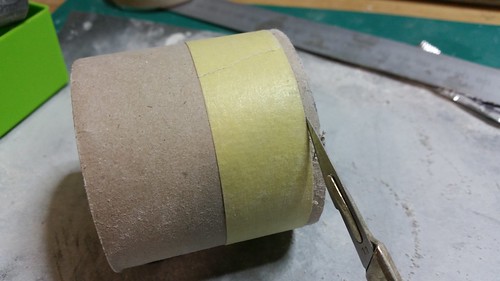 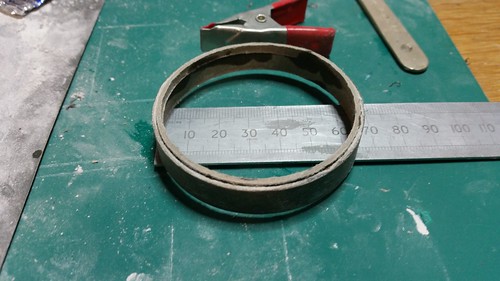 OK, next I coated it in superglue and sanded it smooth: 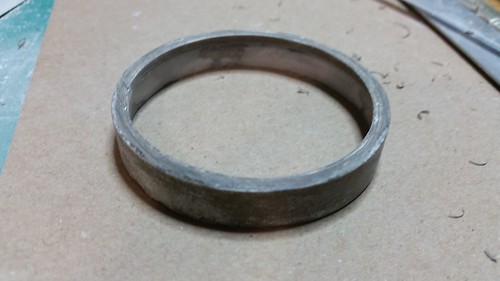 I then sanded the top round: 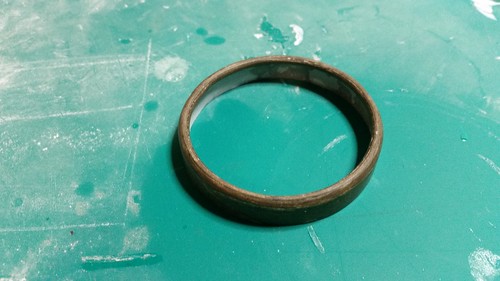 It looks perfect and once painted black it was better than I expected. The face was made in the usual manner and sanded so it fit inside the outer bezel: 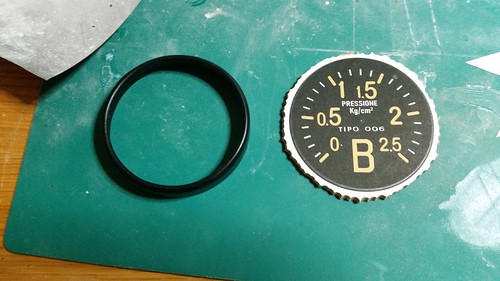 Test assembly: 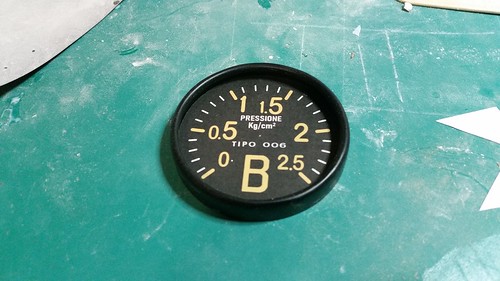 The glass was cut from an old CD case and I made a needle from cornflake packet card (then painted). Here it is in its place complete: 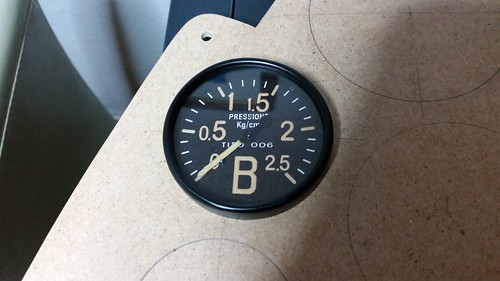 The panel is starting to look complete, only a few more gauges to go. Should I attempt the compass??? 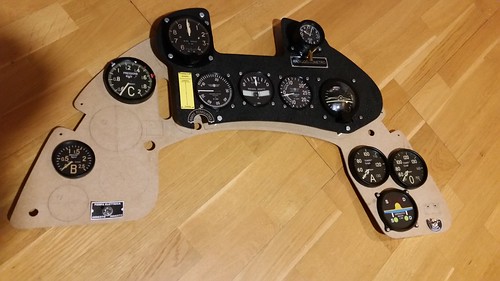 Enjoy
|
| Google Adsense |
 |
| Tags |
| folgore, instrument panel, macchi c.202, sonia clock |
|
|


 Linear Mode

