


|
|
|
#61
 03-10-2018, 07:40 PM
|
|||
|
|||
|
Looks like a bit of a puzzler Al. Keep at it. Something will turn up. What you've done so far is every bit as good as your previous instrument panels.
__________________
This is a great hobby for the retiree - interesting, time-consuming, rewarding - and about as inexpensive a hobby as you can find. Shamelessly stolen from a post by rockpaperscissor 

|
|
#62
03-11-2018, 08:16 AM
|
||||
|
||||
|
I take it you found the font? https://designsrock.org/avenir-font-download/
|
|
#63
03-11-2018, 02:17 PM
|
||||
|
||||
|
Fuel Tap
Hi Mike
No I didnt! Cheers, Ill have a play. Fuel Tap Plate This is another item Ive taken all day looking at pictures to eventually find out what it says. Once Id figured it out I simply produce the item to the right size in Serif: 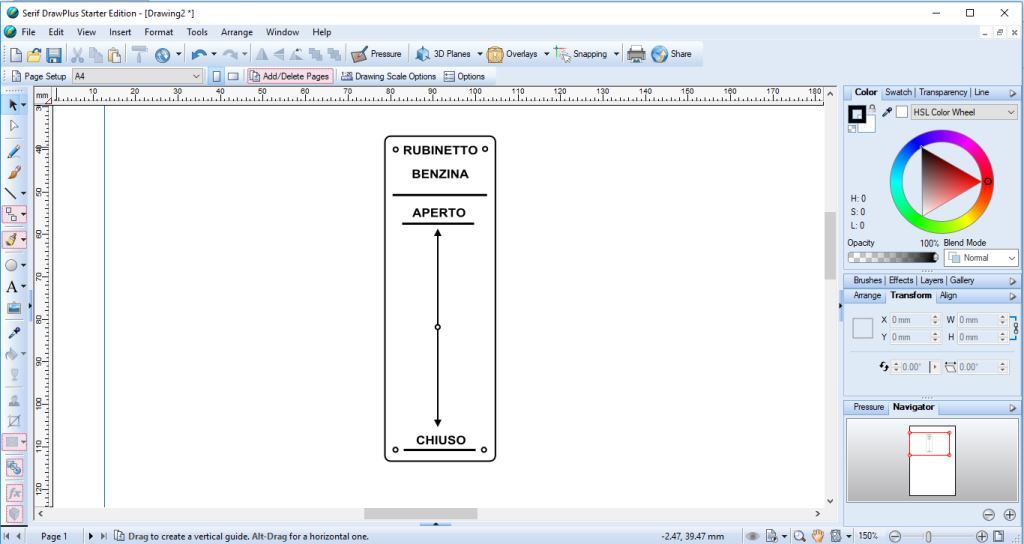 I made a trial print on white paper followed by a hi qual on yellow: 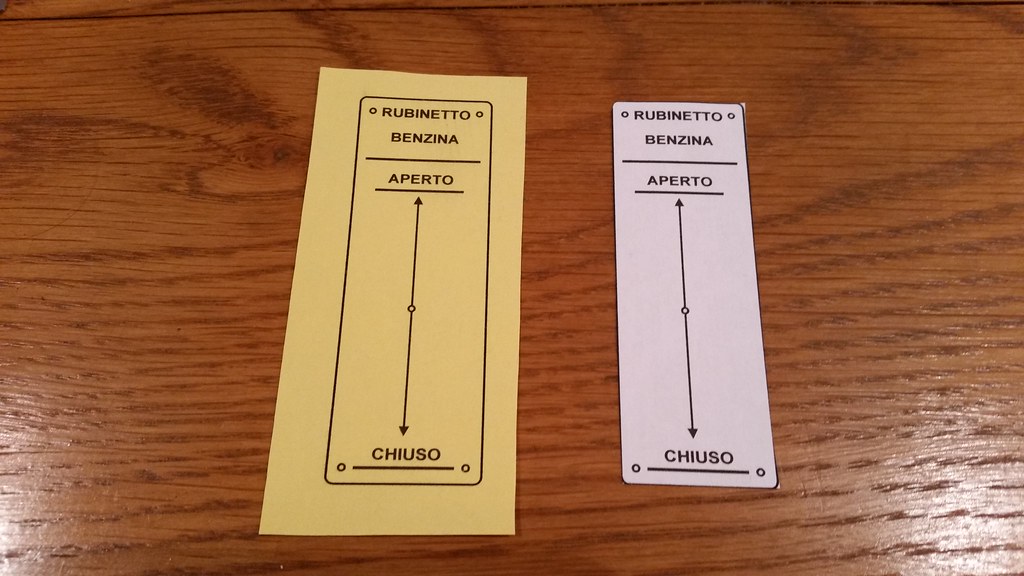 This was stuck onto white card and the corners penciled in yellow to match the paper: 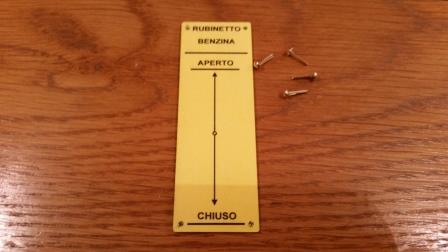 The holes for the rivets were drilled out: 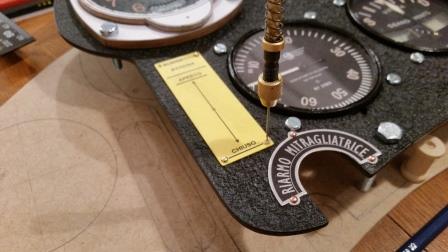 Finished item on the panel when riveted on.  Enjoy
|
|
#65
03-24-2018, 04:20 AM
|
||||
|
||||
|
Altimeter OMI
Thanks YOAV
Altimeter completion. I finished the Altimeter last night and fitted it to the upper panel. The gauge build was in the usual way, serif designed, printed onto paper then stuck to the MDF board. This was then cut out and extra layers added to make the required thickness. All sealed using superglue and sanded smooth before painting black. See pics below for gauge build: Start: 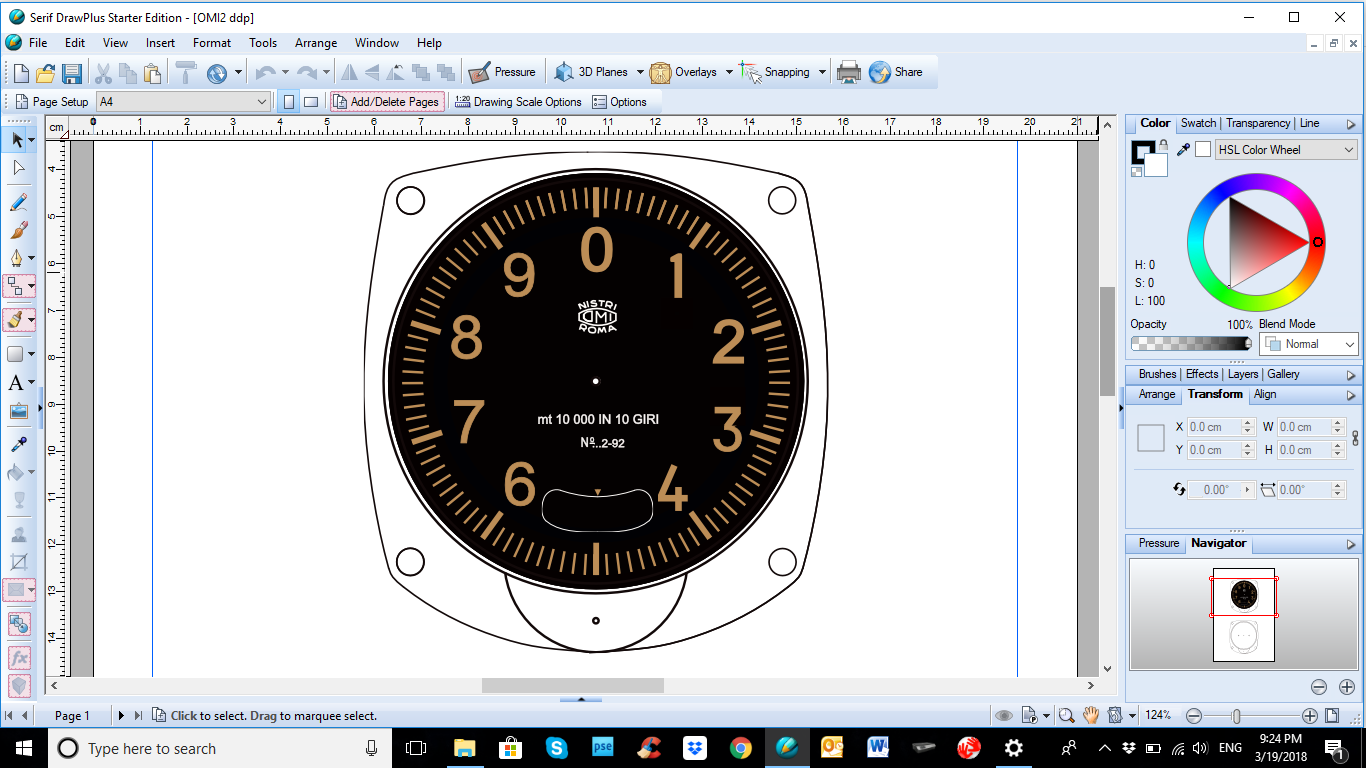 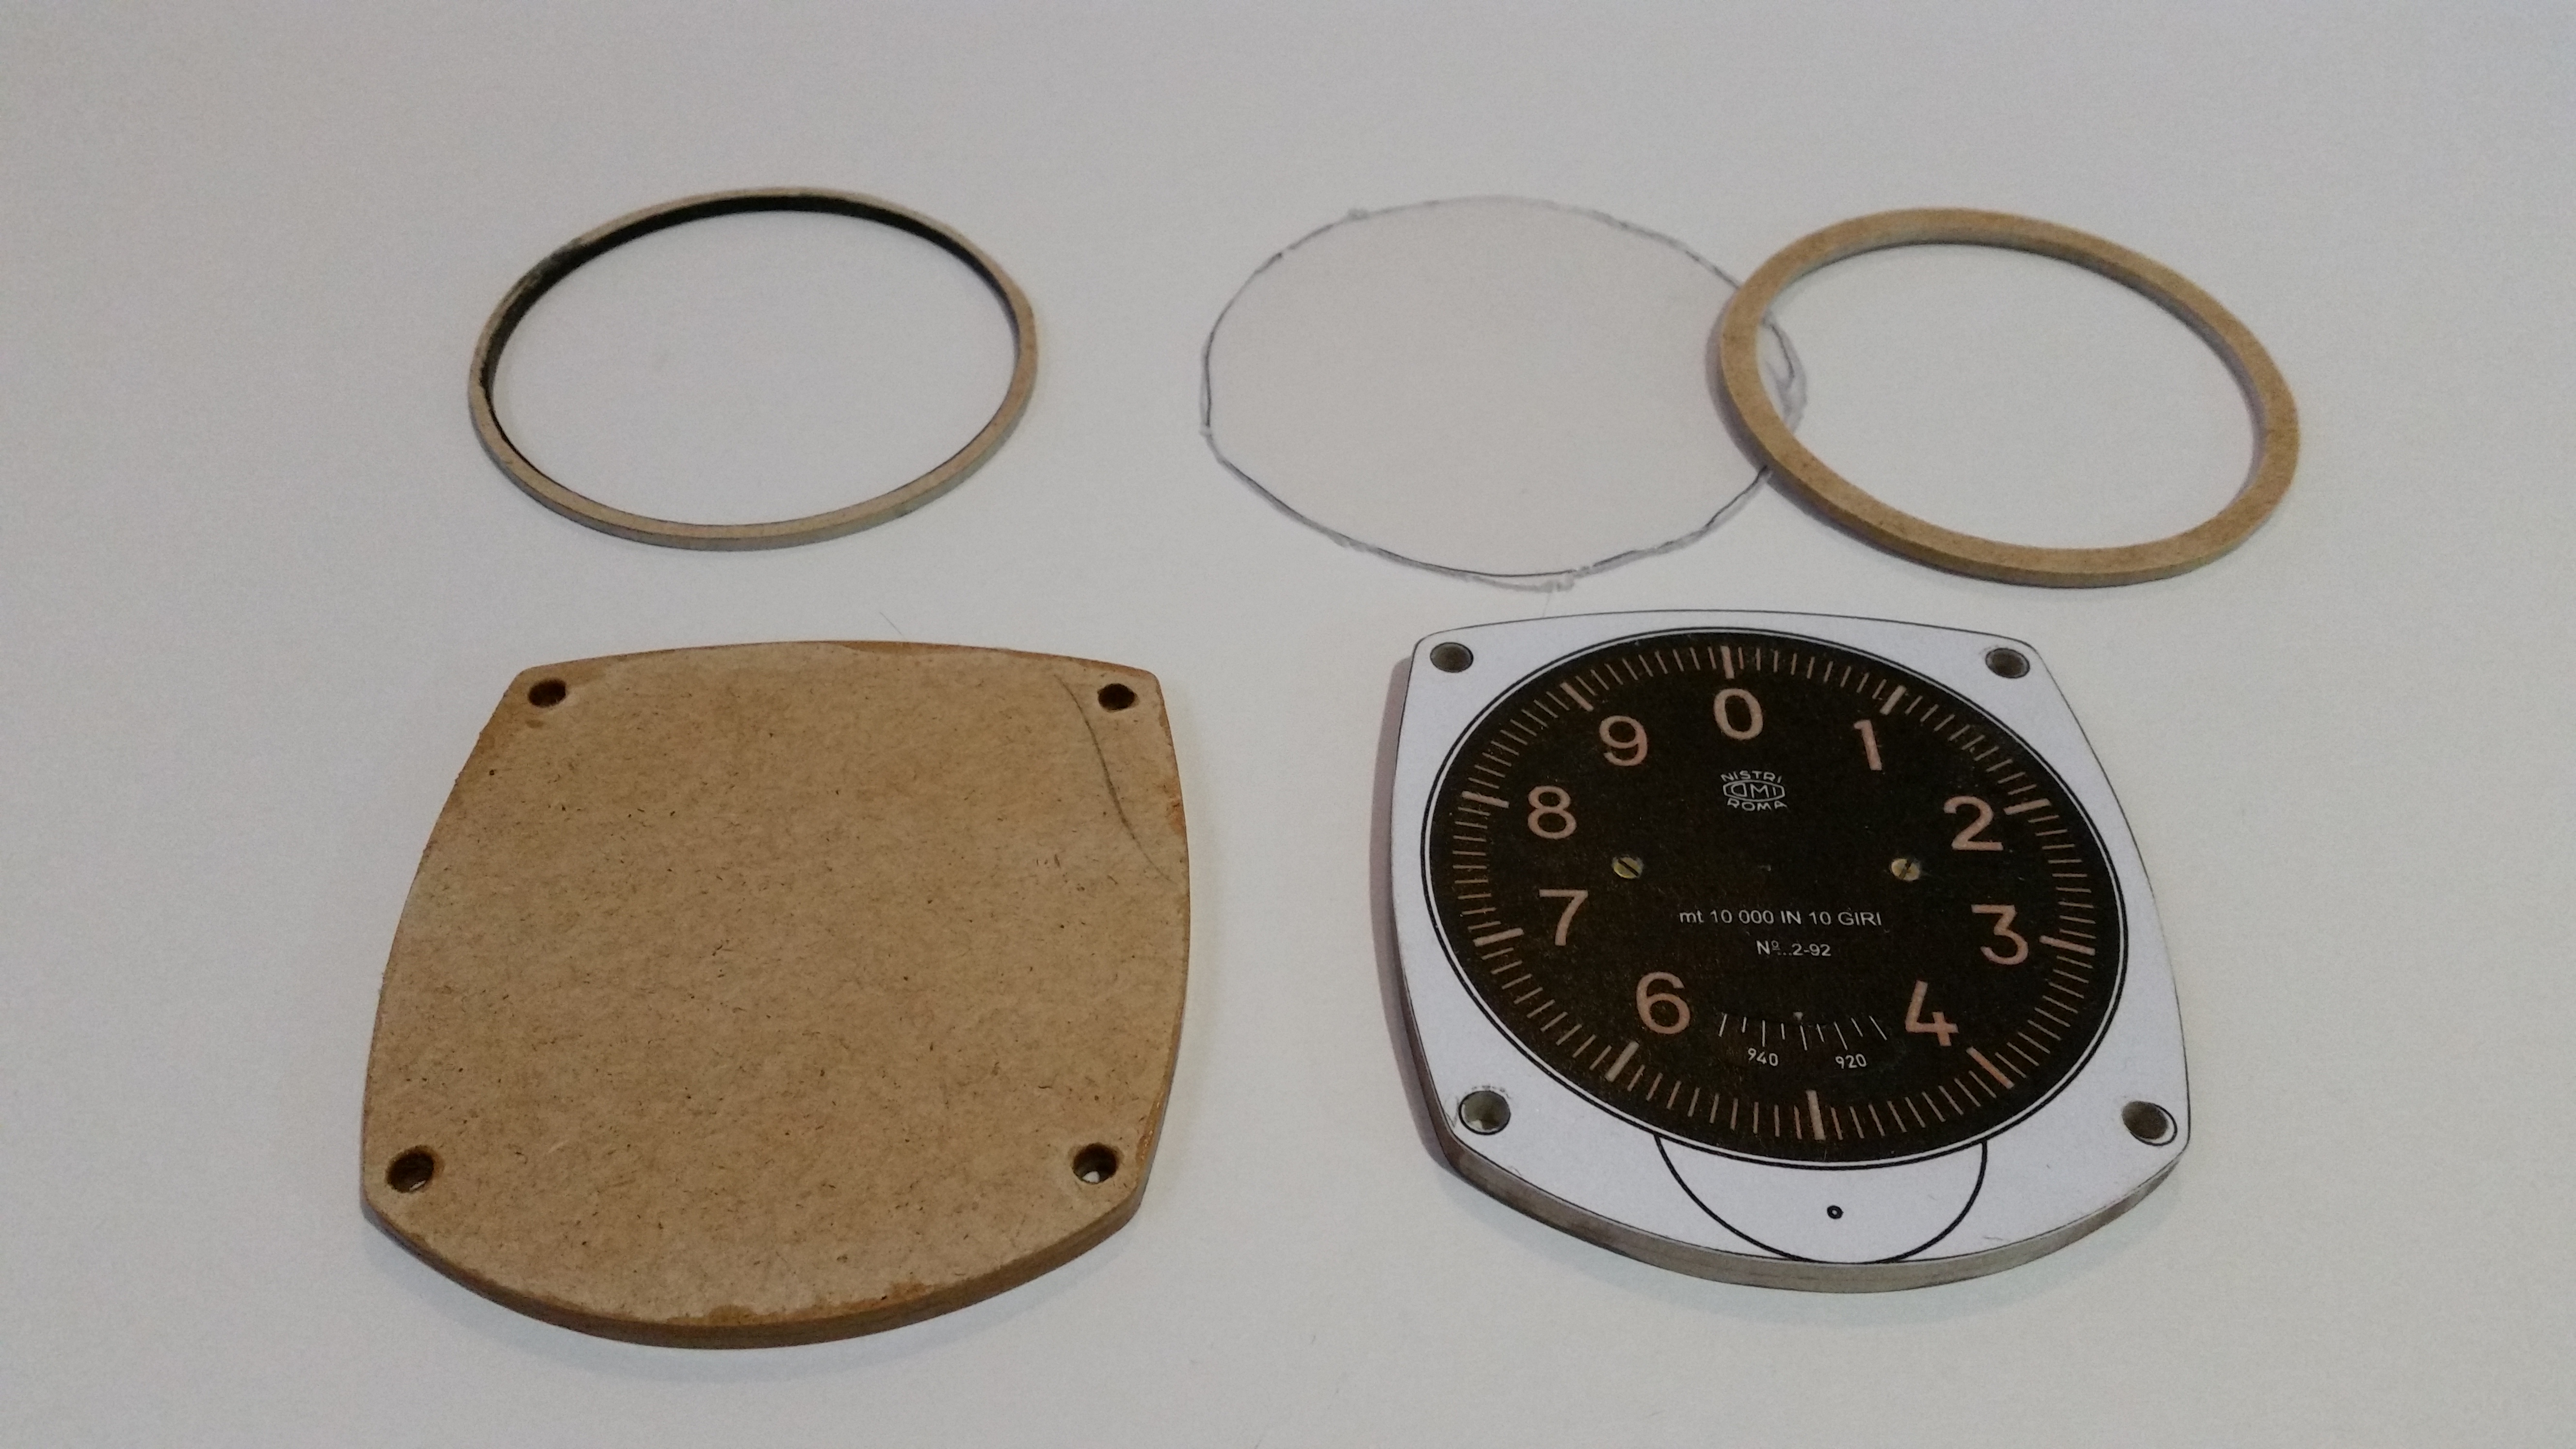 Completion: 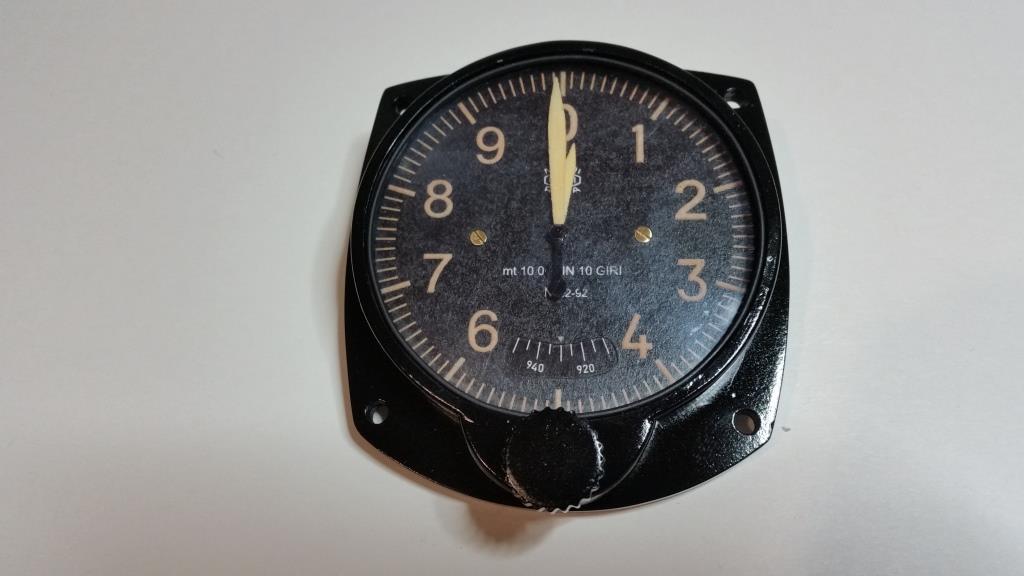 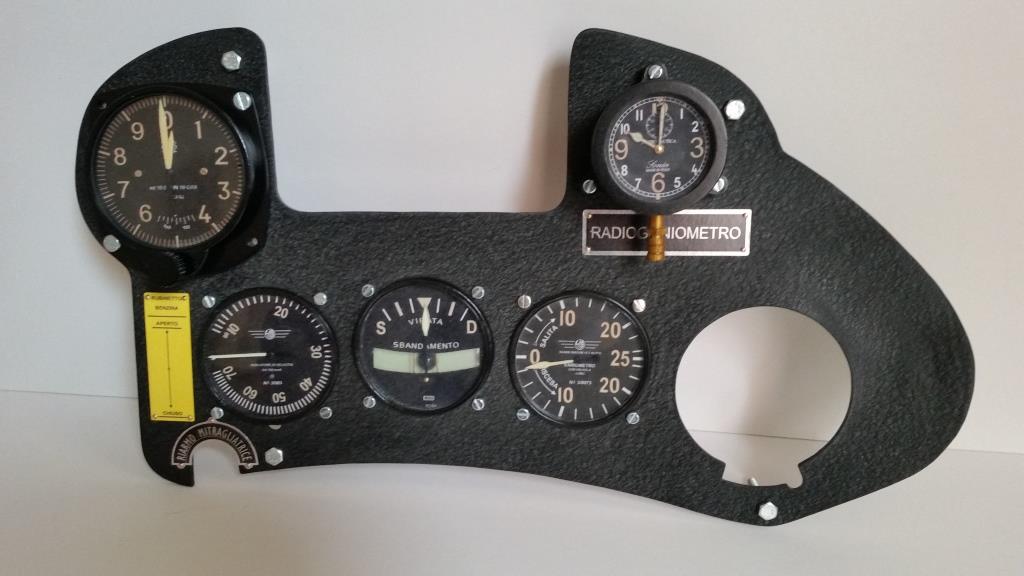 Next gauge - Artificial Horizon Enjoy
|
| Google Adsense |
|
#66
05-18-2018, 01:50 AM
|
||||
|
||||
|
alzictorini, I trust that life in Spain is good for you? Another panel build, and another masterpiece in the making! Sickeningly good stuff!
 If I may, I have a tiny point to make about the larger 'AVVERTENZE IMPORTANTISSIME' plate that features the 3-bladed propellor symbol. I am sure that in the photos of the actual plate, abeam the P1, P2 and P3 lettering alongside the blades, I can see what appears to be a small white dot in the centre of each blade - is that correct? If so, you should perhaps add it to your version? Keep up the great work - dedicated and amazing stuff!
|
|
#69
06-03-2018, 04:43 AM
|
||||
|
||||
|
Update
Dear PMs
Sorry for the absence but with the RAF100 this April+ ive been busy on some other projects. Ive had a few pms asking on an update but so far Ive only had time to sort the interface between the upper and lower panels. This was just a case of drilling through the upper panel into the lower and trial bolting together. It fits a dream: 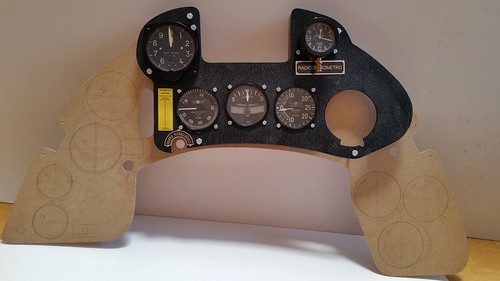 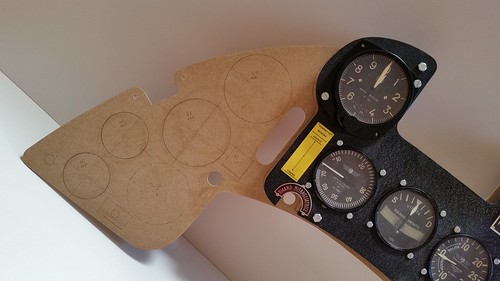 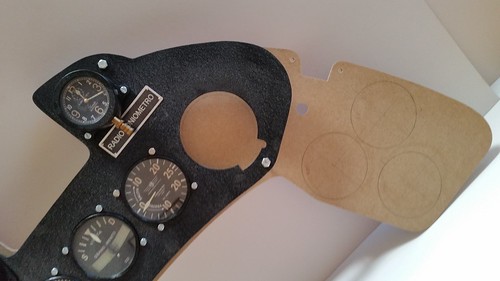 Work begins today on the artificial horizon. As for my RAF100 project, you can see that here if you are interested: https://www.pinterest.es/mad9562/r11...r-restoration/ Although a real item ive utilized many of my paper-modelling skills to complete it. Enjoy
|
|
#70
06-11-2018, 12:05 PM
|
||||
|
||||
|
Orizzonte Artificiale
PMs
OK, next instrument for construction - Orizzonte Artificiale or Artificial Horizon The real item looks like:- 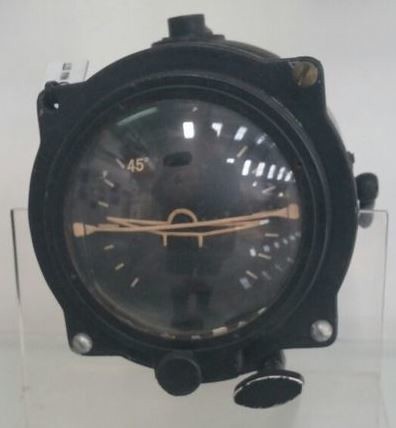 As per the most of this replica reconstruction it will be made from MDF, card and clear plastic. Firstly the graphics were made from 3 pictures of the real item. The first thing to make was the base and the centre horizon piece. 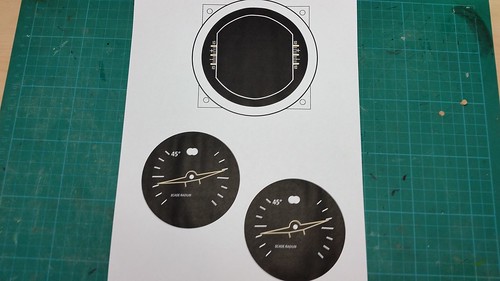 At the local model shop I came across a plastic toy ball. I intend to use this for the face and the outer glass case. 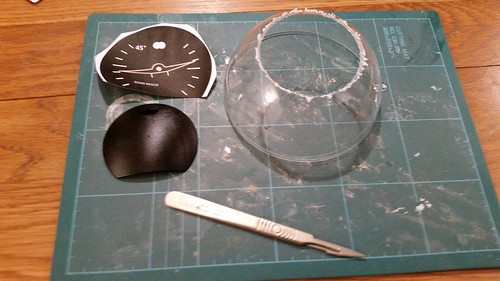 Because the face is convex I could not stick on my graphics so instead I cut out the lettering and attached them onto the surface and used white electrical tape for the dashes. 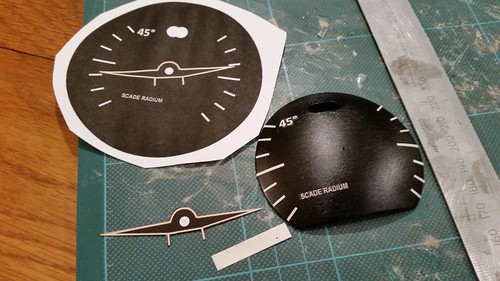 The base came next, simply sticking the graphics to MDF then cutting it out with a leather punch. 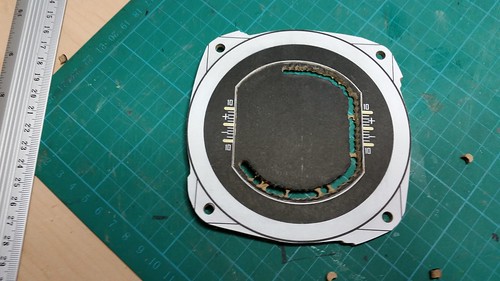 The two pieces were next tried for size next to each other before painting the white items with glopaint. 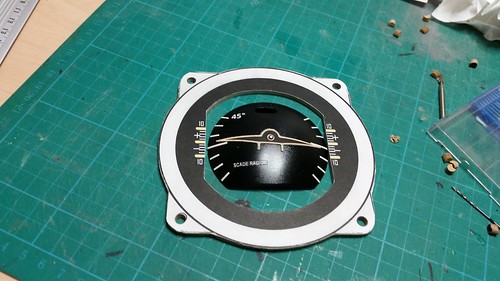 Enjoy
|
| Google Adsense |
 |
| Tags |
| folgore, instrument panel, macchi c.202, sonia clock |
|
|


 Linear Mode

