


|
|
|
#51
 03-29-2018, 02:27 PM
|
||||
|
||||
|
All these infos about the vacuum suction device make me very curious to build one!
Thanks Erik for the link, I have started following your thread and will read it with great interest. Cheers, Chris
__________________
website: http://www.papierschnitzel.com - patreon: https://www.patreon.com/papierschnitzel - facebook: https://www.facebook.com/papierschnitzel 
|
|
#52
03-29-2018, 03:05 PM
|
||||
|
||||
|
sorry...forgot this was a thread about an F15. lol
...I didn't meant to hijack the conversation. I have a small vacuform box, but it has sprung a few leaks. And I think it has too many holes on the deck. Its worked okay...but not great. I've been thinking about trying to build another one. So the comments got my attention.
__________________
SUPPORT ME PLEASE: PaperModelShop Or, my models at ecardmodels: Dave'sCardCreations
|
|
#53
03-29-2018, 03:15 PM
|
||||
|
||||
|
Erik's vacuforming box build I am impressed with.
If I build one, I will go for a similar approach. Thanks Erik for the input - very useful.
__________________
The SD40 is 55 now!
|
|
#54
03-29-2018, 09:53 PM
|
|||
|
|||
|
I made my vacuum box big, so I could use it in the future for other things too.
But in order to reduce the suction area to the canopy of airplane models, I covered the rest of the box with a very strong adhesive tape/masking tape. I have a semi-industrial vacuum cleaner, so I have a very strong suction inside the big box anyway. YOAV  
|
|
#55
04-03-2018, 07:56 AM
|
||||
|
||||
|
Look what the easter bunny brought ...
Finally found some time to continue. I had the seat done except for the cushions for a while but only was able to finish the rest today. It's a lot of very small parts but I made it! I think it looks presentable enough. I decided I'll skip the scratch built zucchini (a.k.a. oxygen bottle) for now though :-)  Looking at the next step I see some clear plastic parts (D1, D2). What kind of plastic is used for that? I have to go on a model builders shopping spree for them :-) Chris
__________________
website: http://www.papierschnitzel.com - patreon: https://www.patreon.com/papierschnitzel - facebook: https://www.facebook.com/papierschnitzel
|
| Google Adsense |
|
#56
04-03-2018, 09:20 AM
|
|||
|
|||
|
the ejection seat looks great...well done.
about parts D1+D2.... you can use clear PVC or regular Transparencies/Slide sheets. You can get these sheets and PVC in stationery stores, art and craft stores, and stores that sell printers. In my country these sheets come in the form of A4, or in the form of a cylinder of meters by 70 cm. A 150-micron PVC cylinder costs $ 2.5. good luck YOAV
|
|
#57
04-15-2018, 11:12 AM
|
||||
|
||||
|
Finally some time again to continue ...
I started with the cockpit and am now thinking how I will make the steering stick. I have FIMO, so the little ball on the top should cover that. Not sure about the stick. Make the whole thing in FIMO or just use thicker cardboard for that ... 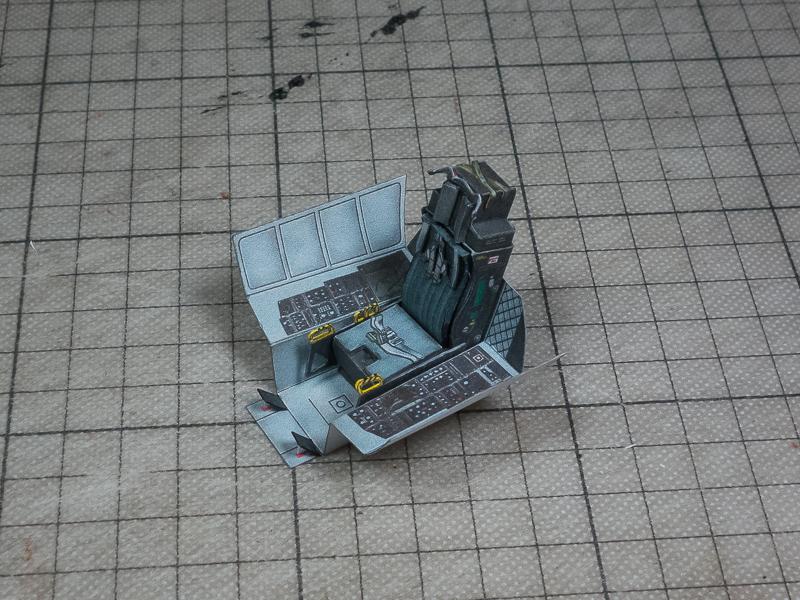 I also started the nose section. So far, so good. I hope the connecting parts will make no problems :-)  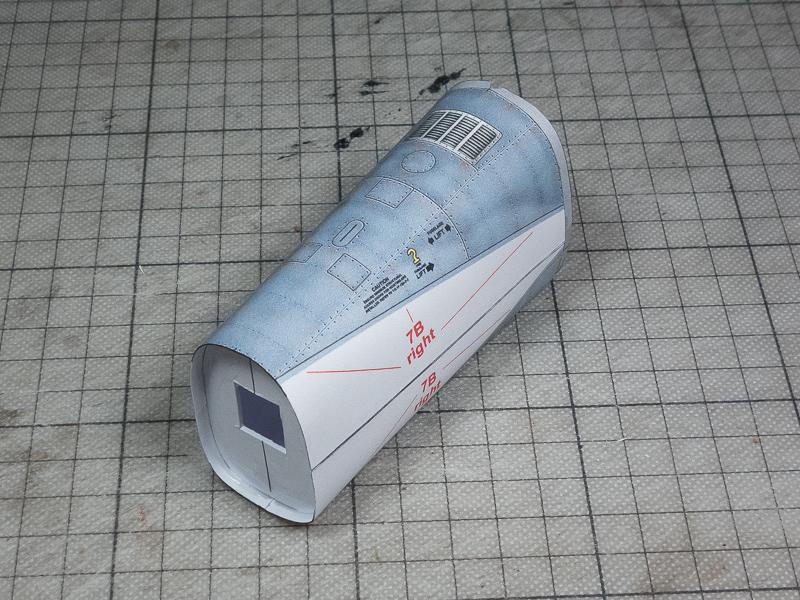 I was wondering why in the instructions these square holes have been cut out of the formers. Now I know! I couldn't have positioned them without :-)
__________________
website: http://www.papierschnitzel.com - patreon: https://www.patreon.com/papierschnitzel - facebook: https://www.facebook.com/papierschnitzel
|
|
#58
04-16-2018, 02:18 AM
|
||||
|
||||
|
Next I am tackling the nose.
Here are the parts all cut out and glued with their connectors. 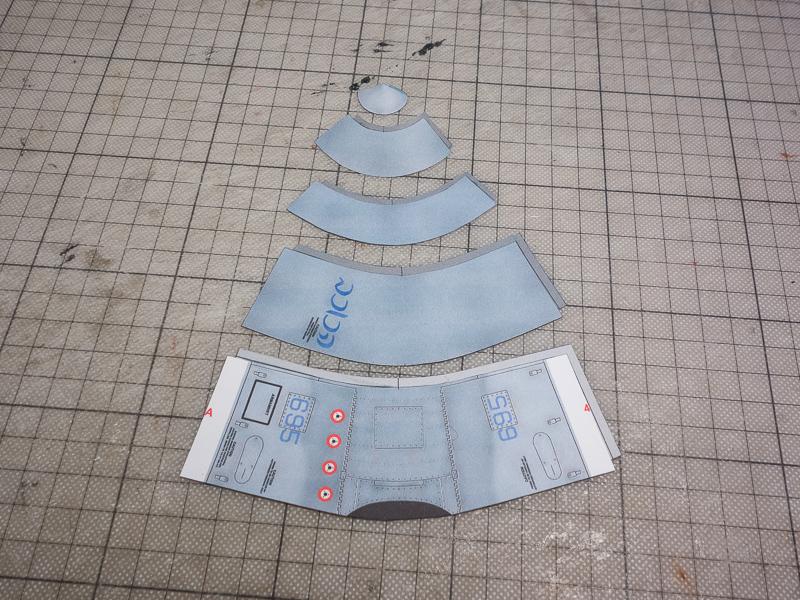 I then closed the rings and prepared the former parts ... 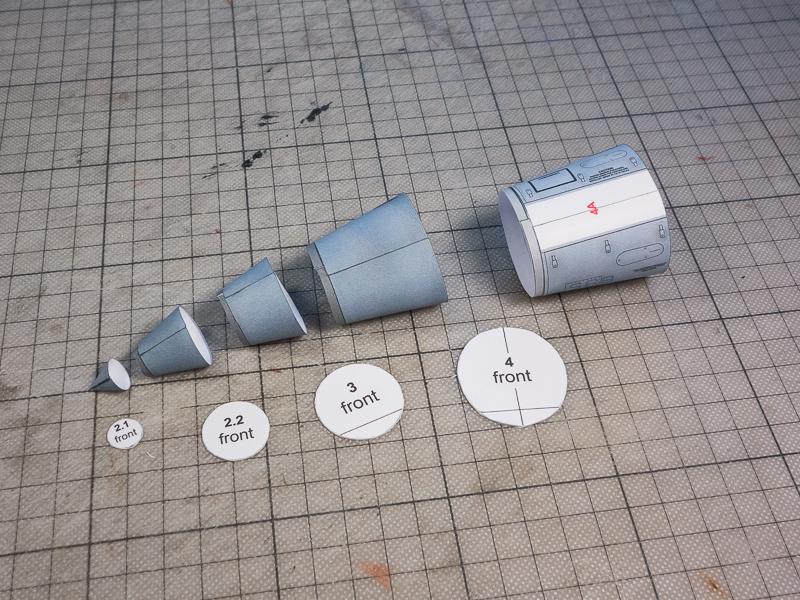 While dry fitting the segments together, I found that the connector parts would "be in the way". I then saw a hint on one of the photos of the instructions and cut the connectors into little flaps that would better bend into shape.  Then - starting with the front - I glued all the parts together. After each connection I inserted the former part. I skewered it with my small detail scissors, applied the glue and then inserted it into position. Quite happy with the result. Once can start to see the beautiful shape of the plane! 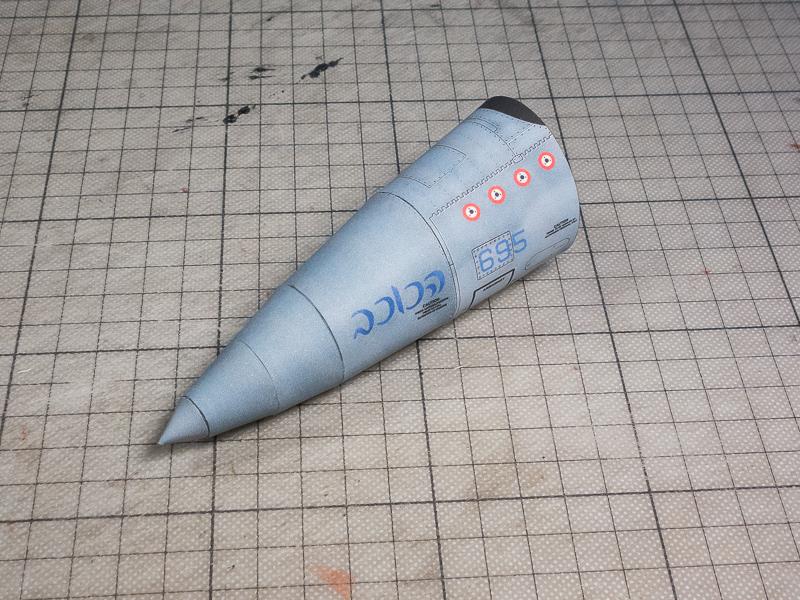  I was a little bit scared about these multiple parts and whether I could pull off this compound shape but to my surprise it went together very smooth. I hope the remaining parts of the front section will be the same :-)
__________________
website: http://www.papierschnitzel.com - patreon: https://www.patreon.com/papierschnitzel - facebook: https://www.facebook.com/papierschnitzel
|
|
#60
04-16-2018, 07:36 AM
|
||||
|
||||
|
Looking very good, sir
__________________
A fine is a tax when you do wrong. A tax is a fine when you do well.
|
| Google Adsense |
 |
| Thread Tools | |
| Display Modes | |
|
|


 Linear Mode

