


|
|
|
#11
 11-24-2009, 10:01 AM
|
||||
|
||||
|
Thank's Orazio
 I Choice 1/100 scale because a space problem to display my models, but I love 1/48 and 1/50, but for this scale I selected few subjects (WWI and Golden Era Airplanes) to build. Is very funny see the reactions for people to size of models (my plastic modelers friends from IPMS in my city).:D:D 
|
|
#14
11-30-2009, 05:51 PM
|
||||
|
||||
|
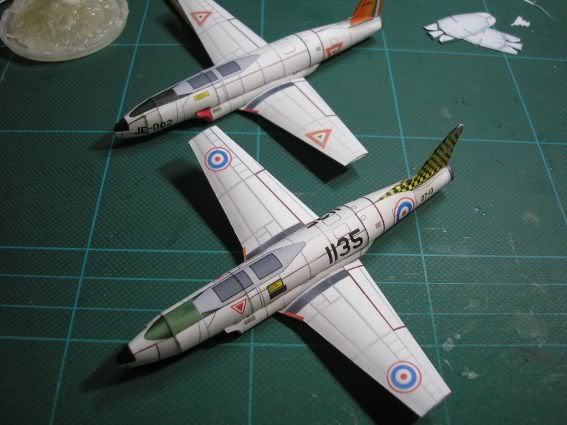
Thank's my friends!!!
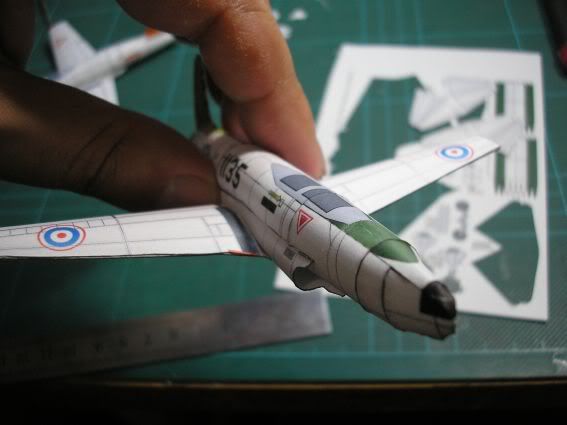
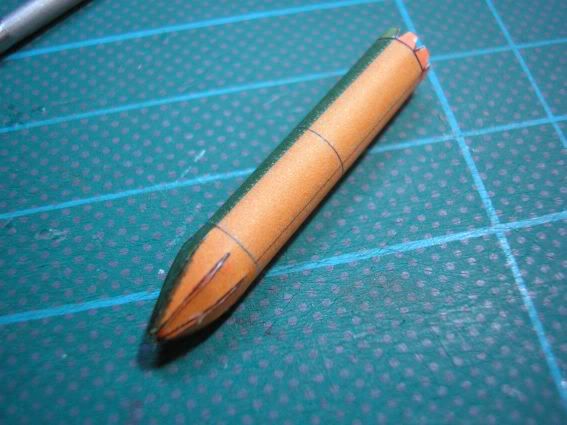
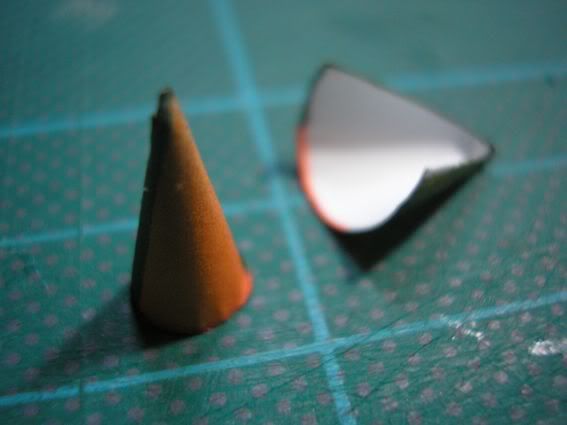
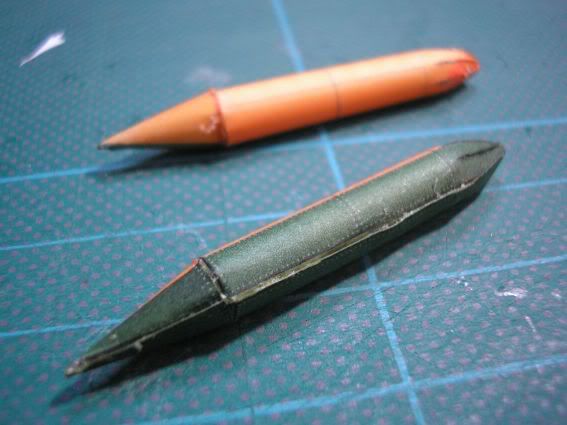
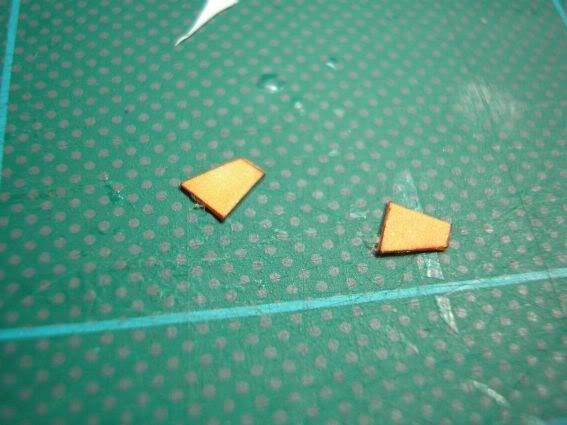
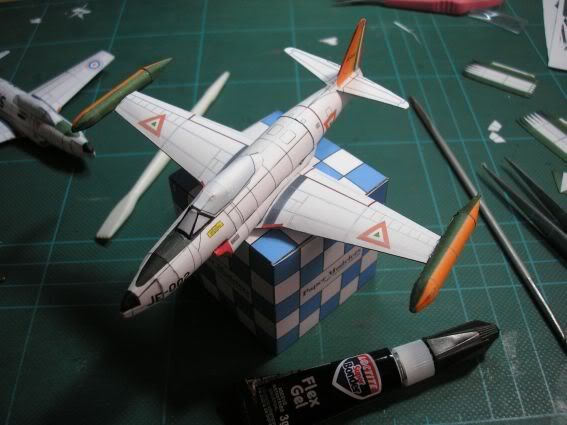
I decide to show my assembly process of DGA's T-33. I'm show build Thai and Mexican Air Force T-33 My materials and tools to build: 4x 120g Filecoat Paper Sheets (for this scale: 1/100 is perfect to print) 2x #11 scalpel blades and cutter Round metallic pencil 2x paper clips (small size) Hidrocolors pencil (to cover the white corners and edges) white PVA glue Cianochrilate Glue Tool for make lines Cutting mat Dullcote verniz Metal ruler The original model is in 1/48 scale printing at 100% but is not detailed for this scale, in 1/100 or smaller is perfect, the Designer Rob Carleen capture perfect the shape of original aircraft. My assembly sequence
Is make from four segments, the shape is a tube, the most dificult part is nose section, is need atention and careful to fold. The rear section too because is integrated with tail part. 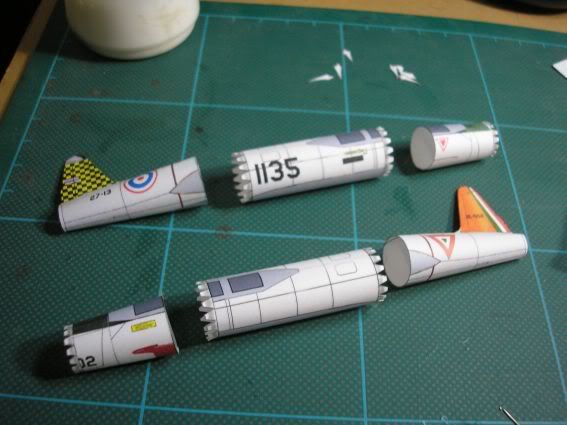 Main sections of fuselage assembly, is easy to make because is a tube... 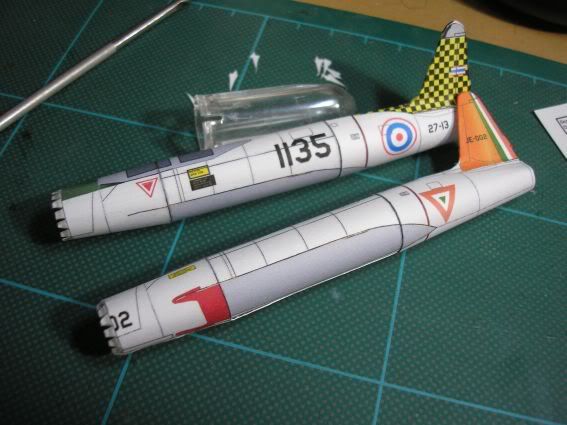 Main sections of fuselage build wating the nose, is very careful "merried" panel lines... 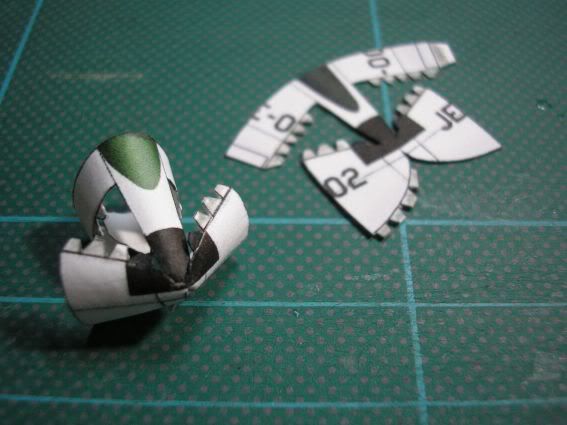 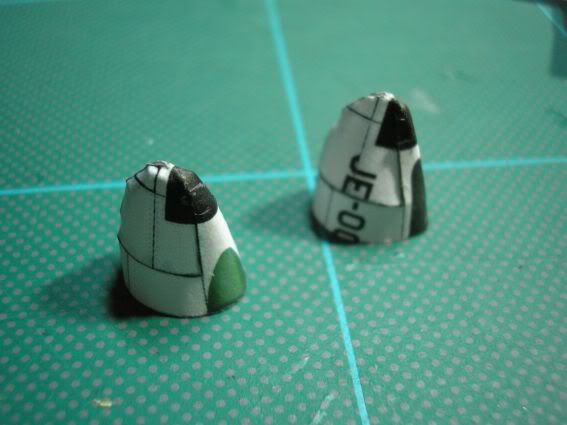 The pics show the nose assembly the most complicated part to build in this stage... 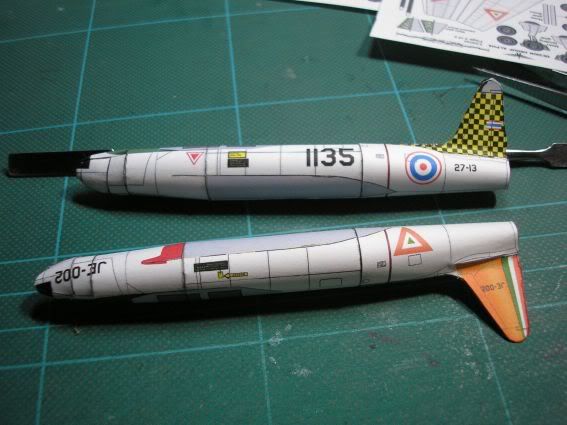 Fuselages complete.
|
|
#15
11-30-2009, 06:09 PM
|
||||
|
||||
|
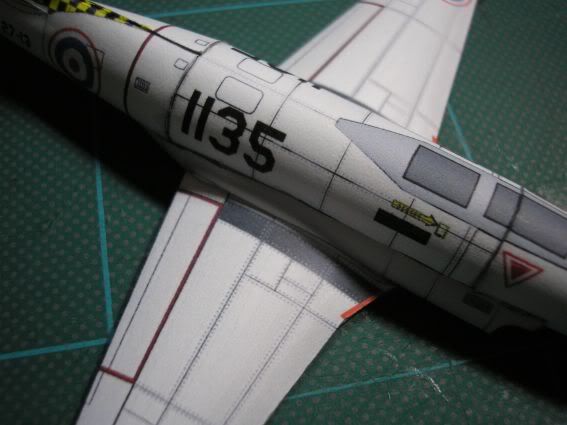
Air intakes...
Is very simple to build, is a shape curve format, but the best tip to fixed in fuselage is a make fencers in correct place to glue intakes tabs (not folded) 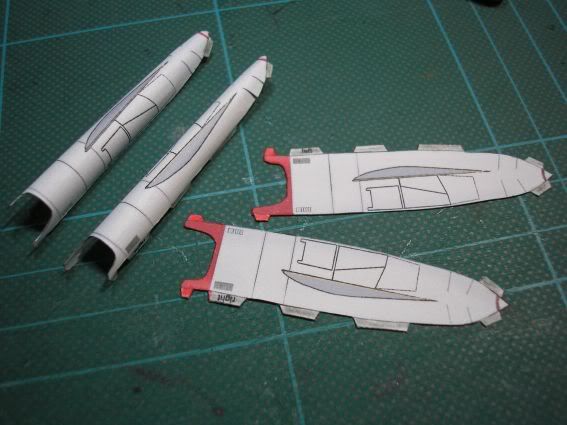  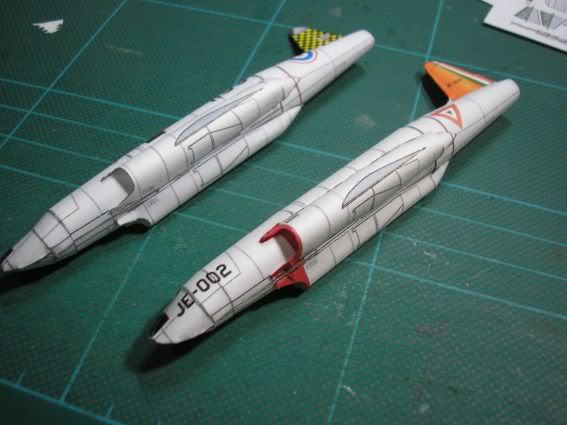 If the holes make in correct palces the result is a shown in third pic. In this section, not respect my own assembly process and make a jet exaust the white side is paint in dark grey hidrocolor pen.  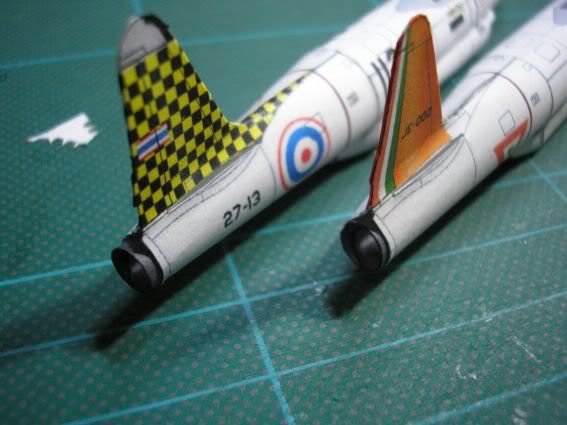 Continue...:D
|
| Google Adsense |
|
#16
11-30-2009, 06:16 PM
|
||||
|
||||
|
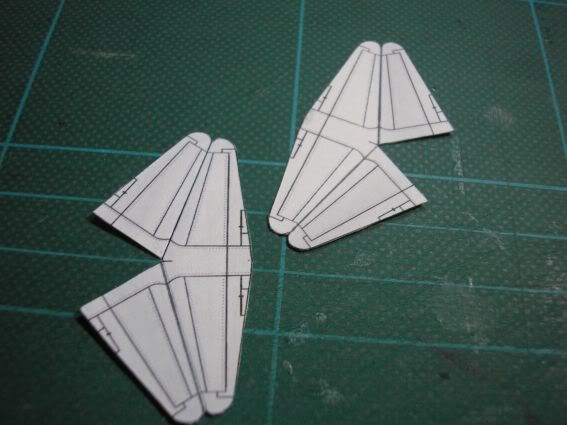
In this step I make wings, is a very simple process only superior face is curve shape.
 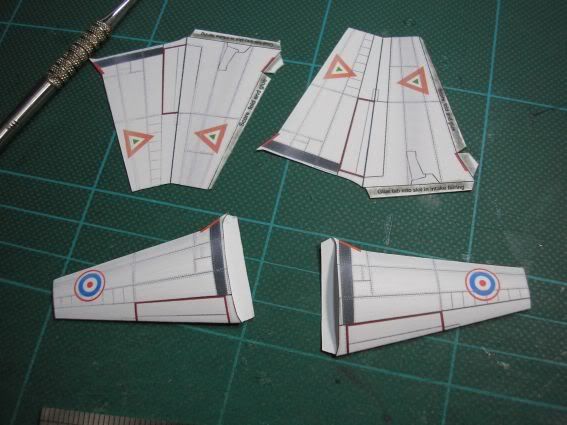     In the pics is show assemble wings of two T-33 's, note the wing hoke open in intake, the bes tip insert the tab before gluing, after dry glue top of wing and make a diedro for wings.
|
|
#17
11-30-2009, 06:25 PM
|
||||
|
||||
|
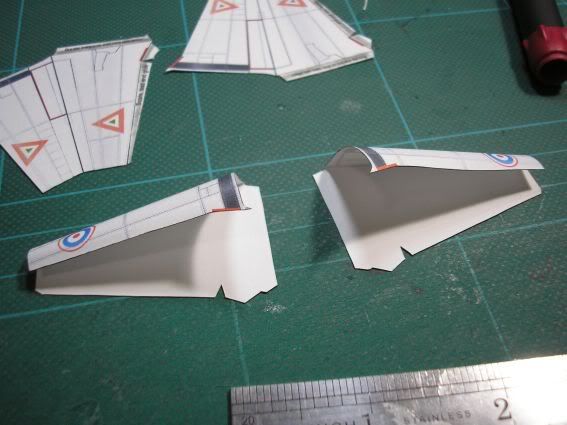
In this step I make stabilizer is very simple to build, the most dificult is open hole to insert this piece in the tail...
 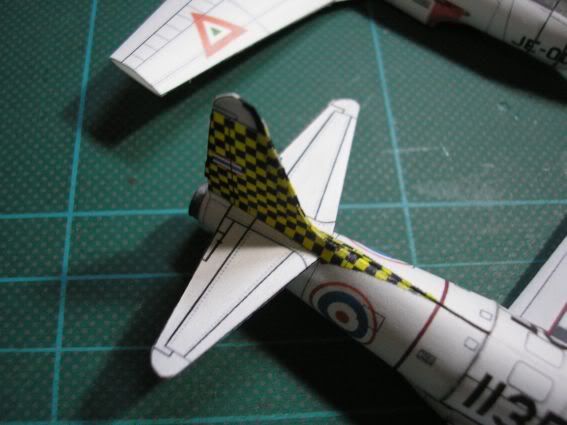 In the next I make a canopy, is simple but for the best result I recommend compound the shape with a esferal shape tool. 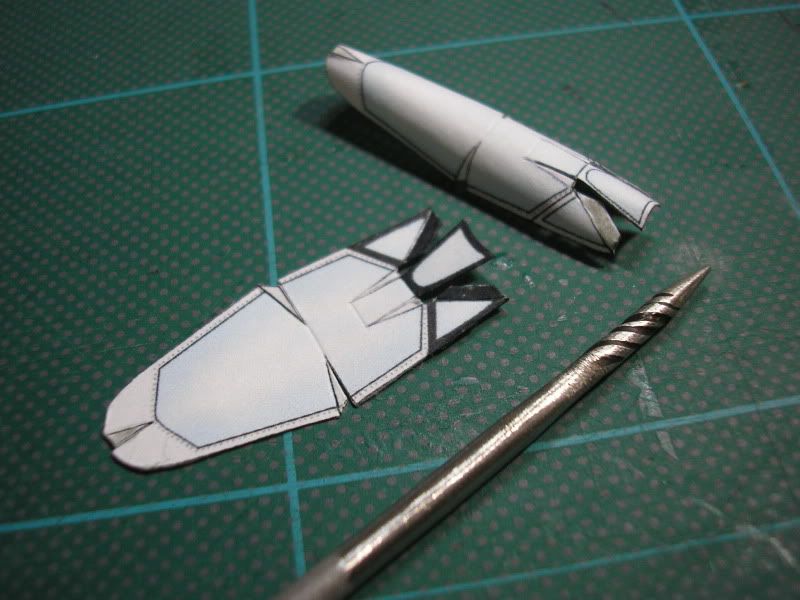 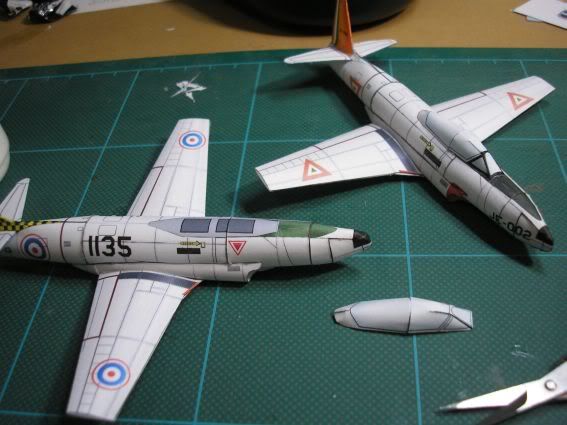 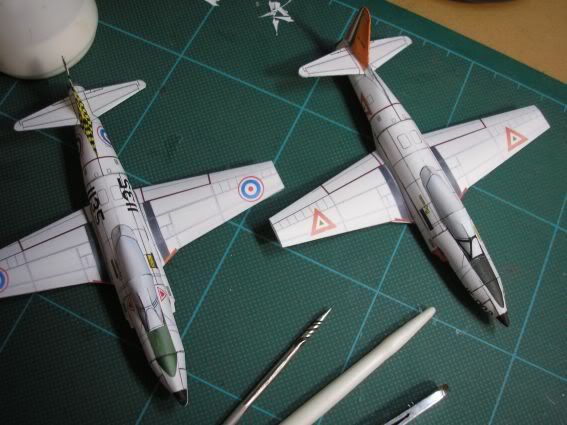 Continue...:D
|
|
#18
11-30-2009, 06:30 PM
|
||||
|
||||
|
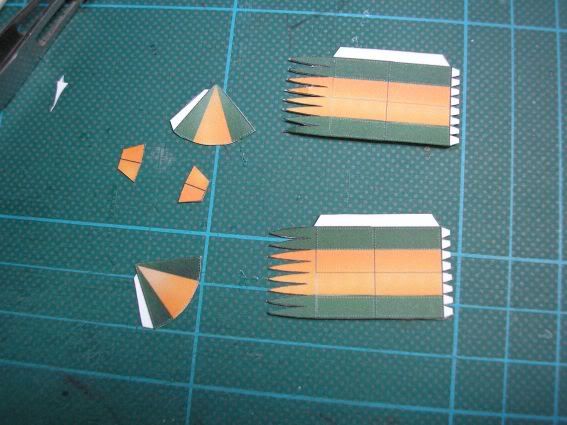
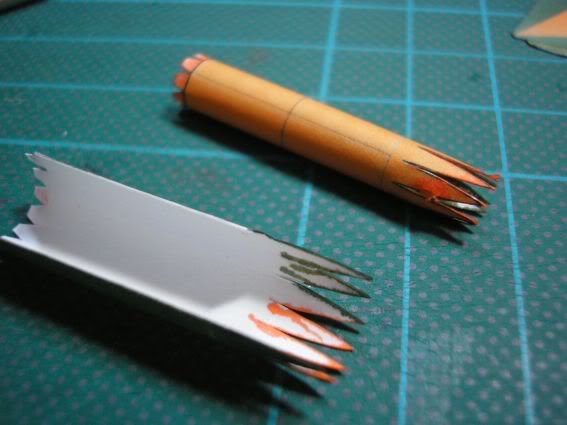
The next step is a make of wing tip tanks, the most complicated in this sub-assembly is a form to frontal tip of the tank, but i use a ogival form to make the shape...
       Continue...
|
|
#19
11-30-2009, 06:40 PM
|
||||
|
||||
|
Undercarriage.
Is a very simple to build, in this 1/100 is a small pieces in the frontal leg i use a very hard #11 blade to open this holes for hidraulic braces and legs, after the finished group I glue with cianochrilate glue. After I make and glue this doors the process is a same. 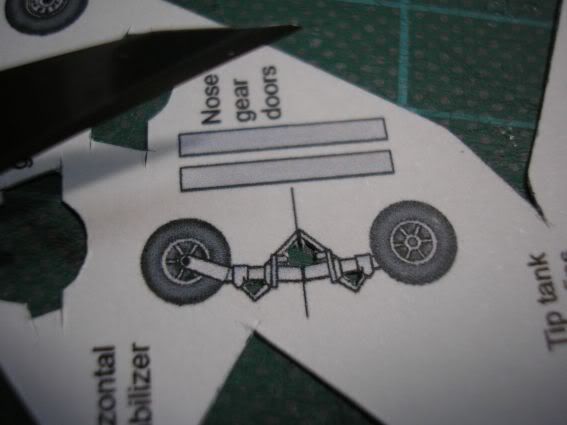 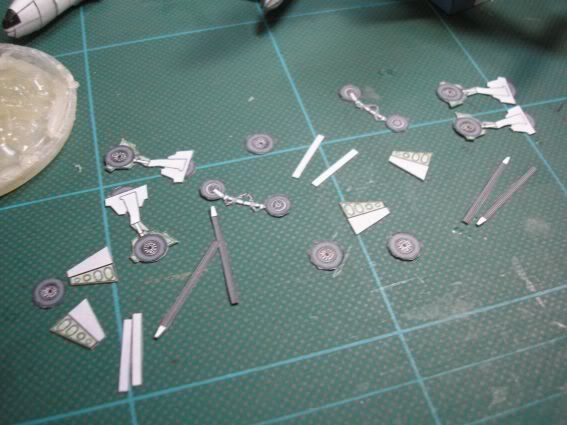 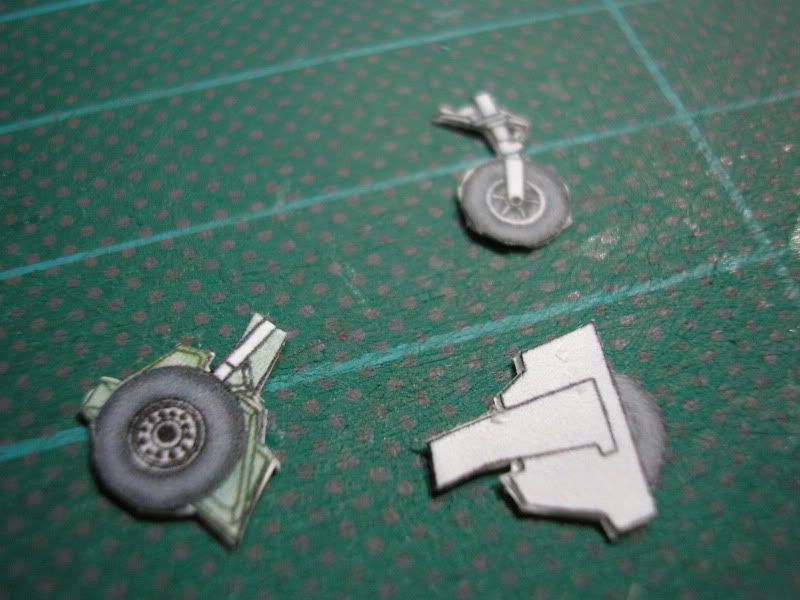 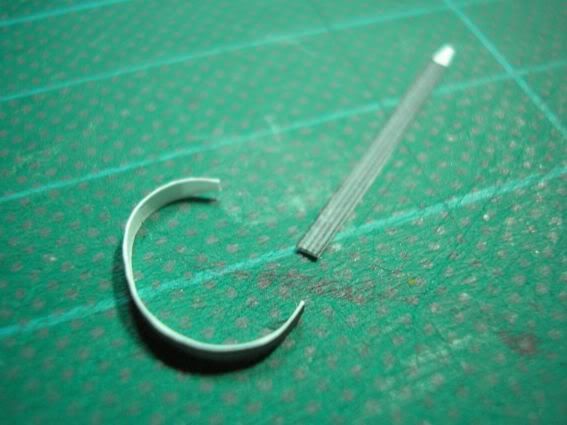 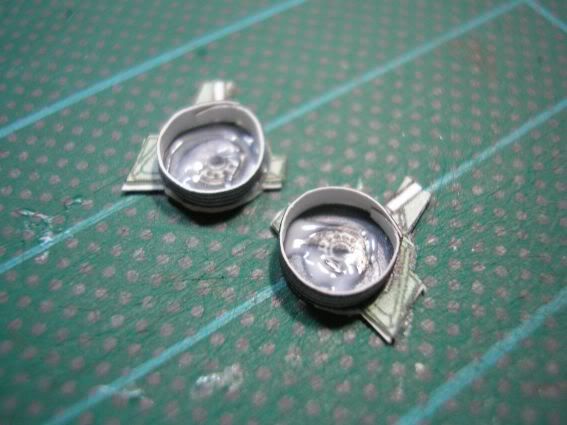 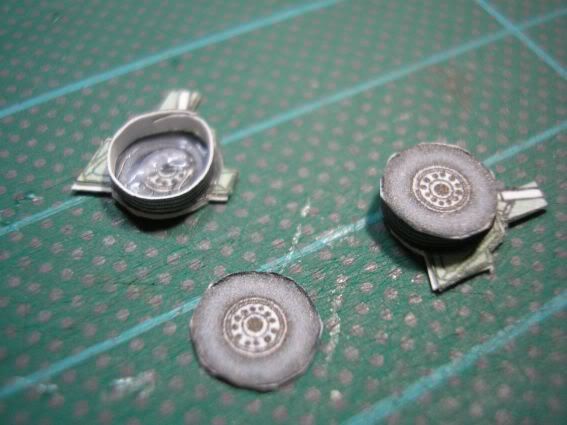 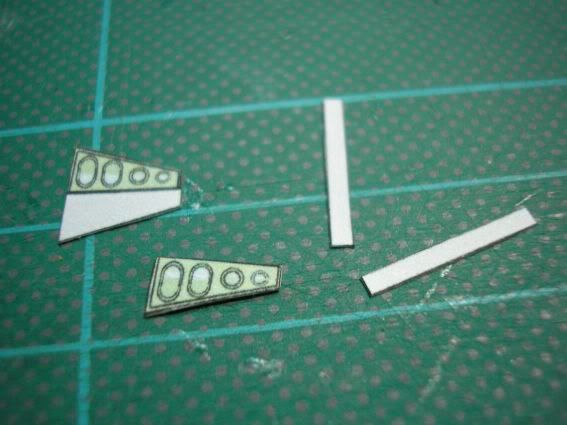 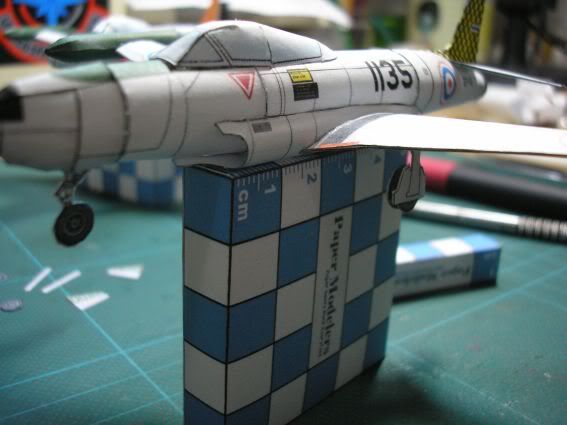 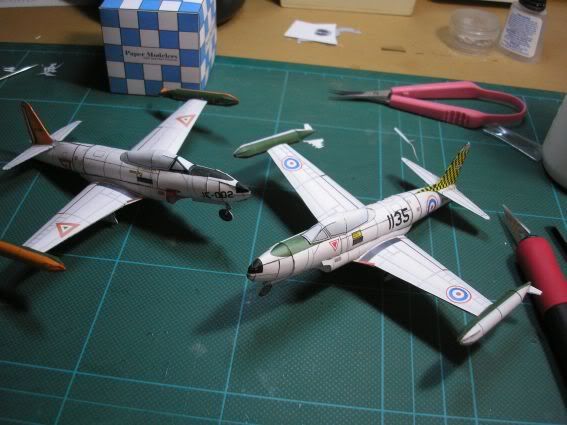
|
|
#20
11-30-2009, 06:46 PM
|
||||
|
||||
|
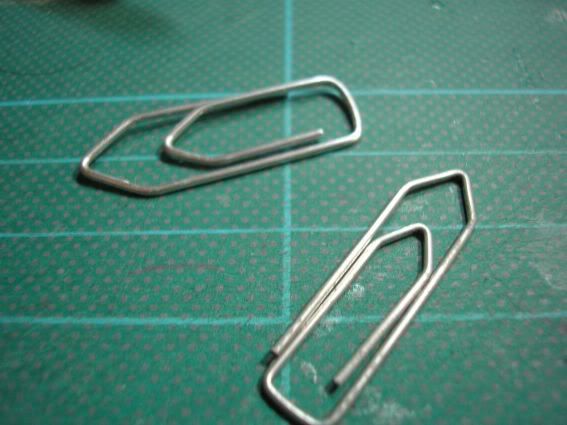
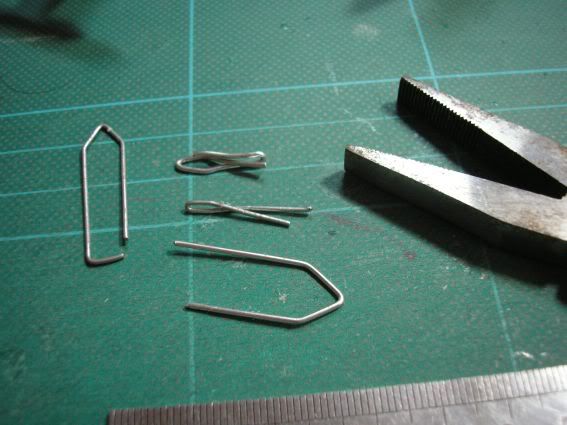
The final touch is nose weight (very nice tips from a CMAGS friend), for display purposes and balance, I make nose weight with paper clips cut and mold to insert in a fuselage, vewry simple and effective tip.
|
| Google Adsense |
 |
|
|


 Linear Mode

