


|
|
|
#11
 07-30-2007, 07:01 PM
|
||||
|
||||
|
Well, some more progress. This picture shows that you neither need skill at building nor skill at photography to post pictures of your builds (sorry, but it's the best I could do on the pic).
 I did learn one thing. When assembling the pushrods I glued them to the caps then glued the assembly to the cylinders. It would have been much more consistant if I'd have done it the opposite way, glueing the caps on and inserting the pins afterwards. She'll look ok though. It's mostly covered with the cowl afterall. 
__________________
-Dan 
|
|
#16
07-31-2007, 06:51 AM
|
||||
|
||||
|
Very good indeed in the engine! Kudos!
|
|
#18
08-02-2007, 06:37 AM
|
||||
|
||||
|
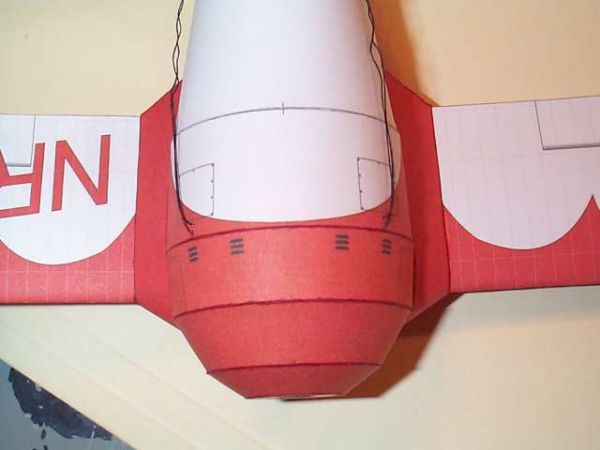
Here's the cowl for around the engine. I'm pretty happy with this piece - there's no tabs or connecting strips used - it's all edge glued. (There are tabs for each piece and connecting strips for a couple joints provided, I just didn't use them
).
__________________
-Dan
|
|
#19
08-02-2007, 02:46 PM
|
||||
|
||||
|
Push rods................ somewhere and I apologize to whoever came up with it, used .5mm pencil lead......................
right size.......... not as bright as a pin, but still shiny............ and you don't stick yourself with em! This is looking very nice.................... john
|
 |
| Thread Tools | |
| Display Modes | |
|
|


 Linear Mode

