


|
|
|
#1
 08-13-2010, 07:33 PM
|
||||
|
||||
|
Halinski F-16C Build Log 1-2/1999
I have not written a card model review or posted a build log anywhere in about 4 years. Since I am once again dedicating a fair amount of modeling time to card models, and since it is always good to give back to the community, I thought I would get back on the horse.
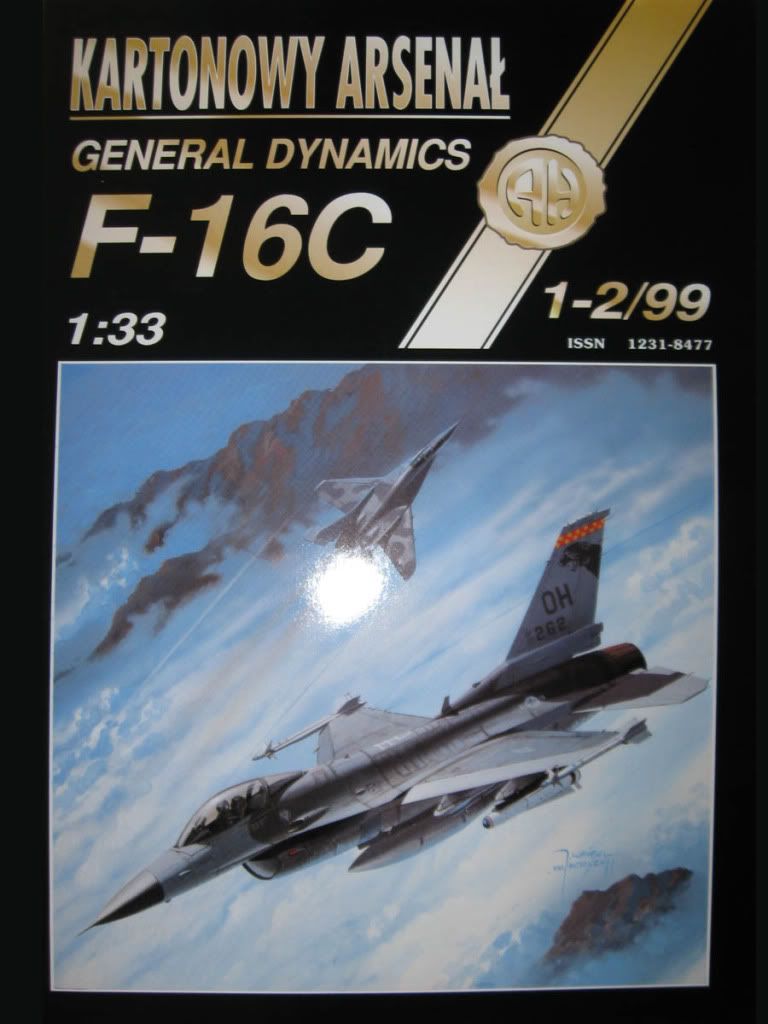 The Model For your amusement, edification, and occasional horror, I shall now build Halinski's F-16C, 1-2/1999. Based on internet sources this model includes about 700 parts. It comes in an oversized booklet with a front and rear cover, 4 pages of cardstock parts, 3 pages of paper parts, and 1 page of instructions. My copy also included a loose page describing the history of the aircraft. The model includes different ordinance than the plane pictured on the cover. I purchased my copy for about $9 US but it currently runs a bit north of that. All model parts were obviously mastered on a computer and printed with sharp edge lines. The colors have good saturation and in most cases look correct for the prototype aircraft. Metallic parts are printed with metallic inks. I cannot find any registration errors or misprints in my copy. 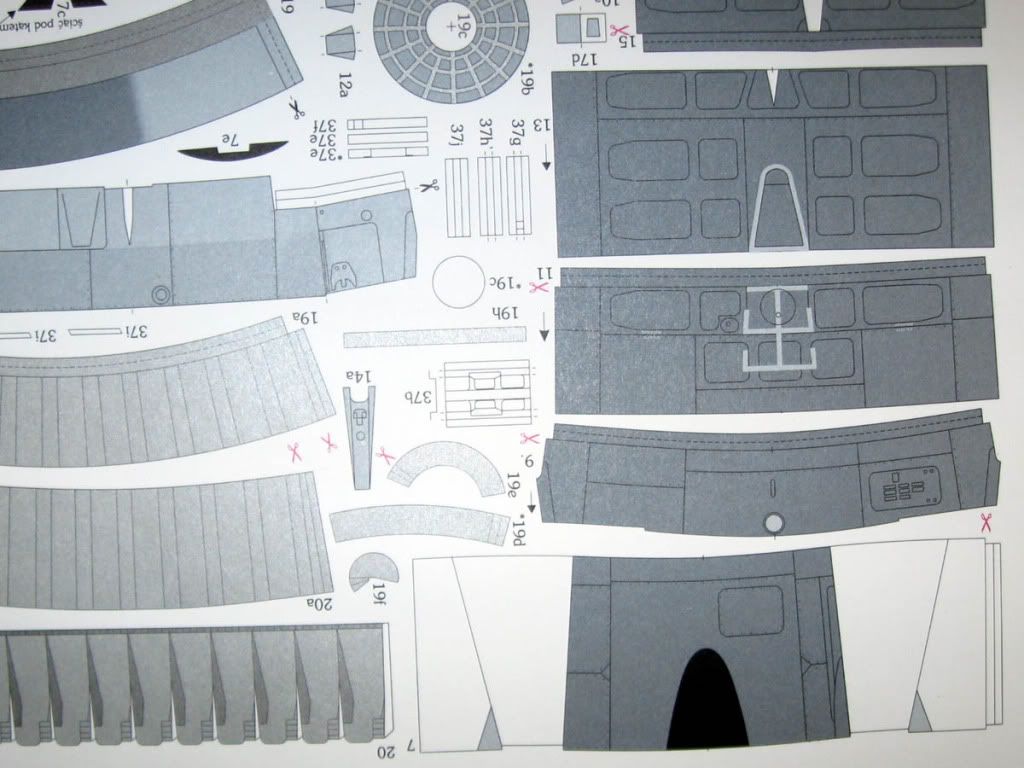 The model includes a fairly detailed cockpit and ejection seat, very detailed wheel wells, very good wheel hubs, plus racks and parts for 13 pieces of ordinance (6 bombs; 6 missiles; 1 drop tank). The exhaust nozzle does not include separate petals. The intake trunk appears to go back to the compressor fan face. On the forward portion of the aircraft, fuselage skins are assembled using cylinders, single formers, and edging strips. Aft of the compressor fan face, the fuselage skins are assembled over an egg crate structure, again using connecting strips. About 1.5 pages of paper parts represent fuselage, wing, stabilator, and tail formers. You must laminate one entire page of parts onto "bristol board", but this really means cardstock. Some of these laminated parts must be rolled and formed into cylinders, somewhat complicating construction. Build Log Notes You can find many, many good tutorials on building card models elsewhere, so I shall not reinvent that wheel here. This build log will concentrate on the kit itself, problems encountered, and opinions about the elements. I will occasionally comment on my methodology, but not often. I build my card models using the booklet parts without any kind of scanned backup or other safety net. The Ordinance Jets generally include more parts that propellor driven aircraft, making the entire building process more complicated and intimidating. I like to tackle as many subassemblies as possible first, then take on the plane itself. This leaves a much more manageable number of parts for the terminal stages of construction.  I started with the 6 bombs, each consisting of 20 parts. These come printed in an light olive color which does not look accurate. My booklet unfortunately came with two creased pages, and one crease ran through three bomb casings. I used water and pressure to minimize crease damage as much as possible. When building the creased parts, I laminated a strip of cardstock to the inside of the part to add structural support. All bomb parts fit extremely well accept for the front nose, part 41h, which is oversized in diameter by a significant margin. I punched a 1/8" disk out of the center of each part and these fit perfectly. I edged the parts with Model Master Faded Olive Drab, but this comes out much too dark. Since the overall color looks wrong, the edges look too dark, and the creases look to stark, I will probably airbrush the bombs. A picture of the completed bombs will follow. 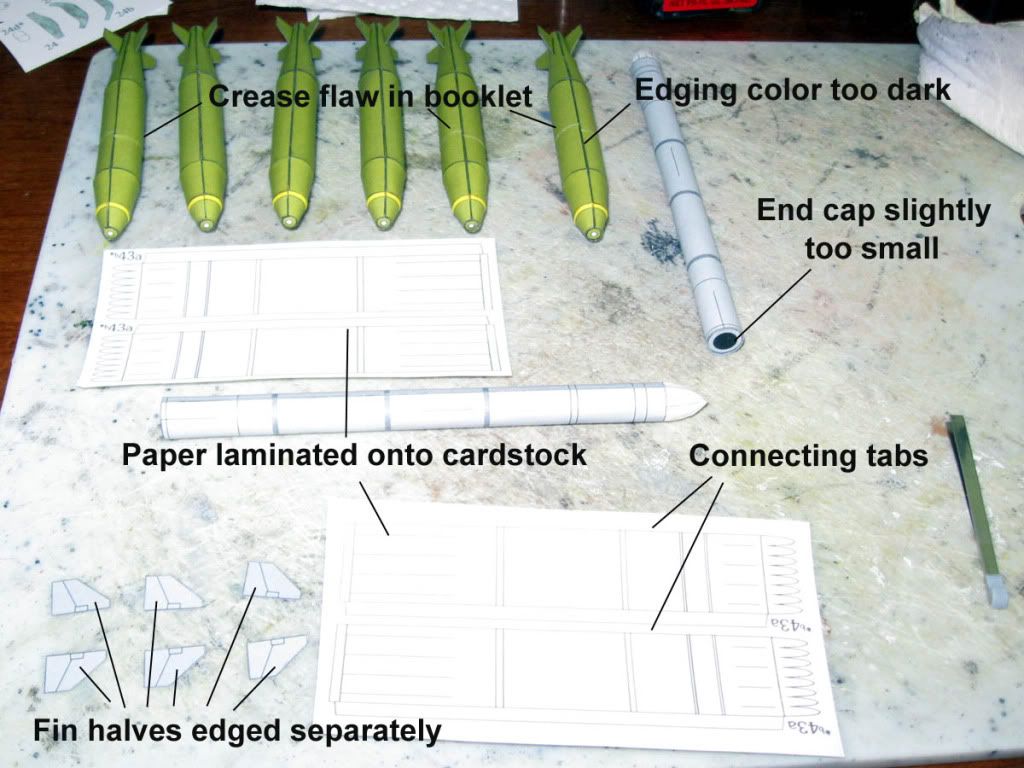 Next, I moved on to the two large missiles, which I believe represent AIM-120s. Each consists of 10 parts--the outer skin, a tail cap, and 8 fins. The outer skin closes with a tab, which absolutely had to go. After forming the skin into a cylinder I closed it with two connecting strips, one at the front and one at the back. The missile is so long that trying to close the entire seam with one strip before glue dries will be extremely difficult. The tail cap cannot establish a cylindrical profile through the length of the missile so I rolled a fat cylinder of plain paper the same length as the missile, minus the nose, and inserted it from the rear. I then capped the tail and formed the head. The tail cap is a tiny bit too small. When cutting the head, I carefully removed all black edges as these seriously detract from the finished appearance of a cone that should be all white. Each fin comes as a single part that folds over, but I cut these apart so I could paint all the edges separately. In addition, I gave the forward fins their correct diamond cross section. Lines on the parts facilitate this. A picture of the competed missiles will follow.  Next up are the ubiquitous Sidewinder missiles. Unfortunately, Halinski supplies the missile skins as paper that must be laminated onto cardstock. This complicates the rolling process. Since these missiles are predominantly white, I carefully removed the black edge from all the parts. The tabs on the missile casings also went away. The instructions would have you laminate the front fins (paper) onto cardstock, then fold them over. I just laminated the fins onto two layer of cardstock and utilized half the parts. Next up--the completed ordinance, weapon pylons, the ejection seat, and the internal fuselage structure. -Doug Last edited by rickstef; 08-16-2010 at 05:05 PM. 
|
| Google Adsense |
|
#3
08-14-2010, 03:33 AM
|
||||
|
||||
|
Thank you, B-Manic. It is my firm hope that my train wreck will serve as an example and warning to others.
I am cranking away on the ordinance and pylons and want to capture some details before I forget. I highly recommend scanning the sheet of parts to be laminated onto "bristol board" and printing them directly onto cardstock. Most of them are white so this will not introduce color mismatch problems. The drop tank is composed entirely of paper parts laminated onto cardstock. You may want to use a cardstock thinner than you normally like. I laminated the drop tank parts onto cardstock of my preferred thickness, but the resulting parts were a bit too thick and very hard to roll. Most of the drop tank parts fit well. Part 38d, a truncated cone, is a bit too wide at the base, but fine at the top. Part 38e, a cone forming the front tip, is too wide at the base. Part 38g, a former in the nose between 38e and 38d, is too big and basically unusable. I tossed it. Part 38h, a former between 38d and 38c, is a bit too big. If you do not cut it down the joint will coke bottle. The drop tanks seams are all on top. The centerline seam connecting strips are too small and I recommend making your own. The tank does not come with section connecting strips so you must fabricate your own. This entire assembly is very old school Halinski so work slow and test fit a lot. The Sidewinder missile body parts are also paper laminated onto cardstock. This makes them extremely difficult to roll without creasing so I recommend scanning the parts and reprinting directly onto white cardstock. The missile parts are all white so cut off all the those black edges. The main tube forms a cylinder closed with a tab. I cut off the tabs, rolled a tight cylinder from plain paper, embedded the tube in the missile, then closed the edges around it. This provides a solid core to glue against, structural strength, and keeps the whole thing round. With the long seam closed, I closed the front petals with lots of glue and the back with part 43d. The fin parts are all paper laminated onto cardstock. After assembling each fin I used a knife to trim and form perfect edges. I finished off each fin by burnishing the edges, front and back. Adding the fins to the AIM-120s and Sidewinders is either a Zen experience or an exercise in extreme frustration. Getting the fins perfectly perpendicular and aligned front to back takes patience. Sometimes a slight twist gets introduced into the missile when closing the long seam. This throws off the guides for placing the fins. Do not assume the front guides are correct. Test fit twice and glue once. The instructions call out parts 34 and 34a for the sidewinder missile rails. They are actually parts 32 (x2), 32aL, 32aP, 32bL, and 32bP. Parts 32 and 32aL go together. Parts 32 and 32aP go together. These are the launch rails for Sidewinders hanging under the wings and they are not actually handed. Parts 32bL and 32bP are the launch rails for the wing tips and they are handed. I cannot find any parts actually numbered 34 and 34a. Pictures and more information to follow. -Doug
|
|
#4
08-14-2010, 03:50 AM
|
|||
|
|||
|
includes about 700 parts?
includes about 700 parts!
|
|
#5
08-14-2010, 04:22 AM
|
||||
|
||||
|
I felt dizzy with those parts!!! OMG!!!! Too much! Go ahead my friend, I will wait for the finished F-16 C.
__________________
Chaiwat Kosatanakom (Jack, the papermann) Aircraft Paper Designer & Modeler  "Flying 3 D Paper Airplane Model Inventor"
|
| Google Adsense |
|
#6
08-14-2010, 02:46 PM
|
|||
|
|||
|
A very nice start Doug. I like very much your style of a build log. Love pictures with all your drawings and explanation. I know it's pretty much an individual preference, but can I ask you to post bigger pictures. The present format and size doesn't show enough detail to guide next builders. Your narrative gives a lot of info and it would be helpful if pictures present the same level of detail.
I'll be following your build, and I'm suspecting it will be jaw-dropping one.
__________________
"None so blind as those that will not see"
|
|
#8
08-15-2010, 06:03 PM
|
||||
|
||||
|
Well, it appears I busted my photo album trying to make the pictures bigger. At this point I cannot upload anything, the album is gone, and I cannot edit my posts to fix the image links so I guess I am done here. Bummer.
Hm. Now why can I edit this post but not fix the one with the broken image links. Weird. -Doug Last edited by Damraska; 08-15-2010 at 06:49 PM.
|
|
#9
08-16-2010, 03:47 PM
|
||||
|
||||
|
Image link test with Photobucket.
I think this will do but if you prefer another service or way of handling pictures, please let me know. Some users prefer thumbnails that trigger an automatic gallery feature. I like galleries, but I prefer having larger pictures embedded directly in posts. -Doug Last edited by Damraska; 08-16-2010 at 03:58 PM.
|
 |
|
|


 Linear Mode

