
 |
|
#1
|
||||
|
||||
|
Alan Grayer's 1910 Harley Model 6 in 1:7 scale
As promised in my previous Harley thread, I will post the build report for this one, as I could not find one on the forum.
This one is available on Alan's site, and consists of 2 PDF files, the parts and the instructions. The instructions for my part, are very comprehensive, and the parts pages (20 in all) contain both the model 6, and the 6A version combined in one file. Due to running low on ink, I have only printed out part of the pages, to get started. The quality is the same as the Model 7A files, excellent. Here are the first steps, the frame tubes: 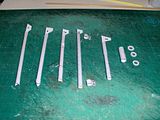 Bent and in position: 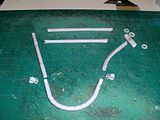 Glued, and waiting on the fuel/oil tank for the rest of the pieces: 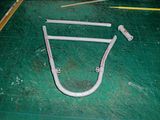 More as progress occurs. Have a good one, David
__________________
Retired... Southern coast of Spain.... Doesn't get much better than that!!!! |
| Google Adsense |
|
#2
|
||||
|
||||
|
__________________
Retired... Southern coast of Spain.... Doesn't get much better than that!!!! |
|
#3
|
||||
|
||||
|
Hello all.
Getting started with the motor now. The pieces: 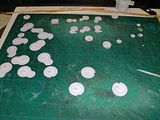 Together: 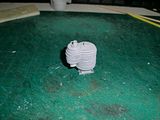 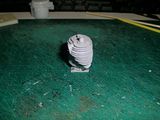 A reminder, for the * items in the cylinder, the combined thickness of card and carton should be 1mm max and better if a little less for fitting the motor into the frame. Moving on to the crankcase next. David
__________________
Retired... Southern coast of Spain.... Doesn't get much better than that!!!! |
|
#4
|
||||
|
||||
|
Hello all.
Today I have completed the crankcase, added the carburetor and mounted the motor in the frame. Here is the cylinder mounted to the crankcase: 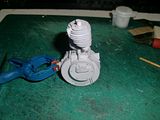 The carburetor parts and mounted: 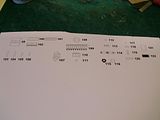 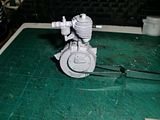 The motor mounted in the frame: 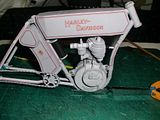 Next step is the forks and front end. David
__________________
Retired... Southern coast of Spain.... Doesn't get much better than that!!!! |
|
#5
|
||||
|
||||
|
This is really coming together. Nice job
__________________
A fine is a tax when you do wrong. A tax is a fine when you do well. |
| Google Adsense |
|
#6
|
||||
|
||||
|
Thanks for the visits and comments.
Two more steps today, the exhaust and muffler, and the front fork made and mounted. Exhaust: 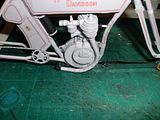 Fork: 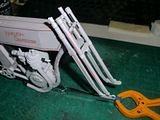 Front and rear fenders are next up. David
__________________
Retired... Southern coast of Spain.... Doesn't get much better than that!!!! |
|
#7
|
||||
|
||||
|
This is wonderful, David. It is fascinating to see the old girl coming together in your skilful hands.
Alan |
|
#8
|
||||
|
||||
|
Hello all and thank you Alan for the generous comment. The models design make the end product much easier to obtain.
The weekend was rather productive, I finished and mounted the fenders and built the front wheel. The fenders: 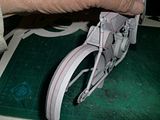 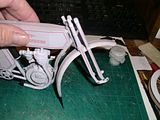 The hub, rim and spokes: 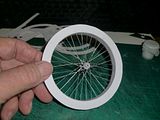 The parts for the tire and the wheel assembled: 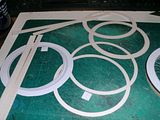 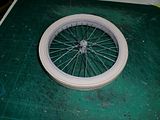 The wheel in place: 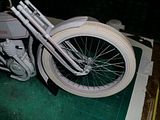 Rear wheel is up next. David
__________________
Retired... Southern coast of Spain.... Doesn't get much better than that!!!! |
|
#9
|
||||
|
||||
|
Beautifully done.
__________________
A fine is a tax when you do wrong. A tax is a fine when you do well. |
|
#10
|
||||
|
||||
|
Wonderful modeling!! The detailing on the wheel and the rest of the model is amazing..
|
| Google Adsense |
 |
|
|