
 |
|
#21
|
||||
|
||||
|
Hello all, and thanks Don.
Here are some pictures of the 99% finished test build with the wing installed: 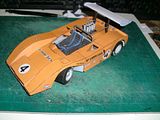 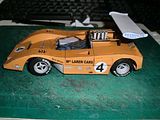 The only thing missing is the mirrors. I have spent a few days fixing the body, wing and a redesign of the interior and I am ready to assemble the Nº 5 car of Denny Hulme. I have removed the visible black lines on the body parts and the pieces that I have decided not to use (as per photos of the original vehicle). Here are some shots of the parts pages: 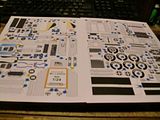 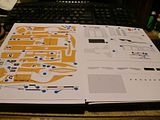 This build will go slower because I am writing instructions as I go to help with the build. Until the next time, David
__________________
Retired... Southern coast of Spain.... Doesn't get much better than that!!!! |
|
#22
|
|||
|
|||
|
David, have you ever thought about using gloss photo paper for the body sections ? It seems like the Mclaren would be a perfect candidate.
|
|
#23
|
|||
|
|||
|
David, This brings back memories. I had the opportunity to see these cars raced by Bruce and Denny. This was at Road America during the Can-Am series. I have since gone back to see the Can-Am cars race as historics. I guess that shows my age. I gather that you are planning on releasing this update as you mention redoing instructions. I hope this is the case. Well built and the modifications, particularly the wing make it perfect. Thanks for the memory.
John |
|
#24
|
||||
|
||||
|
Quote:
Thanks John, mine was at Brainard International Raceway in Minnesota. It really got me interested in road racing along with the movie Grand Prix. My best was being in Monaco for the 1988 Gran Prix du Monaco. David
__________________
Retired... Southern coast of Spain.... Doesn't get much better than that!!!! |
|
#25
|
||||
|
||||
|
Hello all, here are some pictures of the interior and the start of the chassis of the second car. This is the fully modified interior.
The box: 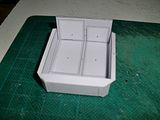 New drivers seat: 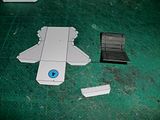 Seat, divider and left side installed in the cockpit box: 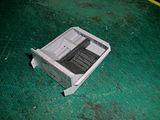 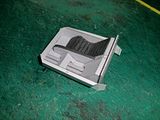 The chassis: 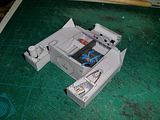 Next steps are the front suspension and radiators. David
__________________
Retired... Southern coast of Spain.... Doesn't get much better than that!!!! |
| Google Adsense |
|
#26
|
||||
|
||||
|
Hello all. I know it has been awhile, but there is a fair amount of progress.
The front suspension installed: 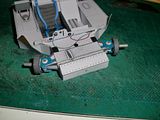 The radiator: 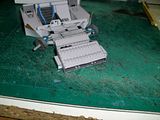 The engine, transmission and exhaust manifolds: 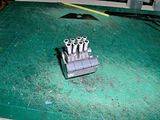 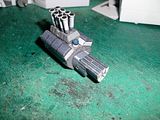 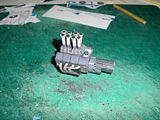 The Suspension: 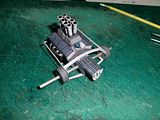 Engine and rear suspension mounted to the chassis: 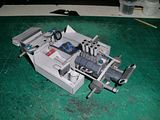 I will be starting with the wheels and tires next. David
__________________
Retired... Southern coast of Spain.... Doesn't get much better than that!!!! |
|
#27
|
||||
|
||||
|
Hello all.
Here are the rear wheels installed: 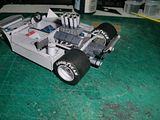 Here is the start of the front wheels using the method I use for forming the tread portion of the wheel. I cutout the tread strip without any of the tabs, and then cut a strip of cardstock the same width as the tread and the length of the sheet. I glue tread about halfway over the strip and then roll the strip small enough to connect the opposite end of the tread strip. I then expand the inner roll until it is tight and glue the end to the inside of the roll. Then using something round, in this case a 0,20 € coin I let it dry. The wheel stays round, and it also gives a 1mm gluing surface: 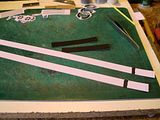 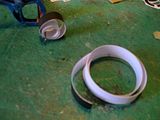 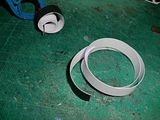 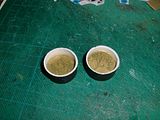 Until next time. David
__________________
Retired... Southern coast of Spain.... Doesn't get much better than that!!!! |
|
#28
|
||||
|
||||
|
How fun! I like this. Great build.
__________________
My models are available here http://ecardmodels.com/index.php?manufacturers_id=62 |
|
#29
|
||||
|
||||
|
Hello all and thanks CT.
Now to finish where I left off on the wheels. The front wheels ready to assemble: 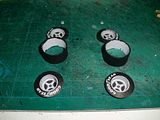 After some light sanding to clean up the edges then a coat of flat black acrylic paint to the edges and light almost dry coat to the tread and installed: 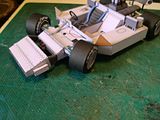 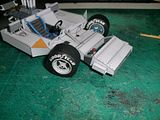 On to the body. David
__________________
Retired... Southern coast of Spain.... Doesn't get much better than that!!!! |
 |
|
|