
 |
|
#41
|
||||
|
||||
|
WOW!!!!! F1 !!!!!
perfect work!!! Milan |
|
#42
|
||||
|
||||
|
Thank you very much Milan.
__________________
~ Jim ~ "Modeling is not just a hobby. It is also a craft and an art form" |
|
#43
|
||||
|
||||
|
Good evening.
Well started work on the seat and tub for this car. 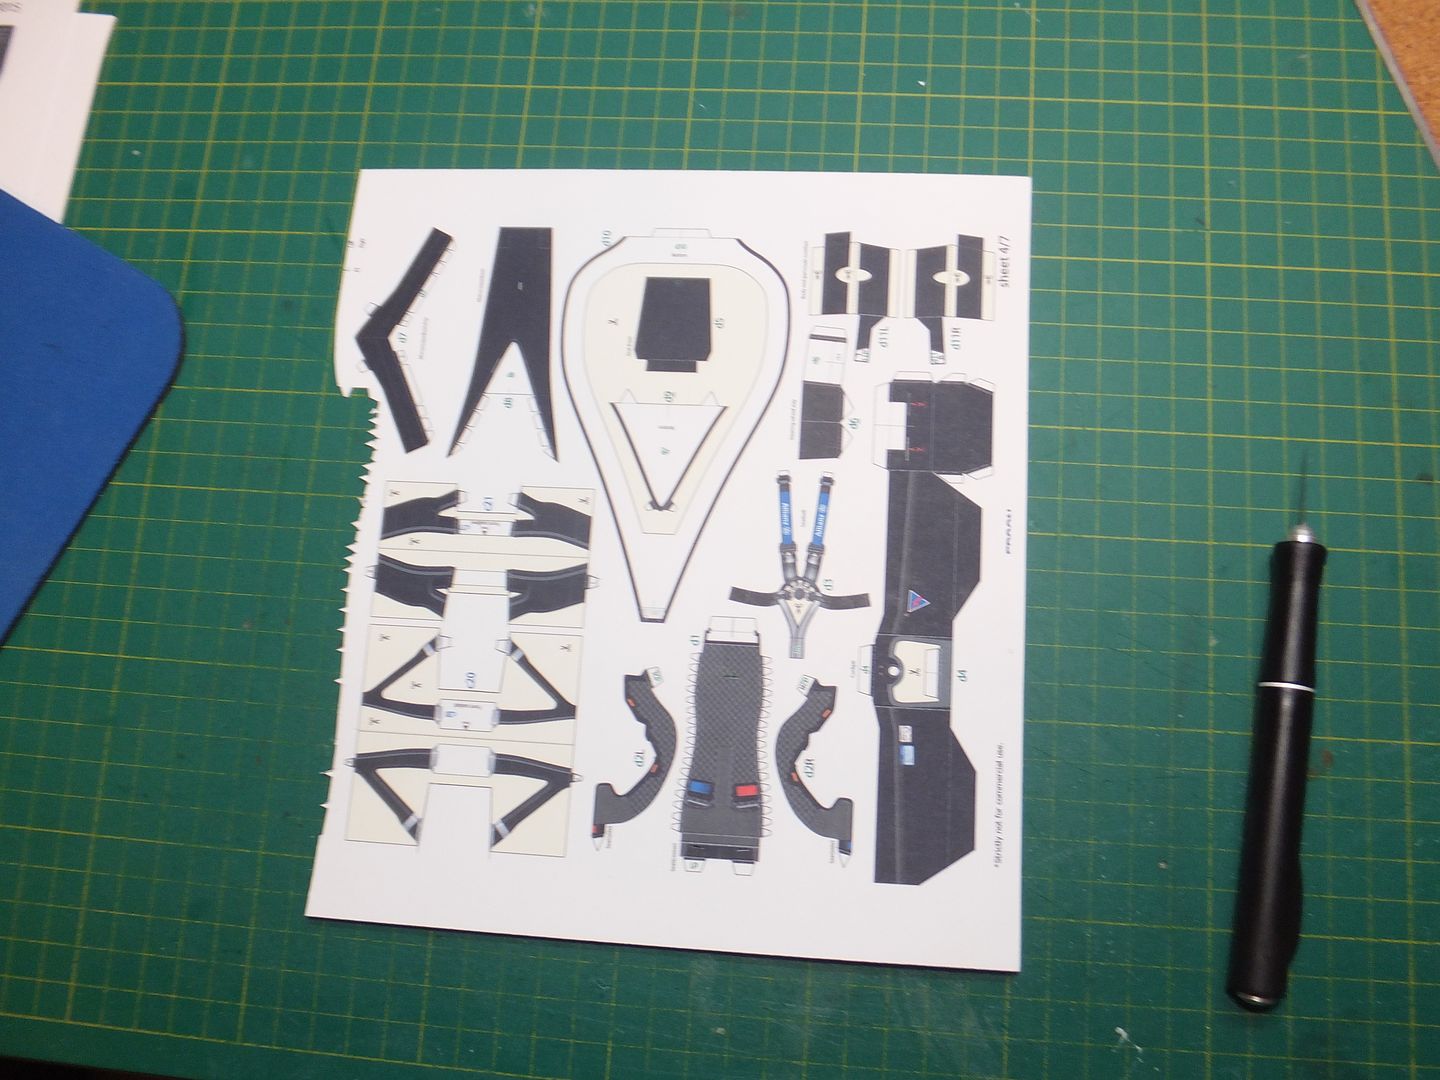 Nothing too serious except some complex curves and don't try to glue the base of the seat all at once. Cutting out the seat belt the worst part is the centre section. Just take your time with it and cut it out before you cutout the rest of the belt. 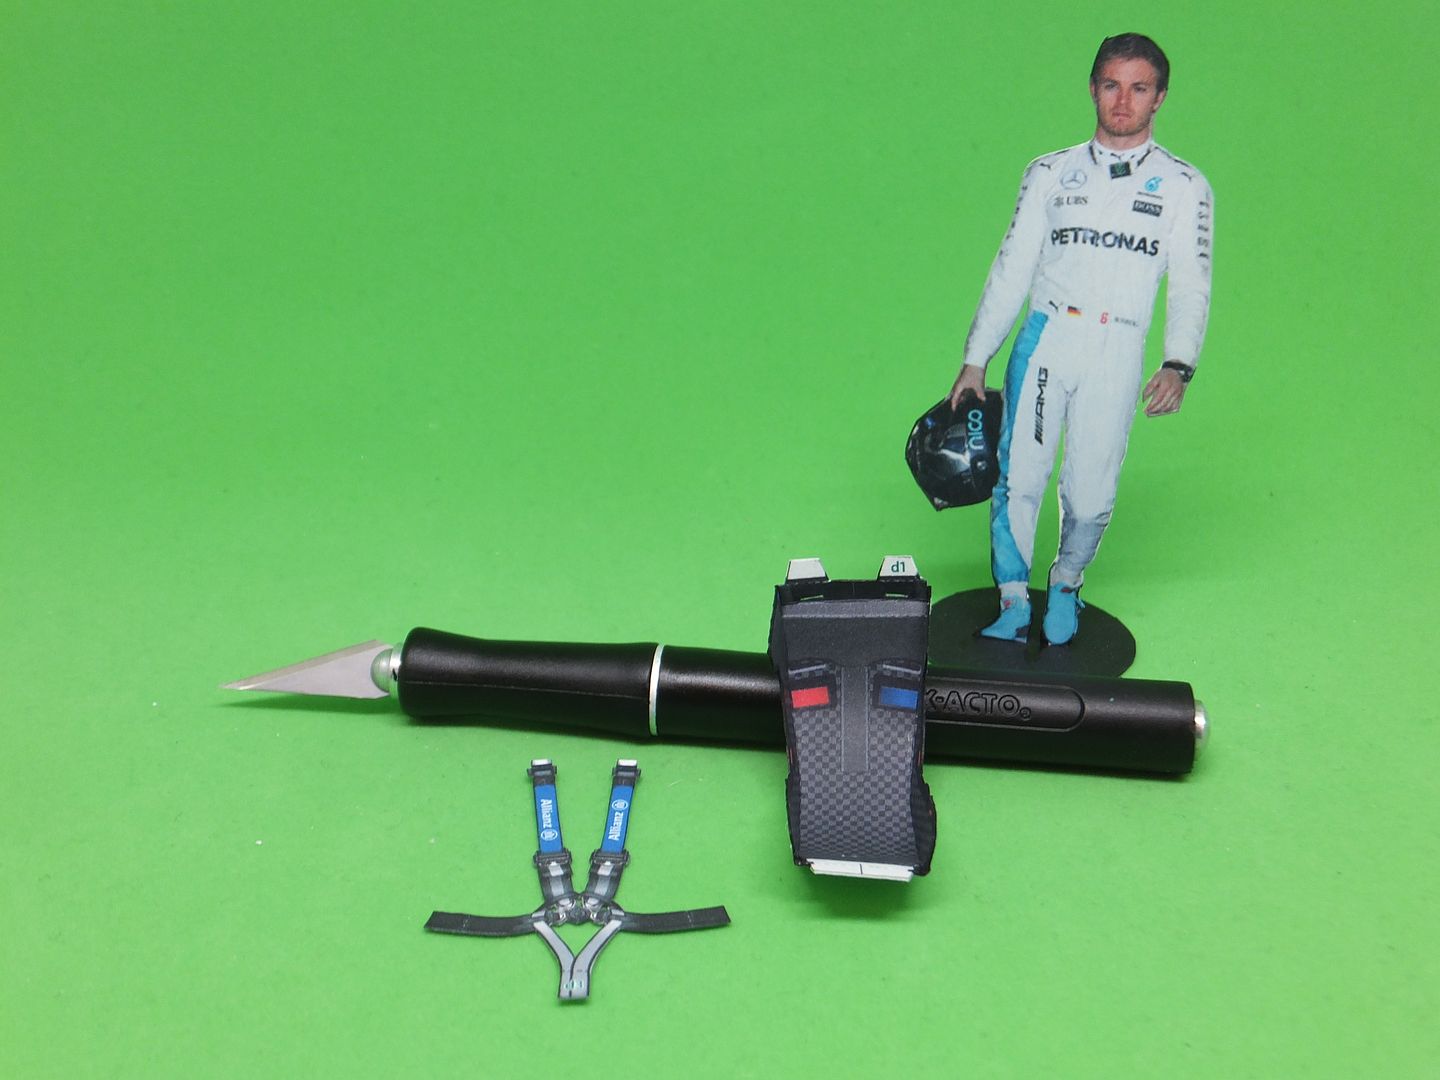 Do remember to cut out all the slots before assembly. Makes assembly so much easier. The tub itself is fairly straight forward. 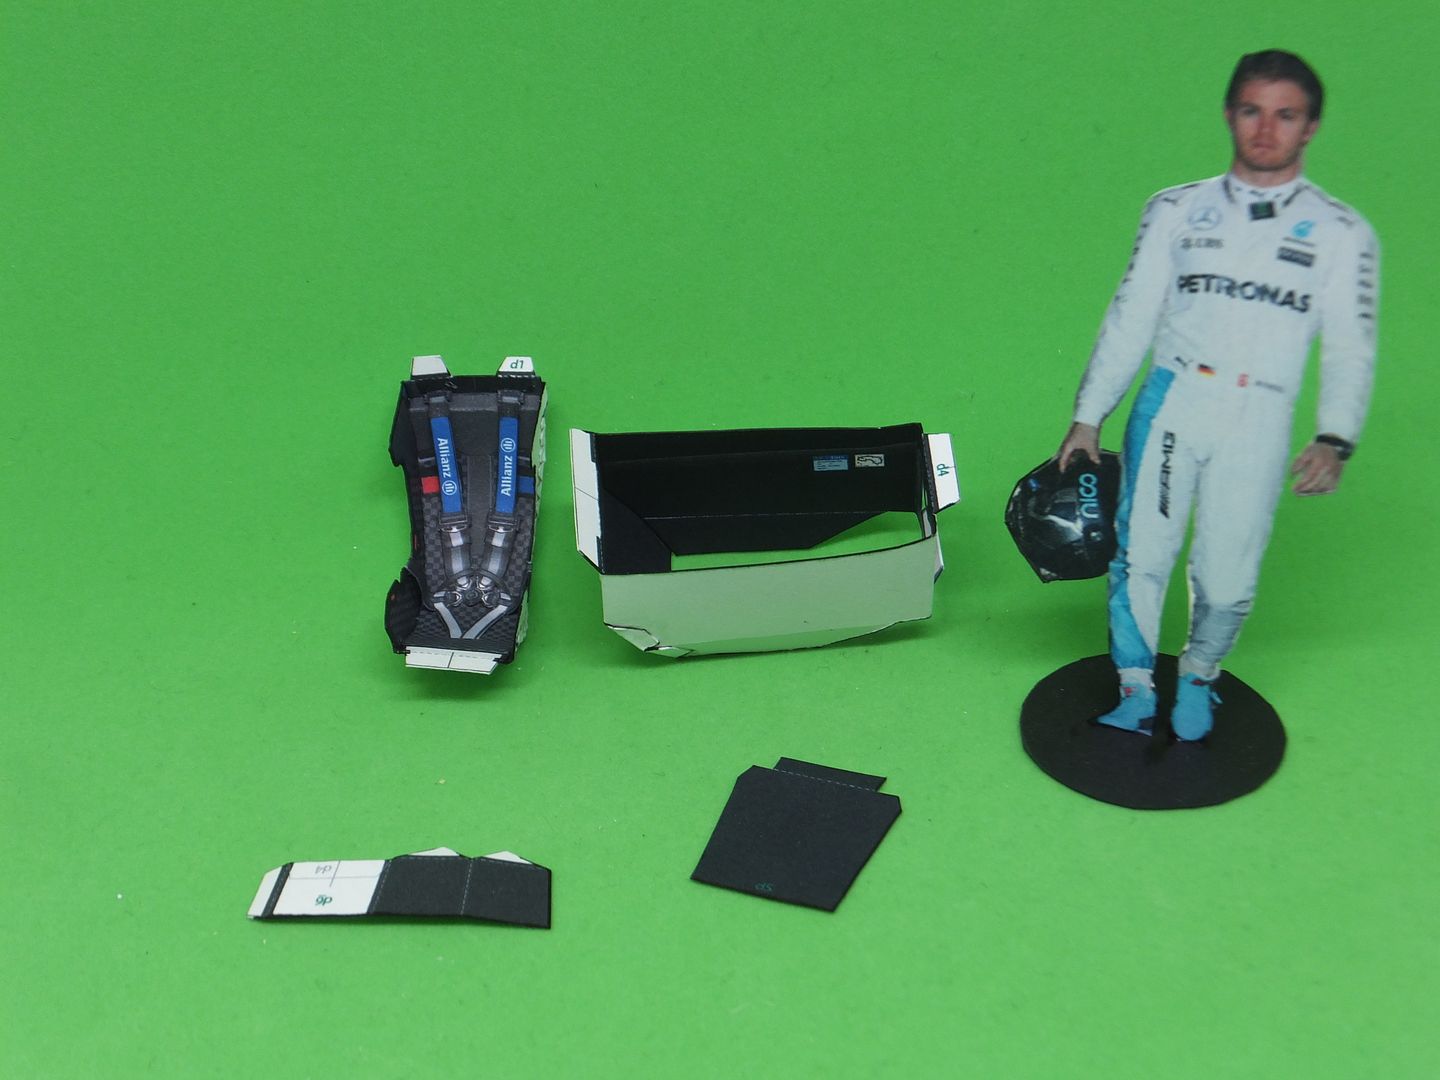 The finished tub. 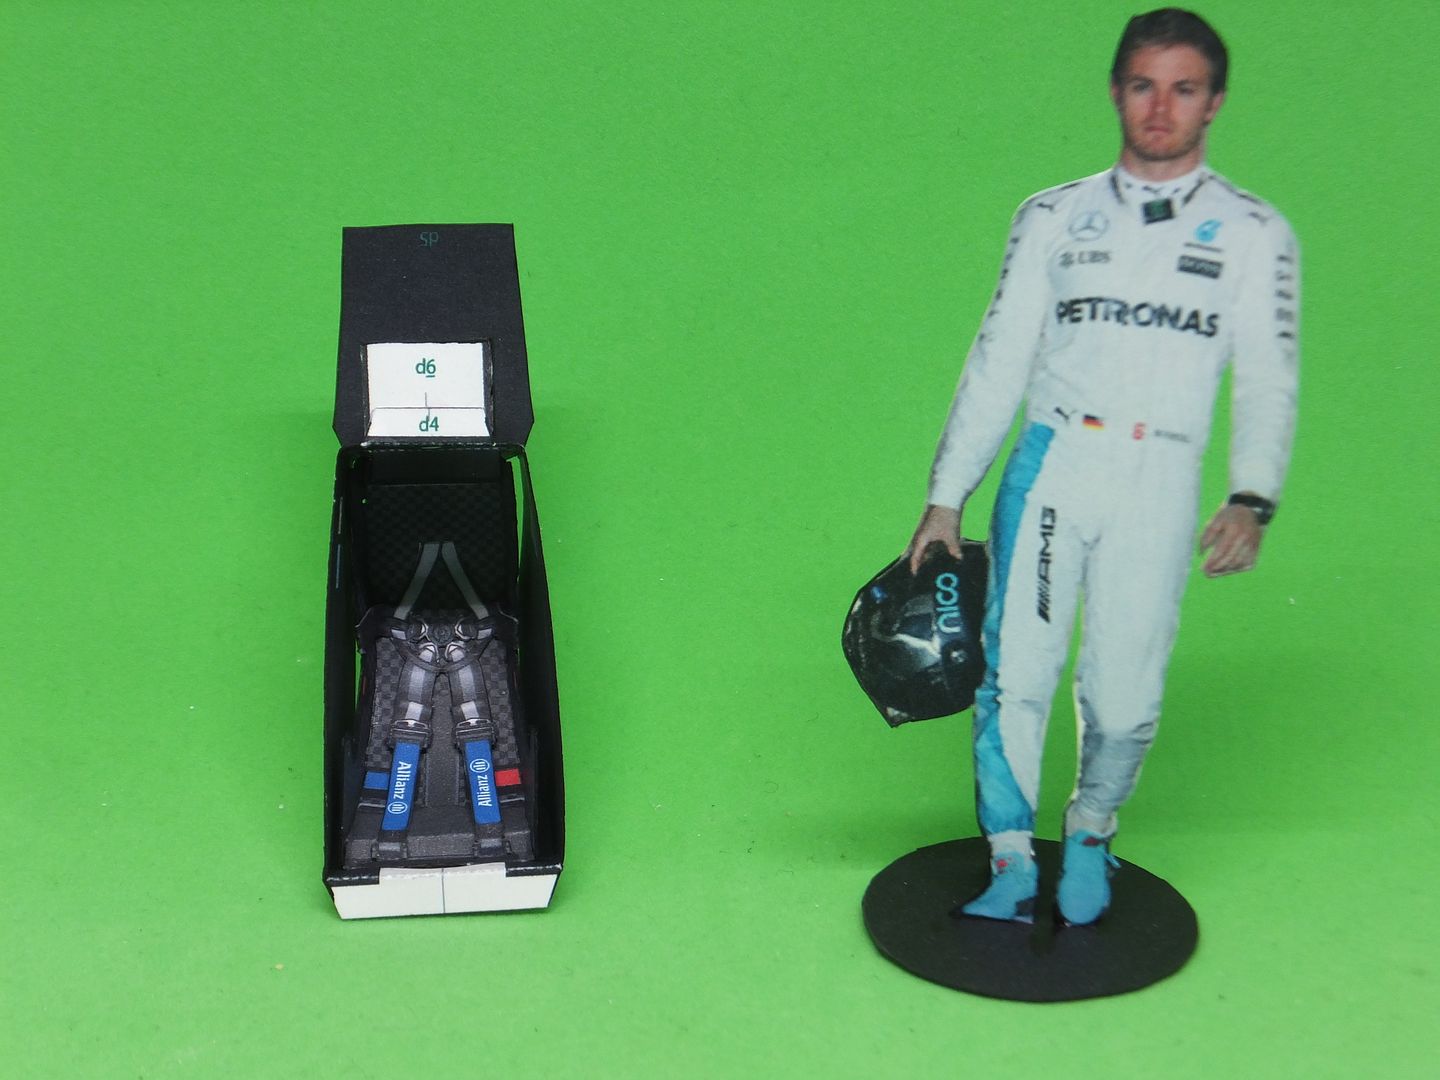 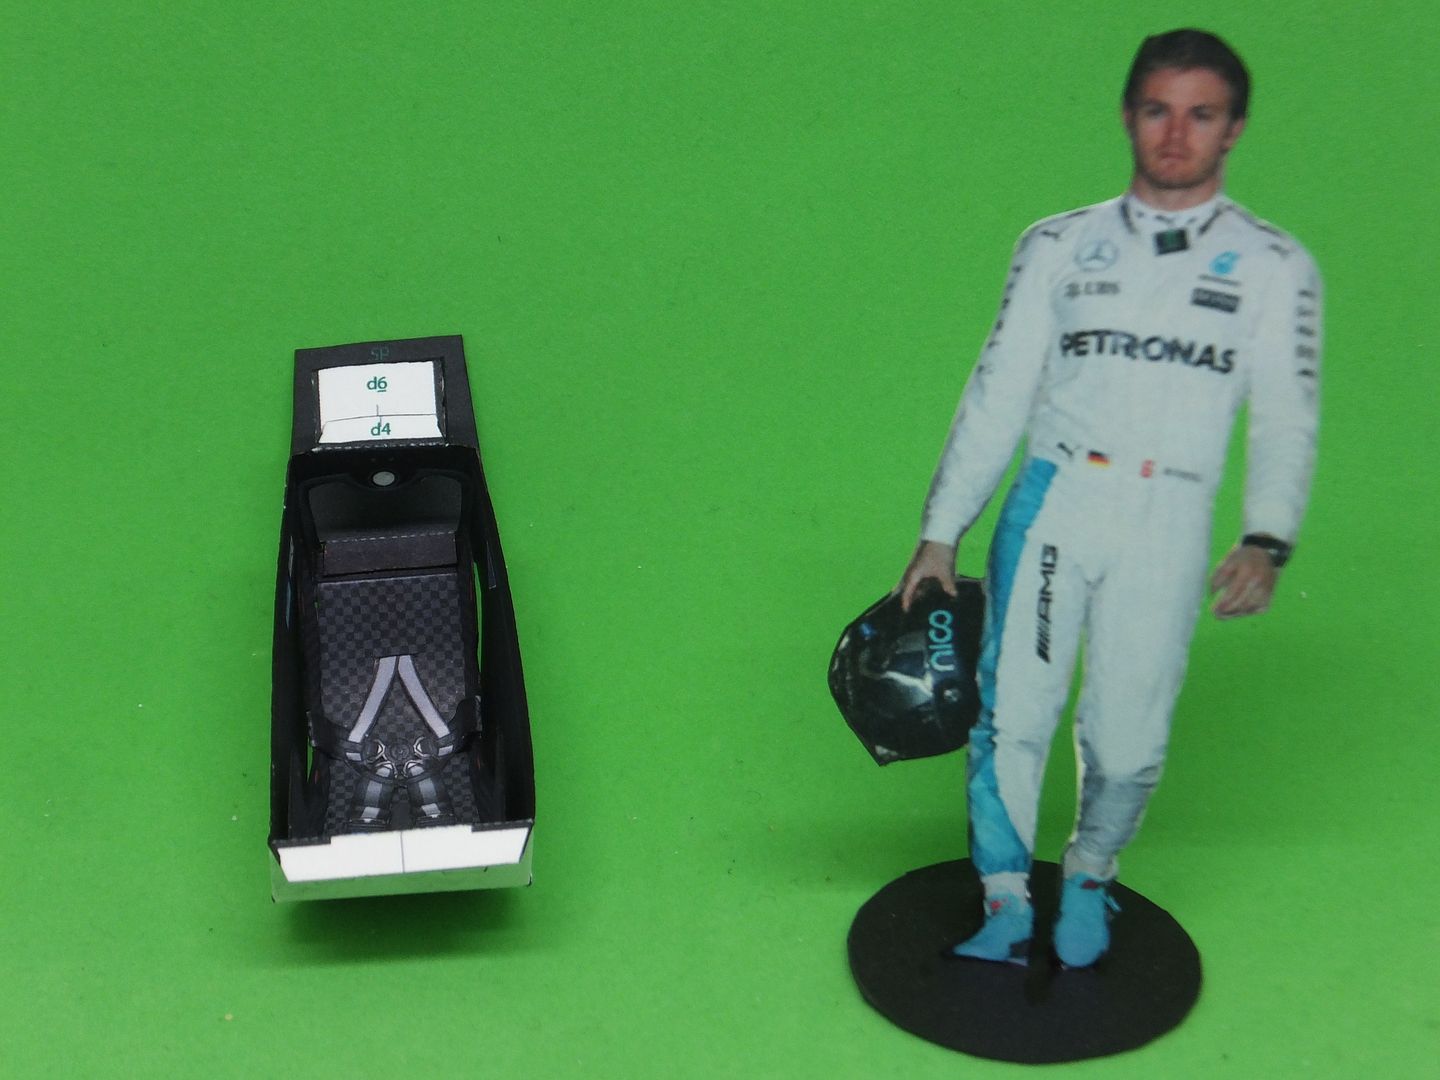 Cut out the beginnings of the front suspension and the rear body scoop. 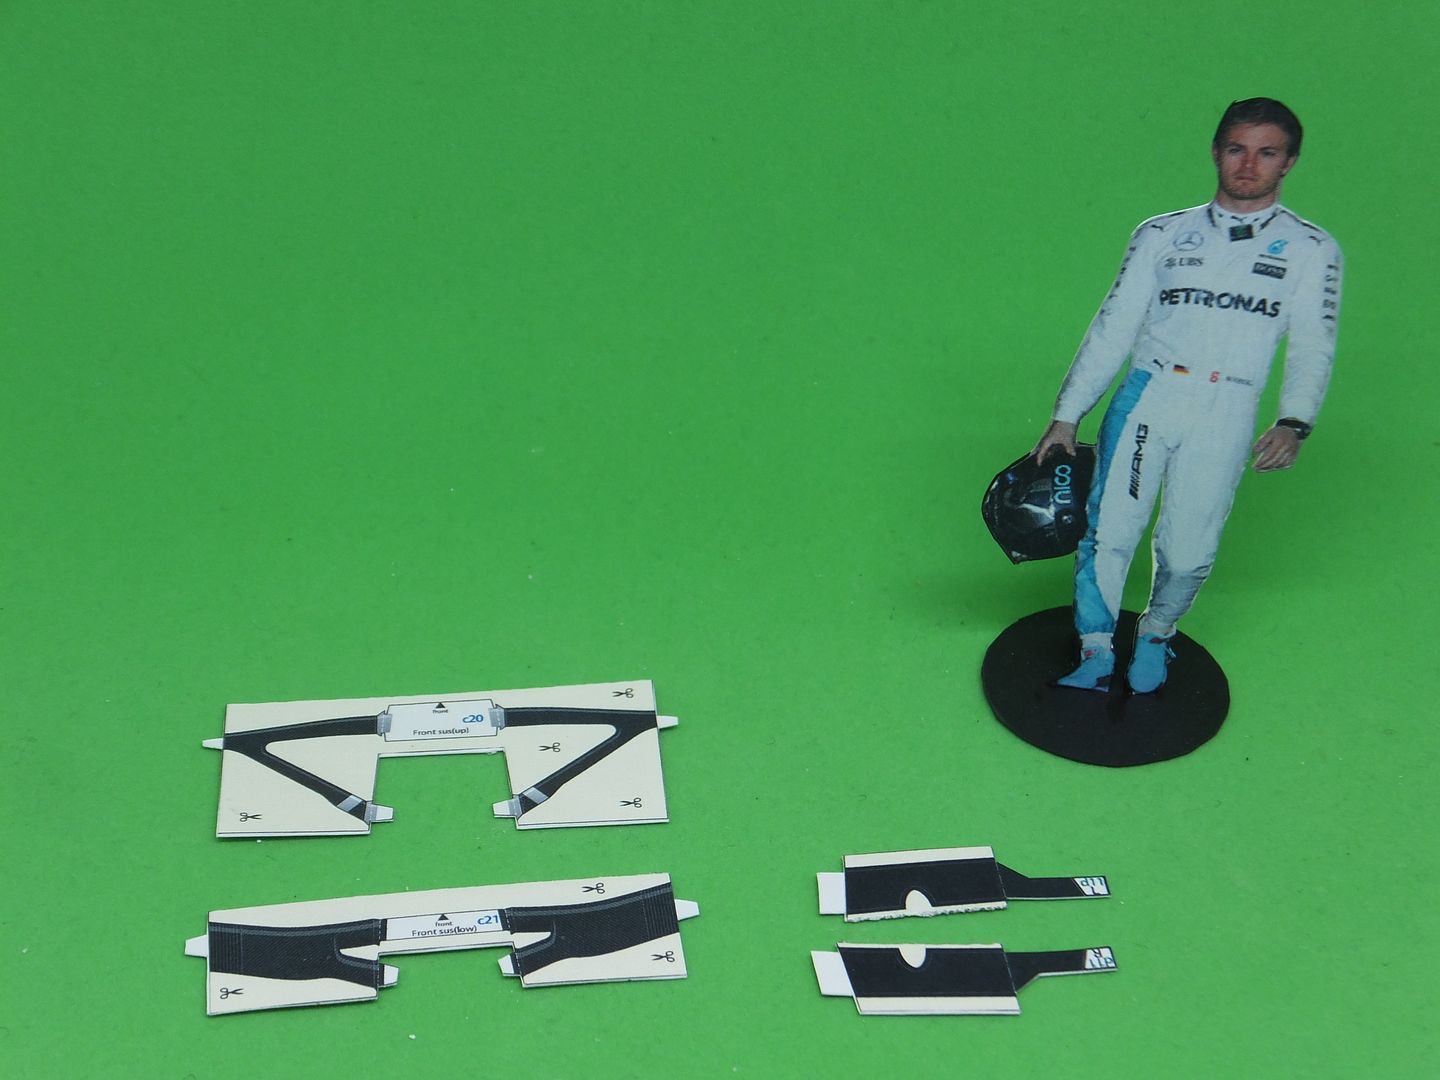 Install the completed tub into the body and then install the front suspension. With the front suspension pieces installed it was time to start closing in the bottom. 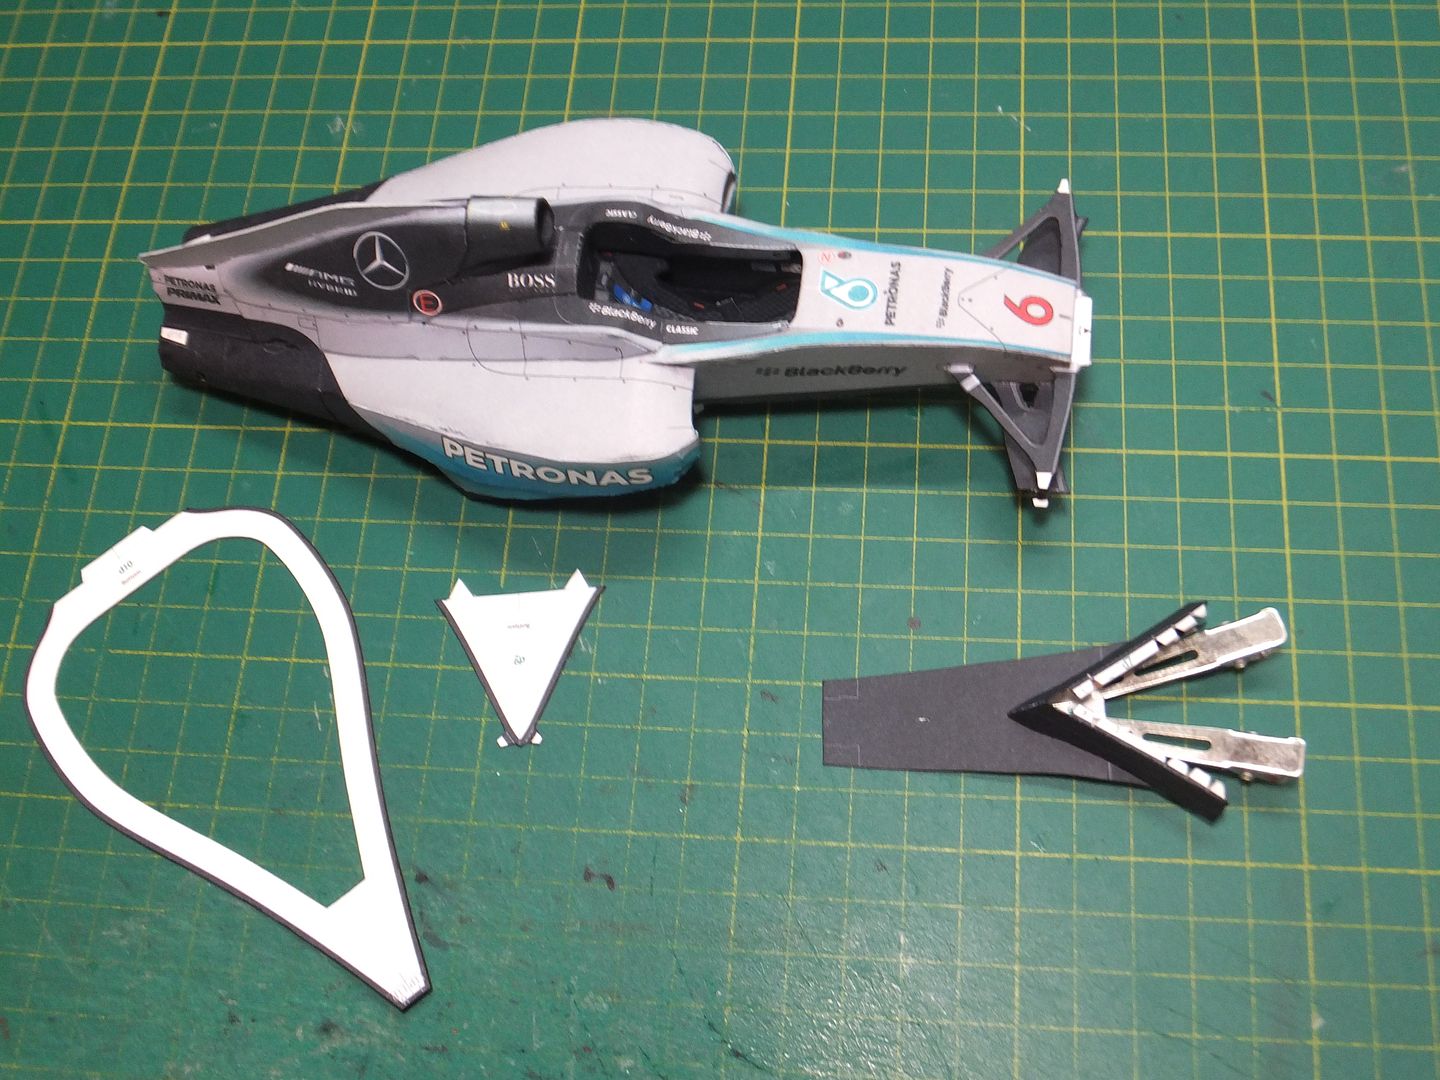 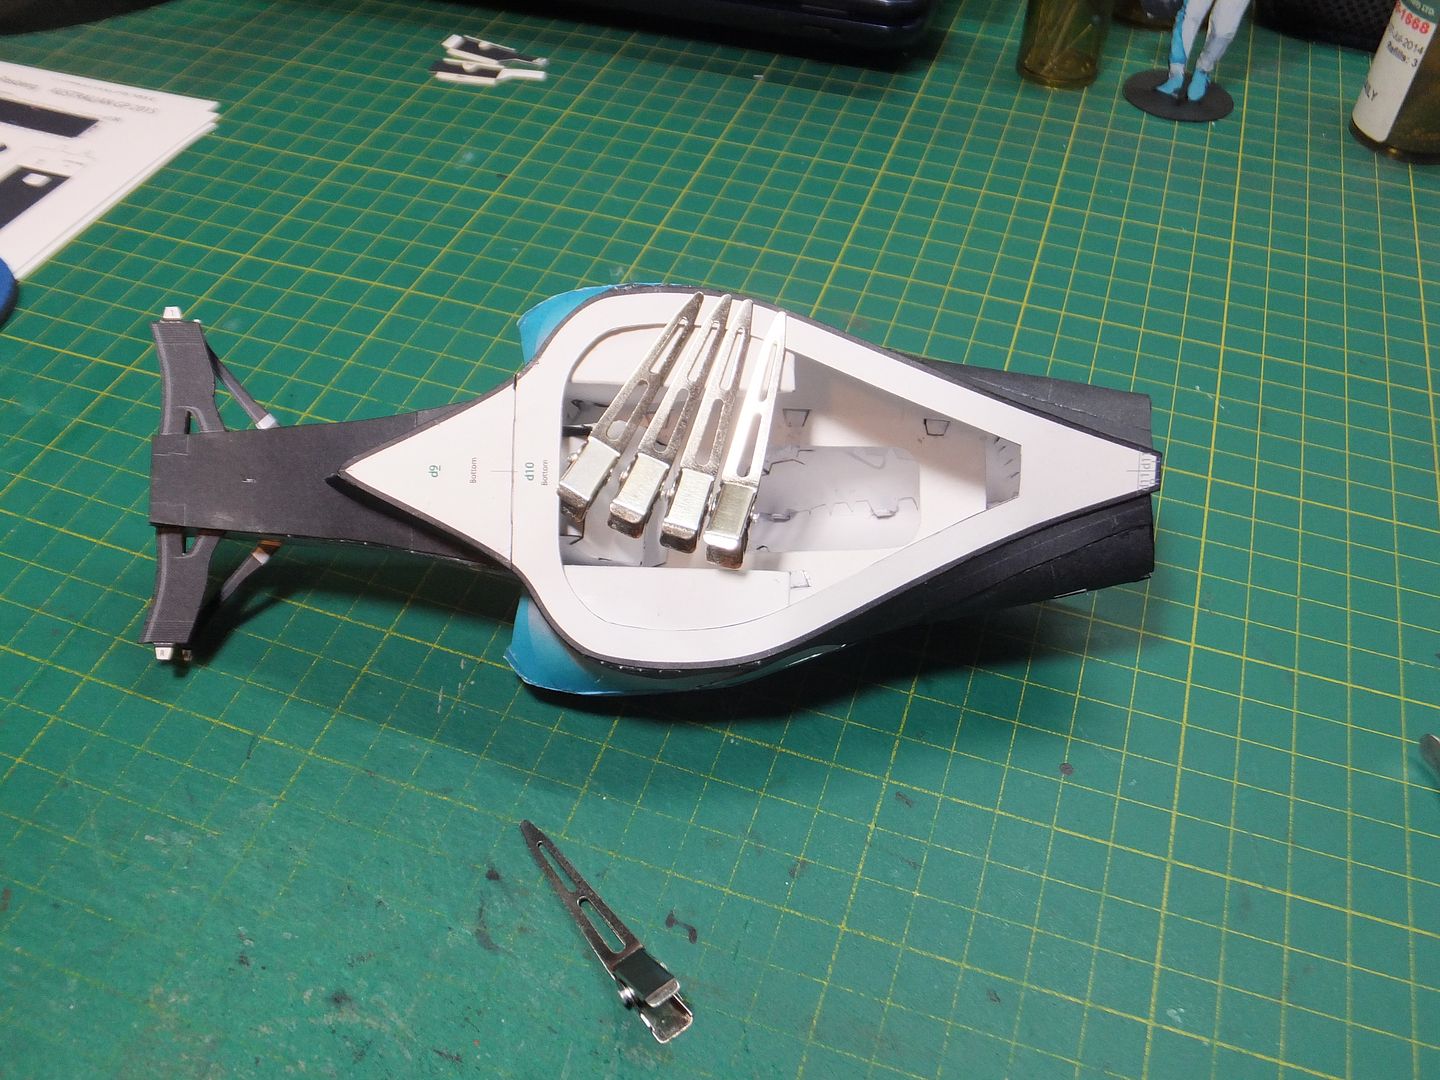 Don't try to do this loop section all at once. Do it a little at a time as this solidifies the shape of the bottom of the body. Here is a view of the installed tub. 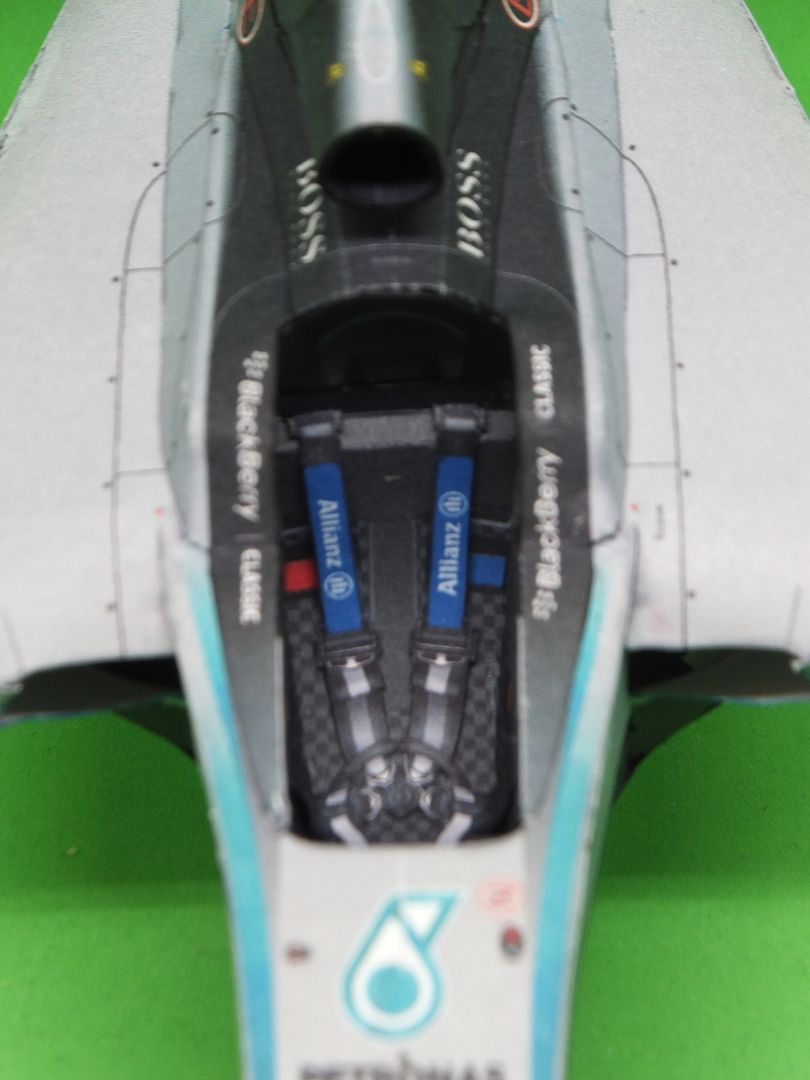 The completed body so far with the rear scoops installed. 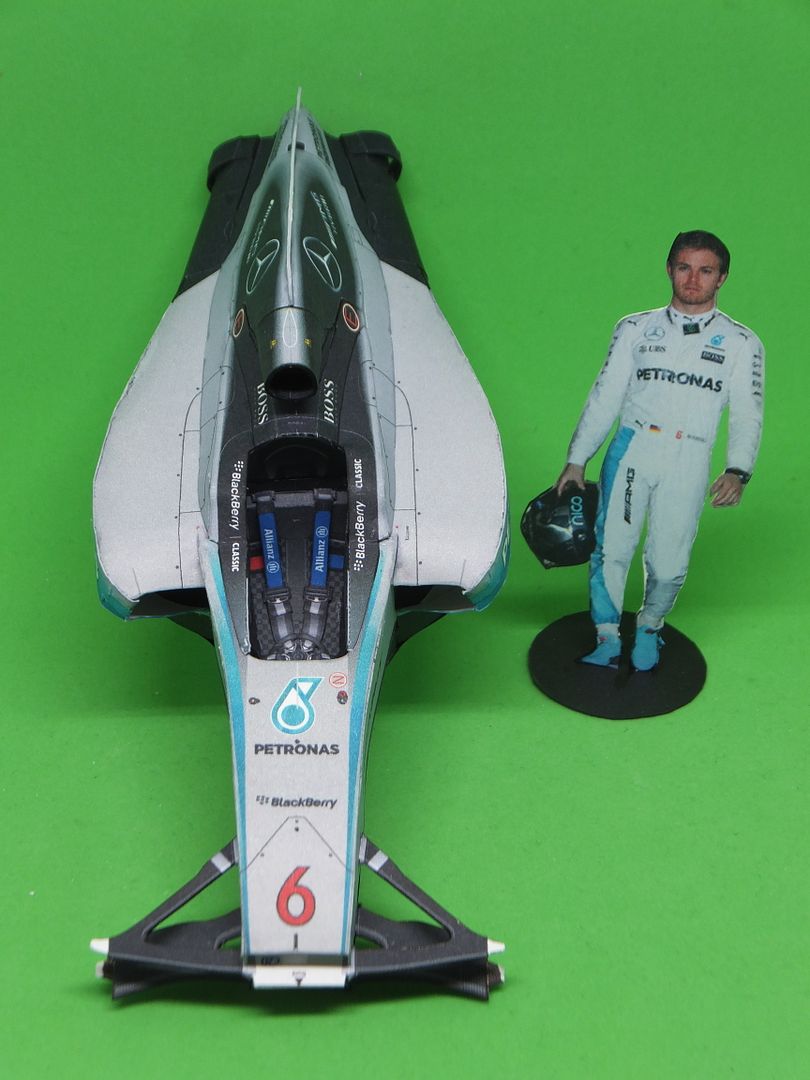  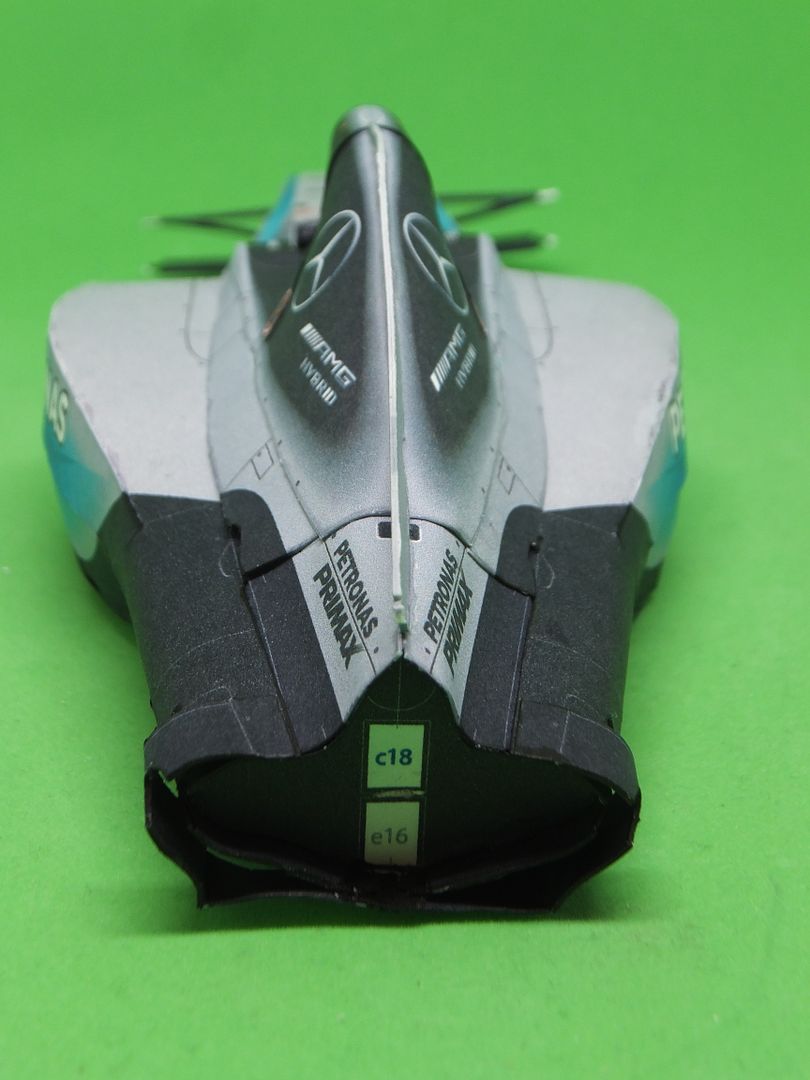 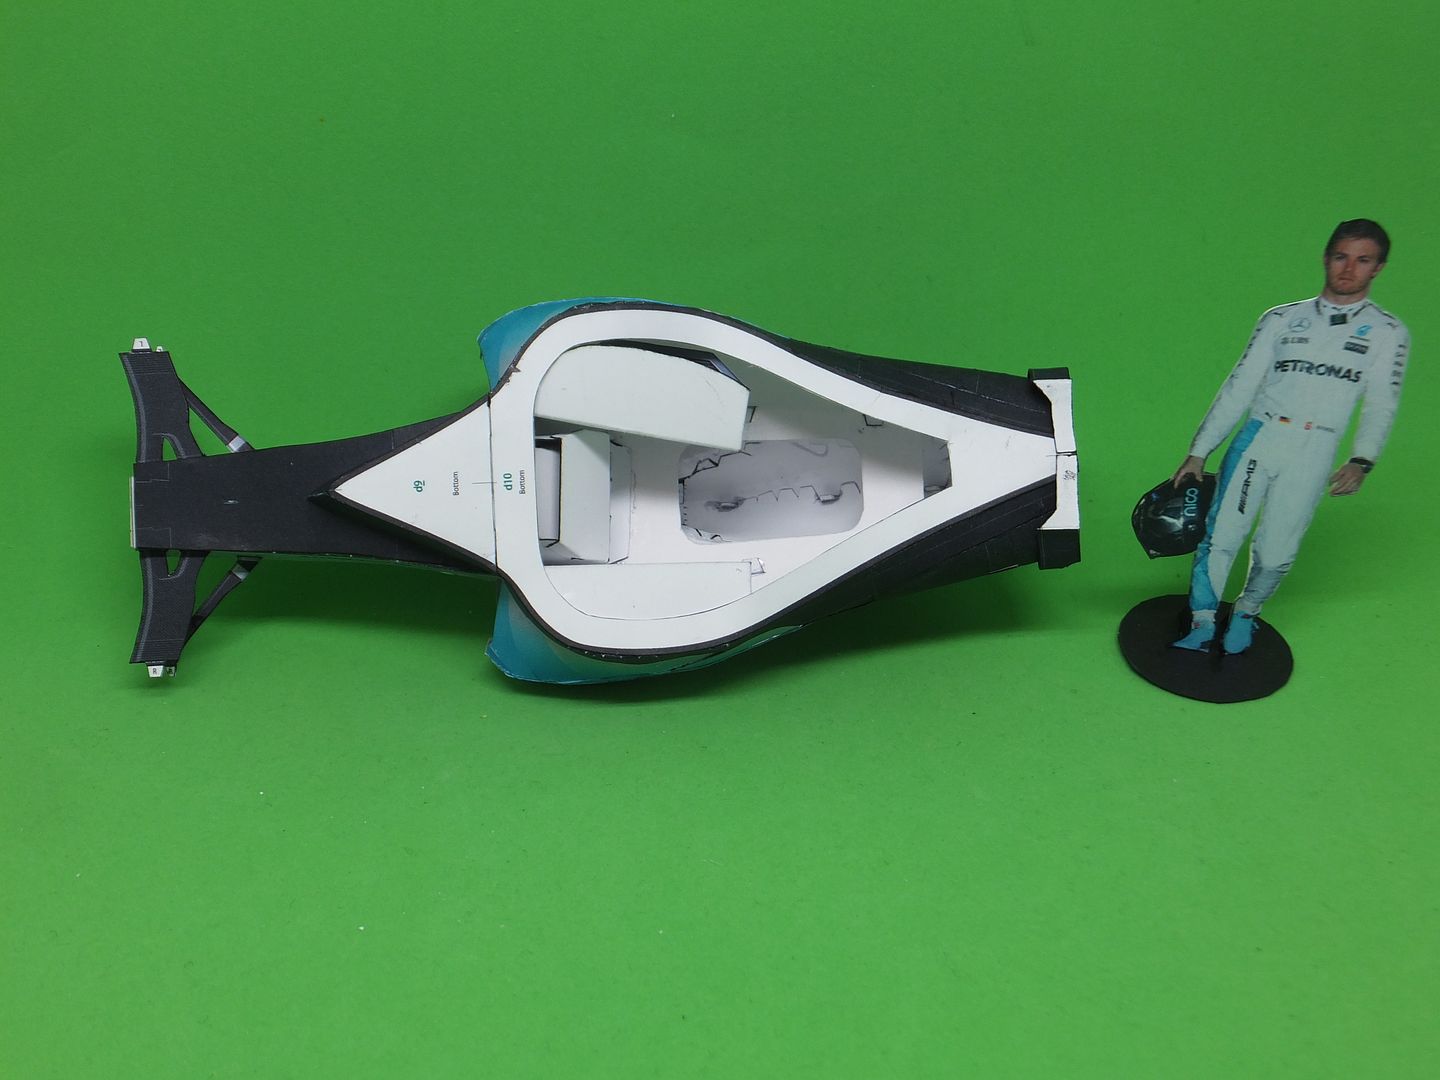 This is where I am at right now. Next we will be starting on the rear power train and suspension. Thank you for following. Questions and comments welcome.
__________________
~ Jim ~ "Modeling is not just a hobby. It is also a craft and an art form" |
|
#44
|
||||
|
||||
|
Very nice to follow this build, printed this one already for......whenever i have some spare time.....
 Fred
__________________
We can not do great things in this world. We can only do smal things with great love. (Mother Theresa) |
|
#45
|
||||
|
||||
|
Thank you Fred and good luck with yours.
__________________
~ Jim ~ "Modeling is not just a hobby. It is also a craft and an art form" |
| Google Adsense |
|
#46
|
||||
|
||||
|
Good evening all.
With the front end basically built it was time to start on the rear suspension. 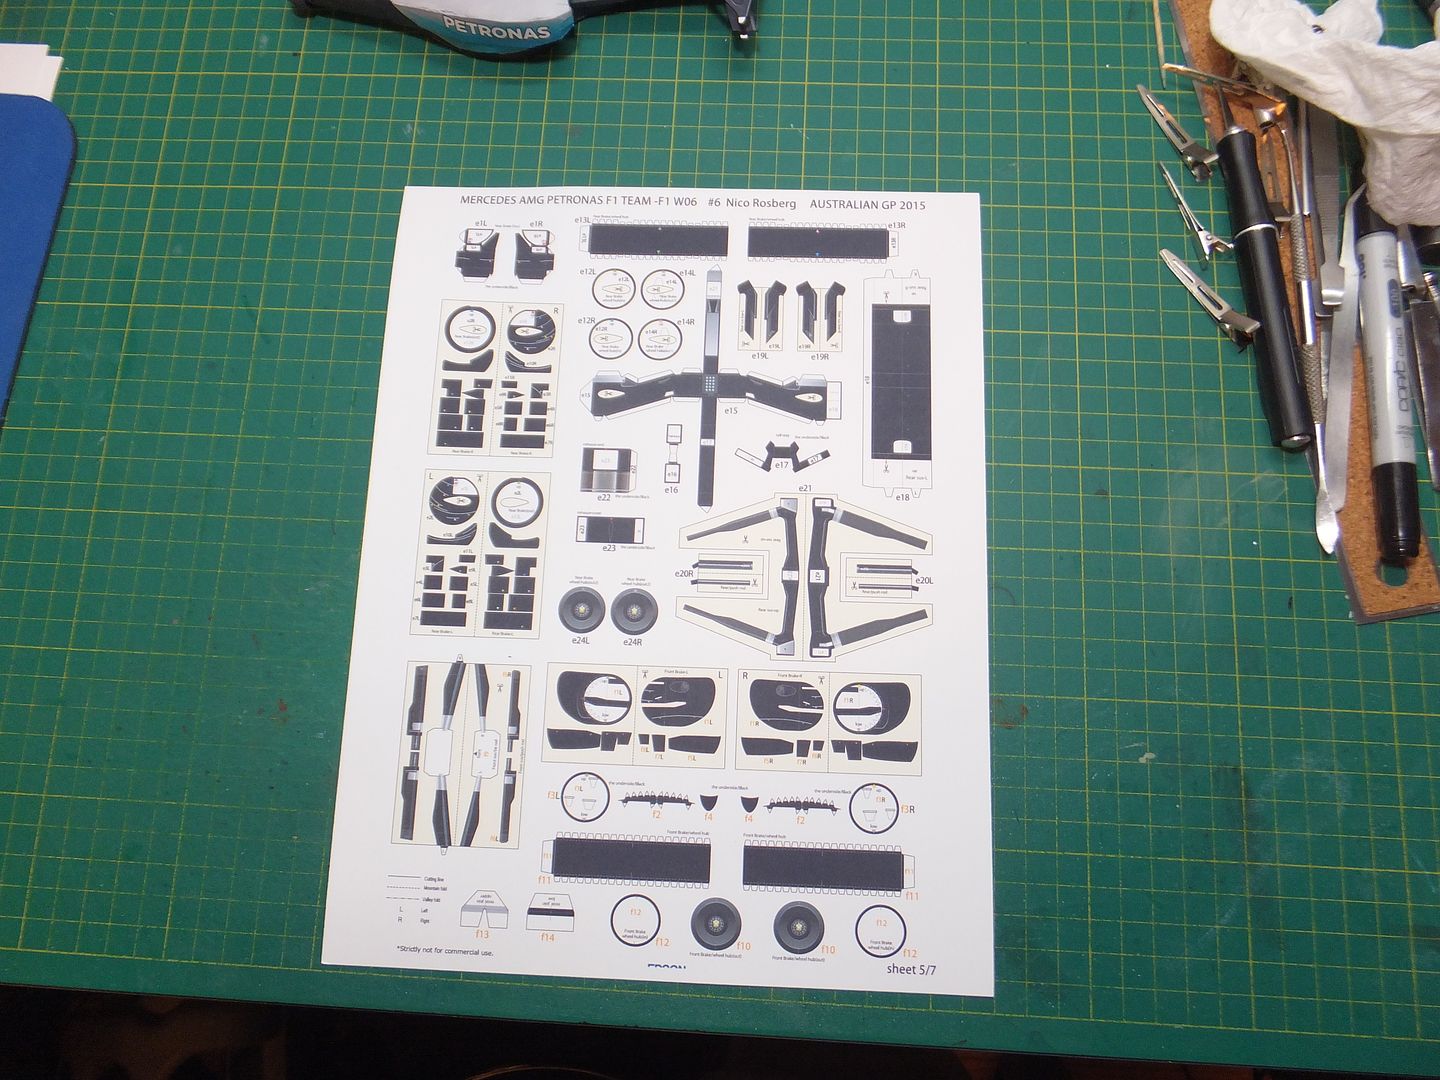 I tried an experiment. There are a couple of parts on this sheet that require the back side blacked out. I could have just designed a blackout mask to print on the back, instead I tried some Stynylrez black primer I had. It did not soak through the card and did not break up when folded, so used it for this application. 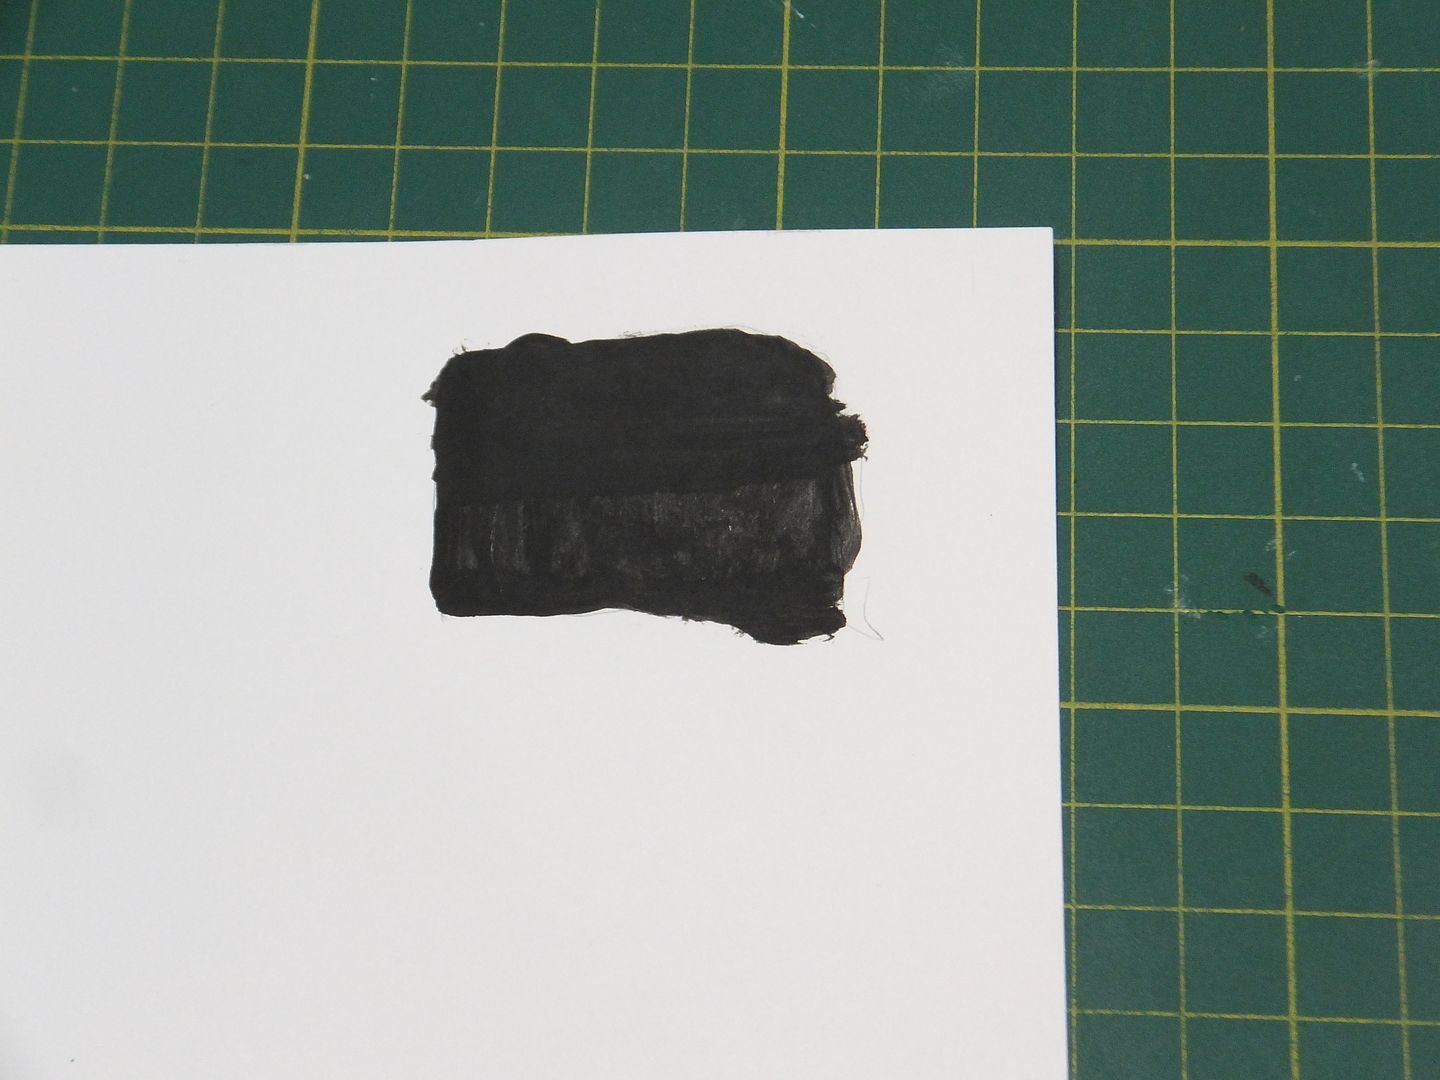 Started work on the back plate for the rear hubs. 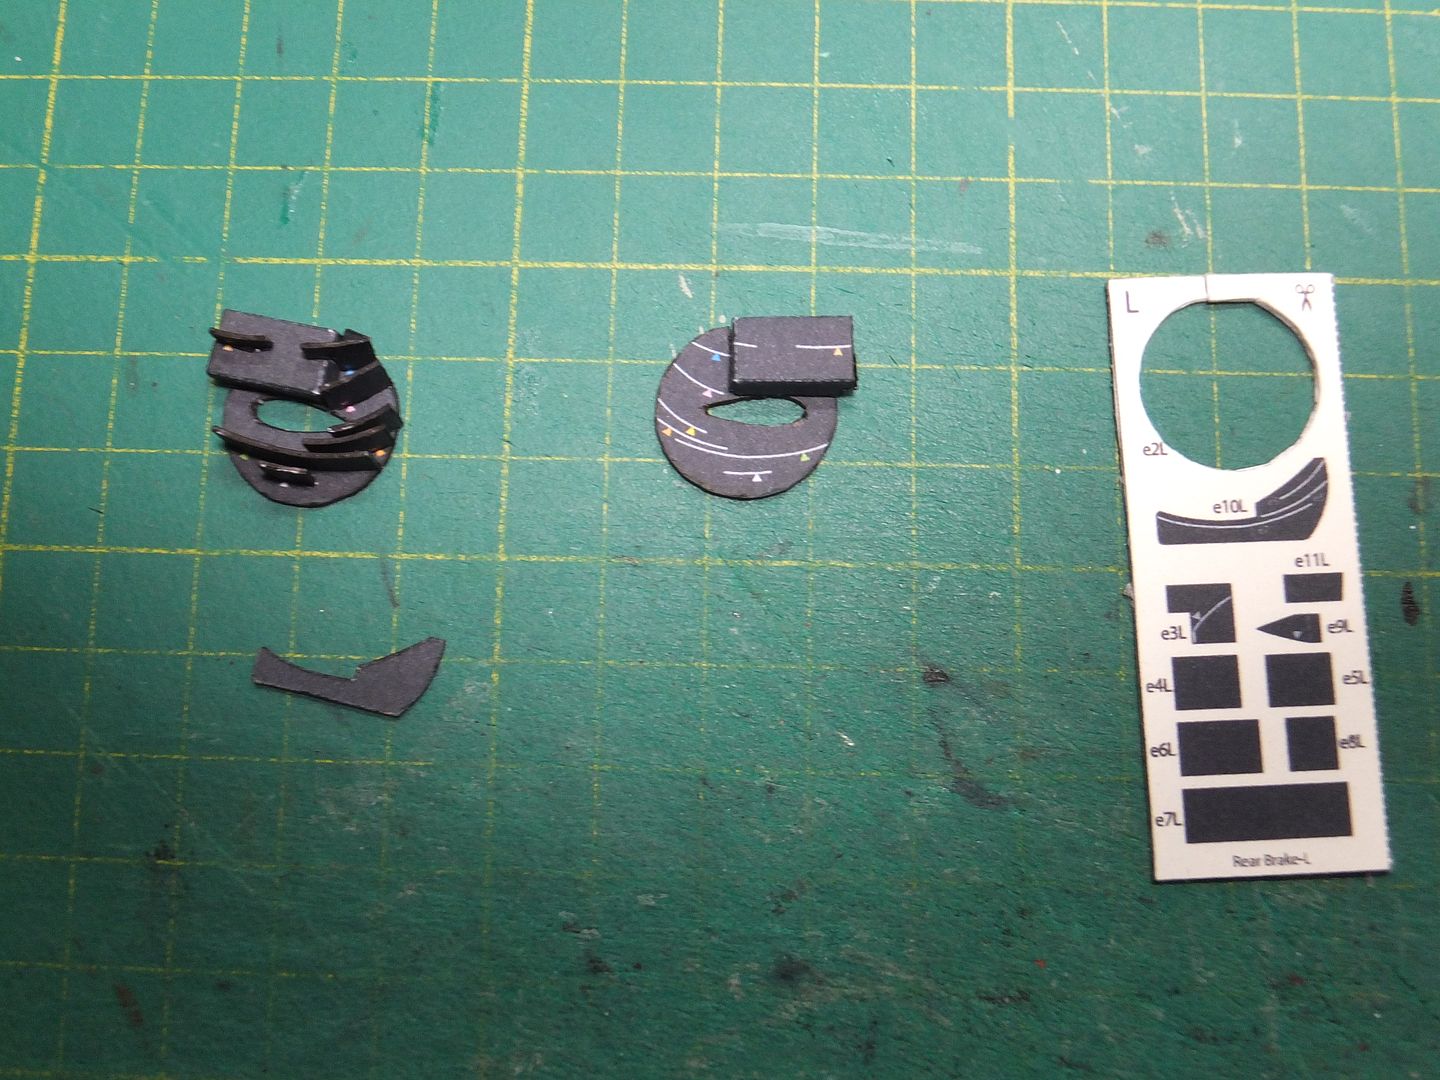  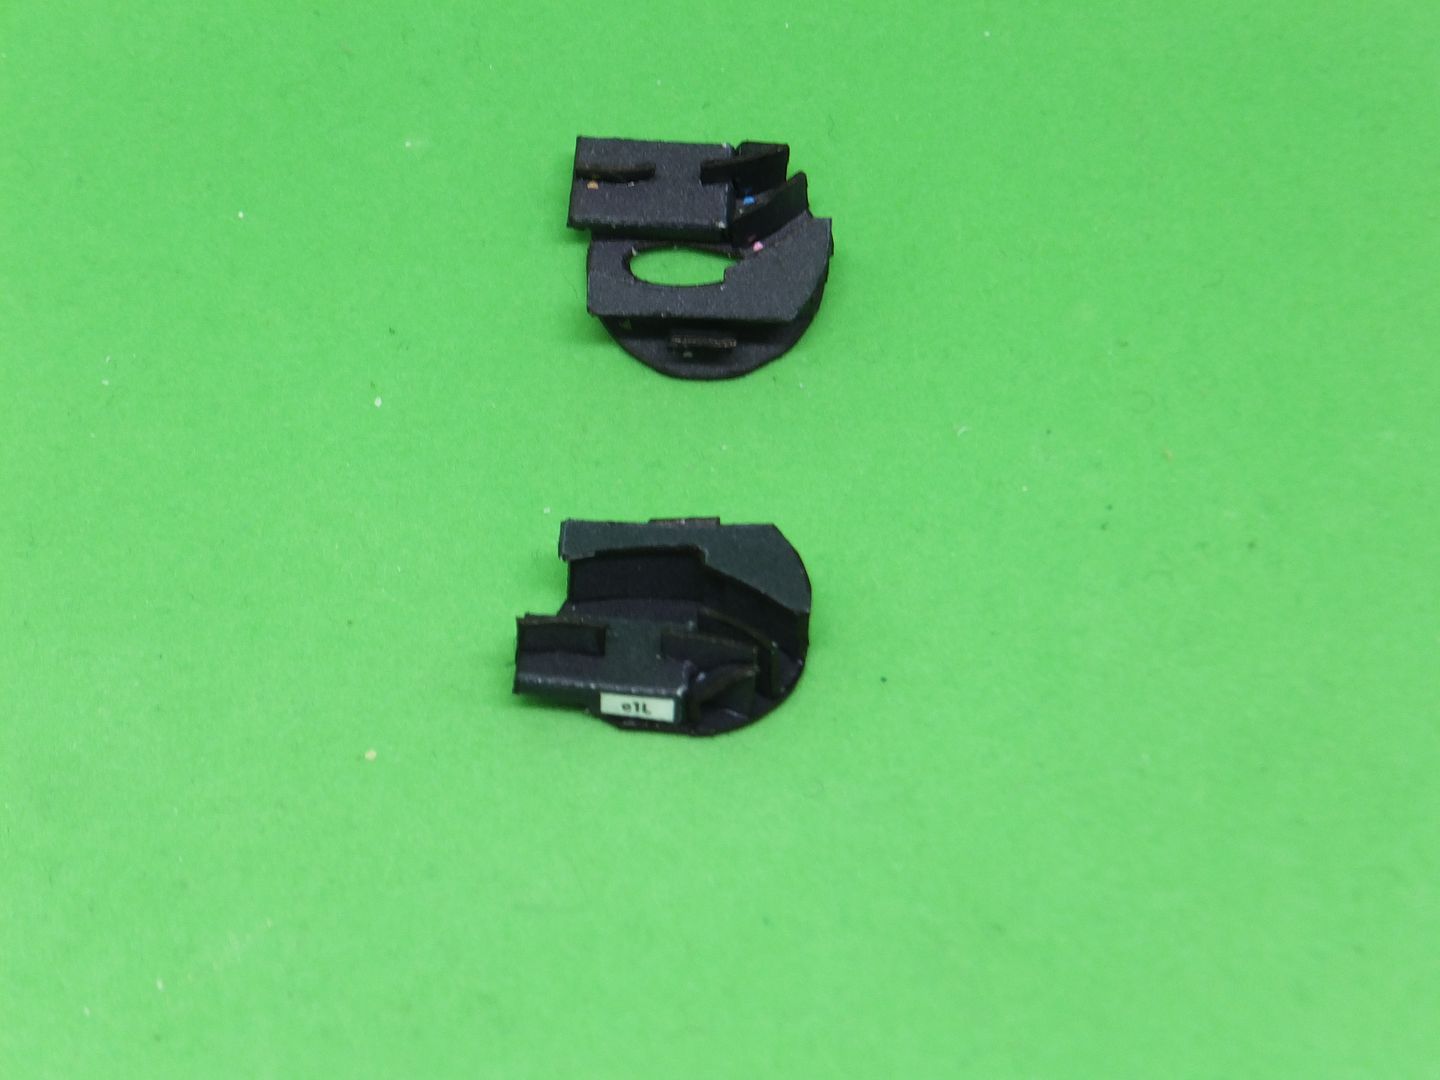 Then constructed the rear hubs and attached them to the back plate. 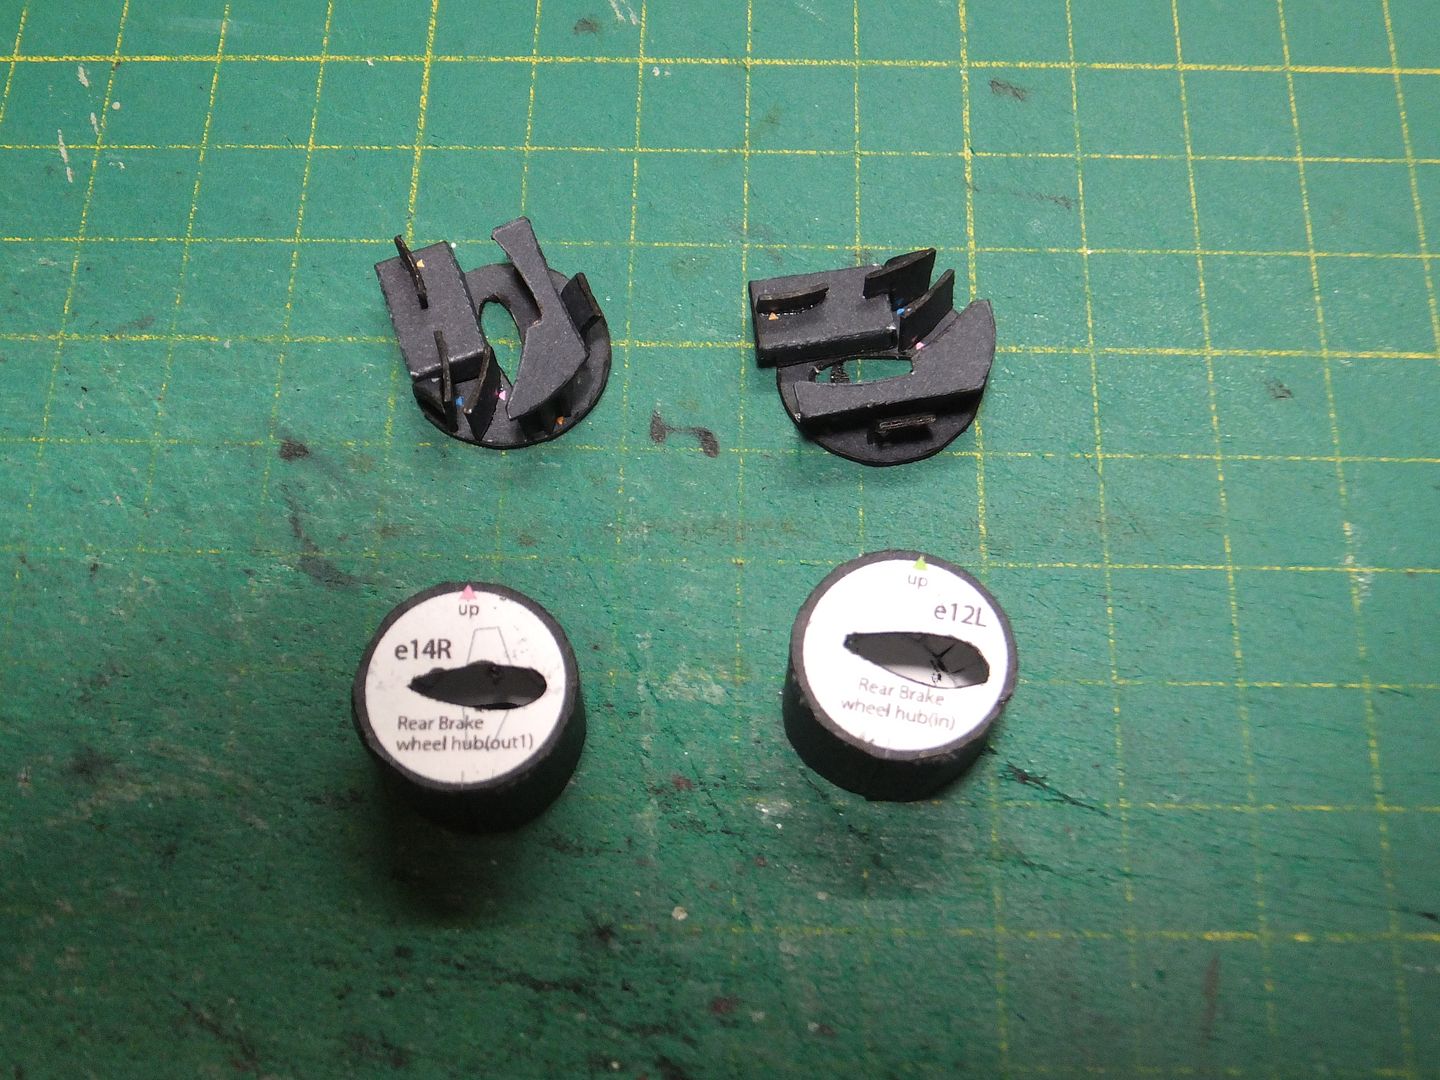 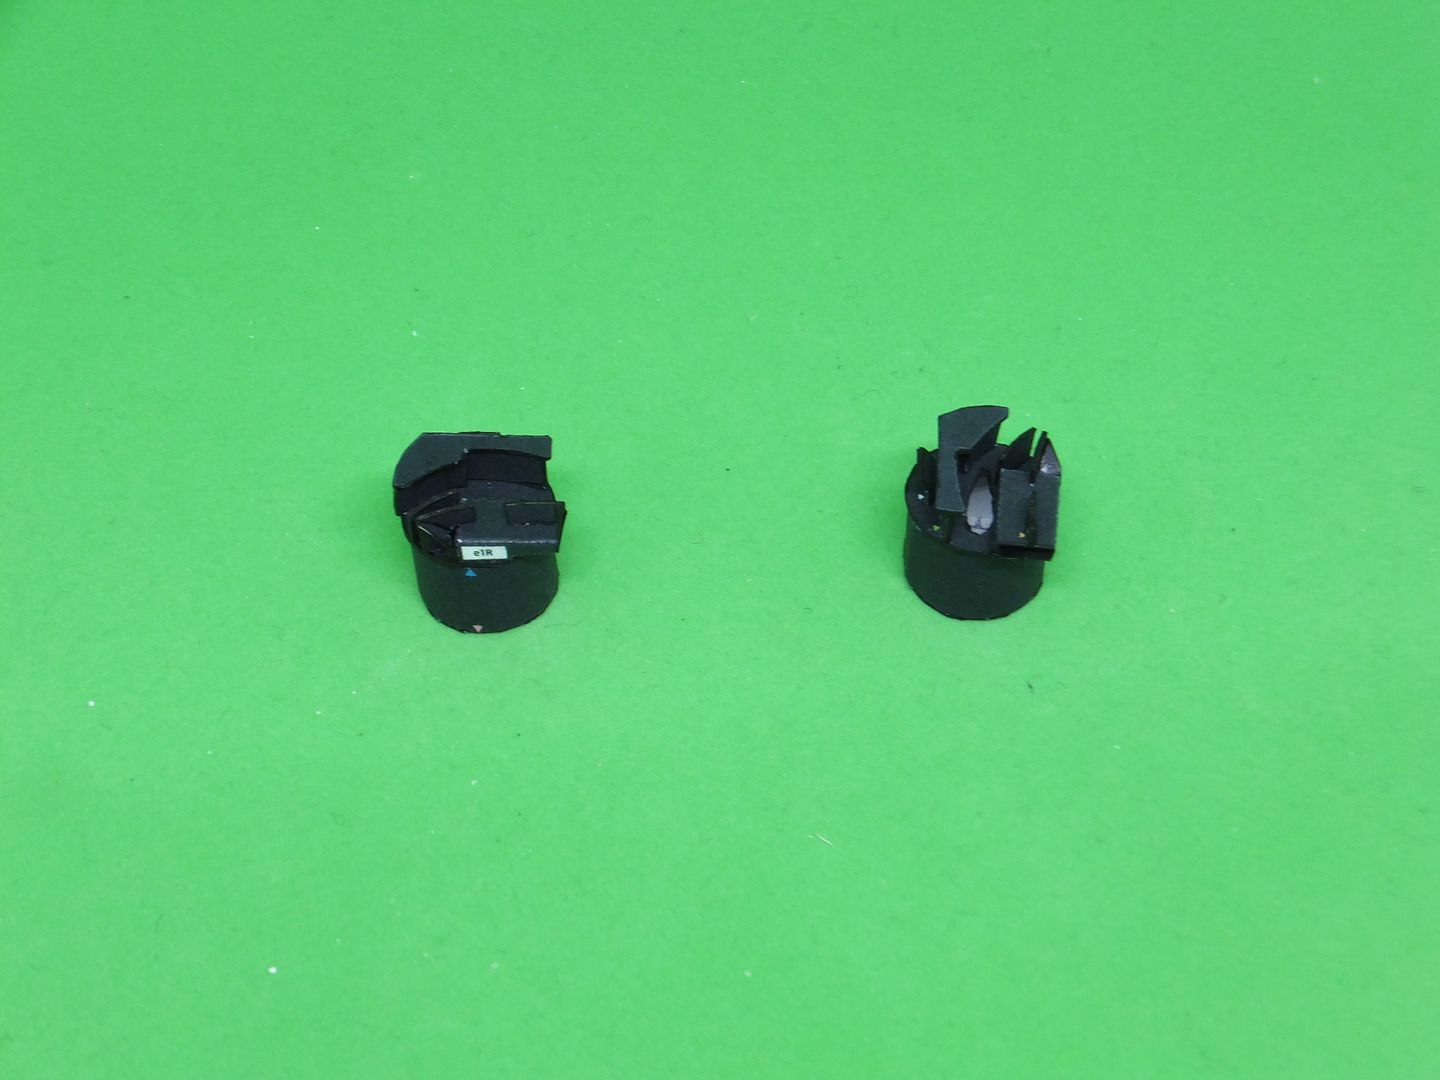 Next came the rear drive train assembly. 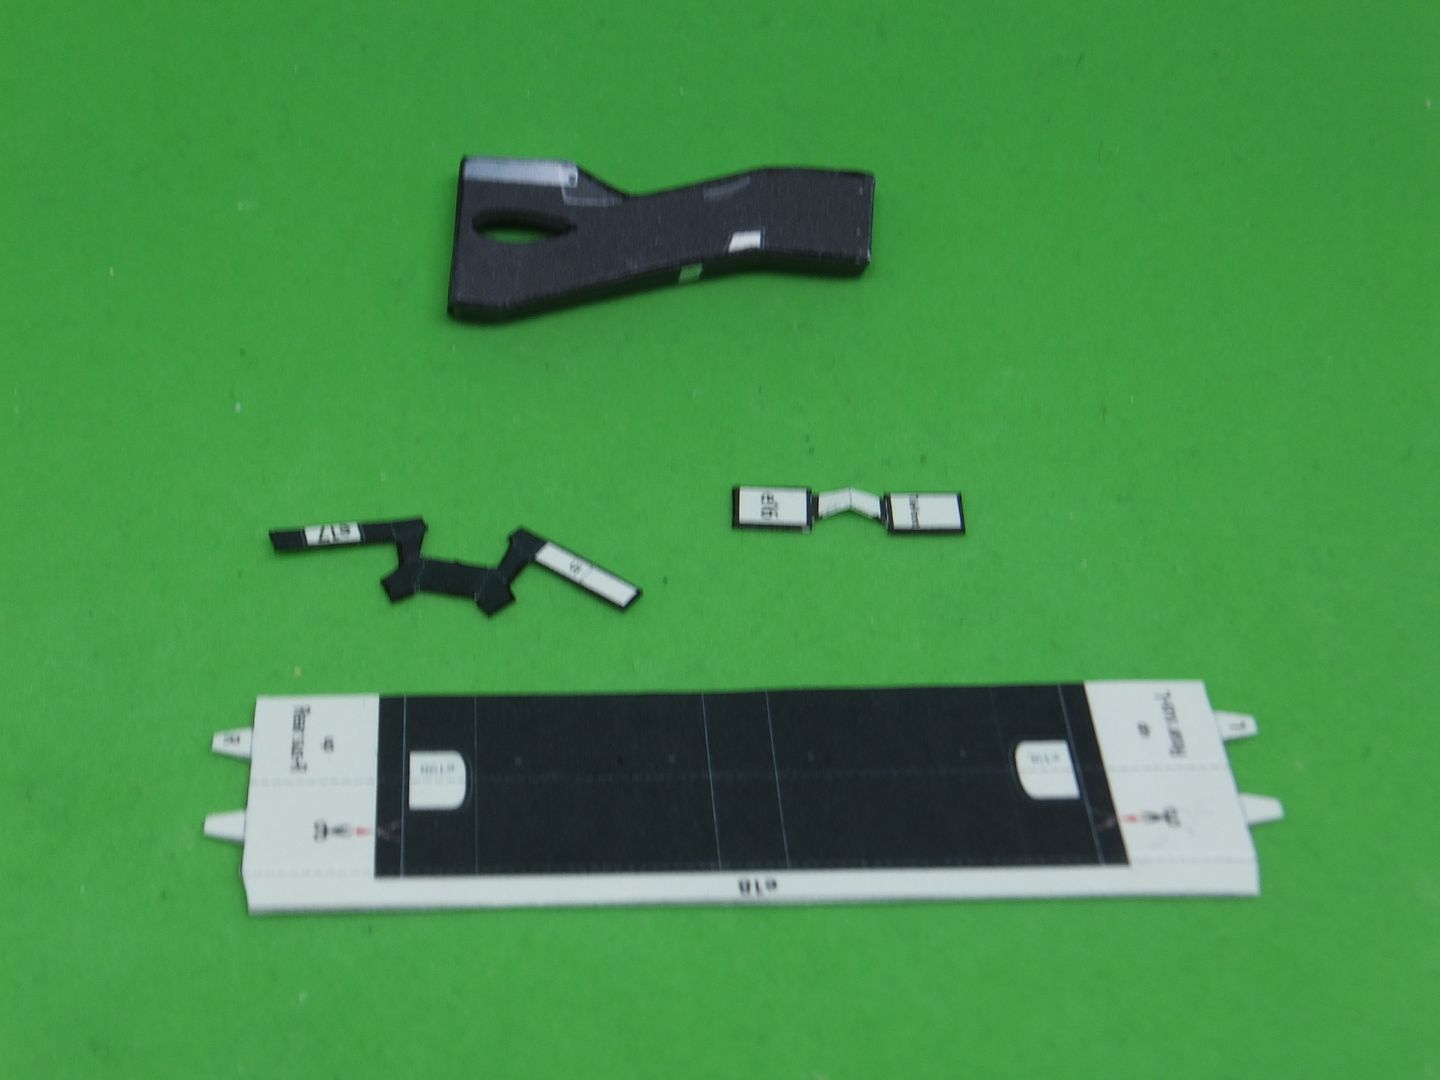  Then mount the drive train. The struts being not glued into the body, allow some movement to align the rear end. 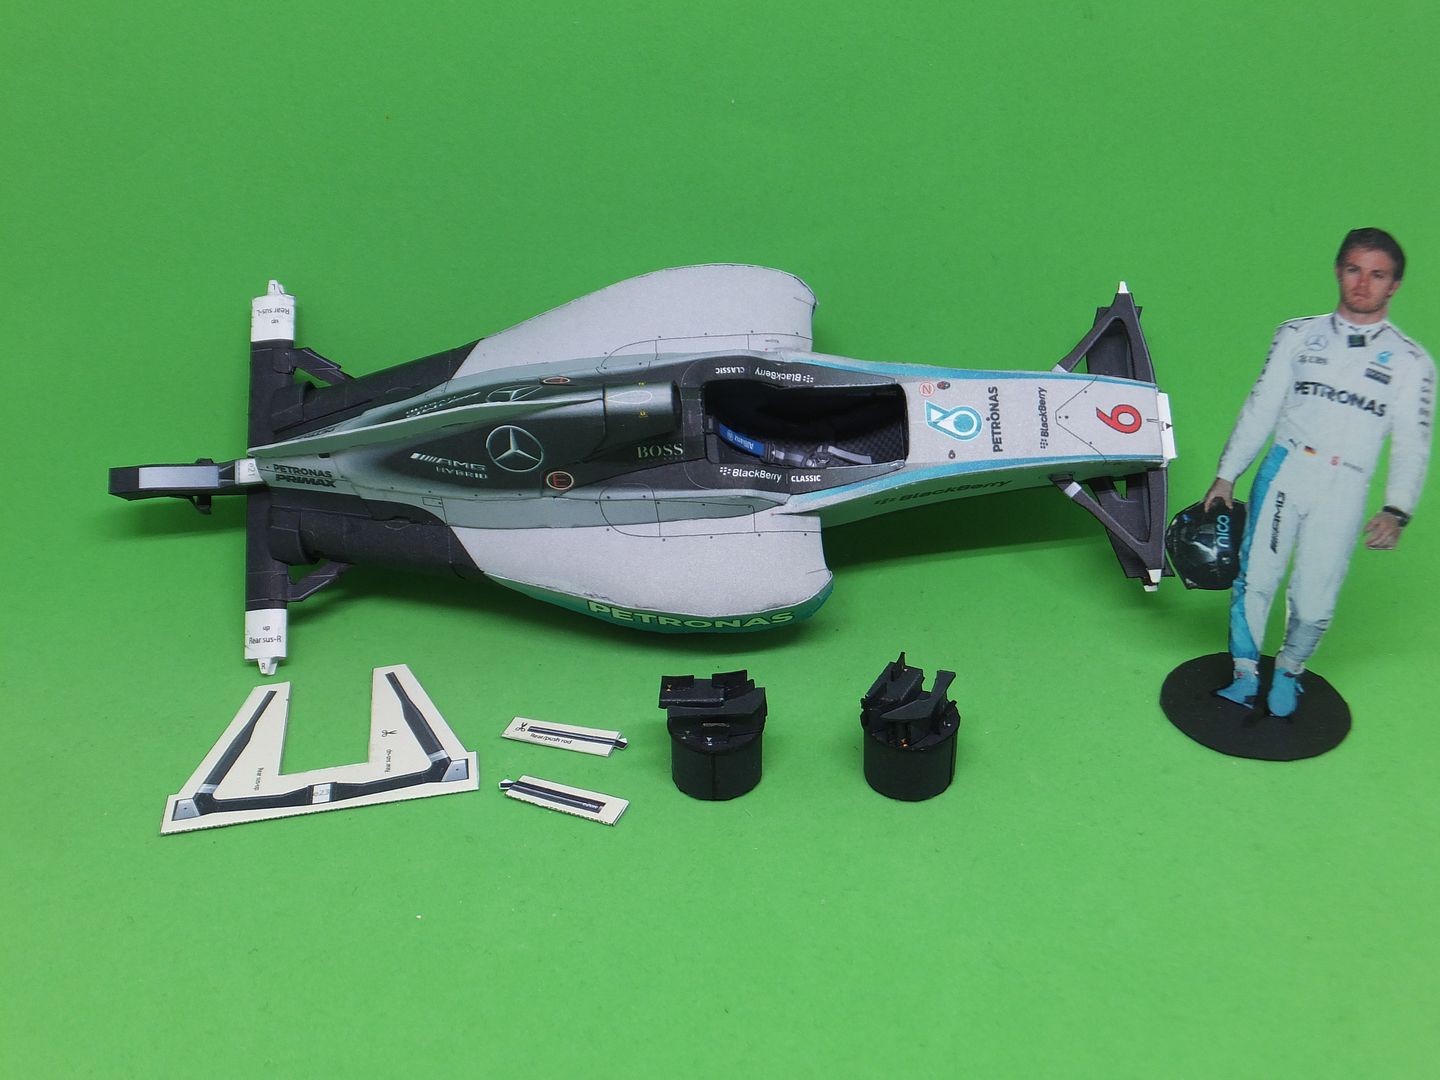  More support struts are added. 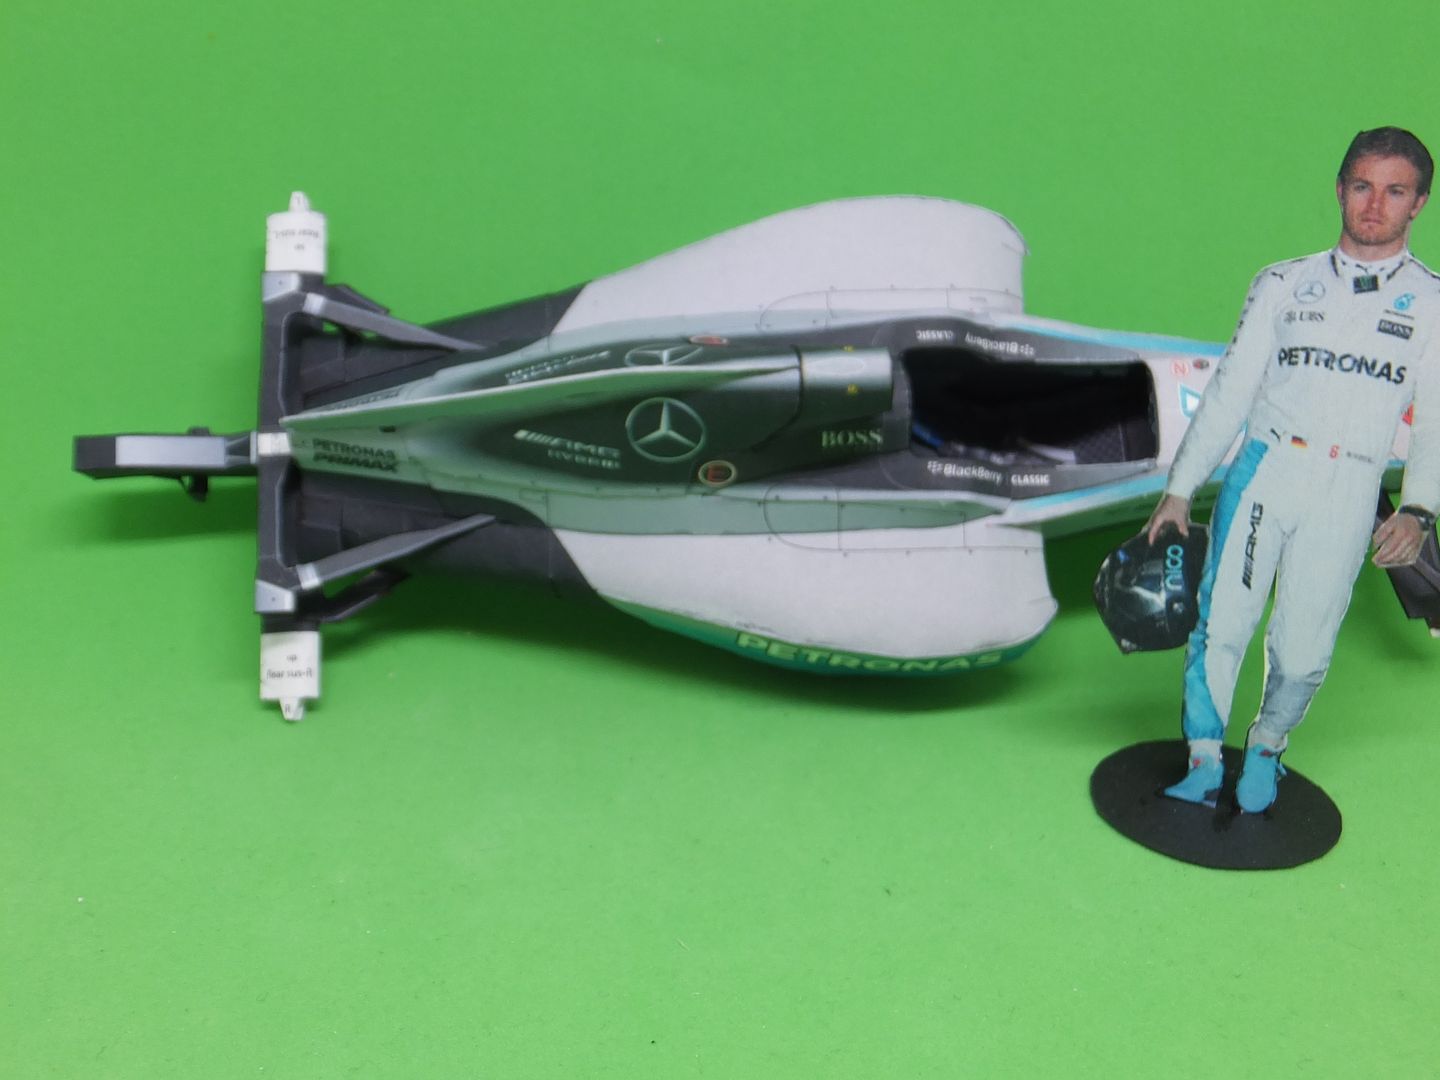 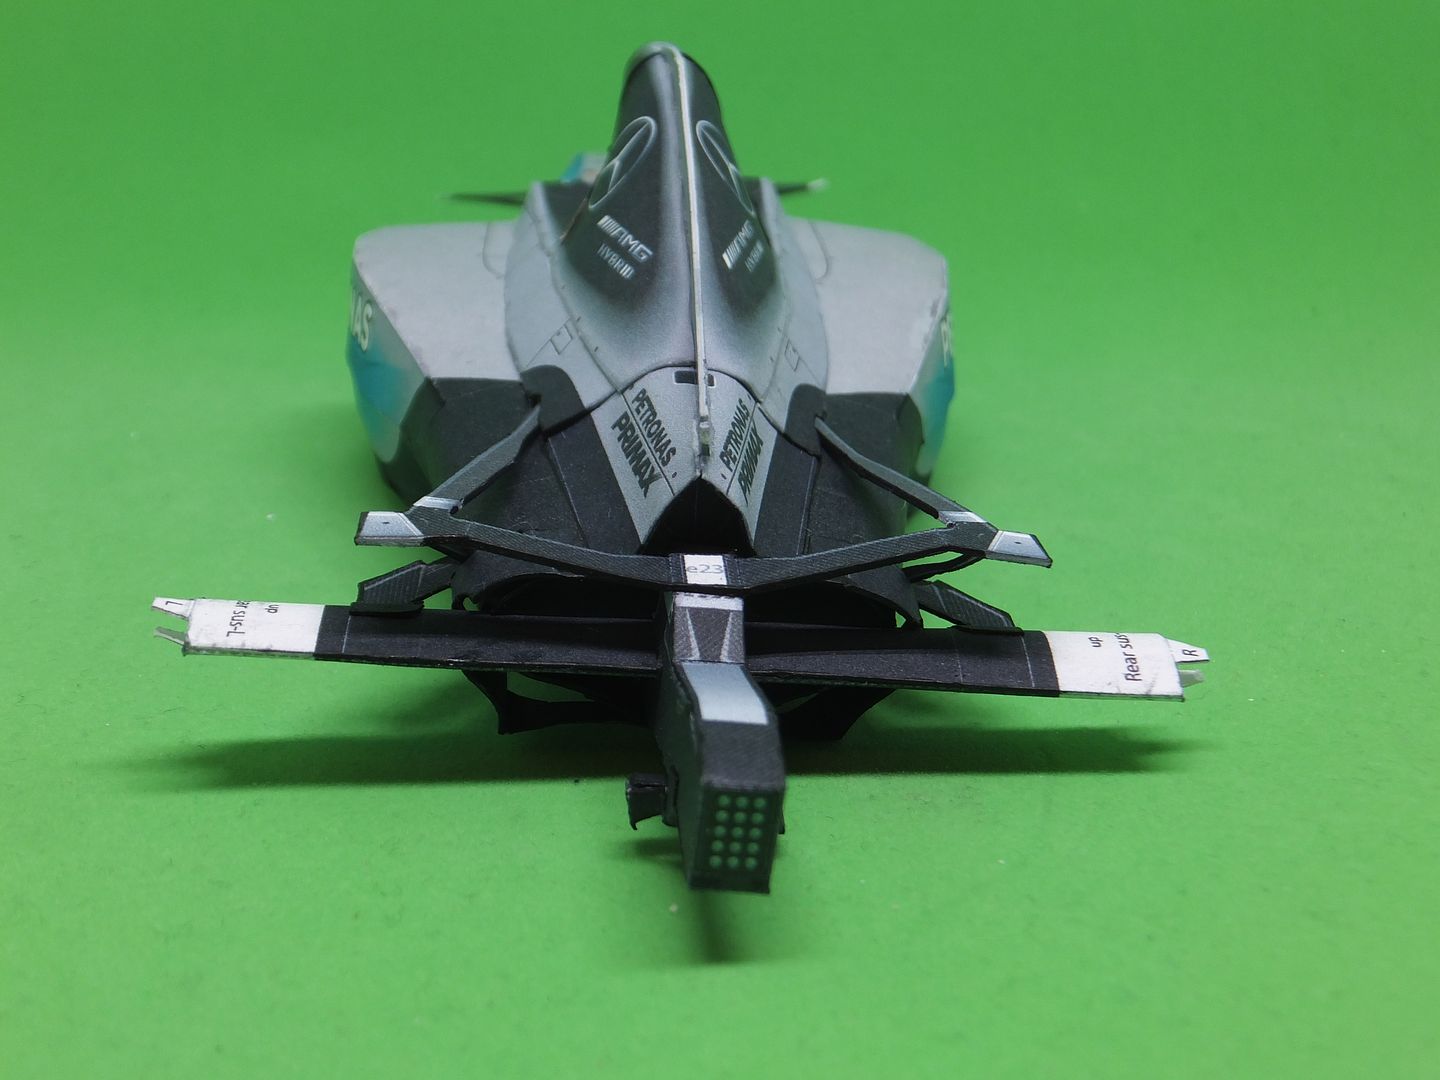 The rear hubs were then installed, and started on the front ones. 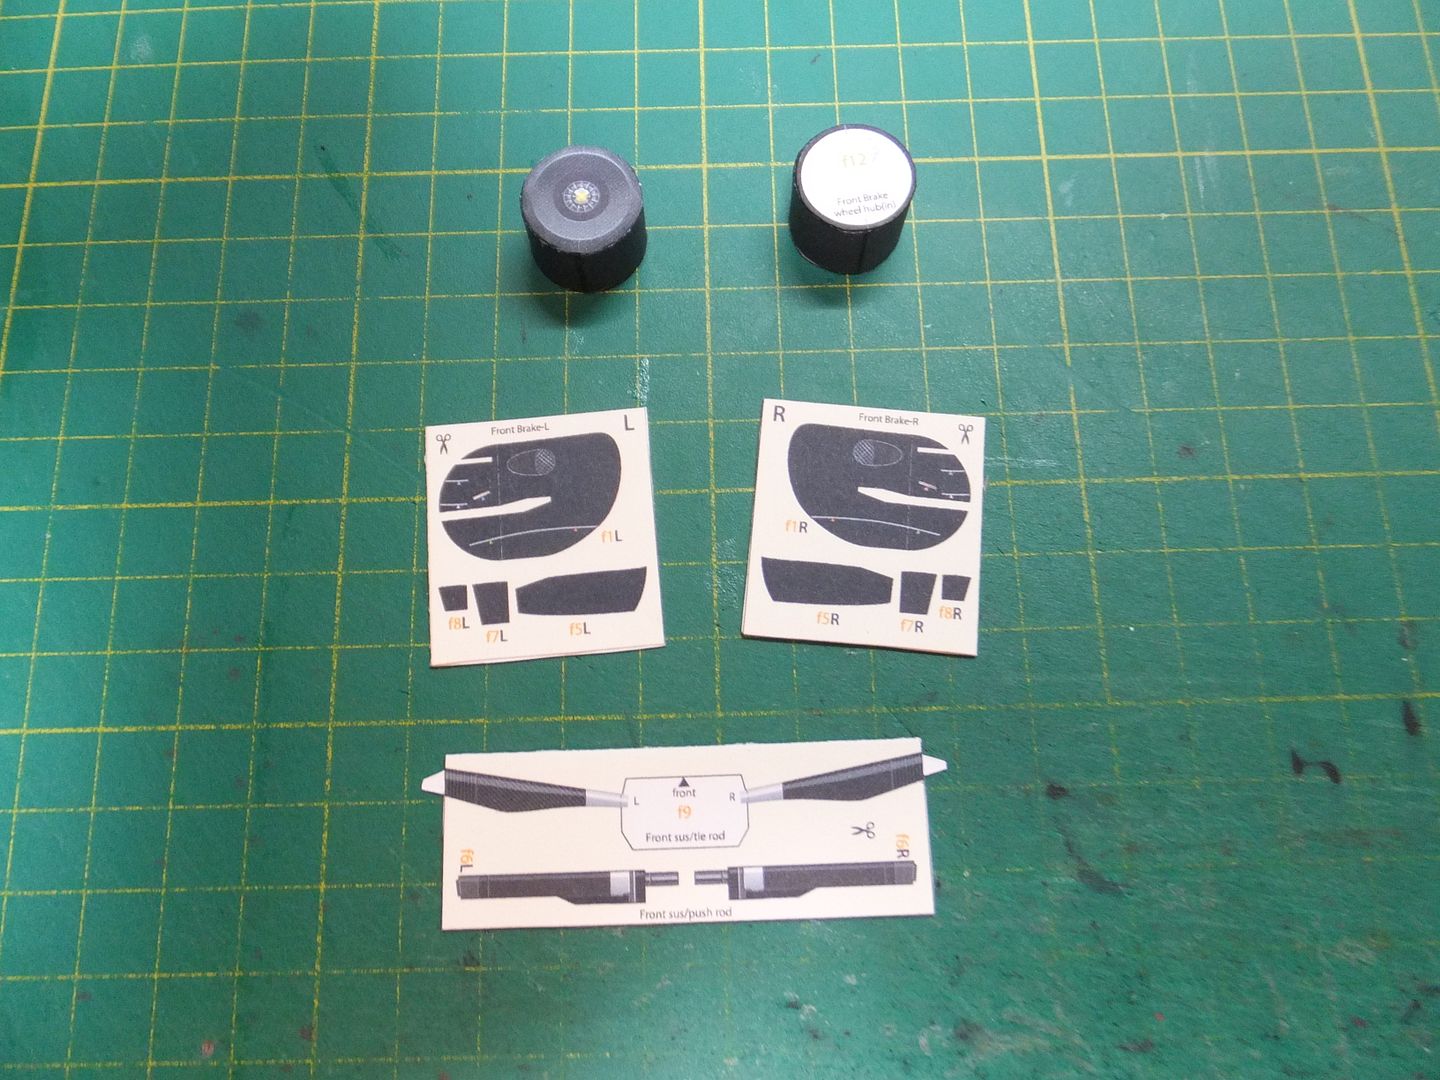  The tabs were a little tricky to get into the front hub plates, but were solid after the glue dried. Last part here was to install the rest of the front hubs. 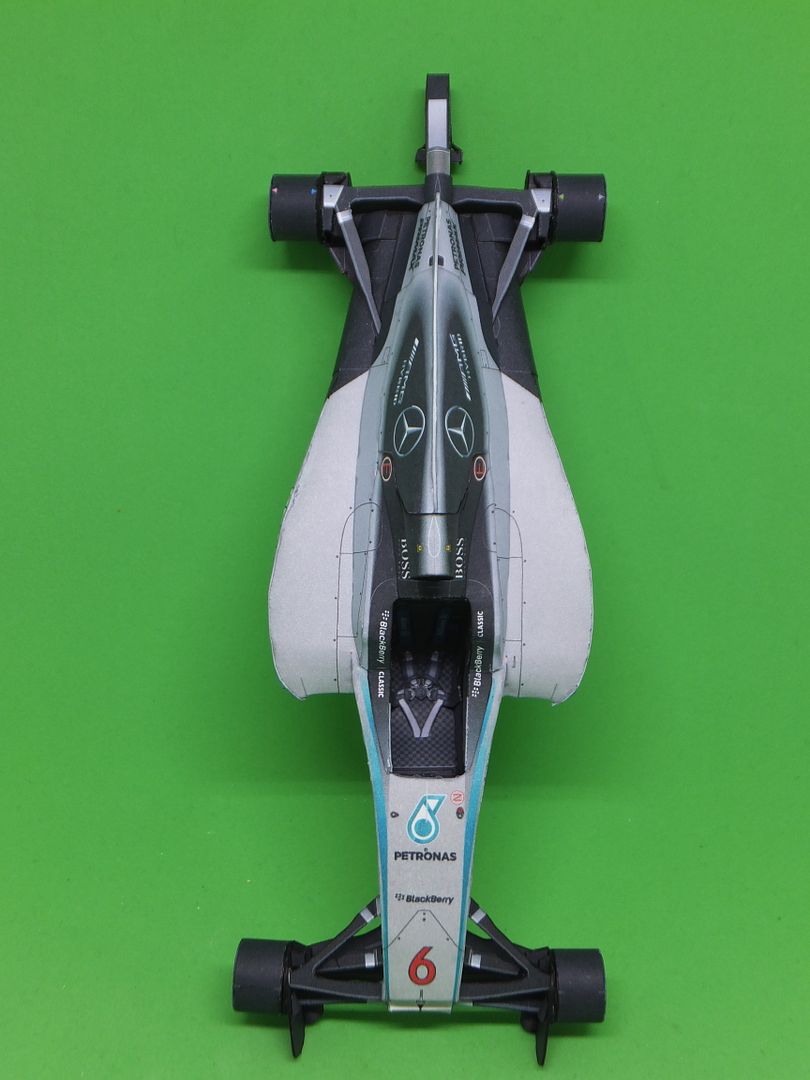 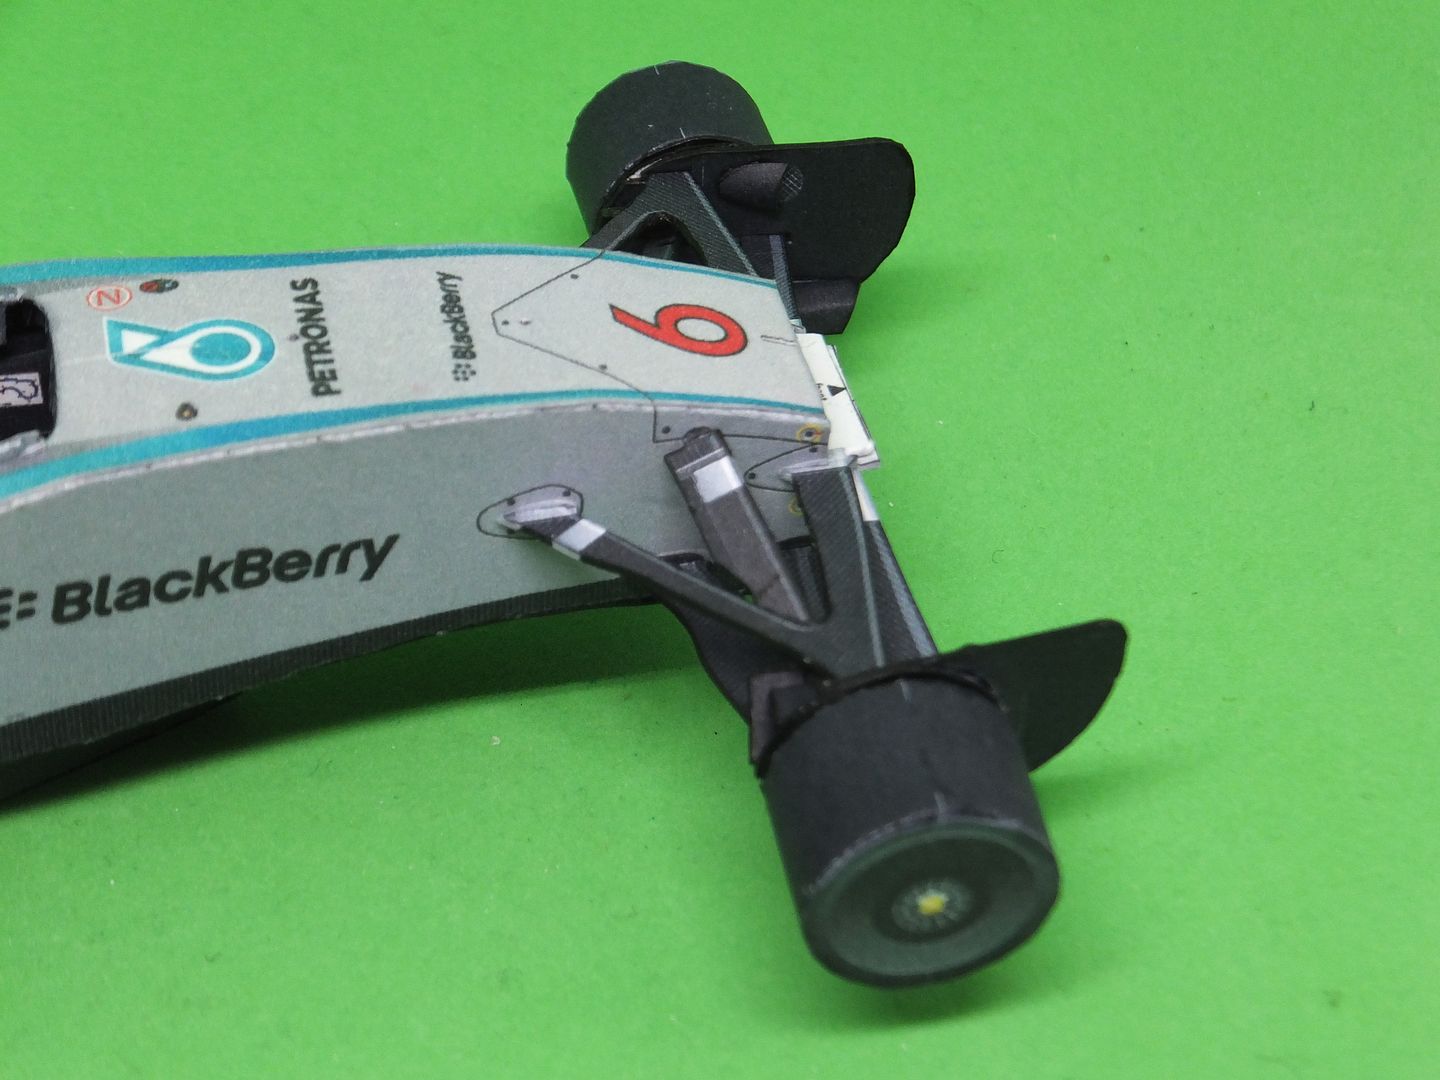 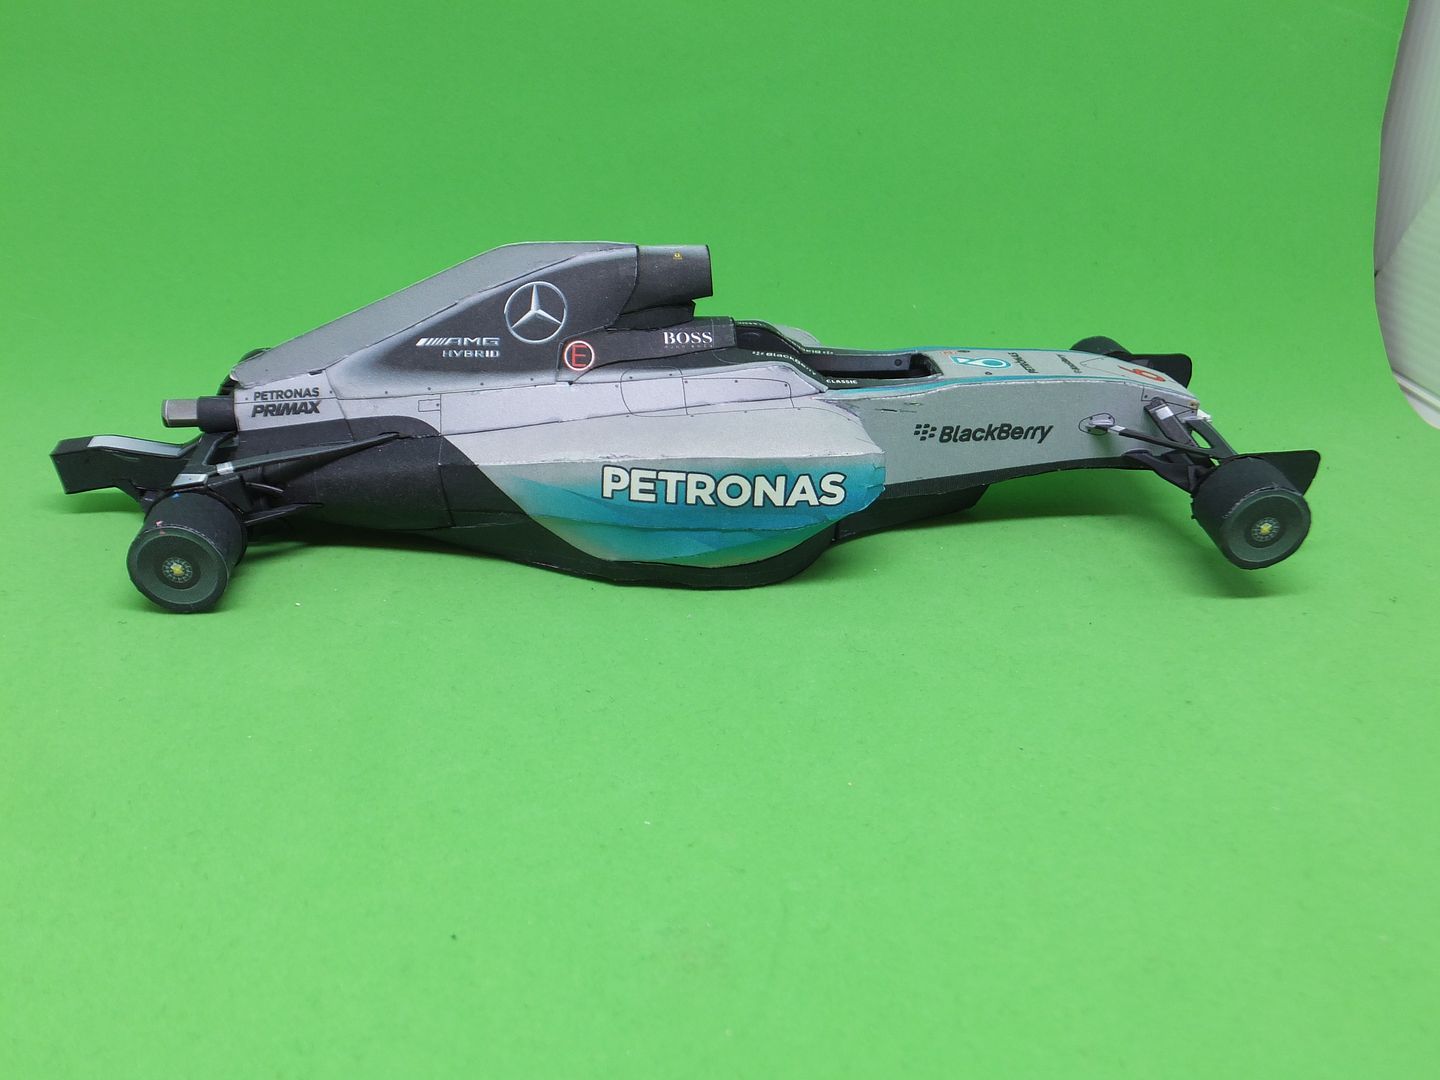 The last part of this section was to attach the body to the previously built bottom chassis plate. This is where I am at tonight. 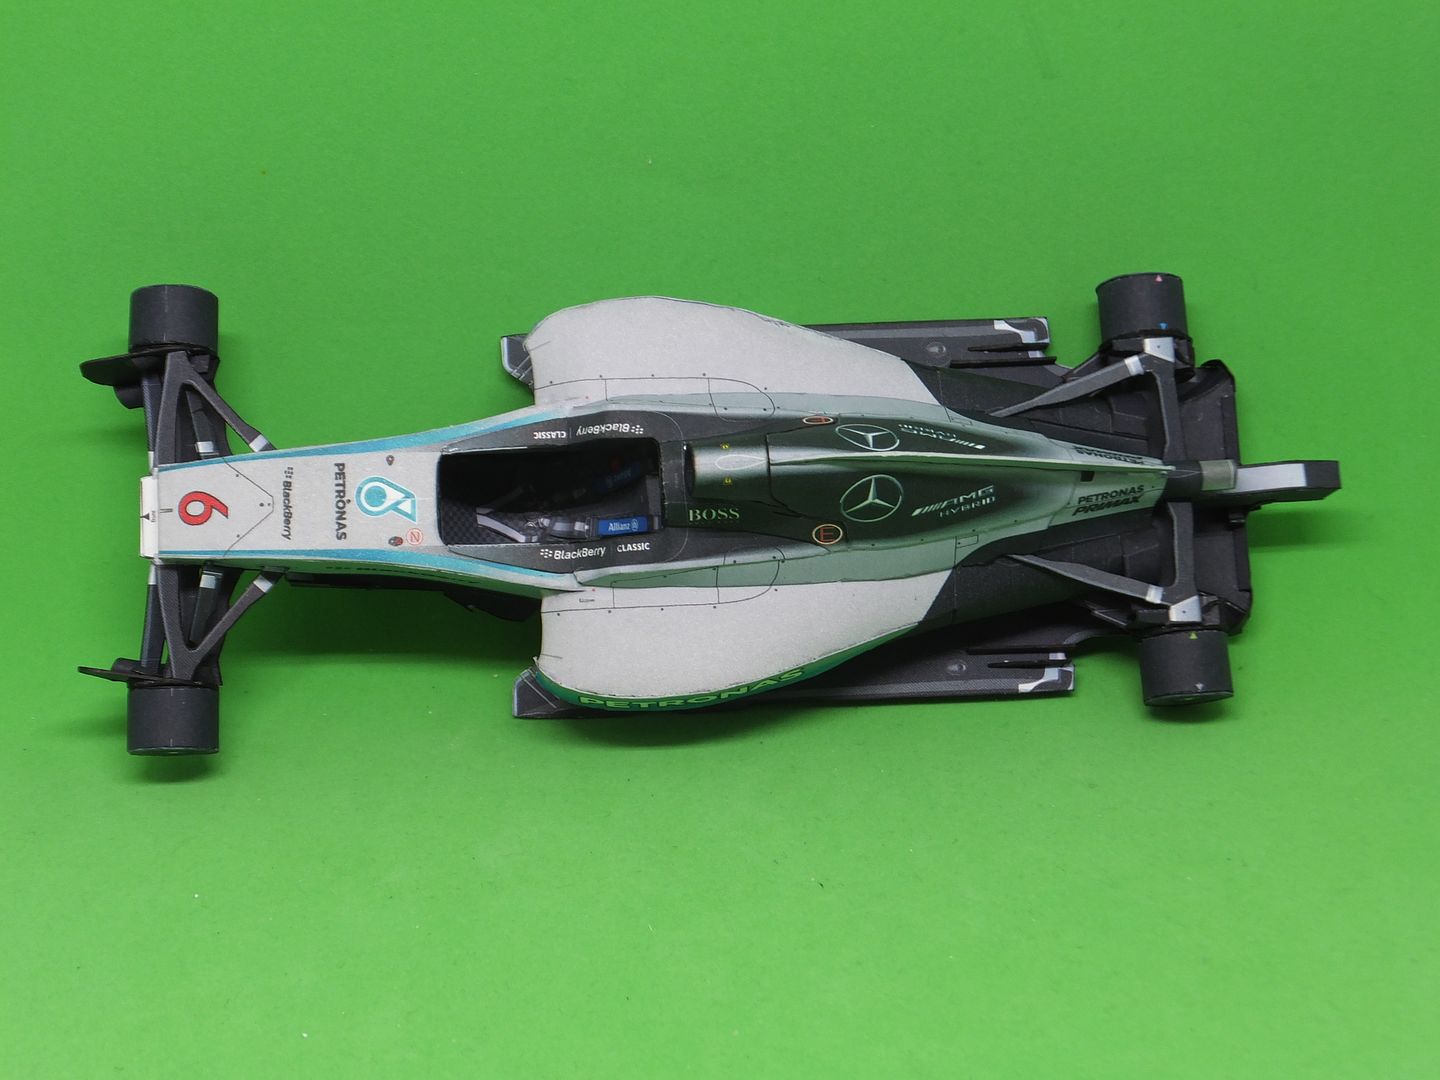 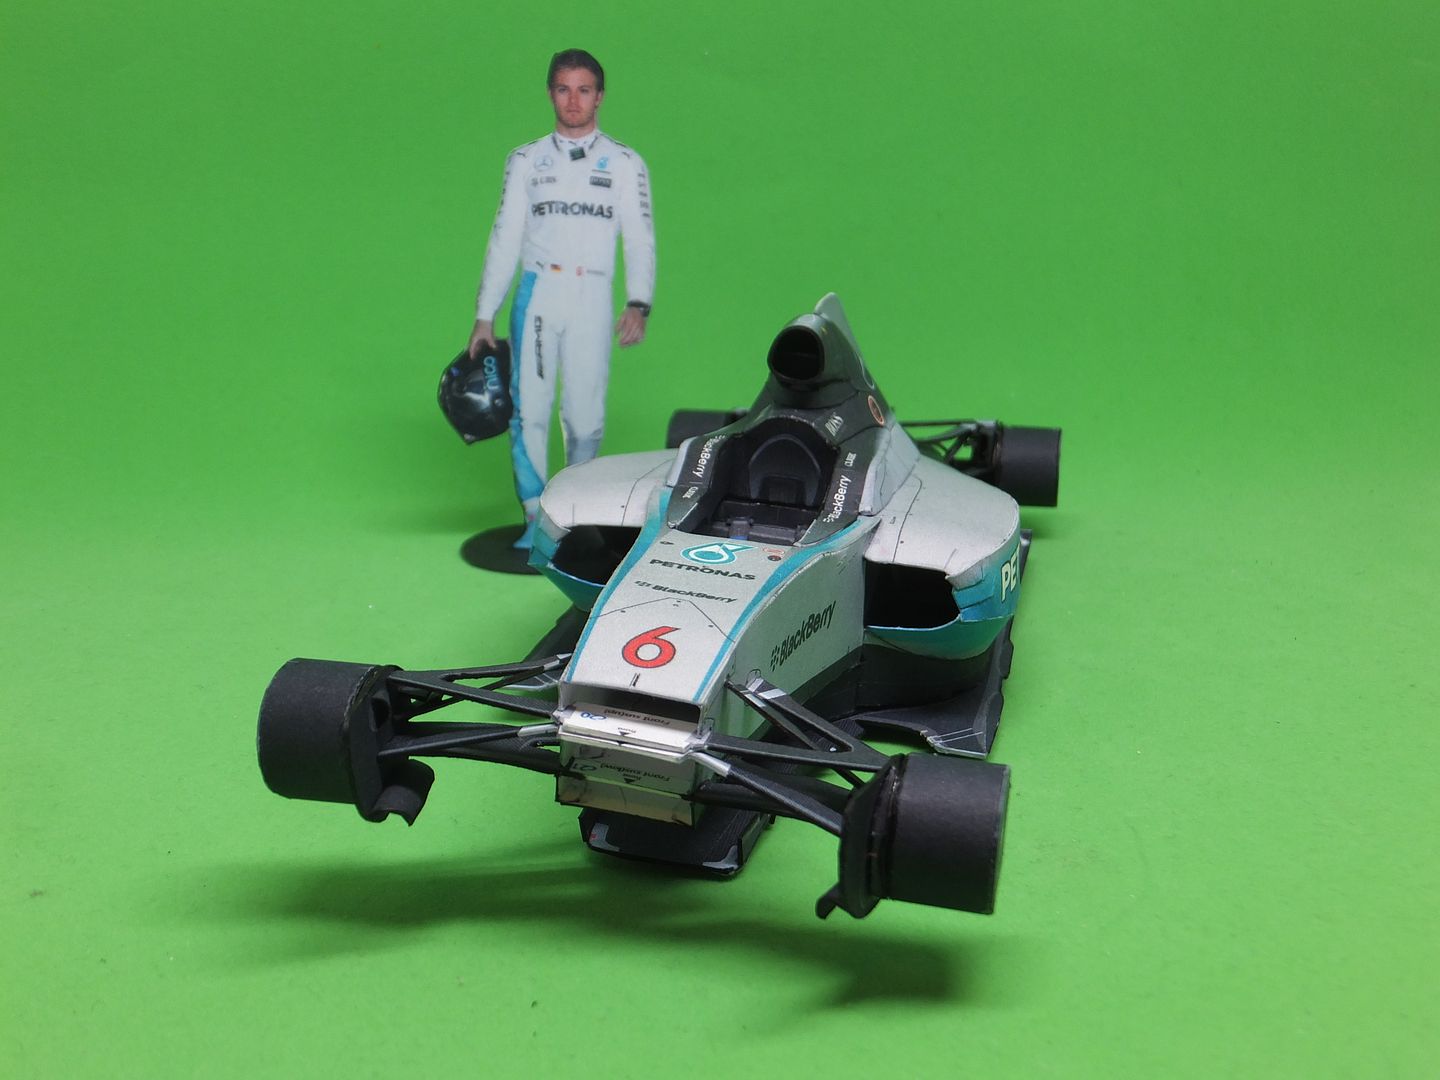 Thank you for following. Questions and comments welcome.
__________________
~ Jim ~ "Modeling is not just a hobby. It is also a craft and an art form" |
|
#47
|
||||
|
||||
|
Coming along nicely.
|
|
#48
|
||||
|
||||
|
Very nice build Jim.
Fred
__________________
We can not do great things in this world. We can only do smal things with great love. (Mother Theresa) |
|
#49
|
||||
|
||||
|
Thank you Whulsey and Fred.
__________________
~ Jim ~ "Modeling is not just a hobby. It is also a craft and an art form" |
|
#50
|
||||
|
||||
|
This is looking very nice.
And quite complex too! I'm following with interest.
__________________
Rubén Andrés Martínez A. |
| Google Adsense |
 |
|
|