


|
|
|
#11
 06-24-2010, 09:30 AM
|
||||
|
||||
|
I have been slow these last days, but last night I was able to advance on the tires.
One of the reasons I always start with the tires is that they take me a long time to finish. LougDog did a nice job on them, it is a pleasure to build. Since every piece you add make the tire look better and better, you are encouraged to continue. Here is the actual rear tire,believe me, I pre-painted the paper borders, but they still show up, I will try to cover them at a later step, but first I GOTTA FINISH IT!!. :D:D 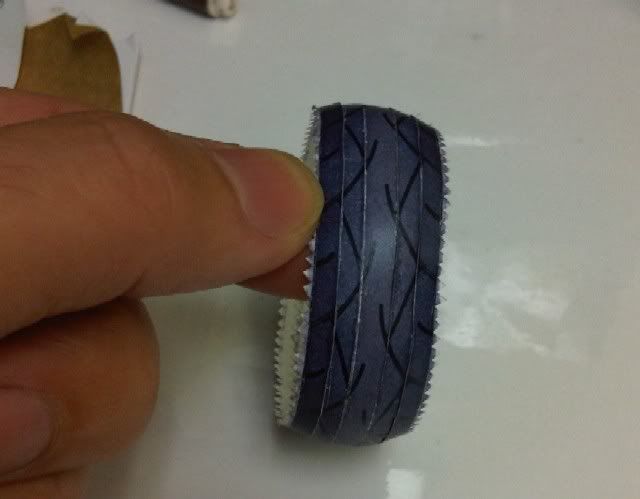 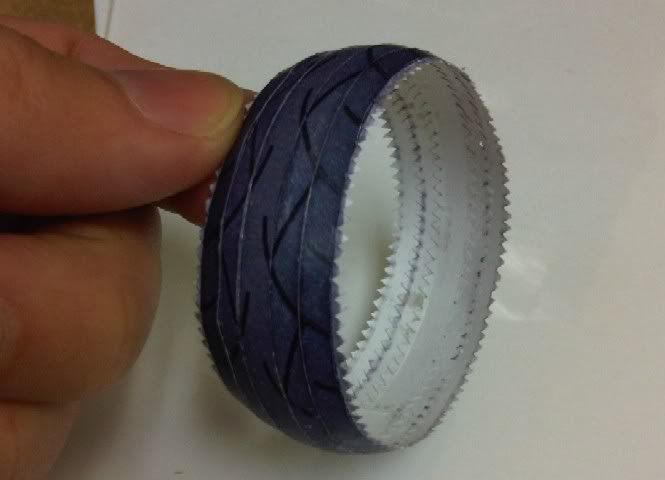 I also managed to make the mock up of the tank  As you can see I drew some lines so I can hopefully modify the original tank to what I want. 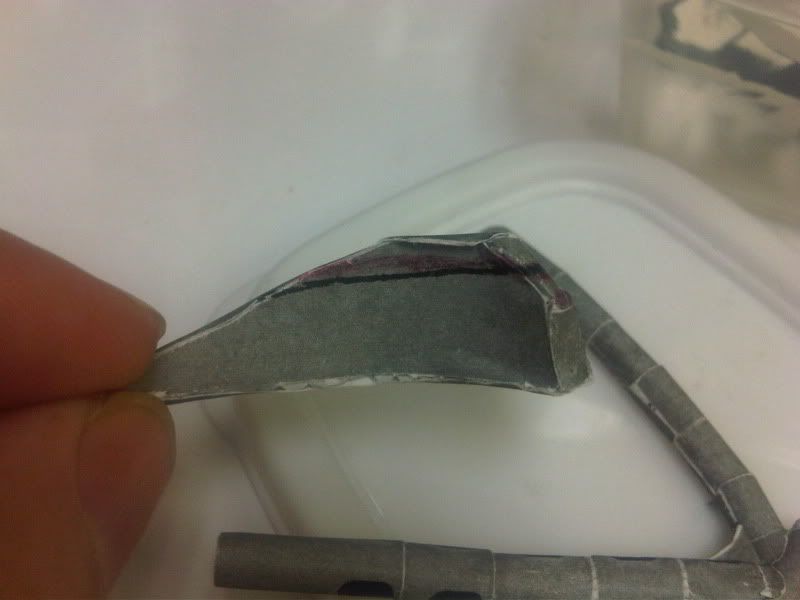 After that I took a knife and disassembled the part I scanned one of the parts so I can draw over it a more fine layout. 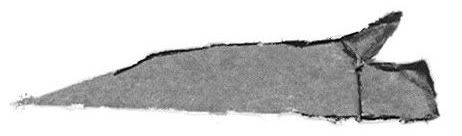 I already printed them and did a preliminary build to repeat the process. Will post pictures later. Thanks for reading this. Any comment, tip, or advice are always welcome. 
|
|
#12
06-24-2010, 12:23 PM
|
||||
|
||||
|
Edgardo,
Its looking good so far. I must say you are very brave to take on this model at nearly half the size of the original. I am afraid to build at such a scale. However, with enough patience (and very small tweezers) I'm sure it's possible. As far as the lines showing up on the tires, it is definitely a problem with the design (strip tire method). When I built it, I was able to minimize the appearance of such lines by cutting off the flaps and gluing new flaps to the back of the strips. That way the tire strips can butt up directly against one another and eliminate the ridge. This will help to hide most of the paper edges. Of course the amount of work increases dramatically by using this method. -LD
__________________
Previous design/build: WHC's Mille Miglia custom bike Next design/build: Currently experimenting...
|
|
#13
06-25-2010, 09:24 AM
|
||||
|
||||
|
Thanks for the encouragement, I have done other bikes on this scale, but that was with better eyesight than now, but you are right, tweezers and magnifying glasses are a must.
Also thanks for the tip on cutting out the flaps, will try it with the front tire. I do not agree that it might take more work or time, since just cutting each of those flaps takes time, patience and effort, the idea of eliminating them sounds really appealing. ")
|
|
#14
07-08-2010, 10:31 AM
|
||||
|
||||
|
Ok, I have not done anything new with the bike, except for cutting more parts of the tire.
But yesterday I had to do something for my daughter's homework, and being the slow builder I am, I was amazed that I finished. So I did a thread of the subject. You can see it here: Aluminum Can Plane I'm about to go on a work trip where I will be able to build more on the evenings!! With 11 days of only paper building I got to finish at least both tires and wheels. Best regard.
|
|
#16
08-07-2010, 12:03 PM
|
||||
|
||||
|
Ok, I am back from that business trip, and man was I mistaken, between the meetings, having dinners and going to the stores to grab some bargains...I barely managed to cut up some parts.:(:(
Good thing this week we had a vacation week at the office, so I did finished the rear wheel and tire. Here is half of the wheel. It was nice and round. 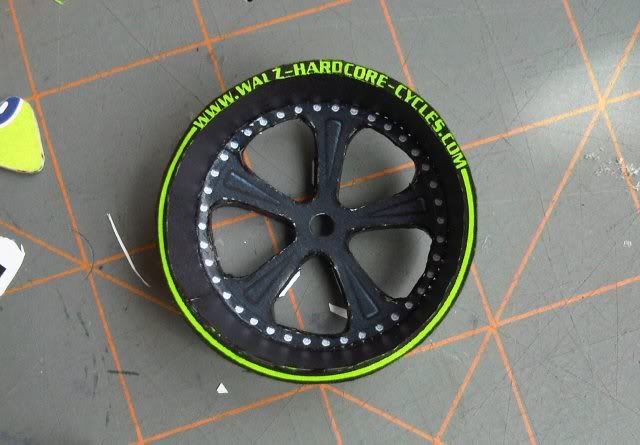 I made a pattern on cardboard to build the inner parts of the wheel, without that I doubt they would have ended looking the same.  And this is the tire with both half wheels. 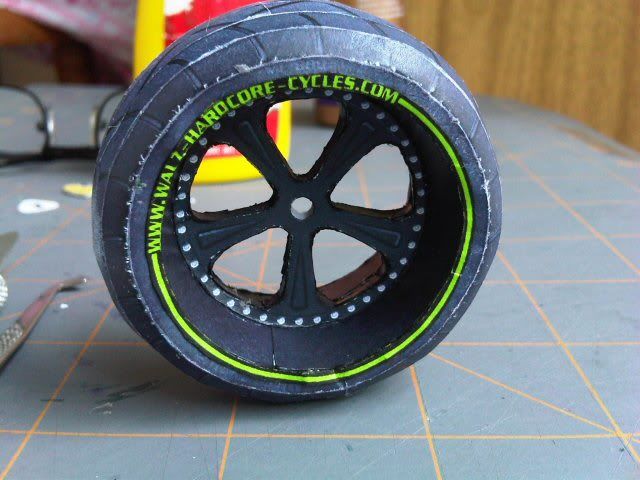 I got a somehow crooked circumference on the sides due to my mistake at gluing the last side parts of the tire, which I should have bended to the inside, BEFORE gluing them. This caused the tire to be wider than it should, so when I tried to glue the wheel there where a big gap between the two halves. I managed to fix this by bending the mentioned parts, but since pieces were already glued, I cringed some areas. 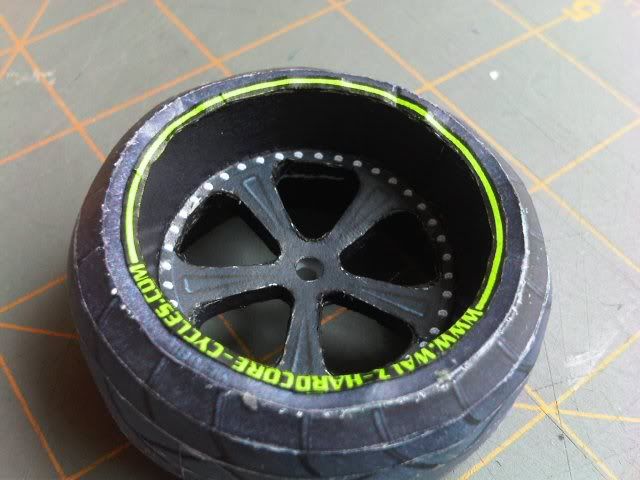 Next will be the frame.:o Best regards
|
|
#17
08-07-2010, 10:13 PM
|
||||
|
||||
|
Great job so far Edgardo! Sorry you had some trouble with that tire rim. It looks like you got it taken care of, though. Its cool to see the nice green color starting to come through. Can't wait to see more... =)
-LD
__________________
Previous design/build: WHC's Mille Miglia custom bike Next design/build: Currently experimenting...
|
|
#18
08-31-2010, 11:03 AM
|
||||
|
||||
|
Hi everyone!!
I have been working on and off on this project, and I have managed to make most of the parts that form the frame. Here is the up-front part of it. 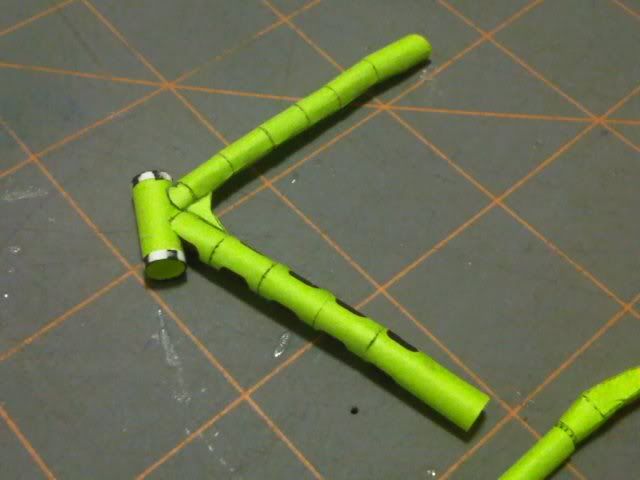 This is the low part. 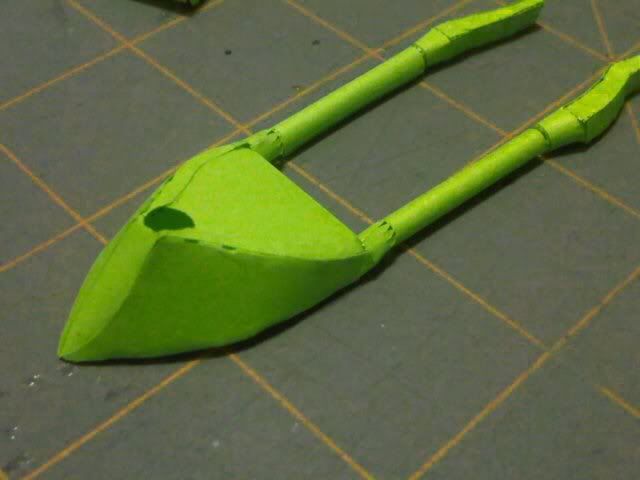 And a picture with the wheel-tyre assembly to have an idea of how it will look 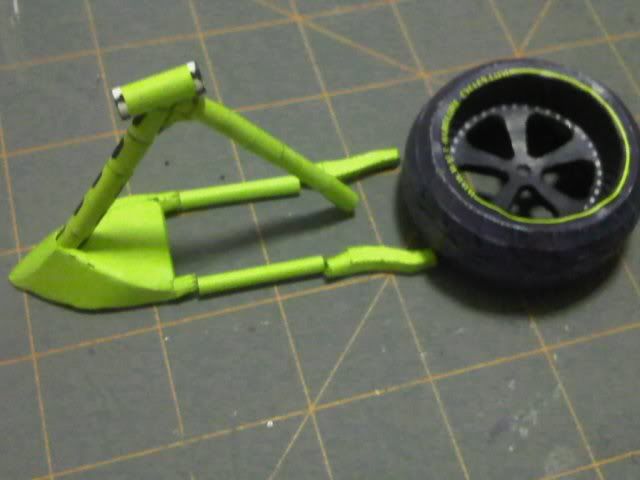 Tonight i will try to make the seat-frame part and see if I can glue them all together. I feel like I'm starting to get some speed.:D Thanks for reading this, and remember any comment, tip, or advice are always welcome.
|
|
#19
09-01-2010, 02:31 AM
|
||||
|
||||
|
Hey Edgardo, that looks great. I love the wild green colour! As you have seen, I chickened out and stuck with boring old black.
To my mind, the frame is the hardest part of the model to get together, and yours seems to be coming on well (and so small, too!) Good luck with the rear section. Alan
|
|
#20
09-06-2010, 10:30 AM
|
||||
|
||||
|
Well, once I got some speed on this model, a big wall went in front of it and crashed the project, name that wall as "A mouse in the kitchen!!!"
 Let me explain: It happens that my wife is an UBER-frighten person of mice  She saw one on the kitchen last Monday and it have been a hard week for everyone at the house :( She wouldn't go near to the kitchen for the first three days, meaning only junk food for supper time.. Not after I catch 4 of the gritters on mousetraps was she starting to go close to the kitchen, with me as bodyguard. And it had to pass three more days without one being catch, for her to be able to go on the kitchen with me close to her. This means that me on the table with the model was not a good idea, besides between the regular husband chores, the mouse-hunting and the body-guarding, I didn't have time for the model, so I only managed to start the rear wheel where the power is transmitted by the belt drive to the rear tire. Good news is we ran out of mice, or they got smarter... I hope to have some time tonight and post some pictures tomorrow. Until then...
|
| Google Adsense |
 |
|
|


 Linear Mode

