


|
|
|
#11
 07-25-2012, 08:25 AM
|
||||
|
||||
|
Outstanding project! Superb detail! A much-needed model. Will be following avidly as soon as I finish the current stint of teaching. Definitely must acquire (and perhaps try to build) this one.
Thanks, Dave. Don 
|
|
#12
07-25-2012, 08:59 AM
|
||||
|
||||
|
yeah...but after studying these new pics, I am seeing more and more things I want
to change on the chassis (LOL)...making me think I should toss this build away and start again?! lol this will require more study and discussion with my fish.
__________________
SUPPORT ME PLEASE: PaperModelShop Or, my models at ecardmodels: Dave'sCardCreations
|
|
#13
07-25-2012, 05:35 PM
|
||||
|
||||
|
Little Willie originally was supposed to have a cylindrical turret. The cut out for the turret can still be seen on the vehicle's roof.
I haven't seen any clear images of the attachment of the trailing steering wheels on Little Willie. I guess it was similar to the arrangement on the Mark I. Regards, Charlie
|
|
#14
07-26-2012, 12:11 AM
|
|||
|
|||
|
Charlie and others, here's a repost from the previous thread
Little Willie was officially first called 'The Lincoln No.1 Machine' and had modified Bullock track, because it used off the shelf parts in the design it only took something like 30 days to build. The track performed badly over rough ground and a new track was developed. The photo shows the building of the machine at Fosters factory. Note that the mock turret is being fitted, the hand drill, and the portholes are not yet cut in the hull, why the Naval terms? This was a Naval project, a Landship. The Army liked their horses. The photo is from Richard Pullen's book Landships of Lincoln.
|
|
#16
07-27-2012, 07:39 AM
|
|||
|
|||
|
Dave, remember that as a test bed, Willie was likely modified many times. I think you will have to pick a version and stick to it. Great project,
__________________
Fred Bultman
|
|
#17
07-28-2012, 08:54 AM
|
||||
|
||||
|
So, I have put a lot of thought (and hairpulling) into the idea of rebuilding the prototype.
Obviously there were some scale size miscalculations...my intended scale size is 1:18. My prototype build is actually 1:16.6 scale. I really didn't want to print, cut and reassemble everything I have done so far. But then, theres the issue of recent Frame and Chassis changes...updates... added details. Thats all a good reason to rebuild from scratch. But...after more hairpulling (lol) I have decided to make the changes to the existing prototype build and rescale the final model after this build is complete. (So the final model will be 1:18 scale...just pretend that what I am building at!) To the existing build I have: -cut out an unwanted Frame Member, -modified the forward Frame Member, -built and installed a new Motor, -installed a newly designed Driveshaft, Gear Box and mounting plates.   I am now getting ready to install the remaining substructure parts for the Track Housings. But for fun, I tested out the Track links last night. I will be creating a linked track...however the links will be glued together (not pinned or hinged) The Track is still fairly flexible and should wrap around the Housing easily. I am hoping my calculations are correct and the overall length of each Track will fit the Housing. The Track should be a touch long, and I am installing the front Track tensioners so you can tighten the Track to the Housing. Heres a test link assembly... Each link is folded and glued. Then you have to shape the tread. Attach the extra Tread part. Then overlap and glue the links.    Looks good so far.
__________________
SUPPORT ME PLEASE: PaperModelShop Or, my models at ecardmodels: Dave'sCardCreations
|
|
#18
07-28-2012, 11:17 AM
|
||||
|
||||
|
Wow, Dave!
Nice detail and a very clean design! Mike
__________________
Cardstock Property Tables and Terms Flying Cardstock Models http://www.papermodelers.com/forum/m...uers-projects/
|
|
#19
07-30-2012, 07:01 AM
|
||||
|
||||
|
The work continues on the Track Housings...
adding spacer and former parts as well as adjuster wheels and axles. 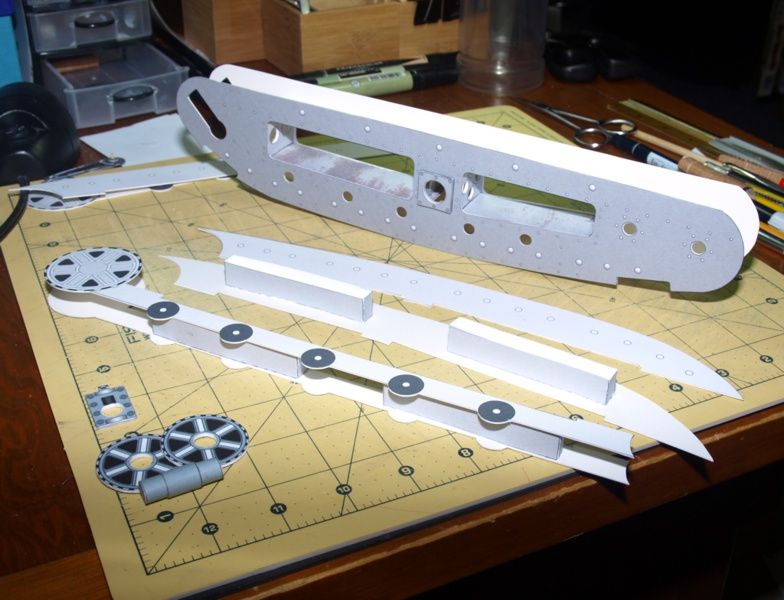 This is the forward end adjusting drive wheel. Just like on the real tank, this wheel slides to tension the track. I'm hoping that my track will fit nicely around the housing and then I will glue the tensioner into place. 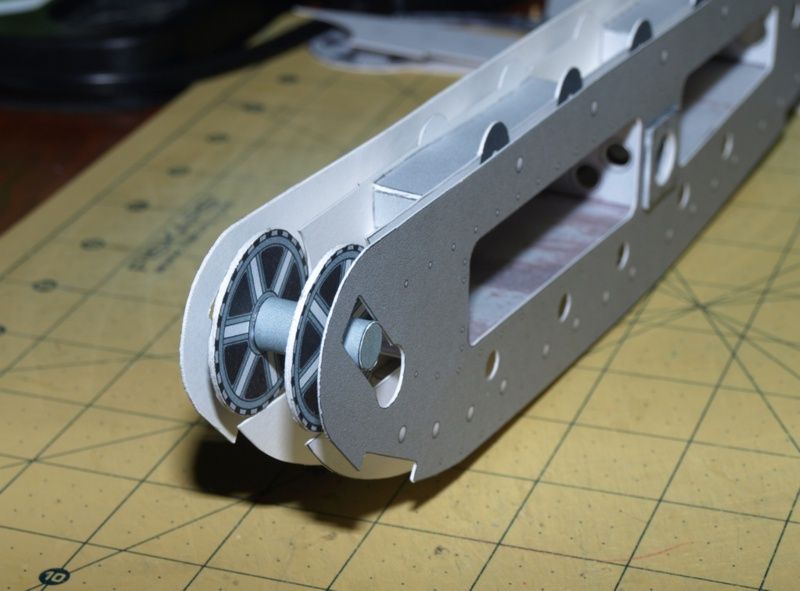 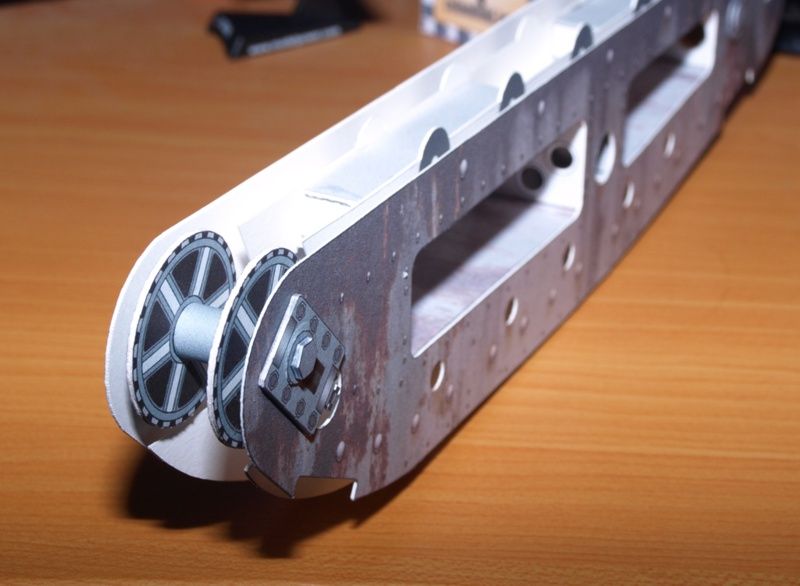 All of the supporting wheels are hidden inside the frame, so I saw no point in adding them. I also need to make sure the Track is supported and spaced properly away from the housing plates. The internal blocks and formers will create the proper spacing for the track and give the illusion of wheels and gears. (Everything is still pretty light here...I have added more colour to these internal parts.) 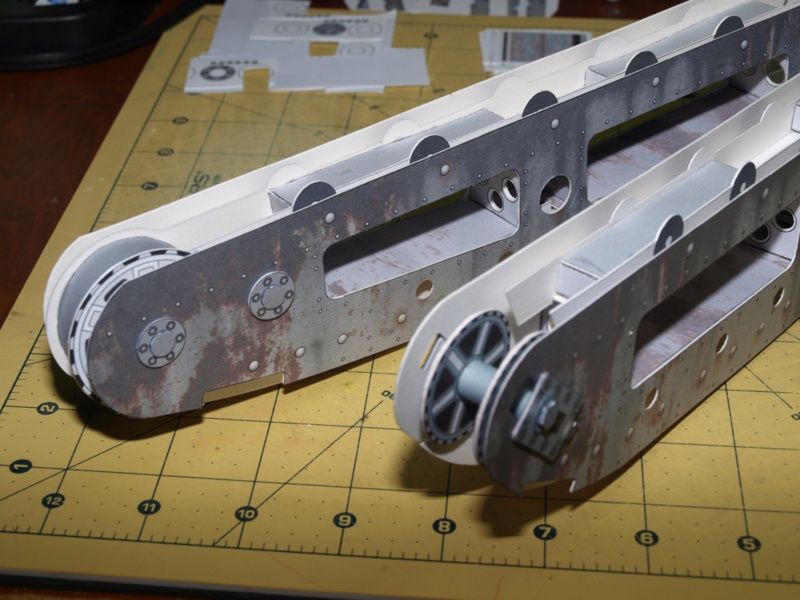 One more shot of the inside of the Track housing, shows the axle attachment for the drive sprocket/chain. This will just glue flat to the chassis installed drive chain sprocket. 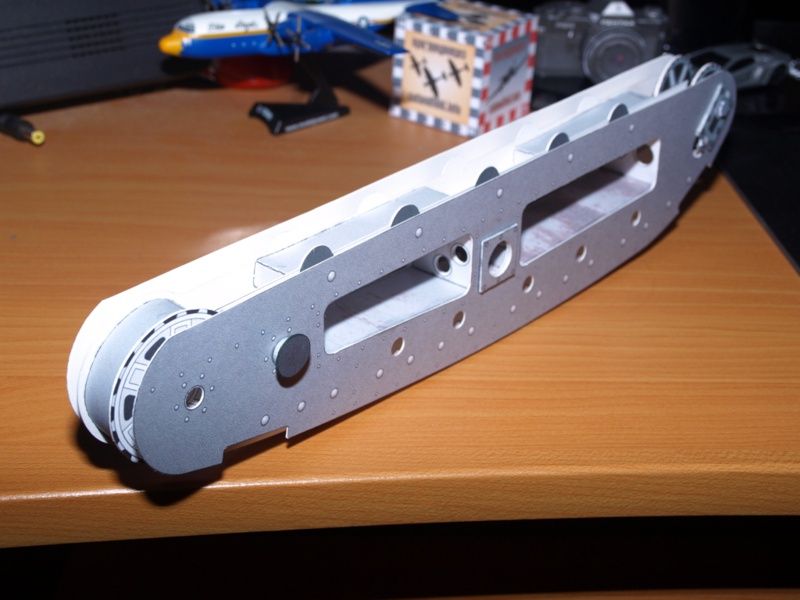 Need to finish up a few of the axle caps and then I can start on a Track. 46 Track plates/links make up each track...but I also have to design some Track guides. Maybe a guide element on every other track section? Just to keep the track centered.
__________________
SUPPORT ME PLEASE: PaperModelShop Or, my models at ecardmodels: Dave'sCardCreations
|
|
#20
07-30-2012, 07:16 AM
|
||||
|
||||
|
Looks GEREAT Dave!
It's exciting to see your progress on the Little Guy
|
| Google Adsense |
 |
|
|


 Linear Mode

