


|
|
|
#41
 08-01-2012, 11:28 AM
|
|||
|
|||
|
Impressive!

|
|
#42
08-01-2012, 07:47 PM
|
||||
|
||||
|
Wow! That track is really impressive. It looks like you could fire the thing up and head to the front! At about 2 mi/hr that is,.......
I'm still waiting for the ice cream truck, just so you know. Curt
|
|
#43
08-01-2012, 08:32 PM
|
||||
|
||||
|
Quote:
I'm still waiting for the hippo tour bus...  Cheers! Jim
|
|
#44
08-06-2012, 07:22 AM
|
||||
|
||||
|
I have been working on Instruction diagrams, so not much else on the model yet.
However I did finish the second Track for the tank. Important lesson learned...and I will be making a note of this in the instructions... assemble both tracks at the same time, and try to make sure they are the same length. Even though the parts are all the same and the indicated folds and connections are consistent, slight variations in the assembly of each Track Link can result in a slight difference to the overall length of each track when finished. My second track is almost half a link longer than my first Track assembly. And although the tensioner takes up the slack, the tracks are a little different in how tight they fit to the frame. This won't be visible once the body goes on...but I think its a better idea to assemble the track links and full tracks all at once and try to maintain equal lengths. 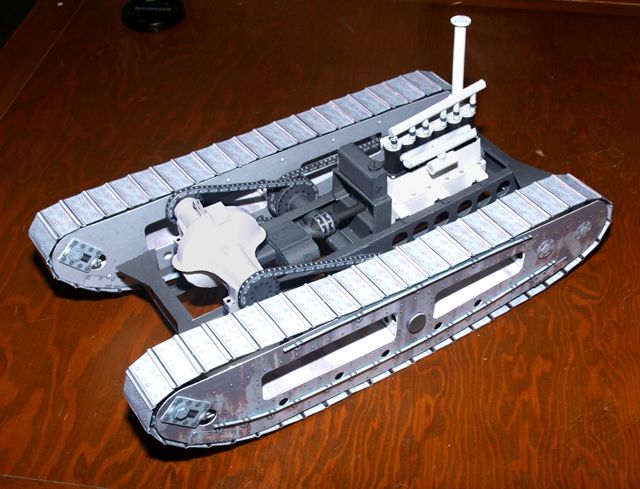 I am going to add front seats, radiator and few other details, but those will install into the body. I've got a few more chassis related items to deal with, but I will move on to the body design very soon.
__________________
SUPPORT ME PLEASE: PaperModelShop Or, my models at ecardmodels: Dave'sCardCreations
|
|
#45
08-06-2012, 06:21 PM
|
||||
|
||||
|
Nice...very, very nice!
Cheers! Jim
|
| Google Adsense |
|
#48
08-20-2012, 05:13 PM
|
||||
|
||||
|
Just keeping this thread alive...no, I have not worked on this model for some time now.
I had a Medical issue a couple of weeks ago, that interfered with my work and now I have to have some surgery to deal with. With the upcoming IPMS Model Show, I a little worried about getting things ready for the show, so I decided to put Willie aside and focus on the preparations for the show. Hopefully I will get back to more Mustangs and Texans...and Willie ...real soon. ... On a more positive note, finally got around to installing the new CorelX6. (Someone asked me in another thread, what I thought of the new Corel but I have forgotten exactly where that was.) Haven't got too deep into it yet, but it all seems okay. The best thing so far is finding a recognizable workspace. The interfaces look the same, no drastic changes to the workspace and controls as there sometimes is with new program versions. I hate having to relearn how to use a "new" program! This is the first truly 64bit version of Corel and right off the bat things seem to be working quick and smooth. Maybe now I can finally take advantage of my onboard memory! 
__________________
SUPPORT ME PLEASE: PaperModelShop Or, my models at ecardmodels: Dave'sCardCreations
|
|
#49
08-20-2012, 05:22 PM
|
||||
|
||||
|
Thanks for the update, Dave. Hope all goes well with the surgery and that you will soon be back in battery and working on ancient tanks, Mustangs, and Texans like crazy.
Don
|
|
#50
09-04-2012, 10:17 AM
|
||||
|
||||
|
So, heres where I am with Willie...
Since the last progress report, I have finished up the Track Sponsons by adding the final little detail parts. I feel as though there are some more parts to add to the Chassis, but I am trying to consider what may fit into the Body and what should attach to the Frame. Since I do not have accurate information about all the interior and its parts, and I want to limit the parts to basic shapes and objects (leave all the extra detail work up to the builder) I am reluctant to go too far with lots of little extras. So, I am moving on to the Body for now...just to be sure the original design ideas still work. I have laid out all the basic Body panels and connecting strips. These are printed on 110lb cardstock and double laminated (roughly .55mm thickness) 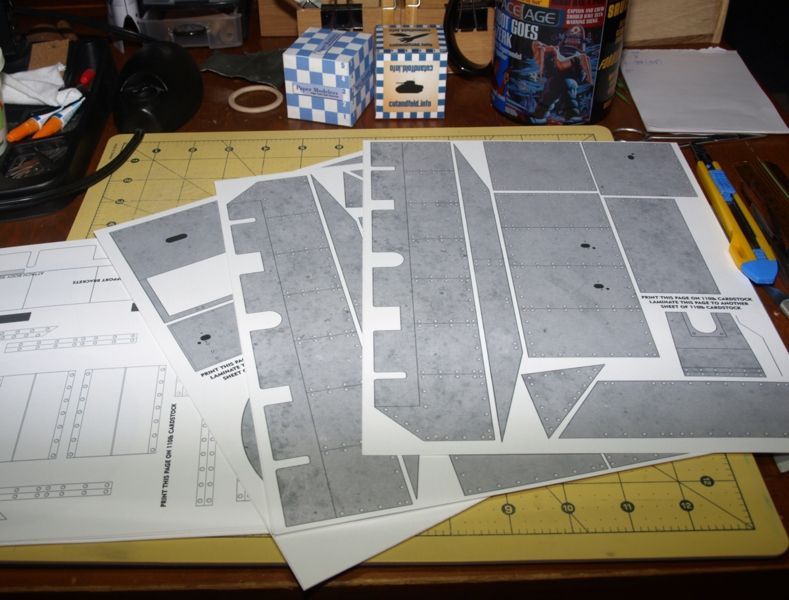 This is my second print...the first using my original idea to print inside and outside panels. The inside panels were printed in an off-white colour (same as the big Differential Drive Unit) which is more like the painted interior in the real Willie Tank. Problem is it means cutting out two sets of parts, very accurately and twice the page count for the model. I decided to use the paper white for the interior colour, so you print out only one set of outer panels and laminate the pages and cut out only one set of parts. At this point, I am unsure of an assembly procedure, so I will start with the front end... the actual Tank is boilerplate steel panels fastened together with flat joiner plates and rivets. 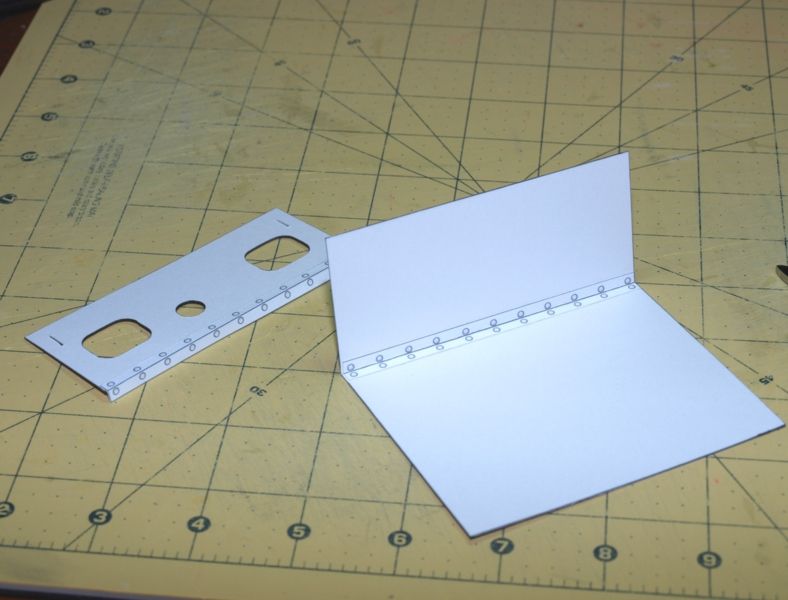 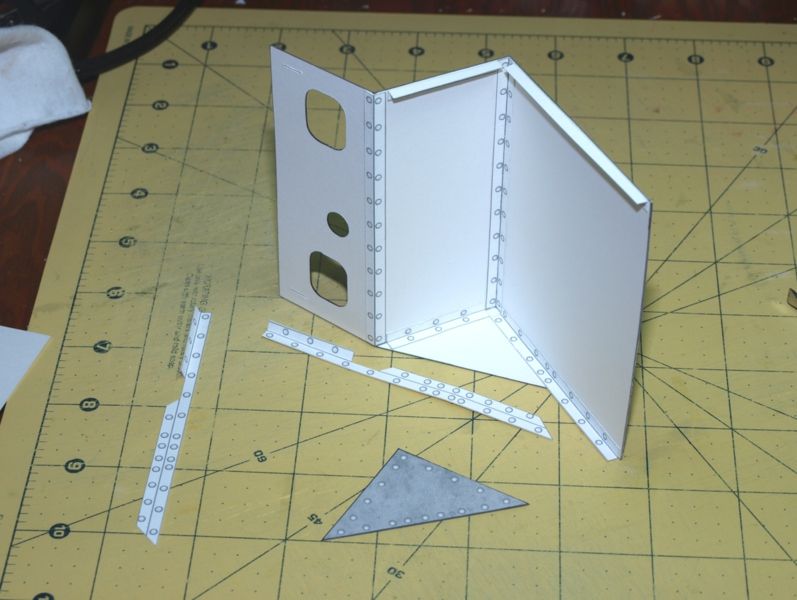
__________________
SUPPORT ME PLEASE: PaperModelShop Or, my models at ecardmodels: Dave'sCardCreations
|
| Google Adsense |
 |
|
|


 Linear Mode

