


|
|
|
#31
 11-17-2012, 11:42 AM
|
||||
|
||||
|
I think Rich is already into the Twinkies!
__________________
SUPPORT ME PLEASE: PaperModelShop Or, my models at ecardmodels: Dave'sCardCreations 
|
|
#32
11-17-2012, 09:35 PM
|
||||
|
||||
|
How about a funny bones P-51? Twinkies are overated.
|
|
#33
11-18-2012, 06:11 PM
|
||||
|
||||
|
Continuing on...I had a few small hiccups, had to make a few small adjustments.
Printed some new parts and went back to the work table! With this model, I have my (recommended) method of construction, so thats what I will show. I suggest starting at each end of the fuselage and meeting in the middle. I started with the nose...pretty straightforward attaching each section one at a time, using the tabbed joiner strips, line up the center top line, glue in sections until the entire part is in place. Heres the first three sections plus the lower cowl. As I finish a section, I insert a Former into the the previous section. So I am always one step further than the former I am installing.  ... Here we go with the next section...this is as far as I will go with the front half. Notice the next section is already shaped roughly to match the formers. Makes it easier to line everything up. So far, my paintwork is lining up nicely...however my messy build habits have already resulted in a glue stain on the topside of the Nose (I'm hiding it from the camera)! 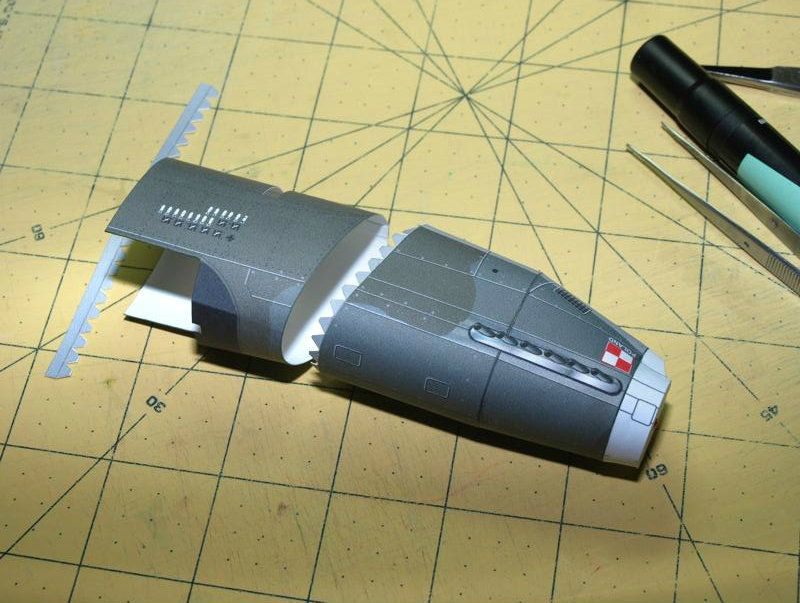 ... Now, I switch to the Tail end and prepare the first (last?) section. One thing that always bothers me with the narrow tail ends of fuselages, is how difficult it is to smoothly form the belly seams on these narrow parts. The joiner strip usually creates a crease and ridge in the surface - showing through in a way I don't like. So for this joiner I used a much wider strip of regular weight paper and got a smoother joint. 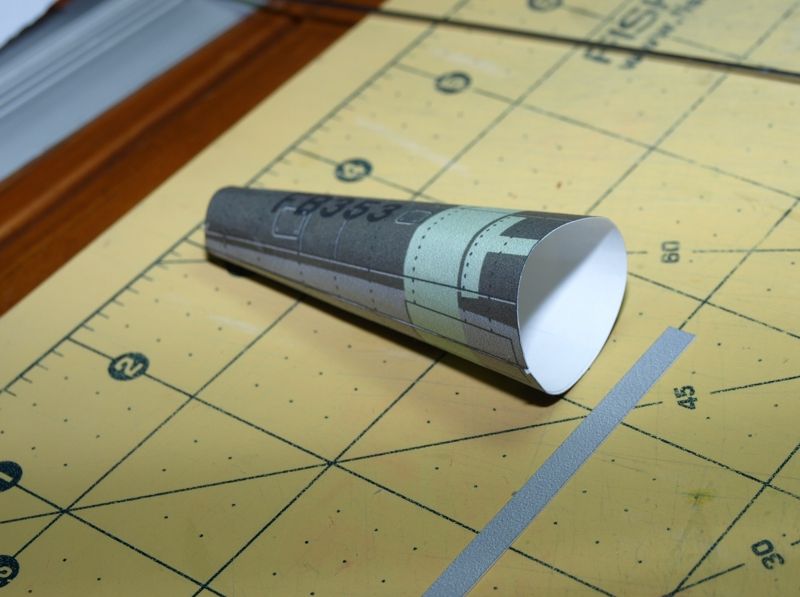 ... Rinse and repeat... Shape the sections to match the formers, attach the next section, slip the former into the previous section, continue. 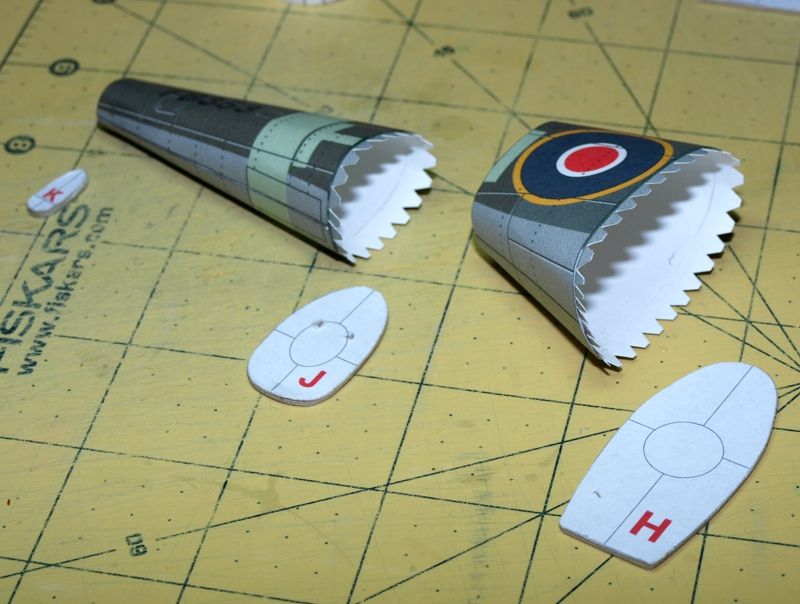
__________________
SUPPORT ME PLEASE: PaperModelShop Or, my models at ecardmodels: Dave'sCardCreations
|
|
#34
11-18-2012, 06:12 PM
|
||||
|
||||
|
Once again, everything seems to be lining up nicely!
I love it when a plan comes together. haha I will fit the smallest end former (K), but I will hold off on the next former (J) until I have dealt with the Tail Gear opening and wheel box. This particular fuselage connection is a tricky one because of the transition between shapes. But if you line the top marks and glue...let it dry... then work your way down one side with glue...let dry... then work down the other side and tighten up the bottom connection, it all works good.  ... The next section also includes the extra rear cockpit part. This is a separate part because there is a small change to the angle at the top of the fuselage. I find that everytime I assemble one of these fuselages, this part fits a little differently. So I have made the part slightly oversize, and you need to dry fit it first. Then you can make a very small trim at each end, just enough to get a nice tight fit. 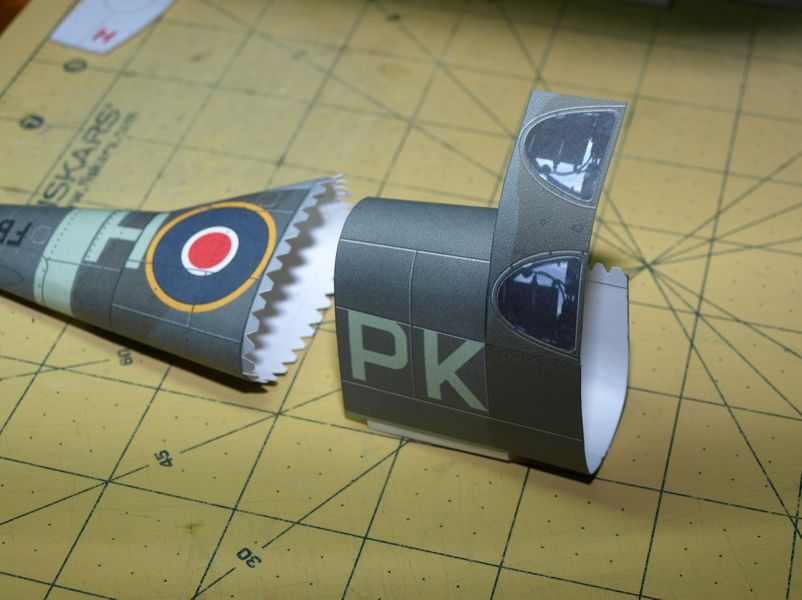 ... Here you can see I carefully cut out the tail Wheel doors and then inserted the assembled wheel box into place. This is why I left out the second to last fuselage former. Now, I will insert that former (J) into place and then attach the rear cockpit section.  ... Ready for final Fuselage connections...just going to shape and test fit the final formers, and reread my Instructions to make sure i understand the assembly. In this case I will be installing the cockpit I already built (for the prototype test), so I won't have anything to show you. And I will be using the printed canopy. (Maybe I will do a partially open canopy?) 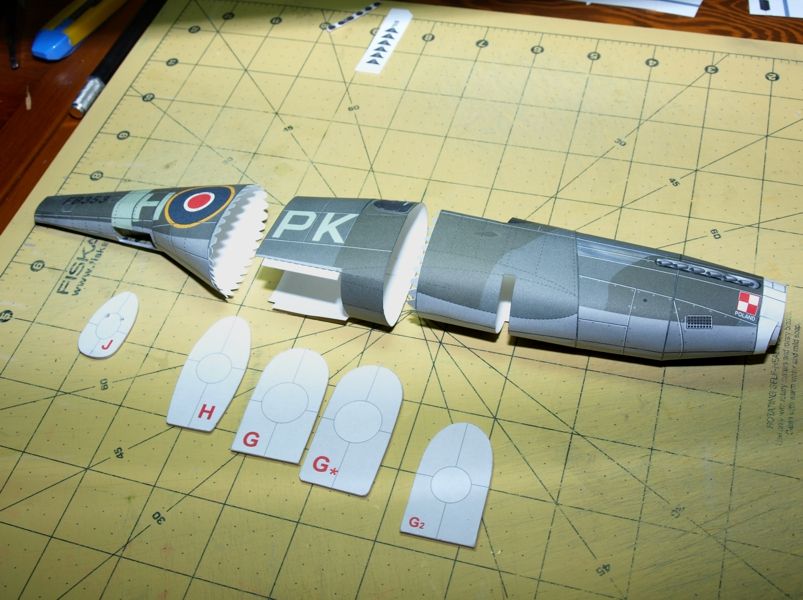
__________________
SUPPORT ME PLEASE: PaperModelShop Or, my models at ecardmodels: Dave'sCardCreations
|
|
#35
11-18-2012, 06:12 PM
|
||||
|
||||
|
While waiting for one of the parts to dry...or something...
I started assembly of the Wing Spars. Printed on regular weight paper, and glued to two layers of Cereal Box cardboard (using 3M Spray Glue) cut out the two main Spar parts and attach them at the center (with the joiner part). This time I used CA Glue and applied extra over the parts to strengthen the thin areas where the cutouts for the Ribs are. 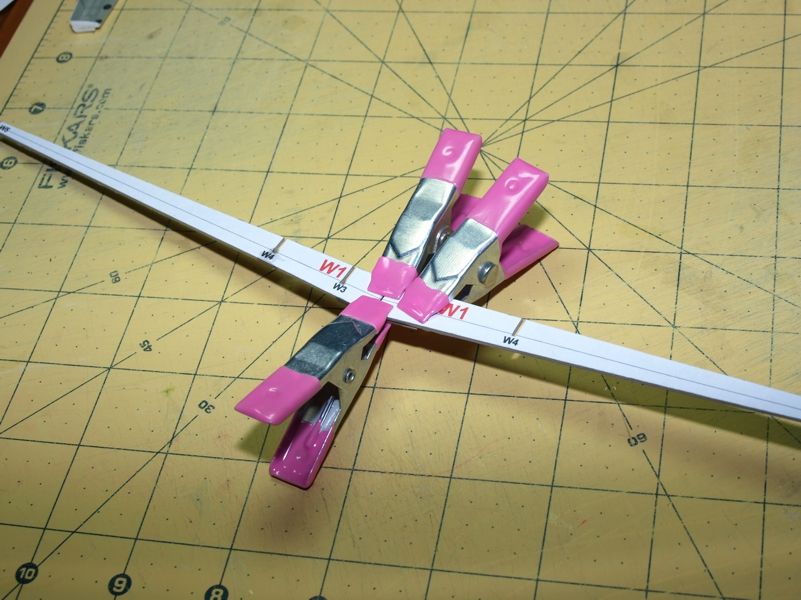 ... Heres another shot of the fuselage parts waiting to be assembled. (You can see my glue stain on the top of the Nose cowling. Shhh) 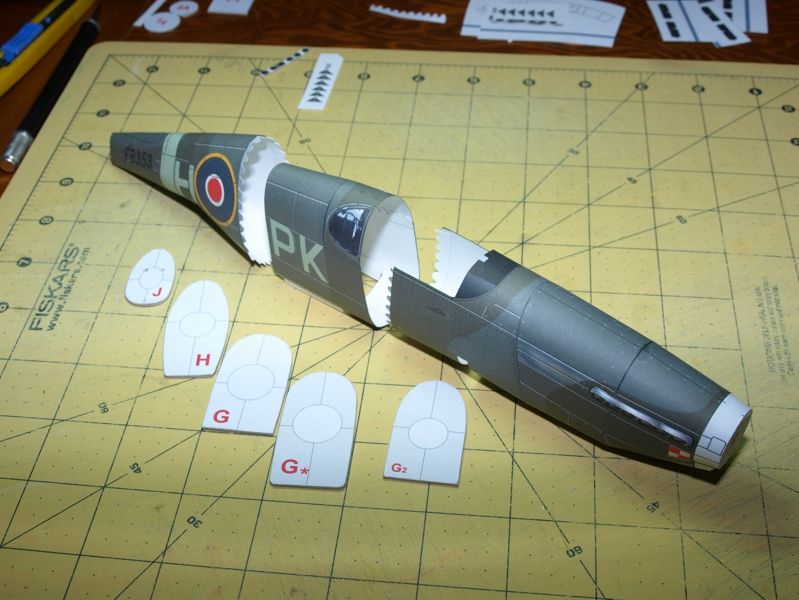
__________________
SUPPORT ME PLEASE: PaperModelShop Or, my models at ecardmodels: Dave'sCardCreations
|
| Google Adsense |
|
#36
11-18-2012, 07:57 PM
|
||||
|
||||
|
Magnificent!
__________________
Regards, Don I don't always build models, but when I do... I prefer paper. Keep your scissors sharp, my friends.
|
|
#38
11-19-2012, 01:26 PM
|
||||
|
||||
|
Fuselage went together with no issues of note.
Always a bit tricky making that last connection, but if you do it my way and make the last connection in the middle, you have the open cockpit area which allows you to work the inside of the connections. I also finished up the Wing Spar assembly (minus the end Ribs) by gluing the Ribs into their respectives spots with Tacky Glue and then fitting the spacers. The spacer parts are slightly oversize, because I recognize that not everyone will laminate their parts to exactly the same thicknesses. The spacers require a quick test fit and then a quick trim for best fit. 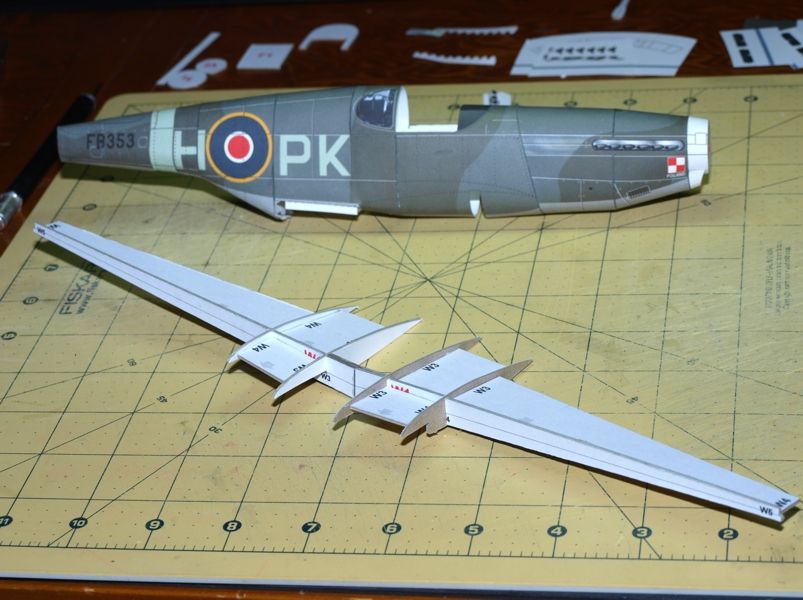 ... I'm going to do a test run of the Main gear Box, so I am using the cut Ribs for this build. You can see I have the Wheel Box partially built, still sorting out the inside dividers. 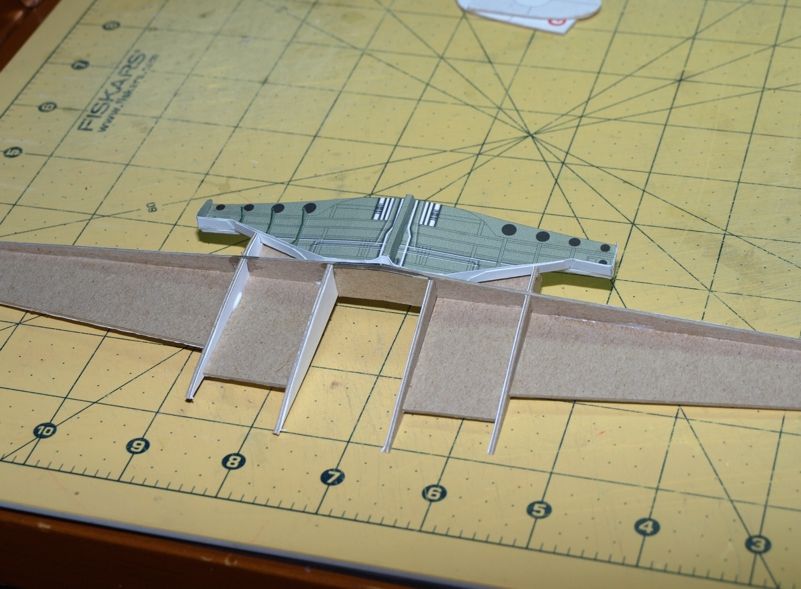 ... and another shot from the top, with the Wheel Box glued into place. Note the extra card in place to receive the holes for the Landing Gear. The Wheel box is shaped to match the dihedral of the Wing Spar and is located by the cut notches in the alternate Wing Ribs. (Back of the Wheel Box just butts up to the Spar) Goal is to cut out the Landing Gear doors after the wing is assembled. Hopefully I have the Wheel Box positioned properly. (It is slightly oversize, so there should be room for error.) 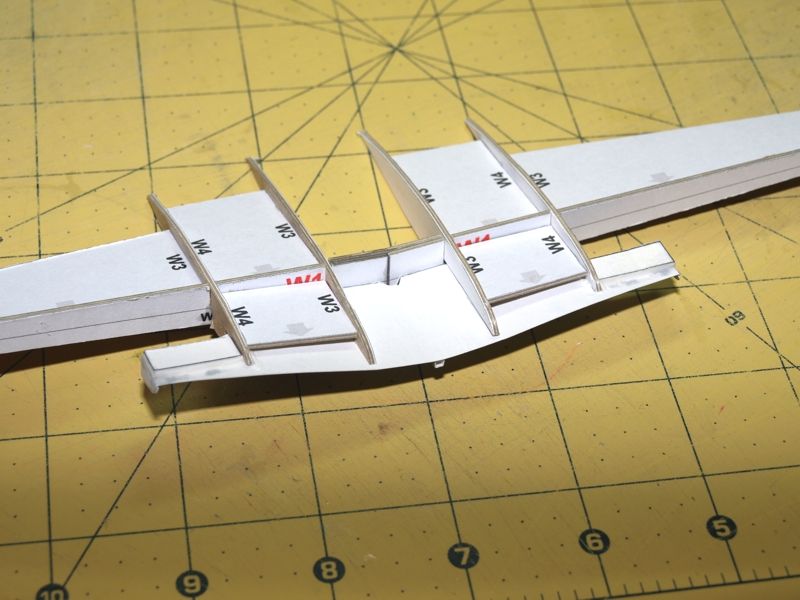
__________________
SUPPORT ME PLEASE: PaperModelShop Or, my models at ecardmodels: Dave'sCardCreations
|
|
#39
11-19-2012, 01:26 PM
|
||||
|
||||
|
Lets fit some Fuselage internals...
Former G goes in from the bottom, push it up as tight as possible into the joint just behind the rear compartment. This is where the Radio Box Shelf and Radio Box will attach. Funny thing...this is a very simple part. Two parts actually, the radio Box itself and a simple Backer and Shelf. Two folds make the Shelf and a simple support is created underneath. Buts its funny how something that is so simple to me, might not be so obvious to another Builder. And it wasn't. Taught me a lesson in making sure the kit is clearly explained with notes and/or diagrams that show the intended method of assembly. 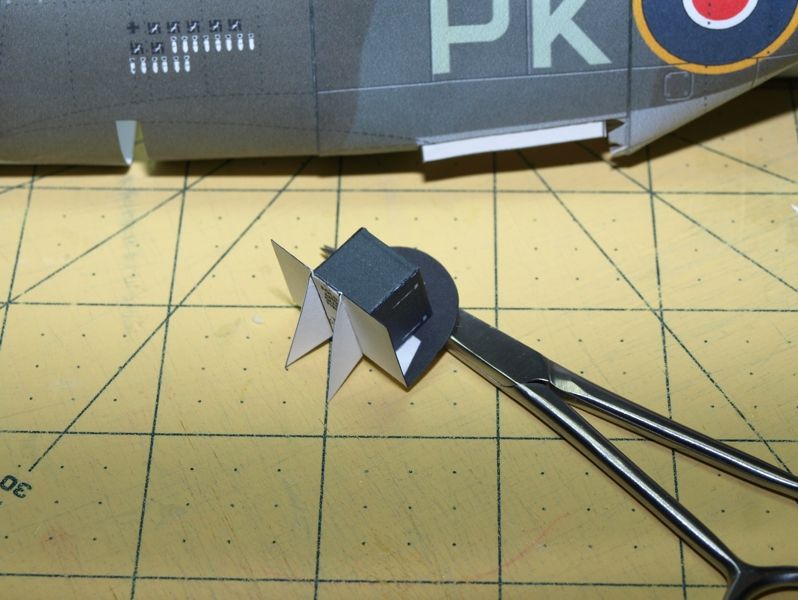 ... Pop in the radio Box assembly and push it up into place gluing it to Former G. 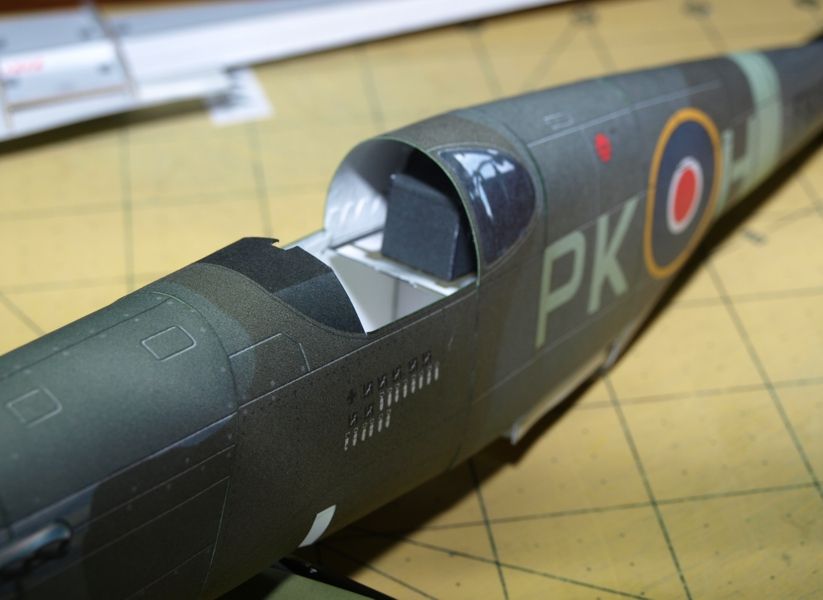 ... Heres the assembled Cockpit Tub...I added the laminated card supports for the Instrument Panel and Floor. Everything is in place, even the Gun site. You can leave some cockpit parts till later (if you like) but I had no problem installing the entire tub. This whole tub should squeeze right in through the open cockpit hole.  ... Next three photos show the way I slip the tub into place. Just a case of flipping the Tub on its end and swiveling it into place. 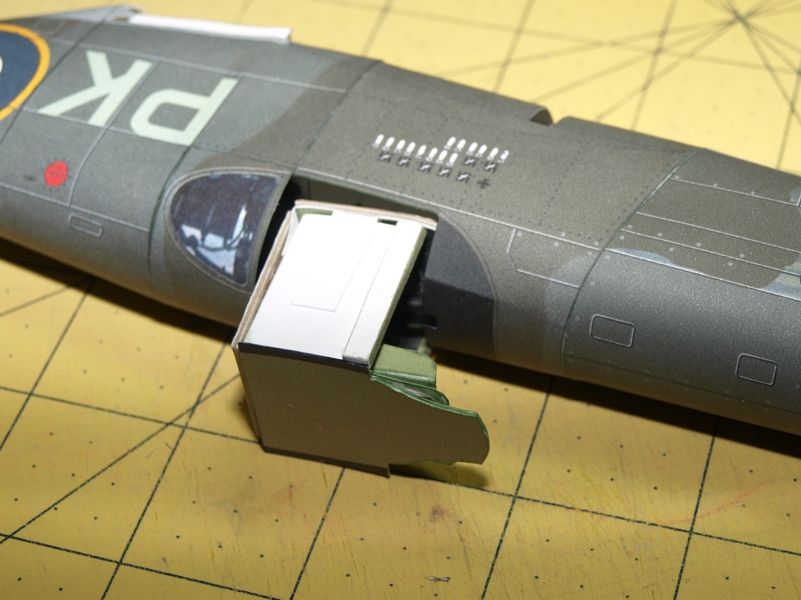 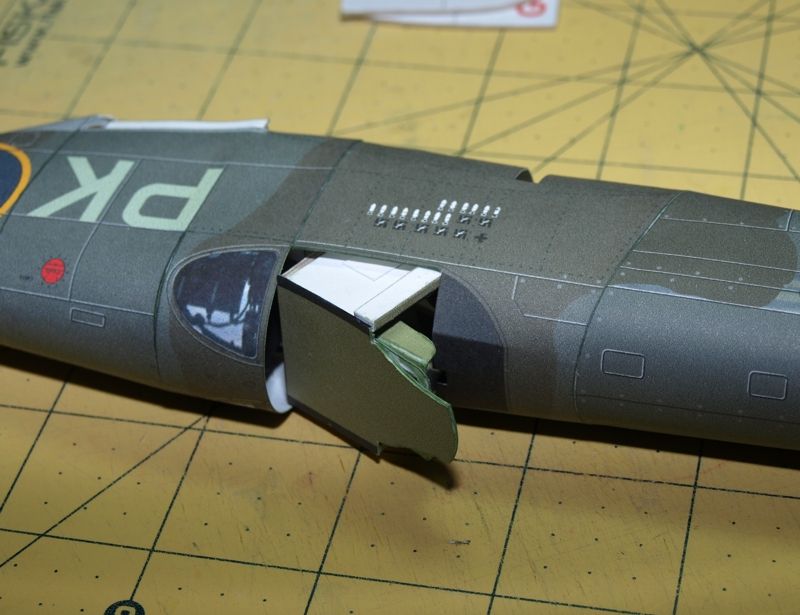 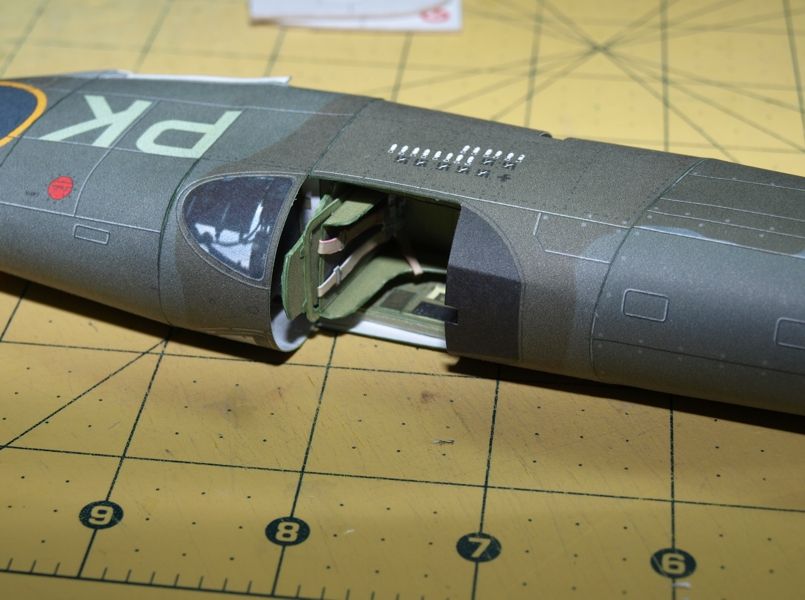 All I have to do now, is pull the cockpit up into place, line up the top edges with the fuselage edges and apply some glue. The bulkhead behind the seat butts up to the roof of the fuselage.
__________________
SUPPORT ME PLEASE: PaperModelShop Or, my models at ecardmodels: Dave'sCardCreations
|
|
#40
11-23-2012, 10:51 AM
|
||||
|
||||
|
I have officially given up on the Wing modifications-Wheel Well Boxes.
I hate to say it, but I knew this a while ago. I was just too stubborn to accept it and did my best to see if it would work. The wheel boxes remove too much material from the current wing skins and internal structure. It would require a full wrap around skin redesign and major modification of the existing wing spars and ribs. But even then, the current fuselage design does not readily accept this modified wing. I've attached a few pics to show the thin cut sections that are left on the wing, and how the wheel boxes do not form the wing skin properly. You can also see how the fuselage extends down into the wing...this area of the fuselage would have to be completely removed.     .... So...I will be leaving the kit as is, with the wheel well inserts that can be fitted into the wheel well openings (or you can build it with gear up). Normal wing assembly requires shaping the Wing skins and then fitting the "crook" parts.  ... Once in place you can shape the wing even more. (Use the Wing Spar assembly to help with this) Then, if you choose to build the model with gear down, you must cut out the Gear doors. 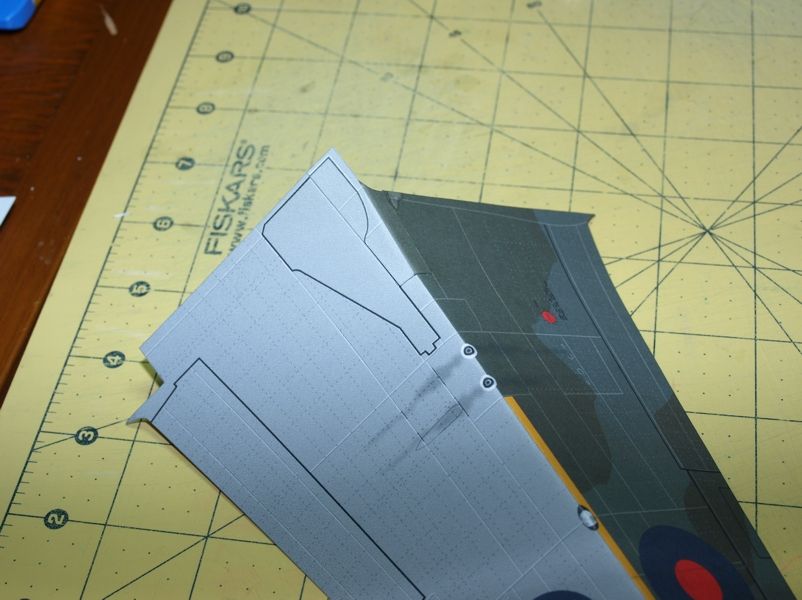 ... Wing tips are pretty straightforward...you can cut the center slits, apply a glue tab, shape the wing tips and glue the upper and lower end plates ready for assembly on the Spar. (I'll trim the tabs once the glue has dried and edge colour the parts) 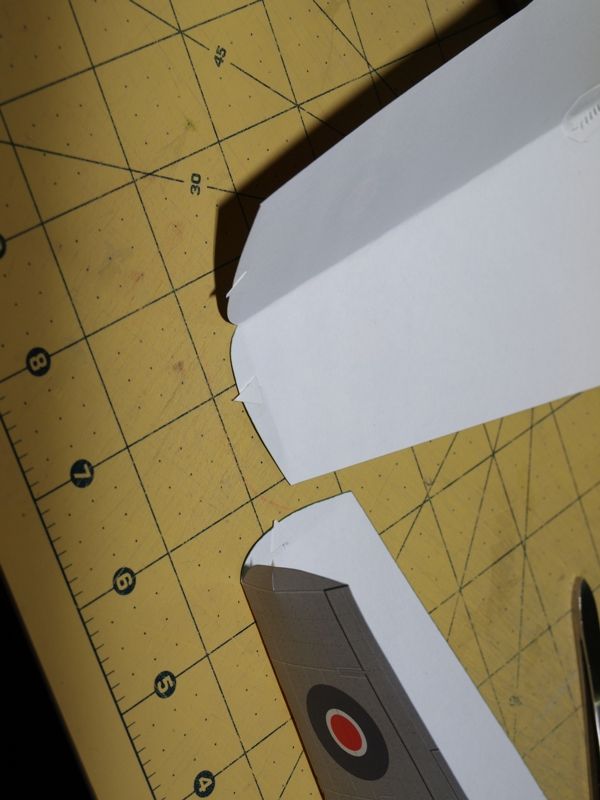 ... I have to print a new set of wings and internal parts (since I am not using the wheel boxes) so I will post more Wing assembly once I get that down. In the meantime, heres a shot that gives you an idea of the final paint scheme on this RAF version. I'm very happy with the artwork. 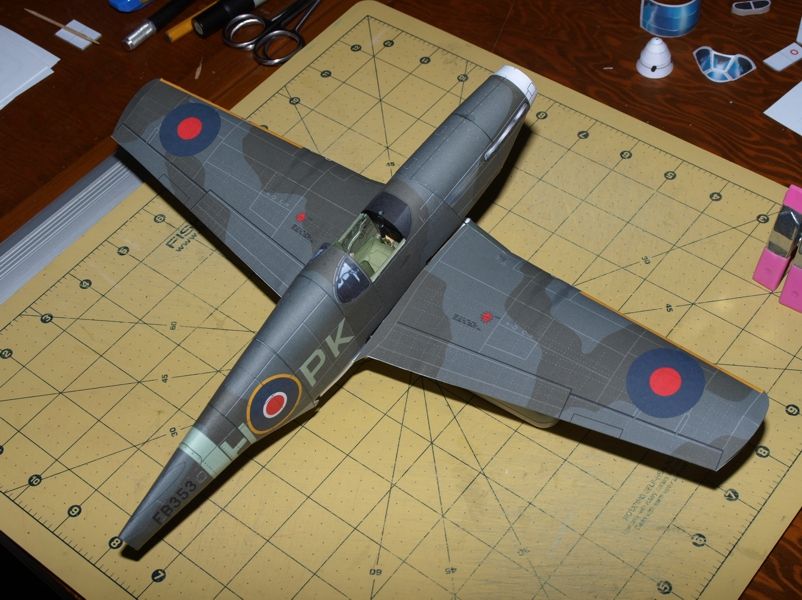
__________________
SUPPORT ME PLEASE: PaperModelShop Or, my models at ecardmodels: Dave'sCardCreations
|
| Google Adsense |
 |
|
|


 Linear Mode

