


|
|
|
#21
 02-18-2015, 01:45 PM
|
||||
|
||||
|
oh, and if you need some reference material,
here are the pics I took of 44-32691 at the Smithsonian: https://www.flickr.com/photos/659362...7650603690231/
__________________
SUPPORT ME PLEASE: PaperModelShop Or, my models at ecardmodels: Dave'sCardCreations 
|
|
#22
02-18-2015, 06:39 PM
|
||||
|
||||
|
continuing on...lets put together the front engine parts.
If you haven't already glued the engine/cowling on to the front of the fuselage you can install the front engine/propellor parts. To be honest, its just as easy to do it later on, but I hadn't securely attached the engine/cowling assembly, so it was easy to remove and add the prop parts. For the "new" P-47, I decided to throw out the old Prop/Hub/Drive parts and redesign from scratch. Using my recently acquired reference photos... we start with a new Drive/Base...whatever this part is called... a base disc, a conical thingy and three layered front discs. (and its got a little boxy, bendy down thingy thats points downwards*) *warning - lots of very technical terms will be used from now on. 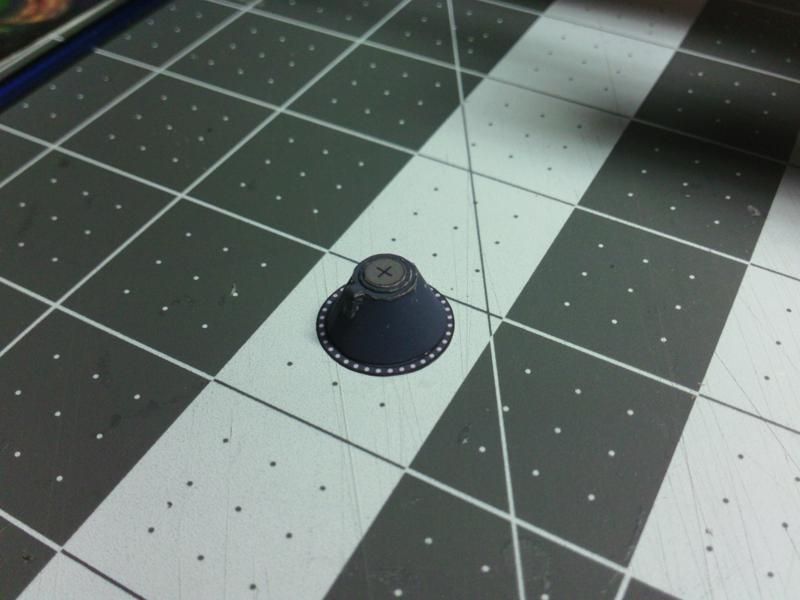 ... Then, a new four way Hub thingy to attach the prop Blades. This test build is a little small...I have since beefed up the thickness and diameter of these little parts. But the overall look is what I was hoping for. 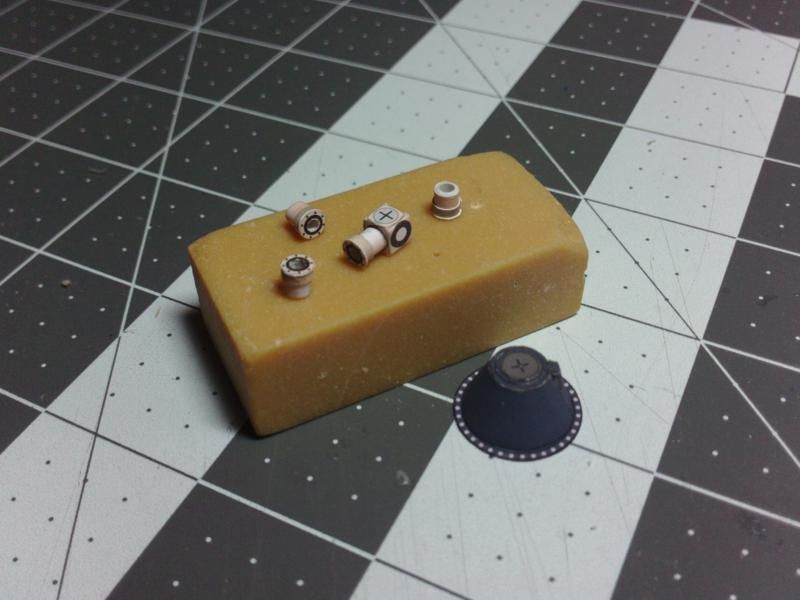 ... New Prop Blades...the Hub parts are sized to fit a small dowel, like a sanded toothpick. Just decide on what you are going to use (in advance) and then roll the Hub parts around that. Like I said, I planned and prepared four toothpicks, sanded smooth. So, one for each Prop Blade.  ... After the four way Hub has set up, I drill out the rear hole for a spinner dowel. This is optional, you can just glue the Hub to the Drive thingy, and then to the Engine plate. But if you want a spinny Prop, then you'll need a spindle type thing. Once again, I'll be using a sanded toothpick, cut to length. I need to make the hole fit the toothpick (tightly)...and I also need to make same size holes in the Drive assembly and in the Engine plate. 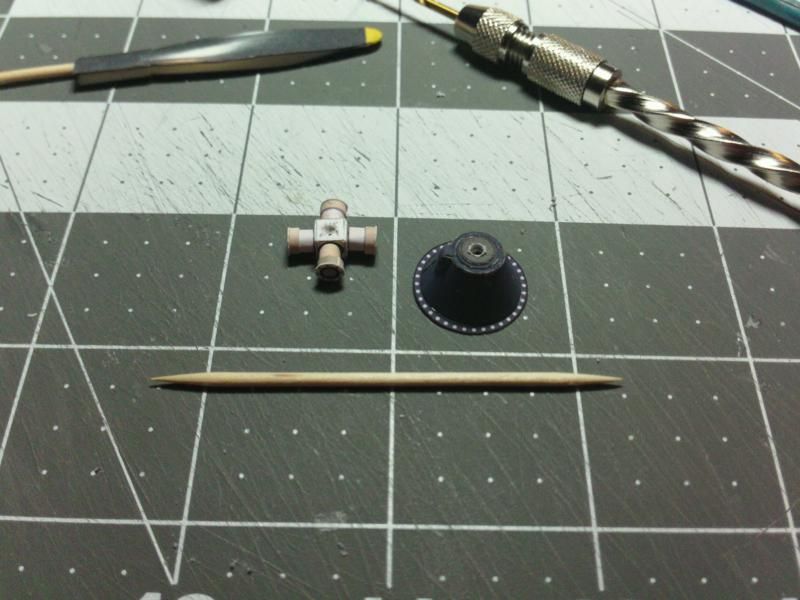 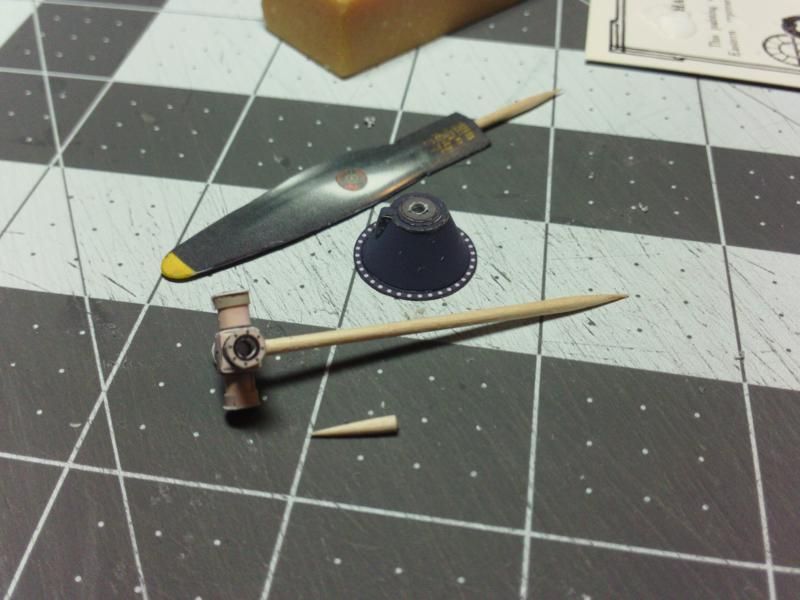 ... Ready to receive the Prop Blades and ready to attach onto the Engine plate. The Drive thingy will glue flat onto the Engine, while the spindle is allowed to spin. I've also started forming the spinner cap which completes the whole Prop Hub/Drive thingy. Its a petal type form, and very small. So patience is a virtue here. Start by cutting everything carefully and precisely. Roll the part into a tube and prepare the overlapping glue tab. Now unroll the part and roll the petals into a 90 degree arc. When your reroll the tube, the petals will be almost closed and ready to receive glue. Use a small amount of glue on all the edges and then form with your fingers. Try not to rush it...the more time you give it, the better it will stay in a domed shape. Like a lot of assemblies, its all about pre-forming, pre-rolling, pre-folding, and dry fitting things so you understand the method of assembly and parts want to stay in the correct shape and position during the assembly. 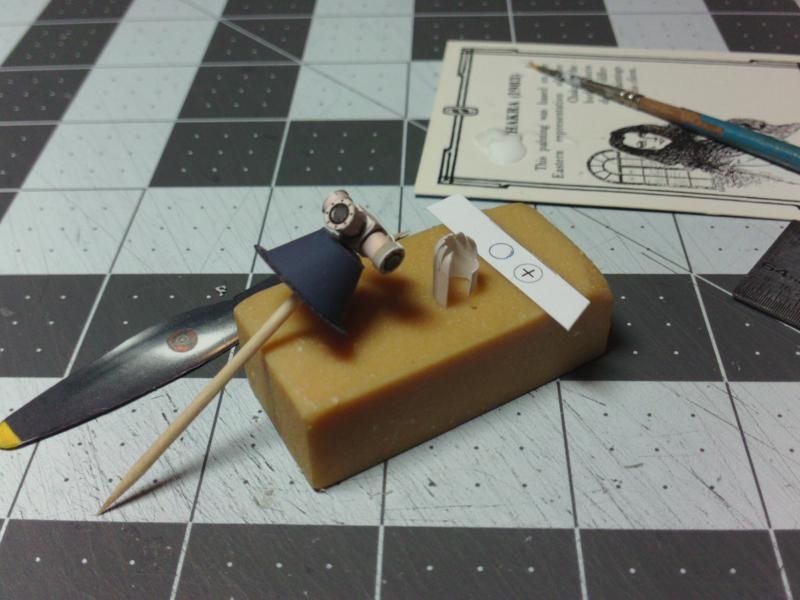 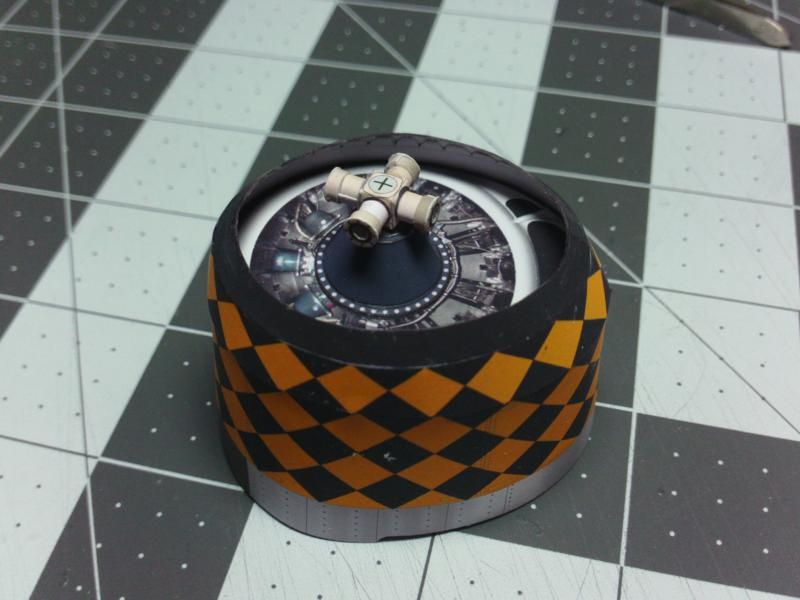 ... Lastly...fit the four Prop Blades and glue into place within the four way Hub. Don't forget to angle the Blades...all four...in the same direction. (Decal on the Prop Blades shows forward) and attach the spinner dome cap thingy to complete the mess! 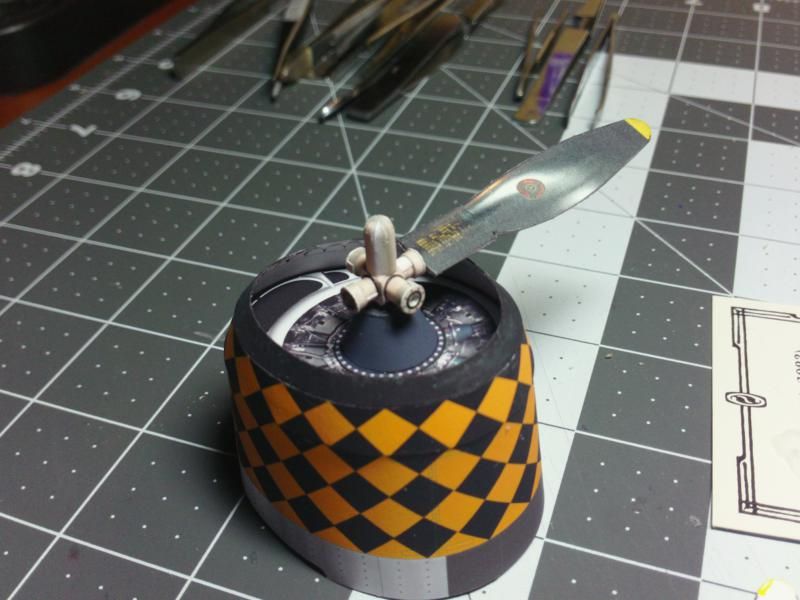 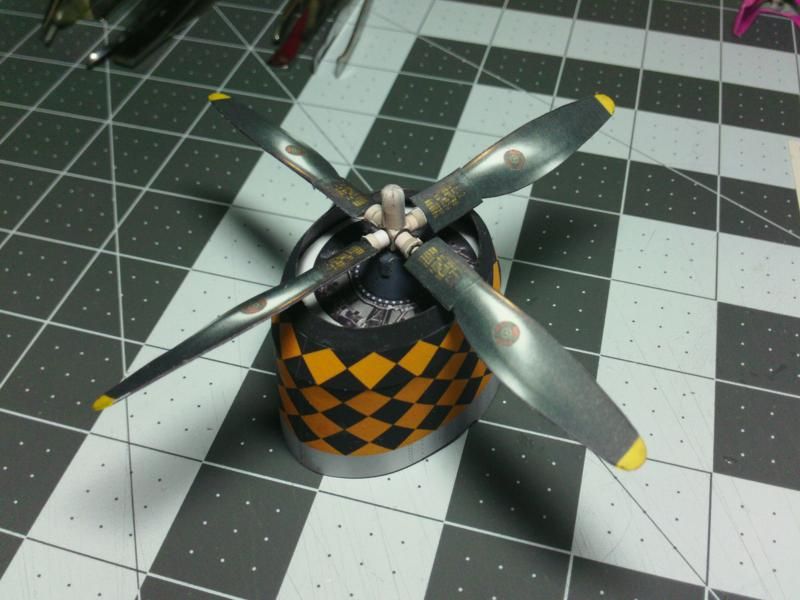
__________________
SUPPORT ME PLEASE: PaperModelShop Or, my models at ecardmodels: Dave'sCardCreations
|
|
#24
02-18-2015, 07:10 PM
|
|||
|
|||
|
I think I got the thingy confused with the whoosis....

__________________
This is a great hobby for the retiree - interesting, time-consuming, rewarding - and about as inexpensive a hobby as you can find. Shamelessly stolen from a post by rockpaperscissor 
|
|
#26
02-18-2015, 09:31 PM
|
|||
|
|||
|
I think I prefer drive thingy to crankshaft. A hole lot les typin.
__________________
Ryan Short Aerial / Commercial Photographer at www.RedWingAerials.com Models for sale at: www.lbirds.com and a few more that I'm looking for a place to sell them again.
|
|
#27
02-18-2015, 10:29 PM
|
||||
|
||||
|
well, I guess technically its the output shaft housing?
Being American, "drive" shaft might be accurate. In England, a "drive shaft" is a drive axle. As opposed to a Prop (Propellor Shaft) So maybe its Prop Shaft housing. ... okay, I just looked it up. lol Quote: "The reduction gear is contained within the large casing behind the propellor. Magnetos are mounted on the top of this casing [I missed those] , one on either side of the propellor governor." So, its not even the output shaft that connects to the propellor! 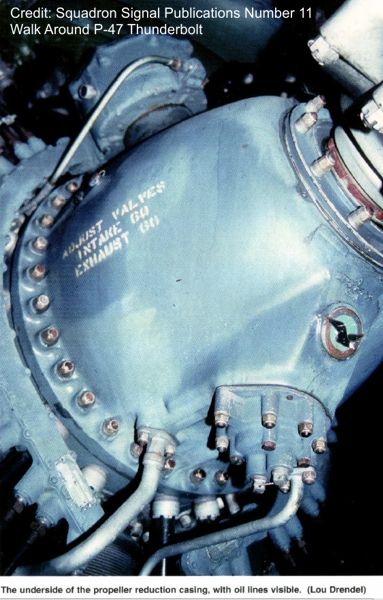
__________________
SUPPORT ME PLEASE: PaperModelShop Or, my models at ecardmodels: Dave'sCardCreations
|
|
#28
02-19-2015, 09:39 AM
|
||||
|
||||
|
I was doing fine until I saw the word 'petals'. OH NO! You did a great job Dave, but petals will be the end of me...
Gary
__________________
"Fast is fine, but accuracy is everything" - Wyatt Earp Design Group Alpha https://ecardmodels.com/vendors/design-group-alpha
|
|
#29
02-19-2015, 10:04 AM
|
||||
|
||||
|
Quote:
But this is an easy one. Couple of tricks I have learned; -use a dowel to roll the part into a tube. -use a dowel of smaller diameter than what you want the part to be. (in other words, roll it tighter than it needs to be, that way when it relaxes it is still the right diameter and easier to glue together as a tube) -roll the tube first, and then unroll the part to roll the petals. -use an even smaller diameter dowel for the petals. -roll them tightly until they maintain the proper curve. -unroll the part again, and reroll the tube length. -now hold the final diameter and glue the tube. -the petals should be almost in the correct postion for gluing. -apply glue sparingly, to the edges of all the petals, and hold in place. -At this point, I'm usually hunting for a tool to fit inside the part, with the correct rounded end to fit the petals. -I have even sanded a domed end onto a wooden dowel(of the correct diameter) -Put this tool inside the tube to hold the petals in shape while gluing. -another option for holding the petals together while they set up, is to use a drill guide. (Its a metal plate with holes in it, used to size drill bits.) Find the hole that is a bit smaller than the petal diameter and press the petals into the hole until they set up.
__________________
SUPPORT ME PLEASE: PaperModelShop Or, my models at ecardmodels: Dave'sCardCreations
|
 |
| Thread Tools | |
| Display Modes | |
|
|


 Linear Mode

