


|
|
|
#41
 02-20-2015, 06:29 PM
|
||||
|
||||
|
That's what i'm talkin' about....a BUILD thread, a damned good one Dave, people learn from this. Your work is excellent thus far my friend


|
|
#42
02-20-2015, 08:49 PM
|
||||
|
||||
|
Outstanding Job!
Shiny aluminum rendering is great! Awesome build thread with workable technique tips! Thanks Dave! Mike
__________________
Cardstock Property Tables and Terms Flying Cardstock Models http://www.papermodelers.com/forum/m...uers-projects/
|
|
#43
02-21-2015, 09:06 AM
|
||||
|
||||
|
I second to both colleagues - great thread and superb model!
__________________
Finished projects: RMS Mauretania 1/250; SS Canberra 1/250; Toyota Hilux Overdrive; Current projects: SS Michelangelo 1/250
|
|
#44
02-21-2015, 09:59 AM
|
||||
|
||||
|
I love the tip for the wing tips. Great one Dave.
Gary
__________________
"Fast is fine, but accuracy is everything" - Wyatt Earp Design Group Alpha https://ecardmodels.com/vendors/design-group-alpha
|
|
#45
02-21-2015, 10:09 AM
|
||||
|
||||
|
Thanks guys...this model IS coming along better than I had hoped.
I just wish I could get a handle on making clear canopies. I am failing again at making one for this Jug. Which is okay, because I need to photograph the paper canopy for the shop anyway. I have to once more give credit out to Marek and his original P-47 model. Its where I first started (doing repaints) five or six years ago with a couple of his very early 1/50 scale Thunderbolt designs. The model didn't scale up perfectly (to 1/33)...it wasn't designed to... but after a lot of redesigning I had great success with my series of P47s . The simplicity of Marek's design has inspired me again... I have long wanted to tear this model down and create a whole new template. And thats what I have finally done. This model cried out for a cockpit ...and the recessed Wheel Wells were a definite necessity. I am having a lot of fun with the new artwork and hopefully I can offer up a whole new series of Thunderbolts that fans will find appealing. Please, if you haven't tried a Marek kit...go to ecardmodels, and get one! In fact, this is one of his latest and very interesting kits: a Messer-Spit !
__________________
SUPPORT ME PLEASE: PaperModelShop Or, my models at ecardmodels: Dave'sCardCreations
|
| Google Adsense |
|
#46
02-21-2015, 05:52 PM
|
||||
|
||||
|
Build continues...
So, now we have two wings, folded over and glued. Wing tips glued together as well. I like to allow a part like this a good period to completely setup...maybe 24 hrs. The Wings can now be slipped over the wing spars and ribs like a glove. (right side of the picture). And should eventually butt up against the fuselage. (left side of the picture) 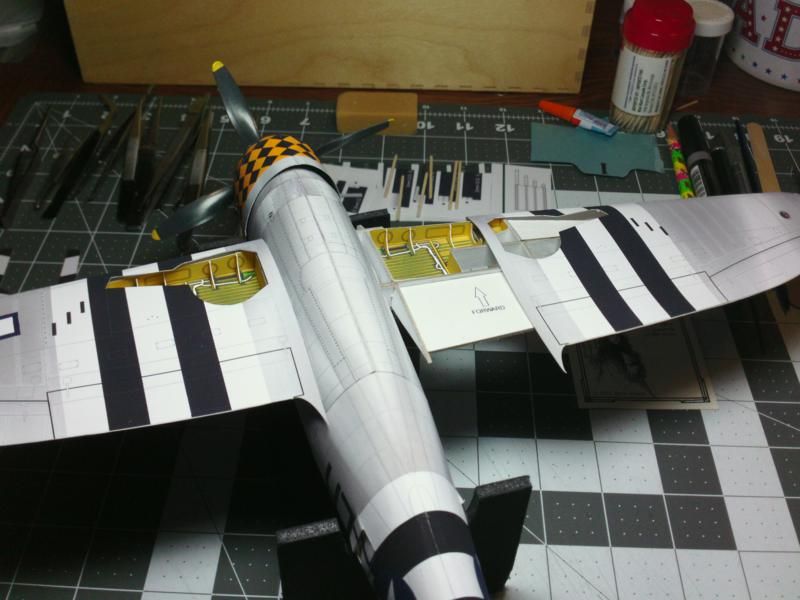 ... The tabbed glue strip inside the wing (trailing edge) can make it a bit tight for the wing ribs to slide in. I needed to trim a little bit of the end off the rib ends...I'm sure it will depend on the exact placement of the tabbed strip. Just trim the ribs as needed until the wing skin slides over snugly...but don't trim too much! Gotta watch those pointy little tips on the wing roots...they keep getting bent! Once the wing is fitted over the inner rib (the one closest to the fuselage) the skins will take shape and the fit becomes obvious. They fit nicely up against the fuselage. Don't worry too much about the top side...as long as its close...it is covered by the root fairings. Its all about the fit of the underside.  ... I try to put a bead of glue along the edge of the underside of the wing skin, but its difficult keeping the glue inside the wing. As the skin contacts the fuselage it will move around a little bit and it pushes the glue around too. After the wing is secure against the fuselage, and I'm holding it in place while the glue grabs... I will take a narrow dry paint brush and run it along the seam. It spreads the glue out along the seam. Sometimes it creates a visible glue line, but that is better than globs and blobs here and there. You also need to put some glue along the ribs and spars before you slide on the skin for the final time. AS I have said before, do dry fittings to make sure everything lines up properly and to give yourself a complete understanding of how it will go together when you finally put glue to paper. 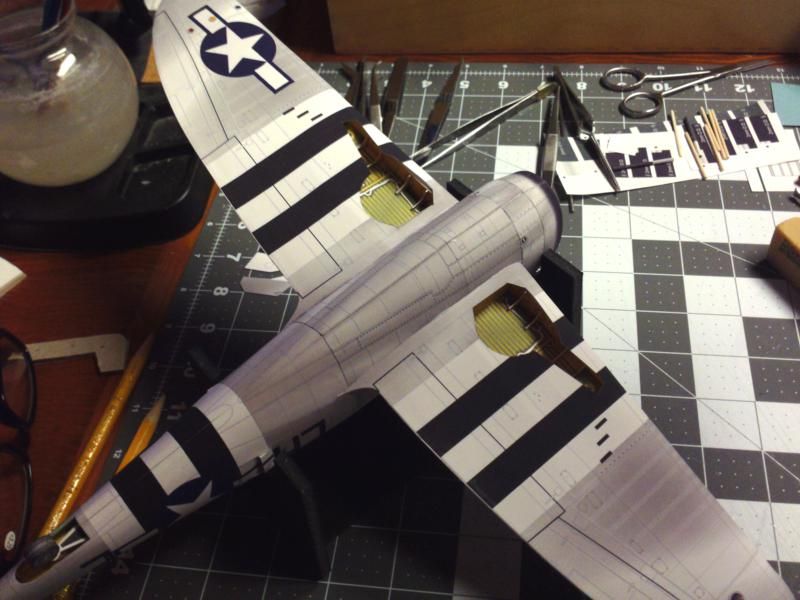 ... To finish off the top of the wings, you need to install the root Fairings. Start by shaping the fairings. A strong concave curve is need at the tail end of the fairing. Literally a 90degree corner...only rounded. I use a long dowel (and my fingers) to curve the part, and get a tight inside curve The curve needs to disappear about two thirds of the way up the fairing, and then you just curve the part on the flat (so it will fit over the front of the wing). To install, start at the rear...line up the curved edges with the curvy part of the wing... make sure the fairing is rounded and tucked tightly into the fuselage... and then glue about an inch of length to the fuselage. You can see in this pic, I didn't do a very good job on the first fairing. I should have peeled it off and tried again, but I was rushing to get things done. So, I pay the visual price of a poor fitting. If the misalignment is not too bad, its possible to trim the edges of the parts after they are glued. 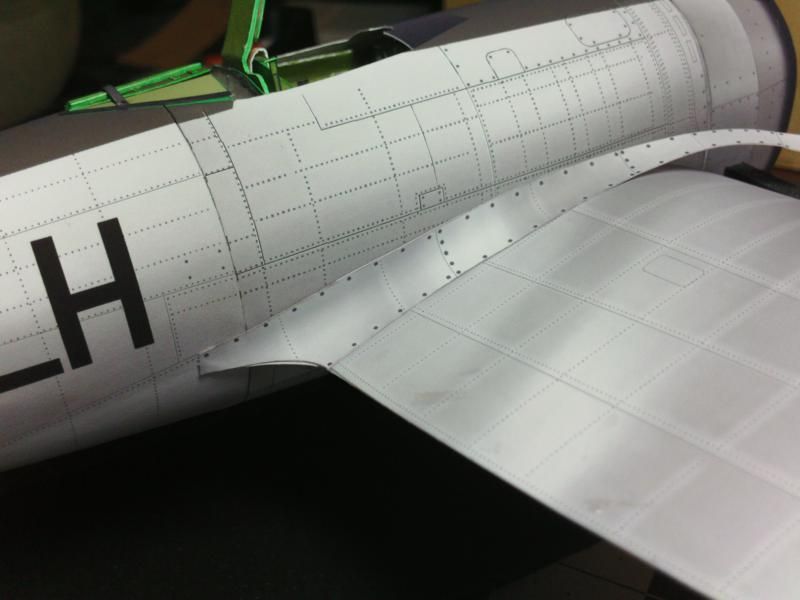 ... I did a bit better on the opposite side. First, a shot of the wing before the fairing goes on. You may need to straighten out that little pointy tip again! lol And then a view of the fairing attached at the rear. 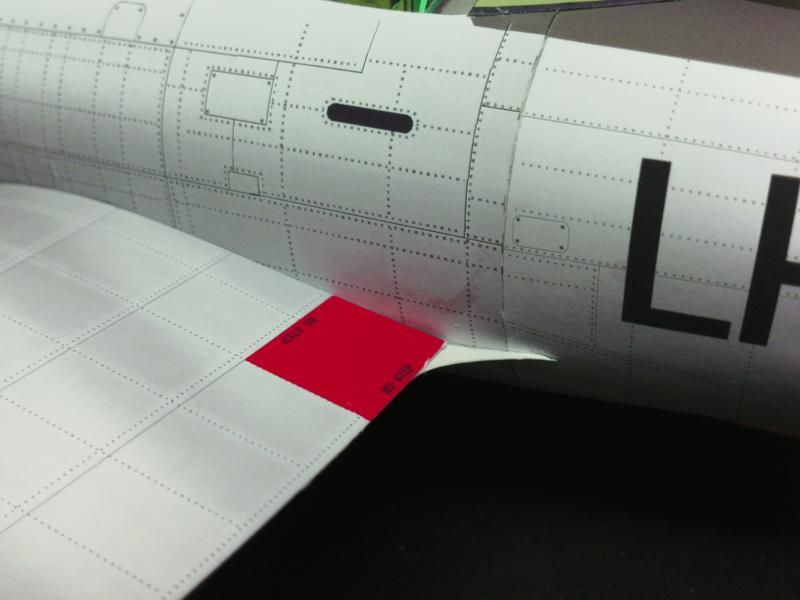 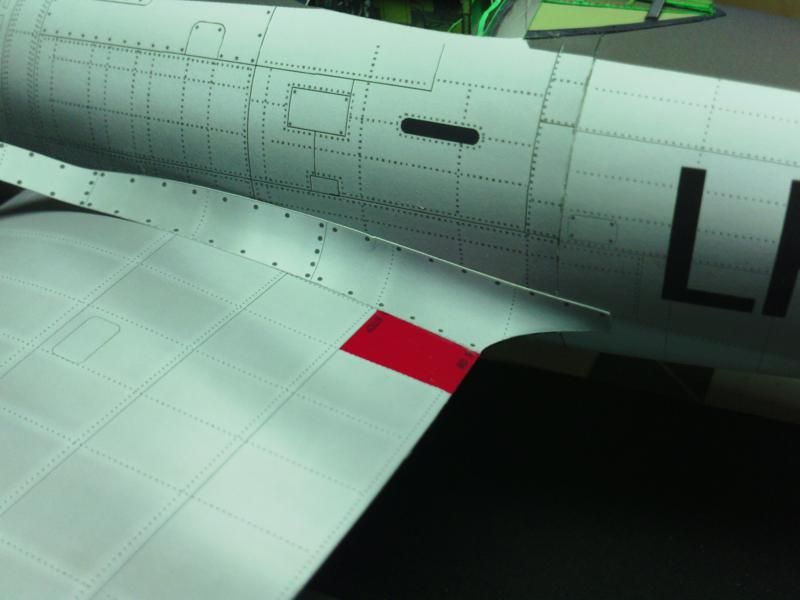 ... Now, the fairing needs to stretched to the front of the wing and wrapped over the front edge. As you go, tuck the fairing tightly into the fuselage, using that concave curve. Glue an inch at a time, working your way forward, until you get to the front. I usually just glue the top edge, to the fuselage. If the fairing is properly curved and tucked tightly into the corner between the wing and the fuselage it will hold its shape against the wing without glue. 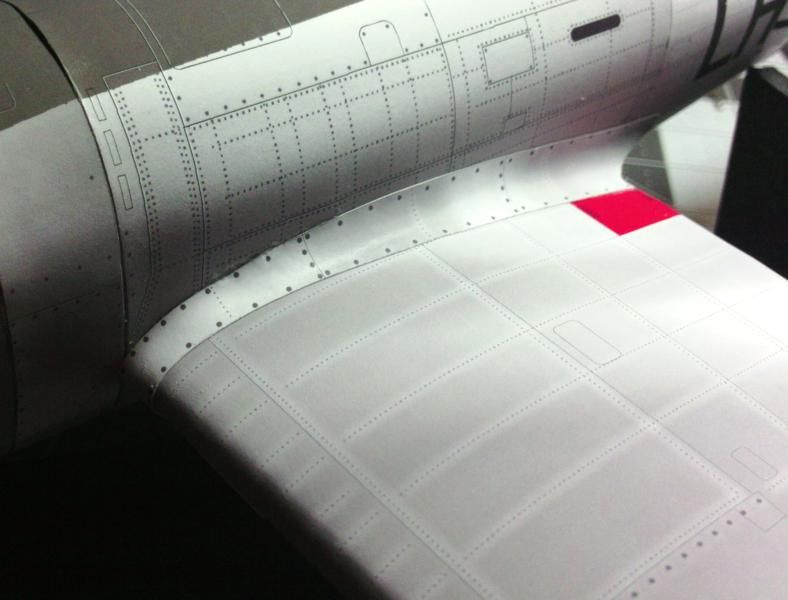 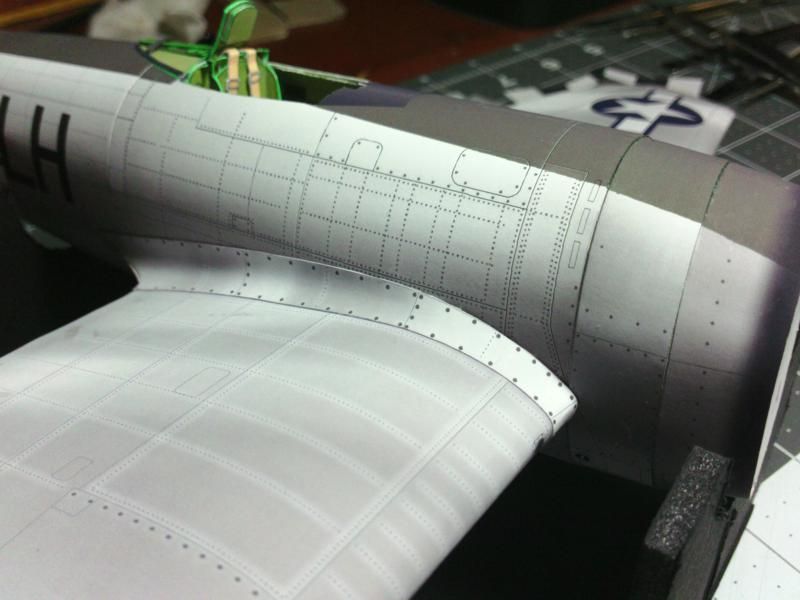
__________________
SUPPORT ME PLEASE: PaperModelShop Or, my models at ecardmodels: Dave'sCardCreations
|
|
#49
02-22-2015, 02:43 AM
|
|||
|
|||
|
when...
...is the launch of your new p-47 generation planed?
I' hope you will later also design a new generation of razorback Jugs with metallic skin... a interesting book: "P-47 Thunderbolt with the USAAF- European Theatre of Operations" from Tomasz Szlagor SMI Library/ Kagero Many black/ white photos and some nice coloured profiles. 
|
|
#50
02-23-2015, 11:11 AM
|
||||
|
||||
|
As soon as this build tutorial is done,
and as soon as I get the artwork done for the cover page, I will be ready to release this first new P47. So, maybe 1-2 weeks. I have four or five more Thunderbolts in mind to release after that. And yes, I will be redoing the Razorback parts for the new generation model. Razorback versions will take a little more time to deal, since I need to make modifications to receive the new Cockpit and create a separate set of Instructions. I also want to do another test build. As with the Bubbletops, I won't be redoing my existing Razorback models. I may update those in the future, but for now I'll be doing some new planes. Not sure if I have seen that book or not (Osborn)... I refer to internet books...there are many sites with PDF versions of some books. I have also acquired some aircraft books of my own. But I tend to avoid profile artworks as reference. There are many great websites where I can find actual info and photos of original WW2 aircraft. Vintage photos are my number one source of inspiration and reference. .......................... Now that the wings are on, we need some Landing Gear... I have designed the Gear parts to be supported by a central rod. I like using wooden toothpicks. You could use other things, or nothing at all....your preference A central support rod will also fit into a hole in the wing boxes for better support. Make sure you drill the hole (in the wing boxes) the correct size to match your support rods. You can also use a bent wire, running all the way down to the wheel axle. (a diagram has been provided in the assembly instructions for this) For this tutorial, I'll go with my wooden dowel. Its a round wooden toothpick...find a nice straight one...and sand it until its smooth and about 1.5-2mm thickness (usually the lower end after sanding) Cut out the Strut parts and prepare to roll onto the dowel. I will wrap it a couple of times to impart a curve into the paper and then glue the edge to the dowel...apply glue and slowly wrap the part. 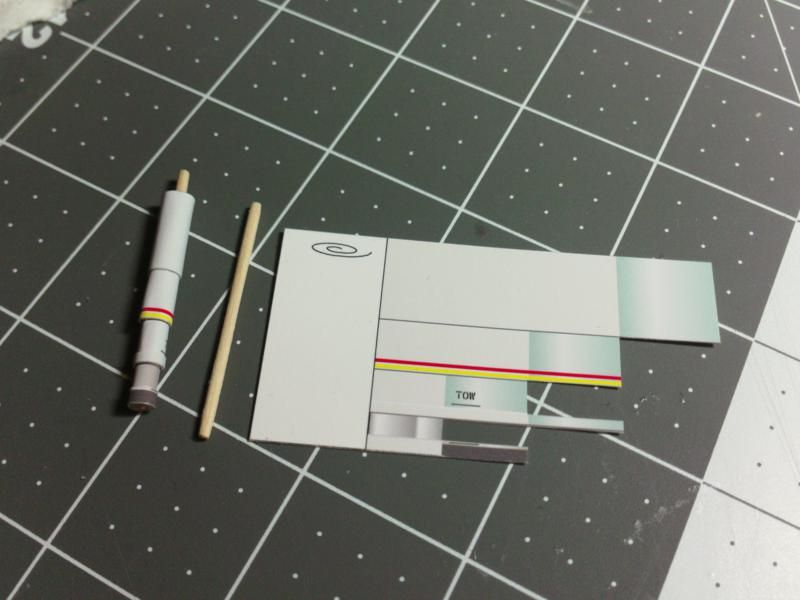 ... For the lower section of the strut...the offset axle bracket...you have to fold and assemble two parts. So far it appears that the part is rigid enough, but if you want, you can put a block of something inside. Maybe carve another toothpick to create a filler piece? 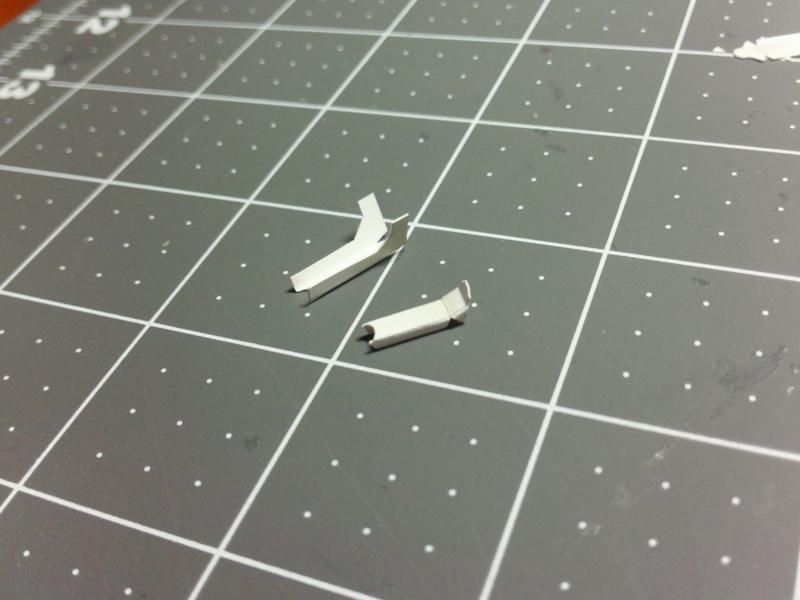 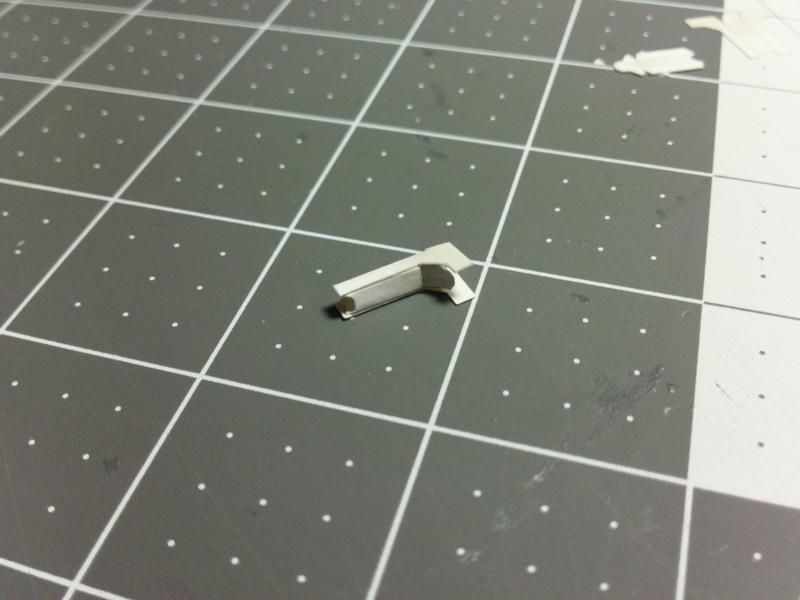 ... The axle bracket attaches to the bottom of the main sturt by wrapping tabs around. The backside folds inward to complete the wrap. It covers the bottom rung of the strut almost completely. I used some CA glue to strengthen the connection after the craft glue had dried completely. You can also add the axle hub...just a rolled strip, glued into the bottom. And fit an axle if you want. You can glue the wheel directly to the hub...an axle just adds more support. Once again, I used a sanded toothpick to create the axle. Also add the Torsion Links. (thats scissor thingy) In this photo, the Link is a bit oversize. It has been reduced in the kit. 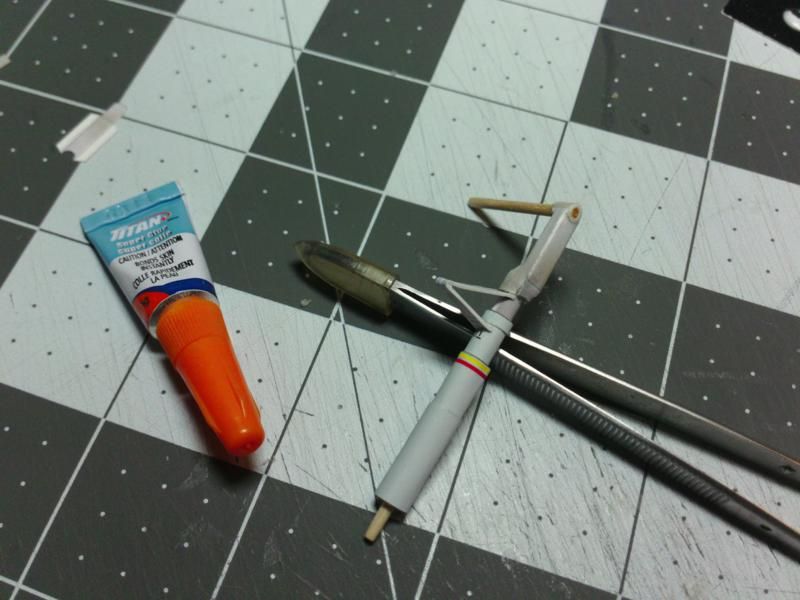 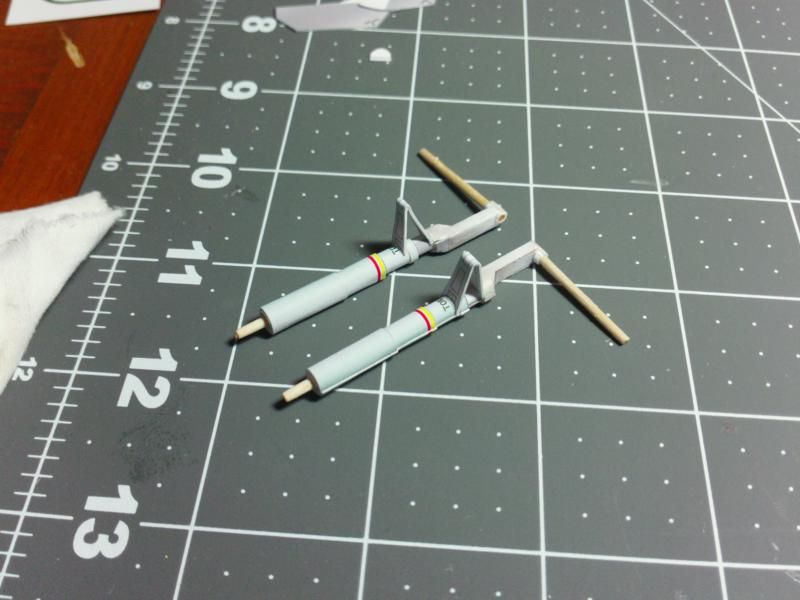 ... Now assemble a couple of Wheels. Probably the hardest part because it involves a bunch of thin parts, that have to be cut, formed and joined into rings. Then those rings have to be joined to create a multi faceted wheel. Its all a bit fiddly, but its better than boxed wheels. A tabbed joiner strip takes a while to cut out, but will make the assembly easier. 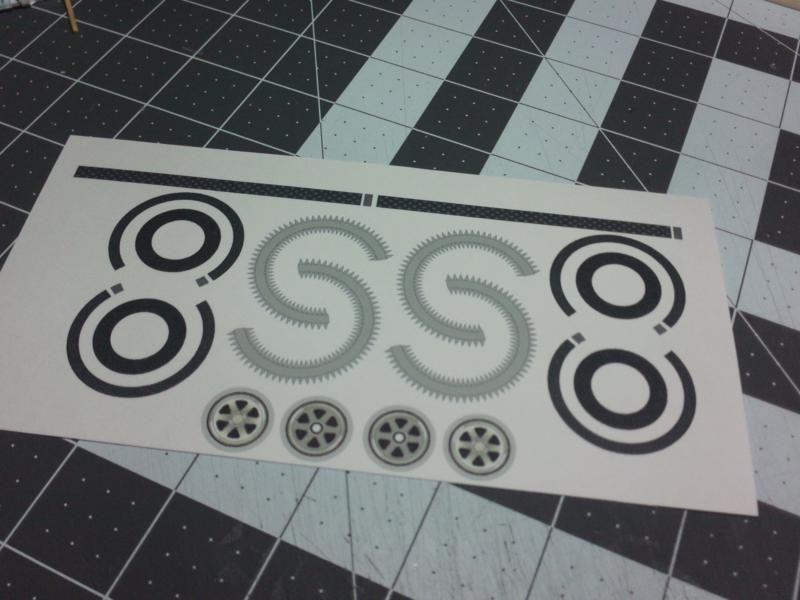 Trick is to assemble all the separate components: Four Wheel faces (inner and outer)...glued to the backside of four Tire faces. Two Tread rings. And then four angled Tire faces...glued to the tabbed strips. 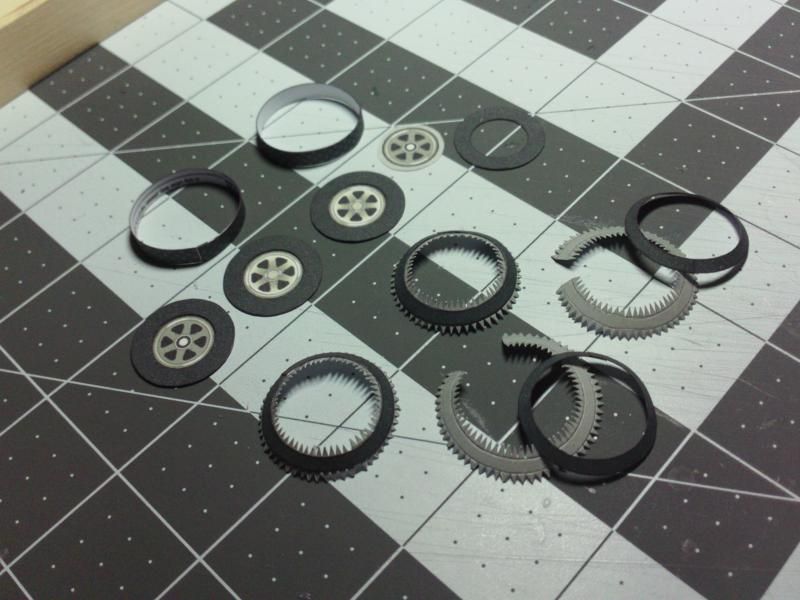 ... Bend all the little tabs down to accept the treads and faces and start asembling. I assembled faces first...rims, tire and angled faces. Then attach each tire face to the center tread rings. Be patient...alllow parts to set up completely before making the next connection. Don't forget to make a hole for the axle in the center of the (2) wheel faces (if needed). 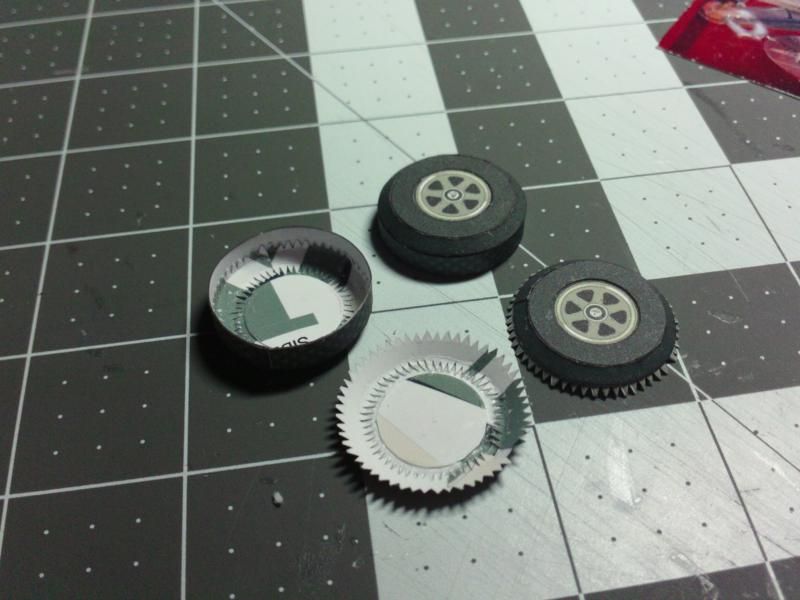 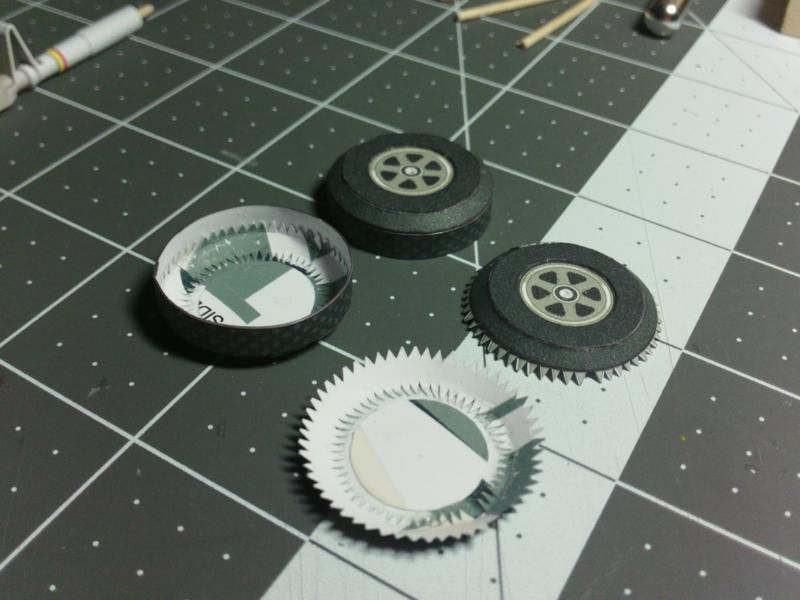
__________________
SUPPORT ME PLEASE: PaperModelShop Or, my models at ecardmodels: Dave'sCardCreations
|
| Google Adsense |
 |
| Thread Tools | |
| Display Modes | |
|
|


 Linear Mode

