


|
|
|
#11
 07-14-2015, 09:21 AM
|
||||
|
||||
|
Very smooth. Hard to believe this thing is only about the diameter of a Crayola water color marker.
__________________
Regards, Don I don't always build models, but when I do... I prefer paper. Keep your scissors sharp, my friends. 
|
|
#12
07-14-2015, 12:41 PM
|
||||
|
||||
|
A small sidetrack...
for those of you who are fans of Speed record vehicles: "Fast Facts" magazine is published quarterly by the Speed Record Club of England. (Welcome to the Speed Record Club) There is a subscription fee to join the Speed Record Club and one of the things you get, as a member, is the Fast Facts magazine. Not sure who wants to join just for that, but the December issue will definitely be of interest!
__________________
SUPPORT ME PLEASE: PaperModelShop Or, my models at ecardmodels: Dave'sCardCreations
|
|
#13
07-14-2015, 01:26 PM
|
||||
|
||||
|
Couldn't find the MPC advance sheet I was talking about. Must have stuck it somewhere else unless it was in a bunch of stuff I gave away. Hey, I've been trying to find my SocSec card for 6 months now after putting it some place safe.
|
|
#14
07-14-2015, 03:37 PM
|
||||
|
||||
|
Once the fuselage and tapered nose parts have had a chance to setup
its time to attach the Front Wheel. Obviously this could be added later on...sometimes small things that stick out might be better left to the end, so they don't get broken off. I will just have to be careful. The front wheel is a solid metal disc...and only the lower third of the wheel is visible. So, thats all you get. Cut out and glue the two sides together. (I added a third layer for a bit more scale thickness) Colour the edge and glue it in place, on the centerline.  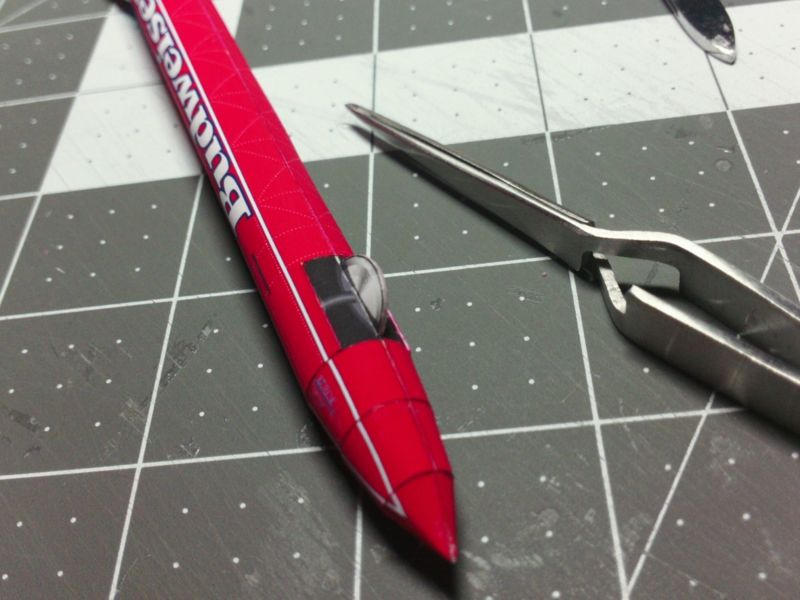 ... At the other end of the fuselage, is the rocket motor... I added some colour for fun, but the exhaust nozzle is so small you won't be able to see it anyway. Glue the end cap onto the fuselage. (Make sure to edge colour the black part) The rocket motor exhaust nozzle will attach to this. 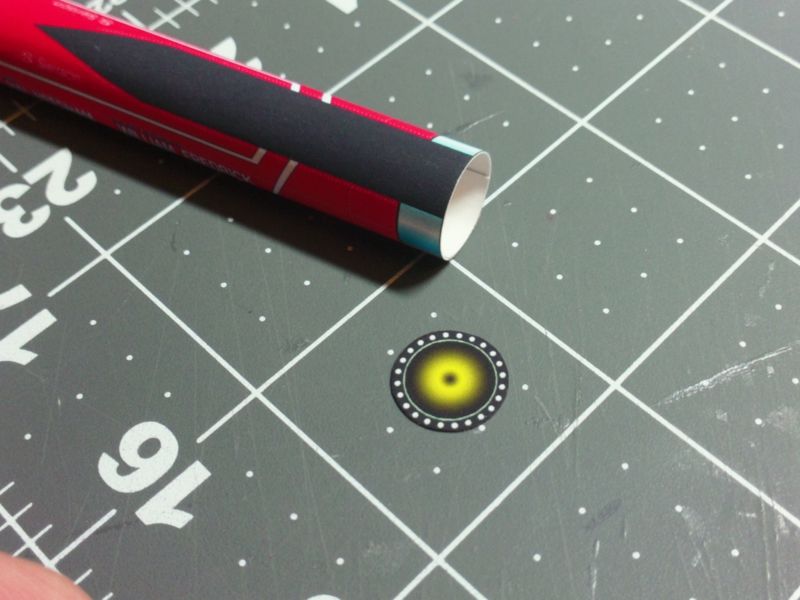 ... The rocket motor exhaust nozzle is two parts...a bit small, but not too hard to assemble. But before you cut out the parts, you should colour the backside...this is the inside of the nozzle. 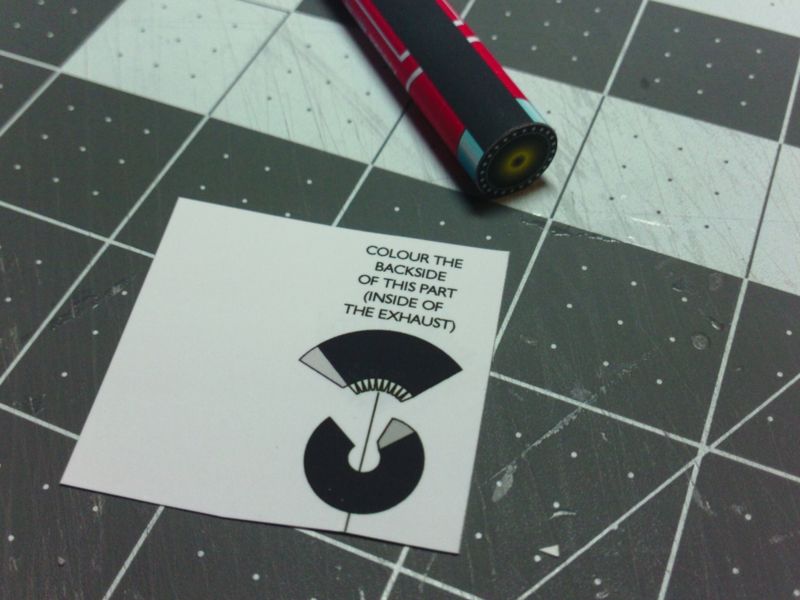 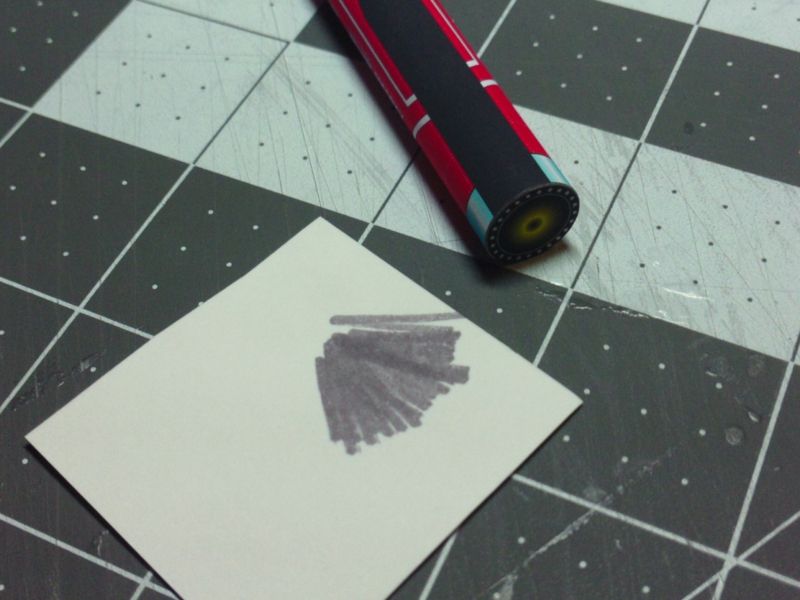 ... Cut out, edge colour, and roll the two parts into cone shapes. Overlap and glue cones and then join them together to form the rocket motor nozzle. There are some little glue tabs ...if you need them...or you can cut them off. You can also touch up the inside colour of the wide nozzle. 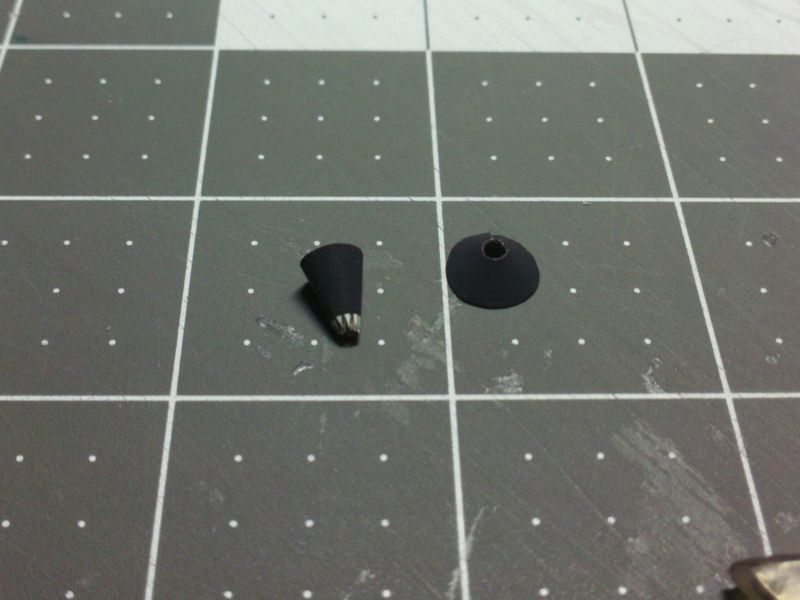 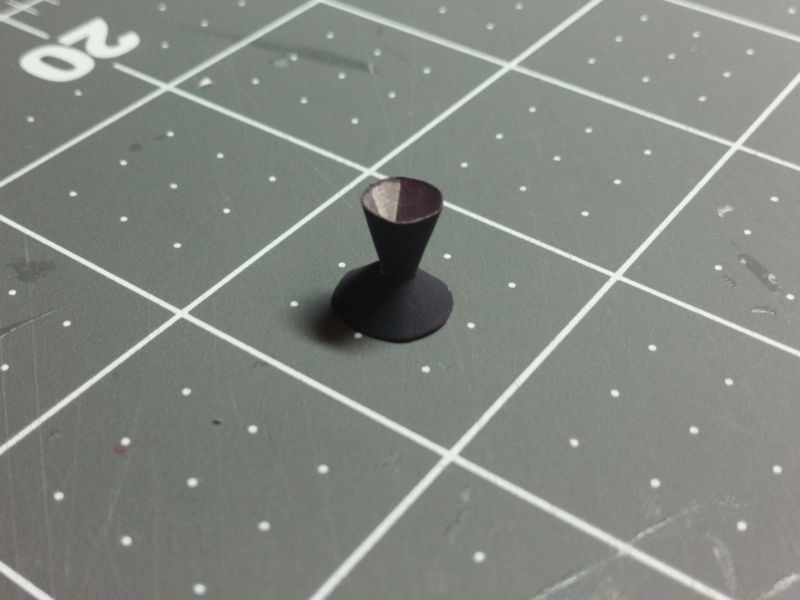 ... Attach the exhaust nozzle to the backplate on the fuselage... and the main fuselage is finished. next comes the upper fuselage and cockpit area. 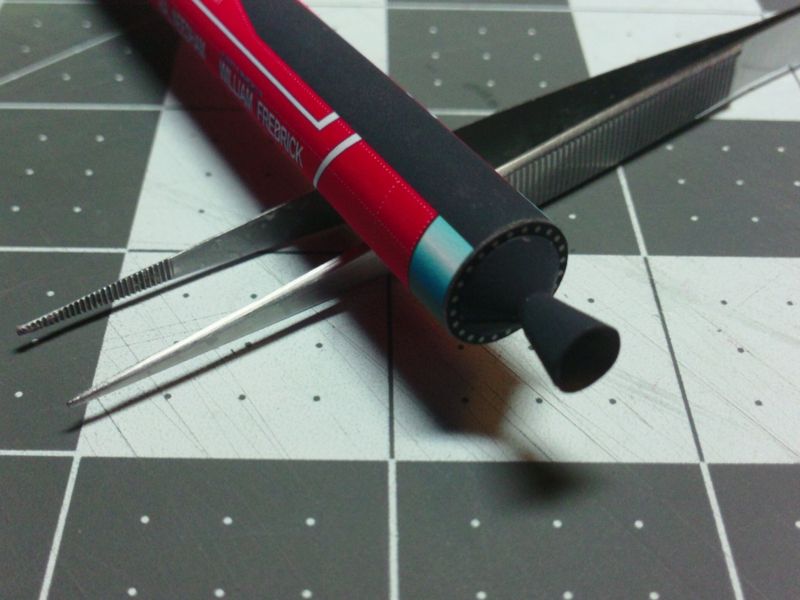
__________________
SUPPORT ME PLEASE: PaperModelShop Or, my models at ecardmodels: Dave'sCardCreations
|
|
#15
07-15-2015, 03:42 PM
|
||||
|
||||
|
Lets keep this going!...
next step is to assemble the upper fuselage elements. This area houses the cockpit, and supports the vertical stabilizer. (...also, the second rocket motor was installed under the stabilizer.) Cut out the parts: Cockpit canopy, forward and center sections, and the extra cover added over the Sidewinder Rocket motor. There is also the exhaust tube for the second rocket motor, and two tabbed joiner parts. 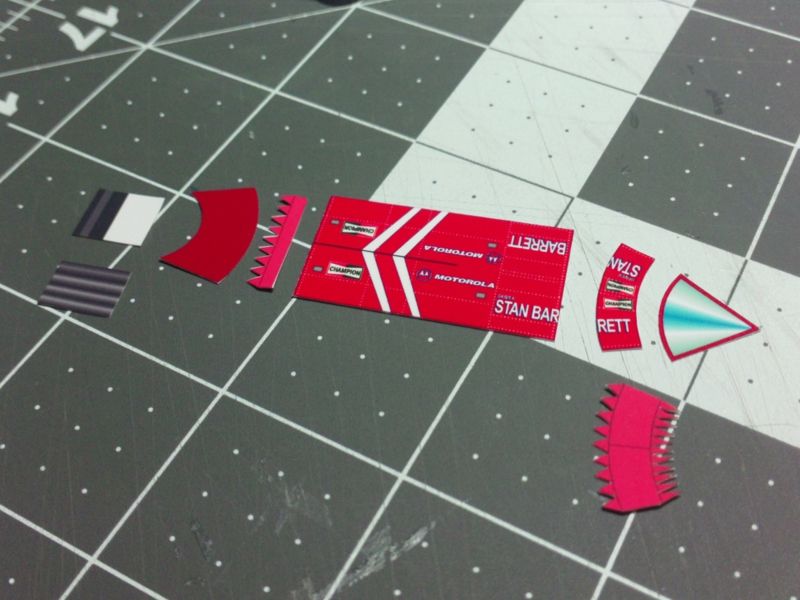 ... Once agan, its important to curve and pre-shape the parts. Install the tabbed parts after everything is nicely shaped - and holding their own shapes. I have also added two "formers" for the center section. Completely optional, but might help the longer section retain its shape. I glued the formers to two more layers of card, so they are stiffer. Note: make sure to install the formers far enough inwards to clear the joiner tabs. 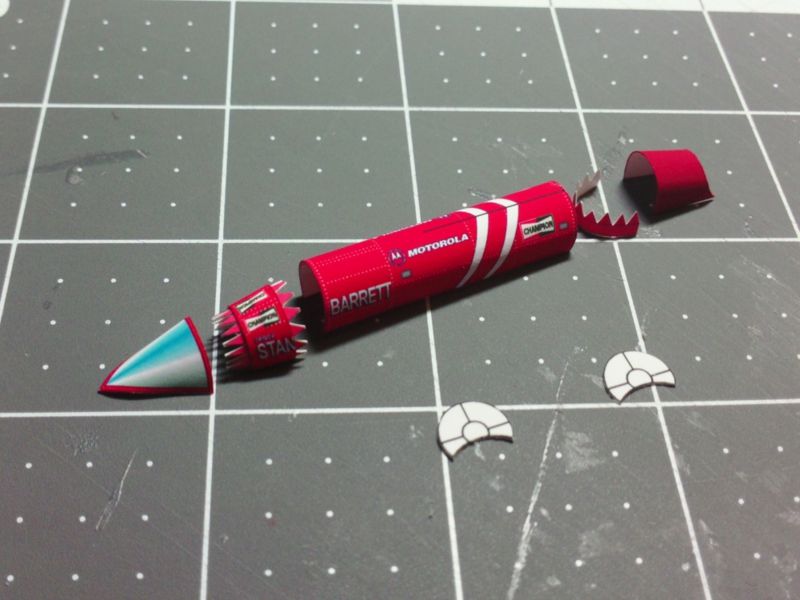 ... Hardest part is keeping the shape in the Cockpit Canopy part. Because its a very small tapered half-conical part, it wants to unroll. You need to keep shaping it with your fingertips, and only when it is glued into place, will it retain its shape. The exhaust tube is ready to slip into place after the assembly is installed on the fuselage. It is constructed from an inner and outer tube. 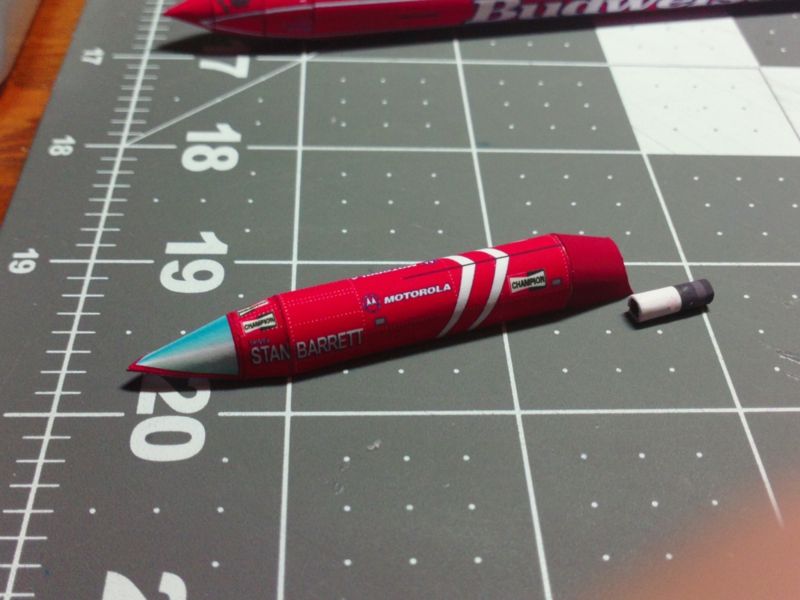 ... If its all shaped properly, it will sit on top of the fuselage quite nicely. As I said, you may have to coerce the canopy back into shape, but thats all. A thin bead of glue along the edge of the assembly should hold it in place. A tight fit against the main fuselage is important, so press it down hard. Make sure to line up the stripes, they will be your reference. 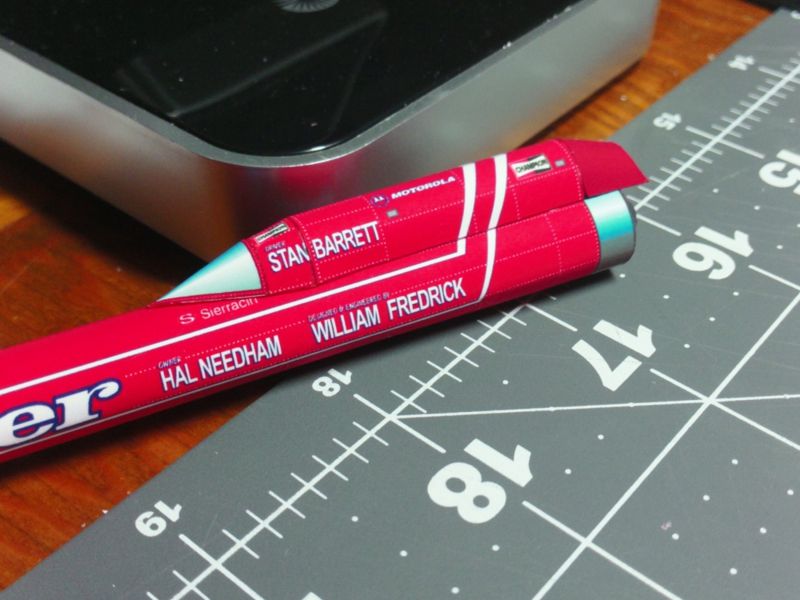 ...
__________________
SUPPORT ME PLEASE: PaperModelShop Or, my models at ecardmodels: Dave'sCardCreations
|
| Google Adsense |
|
#16
07-15-2015, 07:41 PM
|
||||
|
||||
|
If I remember, the Air Force loan the Sidewinder motor, and an Air Force missile tracking camera photo of showed a dust fishtail being thrown up ahead of the front wheel.
|
|
#17
07-16-2015, 06:57 AM
|
||||
|
||||
|
So...if you have given the fuselage parts plenty of time to setup properly,
we can move on to the Rear Wheels. This takes a bit patience. The supporting structure for the Wheel "pods" is just thin cut strips of card. I created it as one piece to make it simpler, but you still need to cut it out carefully, and then score (and fold) the plates that attach at the wheel hubs. You can attach second layers of card to the lower struts if you want to strengthen them. You could also coat them in glue to stiffen them. The Wheel pods (and wheel discs) themselves are three layers ...inner, outer and a blind layer to add some scale thickness. Cut them out neatly...glue them together...trim the edges as necessary...colour the edges. Don't forget to glue the hub spacer plates onto each wheel pod. Make sure they line up horizontally. 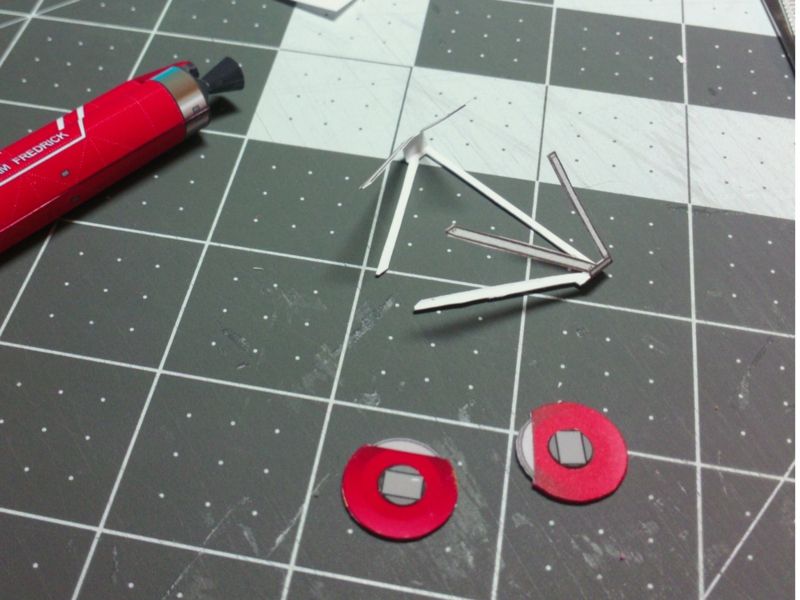 ... The attachment points for the wheel struts are marked, but to be honest I did this twice, and each time things moved around a little bit. Depending on how you cut out the strut part, how you score and fold, and where you make your first connection, the precise fit can vary a little bit. So, use the marks as reference, and attach the strut part as close as possible. I started at the bottom rear, where the long strut is centered on the fuselage. 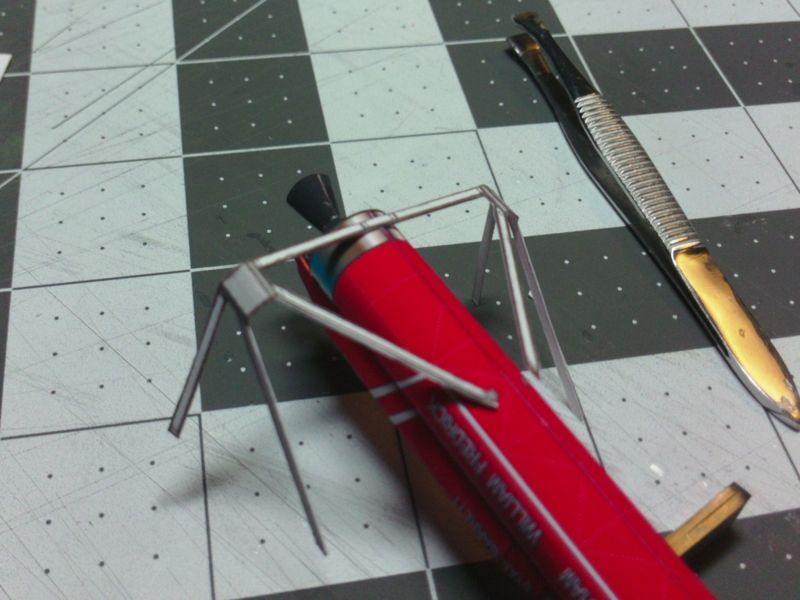 ... Try to keep all the struts straight, attach them all at the correct locations. I think its a good idea to dry fit each one...compare them side to side, and decide exactly where each will attach. ...or just stumble ahead gluing willy nilly....like I did the first time. It looked more like the Eiffel tower. You can also attach the vertical stabilizer at this time...or any time. Just fold over the stabilizer part and glue it flat. Line up the striping and mount it on the center line on top of the fuselage. 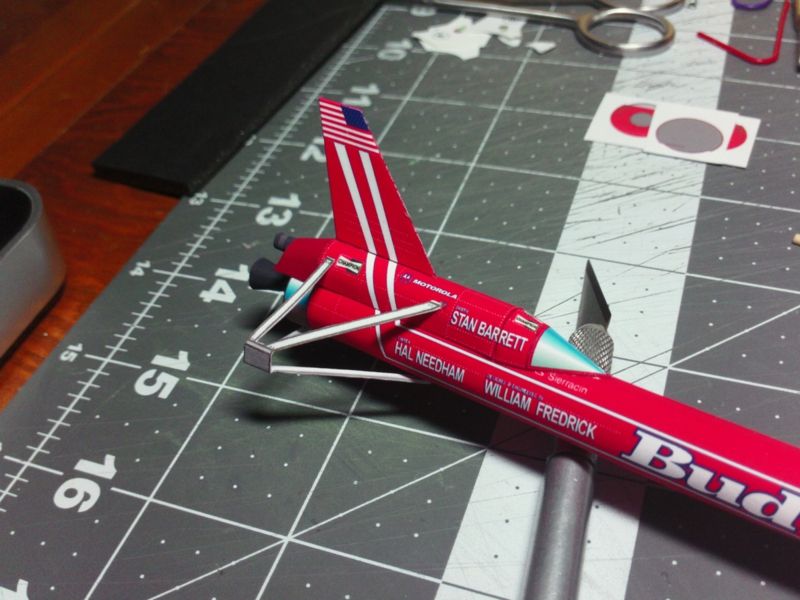 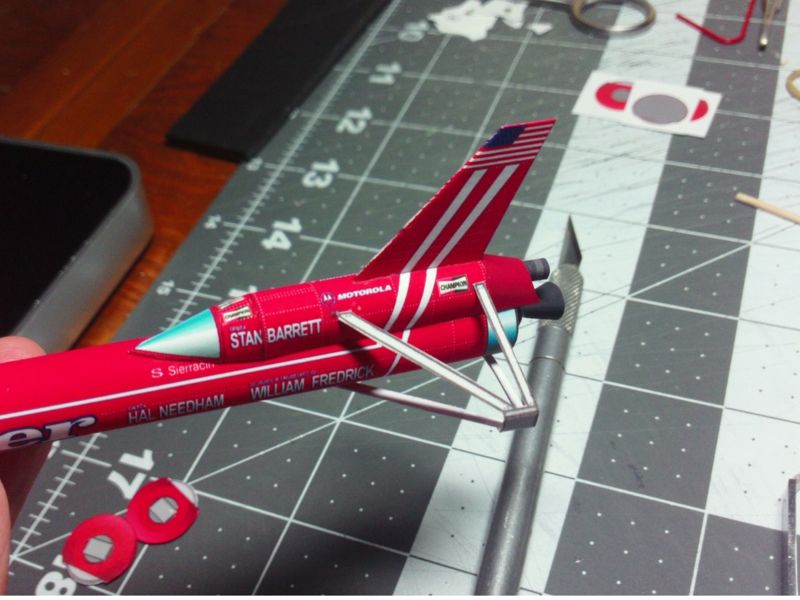 ... Once the struts are all secure, you can attach the Wheel pods. Just glue them in place, matching up the wheel hub plates. Make sure the wheel hub plates and wheel pods are properly aligned horizontally. Let the glue dry fully before you set the car on its wheels! 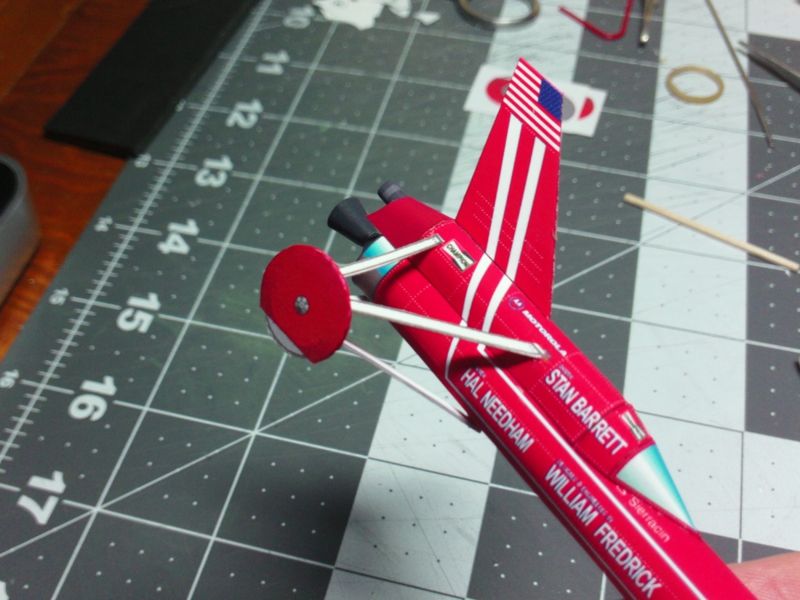 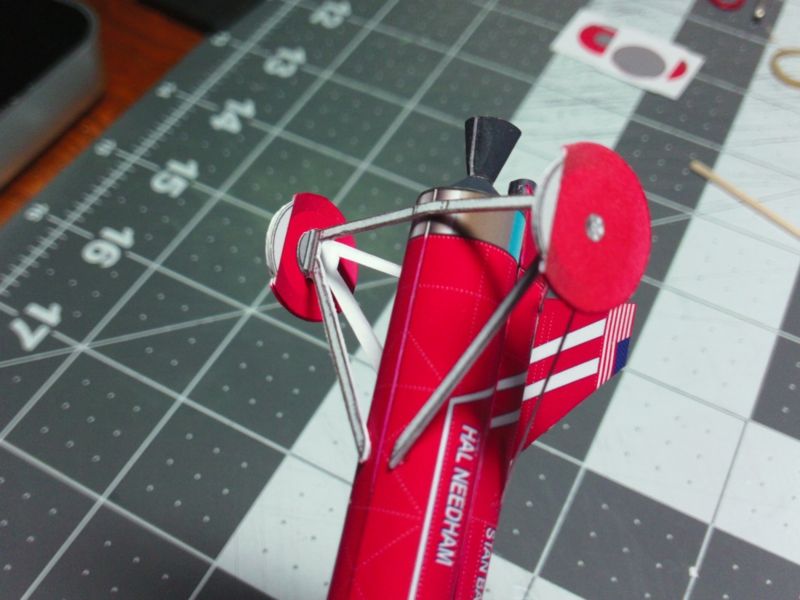 ... Last thing to do is attach the front winglets. Just fold and glue, trim the edges and edge colour. These are very small parts, so be patient. 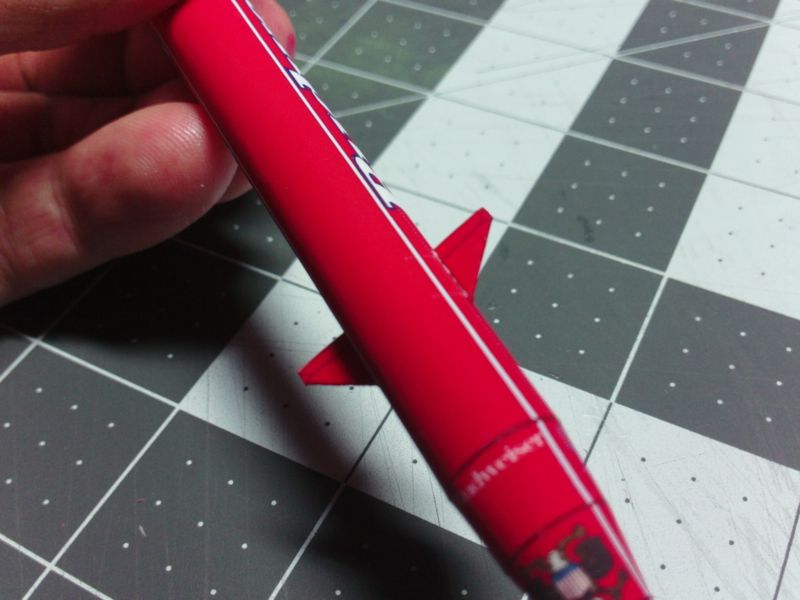 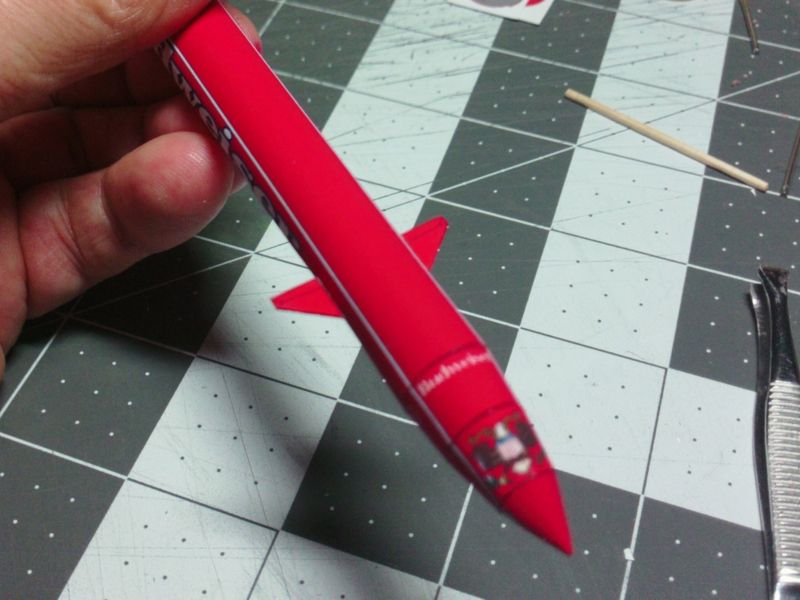
__________________
SUPPORT ME PLEASE: PaperModelShop Or, my models at ecardmodels: Dave'sCardCreations
|
|
#18
07-16-2015, 07:13 AM
|
||||
|
||||
  and, to give you a sense of scale: 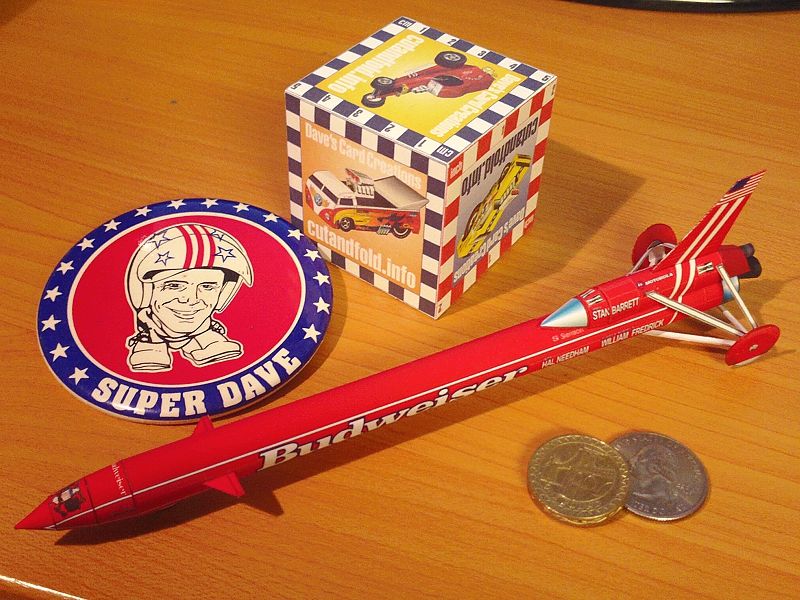
__________________
SUPPORT ME PLEASE: PaperModelShop Or, my models at ecardmodels: Dave'sCardCreations
|
|
#19
07-16-2015, 07:51 AM
|
||||
|
||||
|
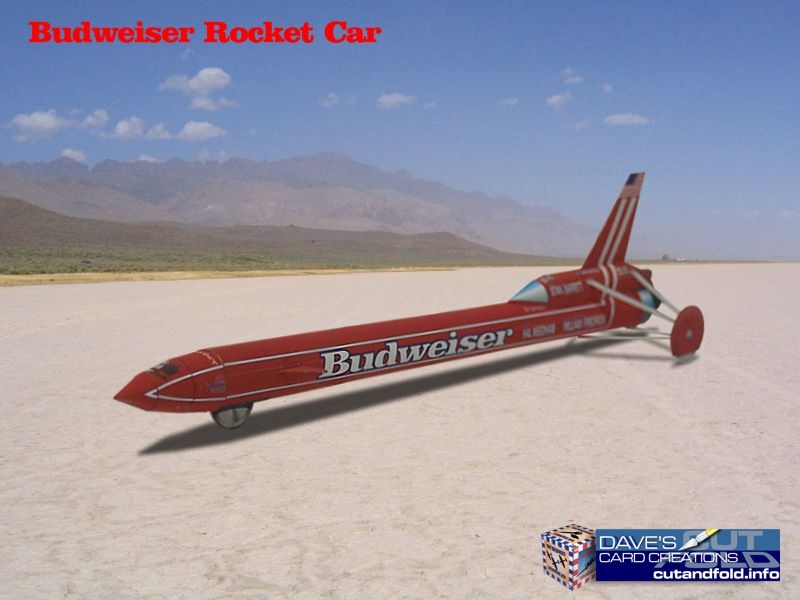
Outstanding design, Dave. The diorama photos of the model look like the real thing. I'm looking forward to building this excellent model.
__________________
Regards, Don I don't always build models, but when I do... I prefer paper. Keep your scissors sharp, my friends.
|
 |
| Thread Tools | |
| Display Modes | |
|
|


 Linear Mode

