


|
|
|
#271
 11-07-2016, 06:44 PM
|
||||
|
||||
|
Figured it was time to give this thing a bump...
BUMP Slow going...I work a little bit every day...on the Instruction pages. This is what happens when you get so far behind. I couldn't imagine trying to do this at the end! That would be a nightmare job. Its bad enough doing it like this... I have a difficult time remembering everything I did while assembling. I took a lot of photos, but some things got missed, and some things got photographed out of order. I refer mostly to the actual Parts, to see what is there and then that usually reminds me of where it went, how it went and when it went. The photos help mainly for drawing diagrams. But I also have to remember changes and order of installations. Anyway, I am up to Page 8...just detailed the attachment of the upper Body and the Driver's Hatch and now starting on the Engine Hatches. After that, the installation of the Fenders and side storages and then on to Suspension and Wheels. Lots of work there. At this rate, I would guess at least a 20 page Instruction set.
__________________
SUPPORT ME PLEASE: PaperModelShop Or, my models at ecardmodels: Dave'sCardCreations 
|
|
#273
11-07-2016, 08:40 PM
|
|||
|
|||
|
Wouldn't doubt it for a minute Dave, as Don says, a huge project.
__________________
This is a great hobby for the retiree - interesting, time-consuming, rewarding - and about as inexpensive a hobby as you can find. Shamelessly stolen from a post by rockpaperscissor 
|
|
#274
11-08-2016, 01:23 PM
|
|||
|
|||
|
When something is good it's always worth waiting for.
|
|
#275
12-10-2016, 03:30 PM
|
||||
|
||||
|
Okay, so its been quite some time since my last update.
Mainly because I have been catching up on Instruction Pages and assembly Diagrams. I am now caught up...completed about 15 pages of Instructions... and so, I have started work on the Turret. There are a number of other parts to still be designed for the Hull, but I can come back to those. Its still early days, already fine tuning and redesigning as I go. But I worked out a basic structure for the turret, including "skins" and internal supporting structure. Because the Turret is a bit smaller than the Centurion, I opted for a less complicated structure leaving the inside completely open and empty. A bit more like the real thing. The parts for the internal structure...laminated to 1mm thickness. I modified the design a couple of times...now the parts are printed to be the inside of the Turret. This contributes some of the interior finish, although there are still some interior panels to be installed. 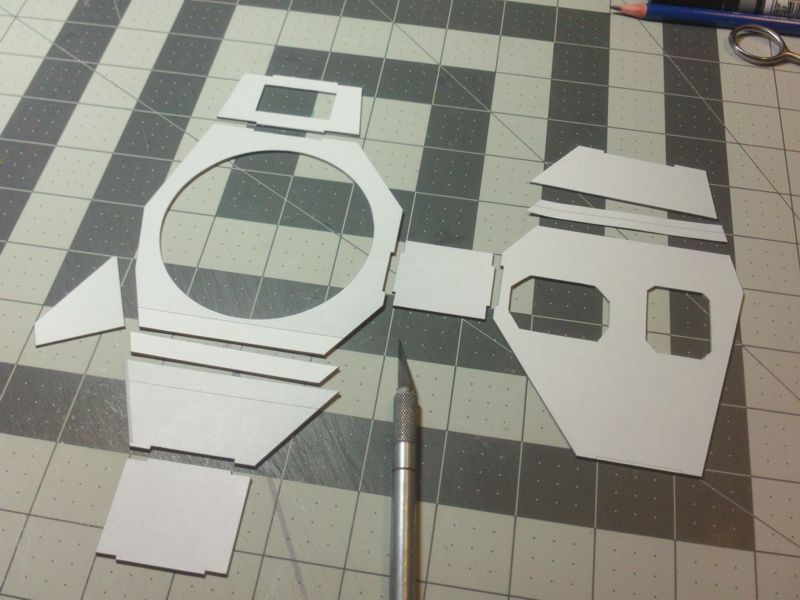 ... As I said, a minimal number of pieces, all connected by tab and slot. You can also see, in the following photo, that I have installed a ring that fits into the Hull, and a printed lower interior skin. 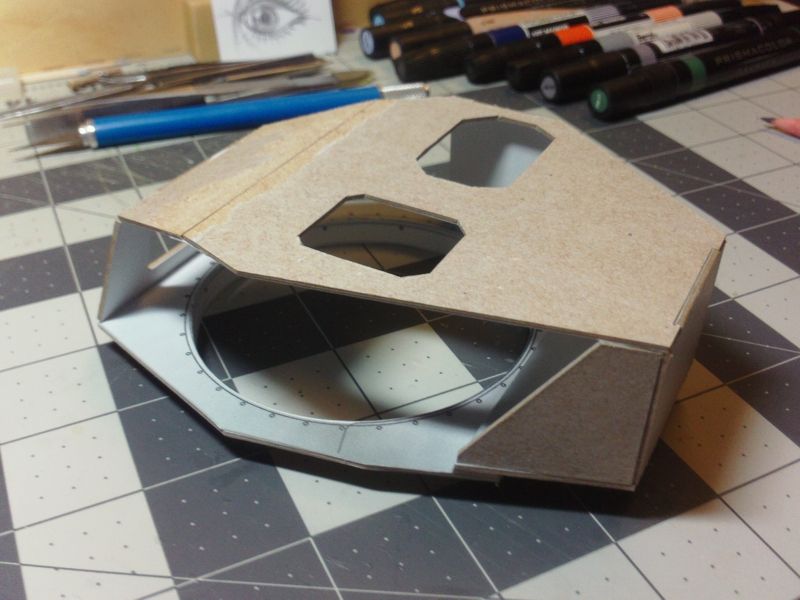 ... The completed outer "skin" ready to fit over the internal structure. I've gone ahead and put this on...I think everything else from this point can be done with the outer skin in place. You'll also notice a complete new colour scheme. I experimented with some surface textures for the Turret panels, but found them all to be tedious and more trouble than they are worth. I don't want an overly weathered look, but i wanted a bit more colour contrast. So, I decided to apply a simple two colour texture... 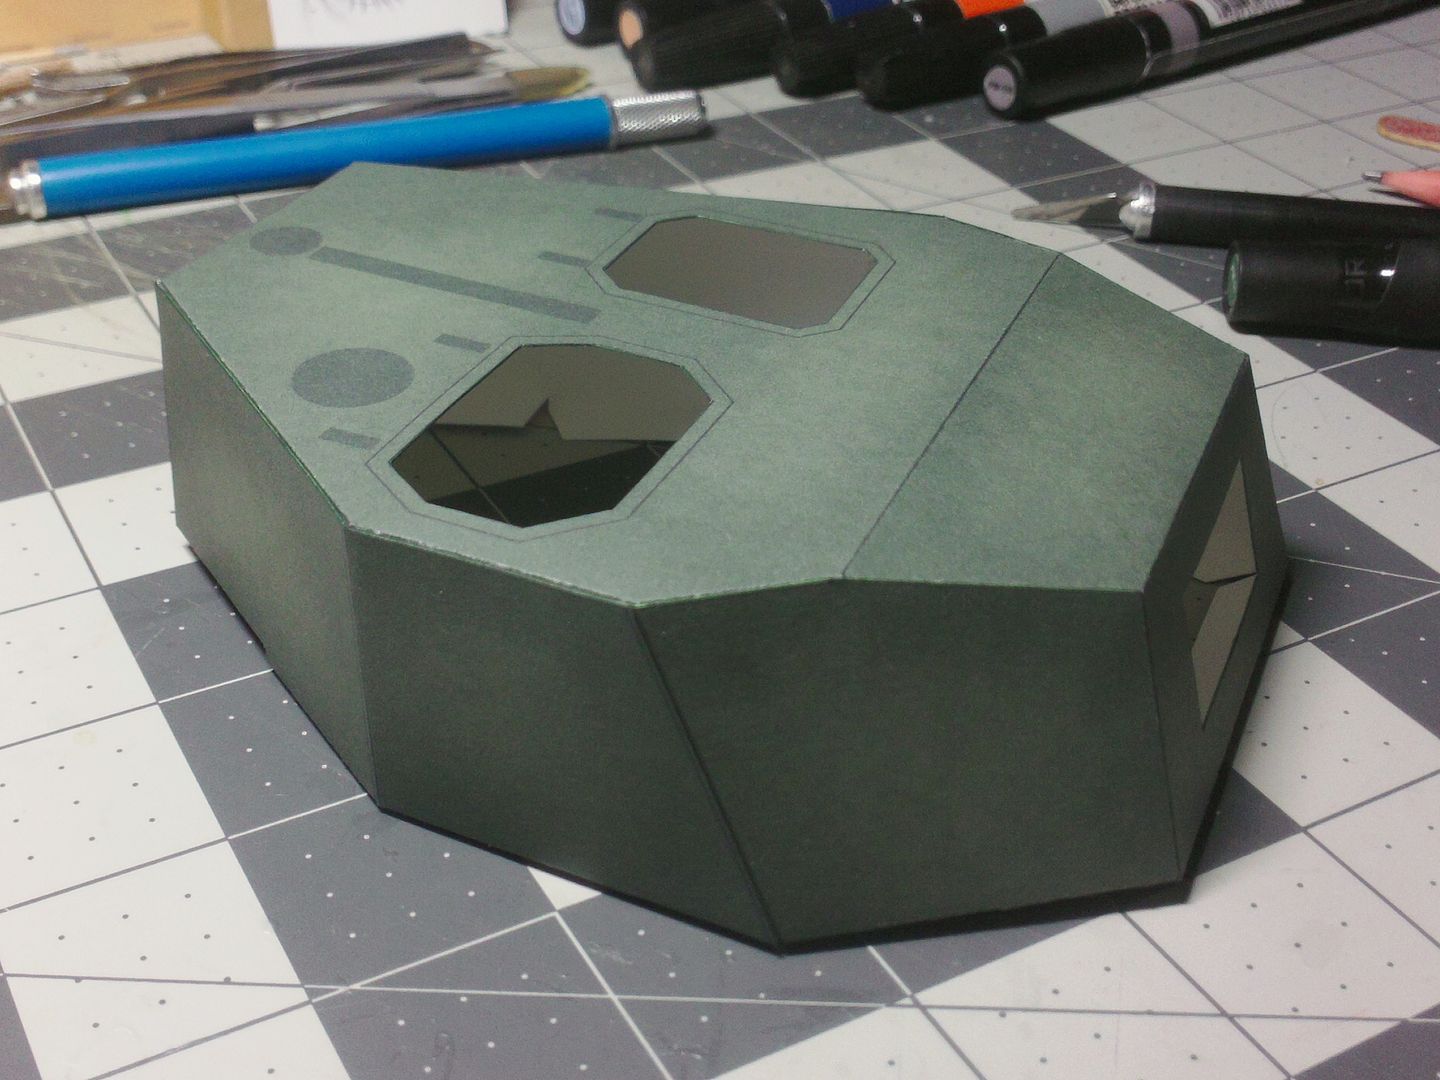 ... After the skin is fitted to the internal superstructure and tabbed glued underneath, its time to fit the remaining internal panels. I've done plenty of surface artwork...but I've also added a number of 3D parts. I'll leave it up to the builder, how far they want to go. Anyway, the interior panels slide in easily from underneath and are glued into place. 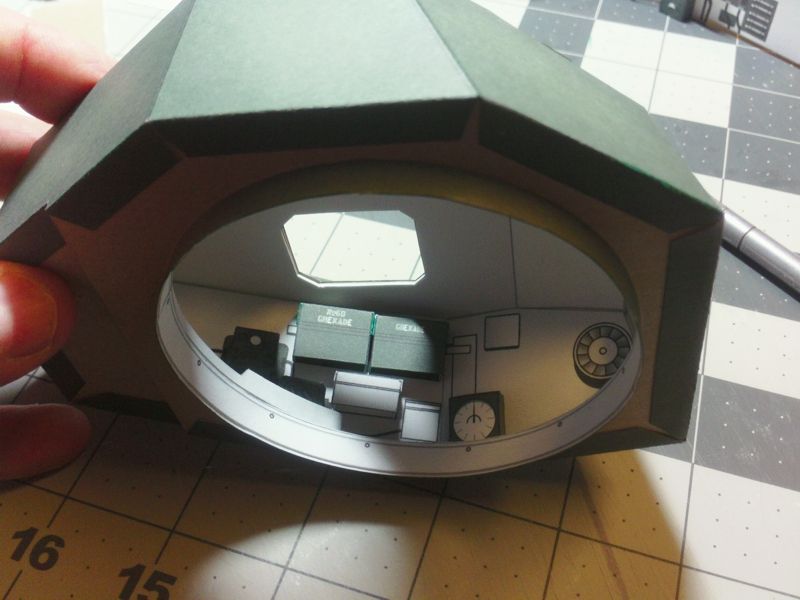 ... Everything is still moving forward...working on the main Gun and swivel mantel right now. It looks like the entire Gun, including the Breech and all interior parts, can be assembled outside of the vehicle and then installed through the front opening of the Turret. Once the mantel and its parts are glued into place, the entire Gun is fitted. This is where I noticed a big problem. The new Turret colouring does not match the Hull and parts so far. The colouring up to this point has been much lighter green, as a result of a texture overlay. I've also got some lightened effects on panel edges that also make the overall green colour a lot lighter. Point is, I prefer the new Turret colour...so I have had to go back and change all the existing colouring in the kit. Unfortunately, my test build model is still different colour, so... I broke out the airbrush, and mixed up some paint, and altered the colour on my model to better match the new printed Turret. The kit, will be more accurate, with the same colour and panel effects throughout the model. 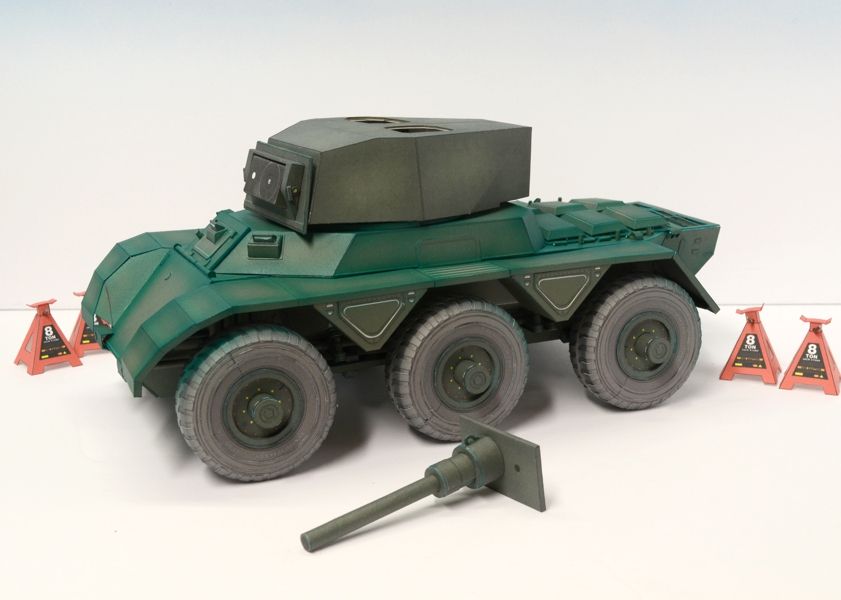 
__________________
SUPPORT ME PLEASE: PaperModelShop Or, my models at ecardmodels: Dave'sCardCreations
|
| Google Adsense |
|
#277
12-10-2016, 10:44 PM
|
|||
|
|||
|
Looks fantastic so far. Can't wait to see the completed model. Of course, I'll have to buy this one!!!
|
|
#280
12-11-2016, 11:41 AM
|
||||
|
||||
|
Really great Dave!! im looking forward to have this on my to do list

|
| Google Adsense |
 |
| Tags |
| saladin, armoured, car, project, centurion, scale, started, model, matchbox, 1/16, dinky, design, work, toys, tank, issue, basic, kit, profile, army, number, issued, remember, printing, reference |
| Thread Tools | |
| Display Modes | |
|
|


 Linear Mode

