


|
|
|
#132
 06-25-2016, 12:11 PM
|
||||
|
||||
|
Quote:
...put's on Teacher's Cap ...corrects grammar "your = you're". Take's off Teacher's Cap. Puts "jedi head" (sic) back on. Cuts off Mouse hand with Light Saber(Sabre). Dave continues with Saladin work.
__________________
SUPPORT ME PLEASE: PaperModelShop Or, my models at ecardmodels: Dave'sCardCreations 
|
|
#134
06-29-2016, 05:32 PM
|
||||
|
||||
|
Still a little sidetracked with the Instruction pages
...I'd rather get caught up on that before I get too far ahead with the build. But I did find some time to start work on the side "fenders". Is that what we will call them? Fenders?  Yes...I know...it looks cool in this colour (above)! LOL I guess I know what the second version will look like. ... Anyway...I laid out the basic shape of the Fenders with the angled rear sections, and multi-angled front sections. 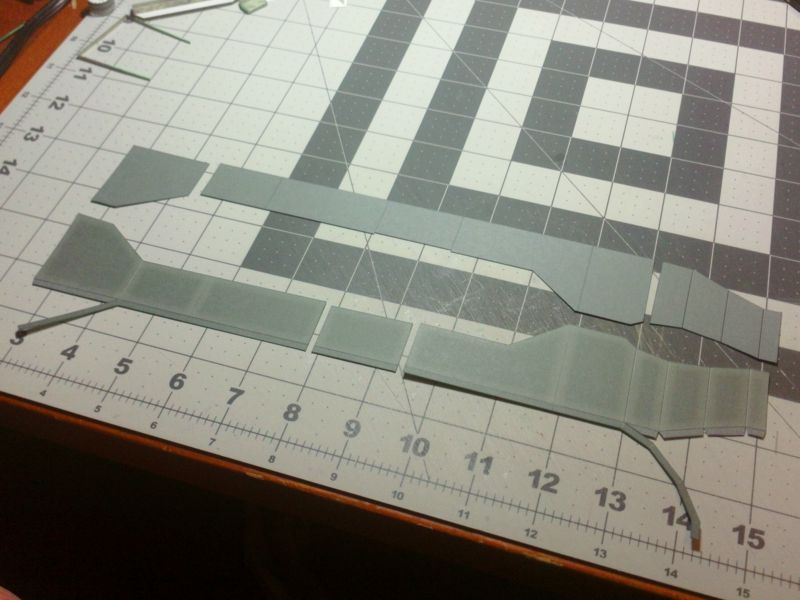 ... I had to split up the parts to allow them to fit on the Parts pages. But the entire fender is made up of smaller sections anyway... and the center section has to be removed to allow access to the side hatches. So, it was a no brainer to split the parts up, using that center section as the joiner. The folded down side edges of the fenders are the templates for folding the end sections. Care must be taken not to distort the shape of these thin side strips, but it seems to be easy enough to handle. 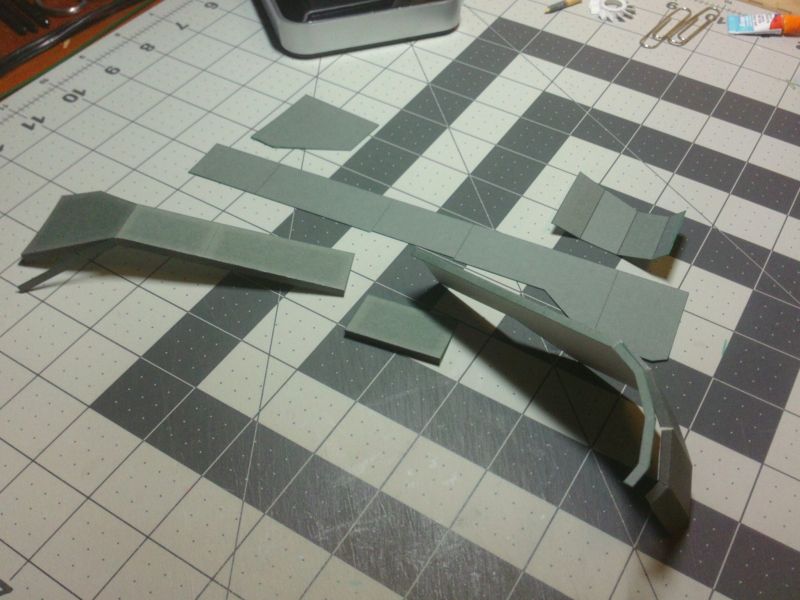 ... A second layer is added to all these parts. This will hopefully provide the underside colouring...hide all the white surfaces... and provide double layer strength to the card parts. I'm finding it difficult to make the shapes and sizes exact. If you move one part slightly, it throws the next piece off a lot more. I have to allow for fit tolerances, inside measurements, butt joints, etc but I don't want to make the parts too small. I think I will rely on the builder to trim as necessary (depending on how imperfectly they assemble). And (not shown) there needs to be a little surface colouring at all the joins, so white doesn't show through. 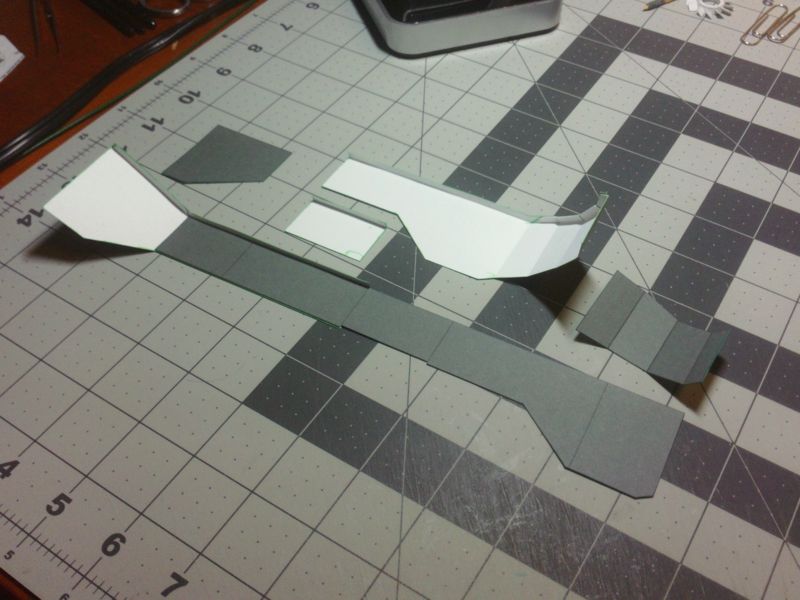
__________________
SUPPORT ME PLEASE: PaperModelShop Or, my models at ecardmodels: Dave'sCardCreations
|
|
#135
06-29-2016, 05:32 PM
|
||||
|
||||
|
Next up, I must design those Storage Bins for the sides
as they will be the main supports for the Fenders. An odd triangular shape, with flat tops and bottoms, and angled backs...to fit against the Hull sides. I also threw in some extra parts for layered detailing. 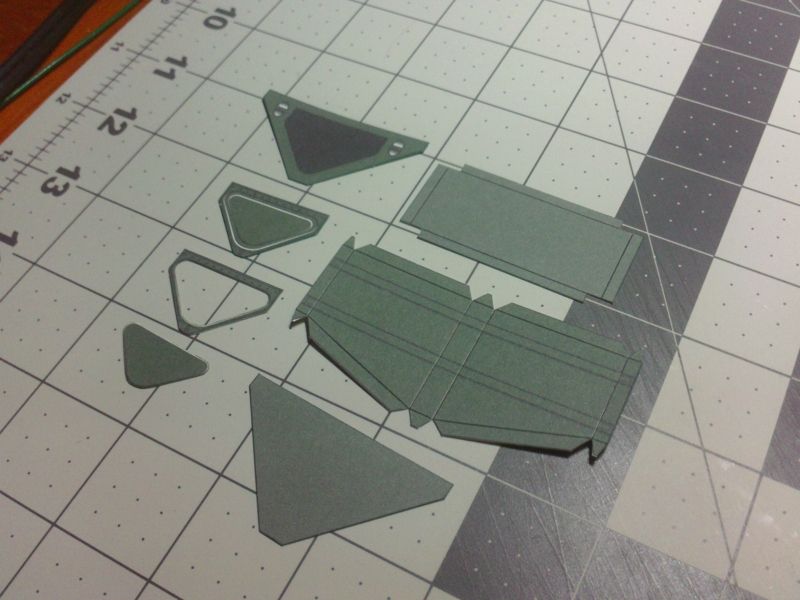 ... Once assembled, I located their positions on the sides of the Hull and glued them flat in place. The tops are positioned about 2-3mm low to allow for the fenders. However, I notice in various photos, that the Fenders sit at varied heights along the vehicle and on different vehicles. I guess there is no perfect installation, which makes things a bit easier for me and this model. I think, for future assembly, I am going to locate the Storage Bins on the undersides of the Fenders. Maybe install them first, to the Fenders, and then fit the whole thing to the car? 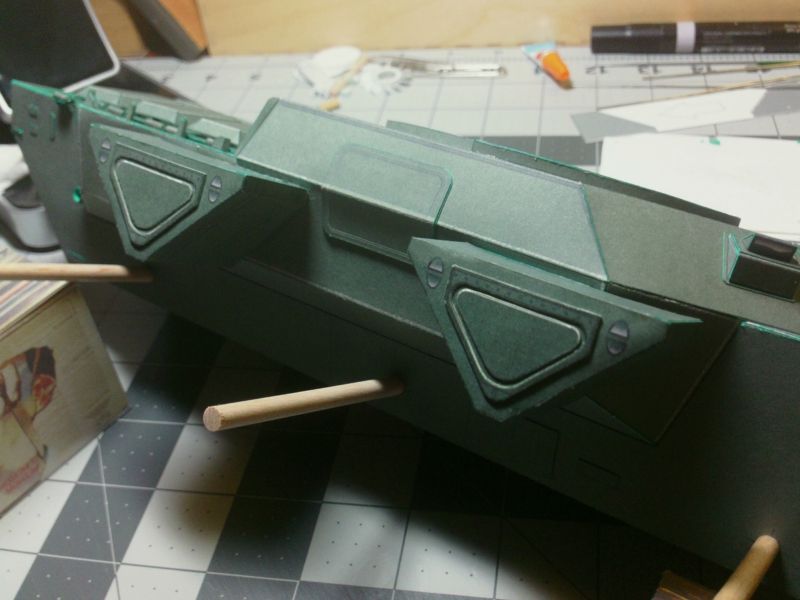 ... A dry fit of the Fender... shows me that the front angles aren't right. I need to extend the front edge of the fender a bit. I also need to adjust the angle at the rear, and add the Support Bracketry. And I also have to design the little angled insert pieces for the front fenders (where they connect to the nose of the Car). More to come... 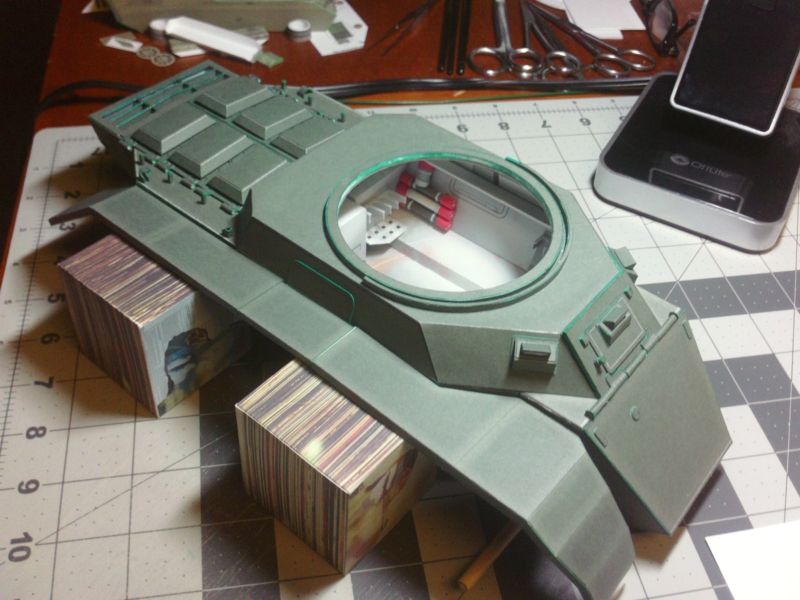
__________________
SUPPORT ME PLEASE: PaperModelShop Or, my models at ecardmodels: Dave'sCardCreations
|
| Google Adsense |
|
#136
06-29-2016, 05:44 PM
|
||||
|
||||
|
I can see the commercial now, "Airdave's Saladin bins, the best bins there've ever been!"
__________________
Screw the rivets, I'm building for atmosphere, not detail. later, F Scott W
|
|
#137
07-01-2016, 02:19 PM
|
||||
|
||||
|
Finished up the fenders today...not perfect, but I can live with it.
redesigned the forward sections at least six times, trying to get the right shape and get it all to line up at the nose. As you can see in the photos, the leading edge still does not line up with the brackets on the Hull but I finally got it on the same plane, and pretty close. Judging from photos of the real thing, the leading sections of the fender need to be a touch longer. So I have adjusted the Parts, which should bring it down even closer to where it should be. I'm not going to rip apart my test build just for that, I'll leave these fenders as they are. After looking at many photos of these cars, original and rebuilt, I see that the fit and angles of these Fenders varies wildly. Level...bent down...bent up...crooked...etc! And I know I can't control how people build the model... but thats okay... as long as I get the basic parts close to where they should be. 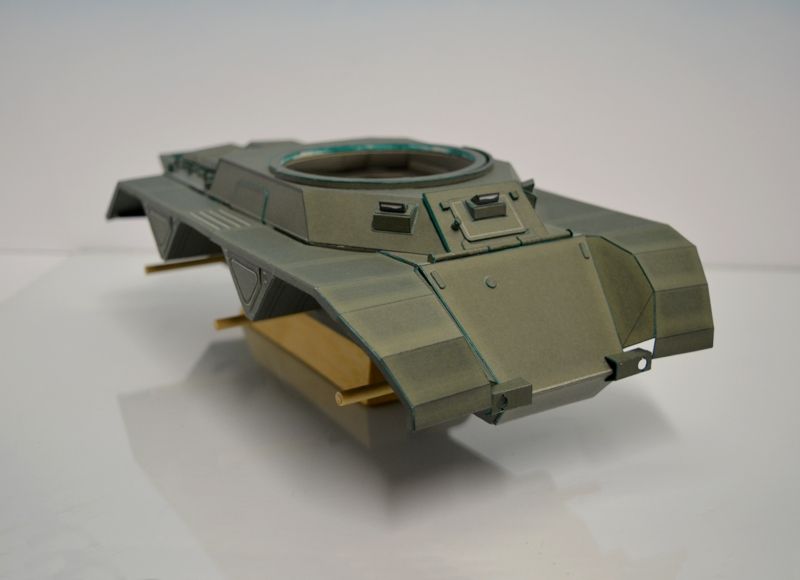 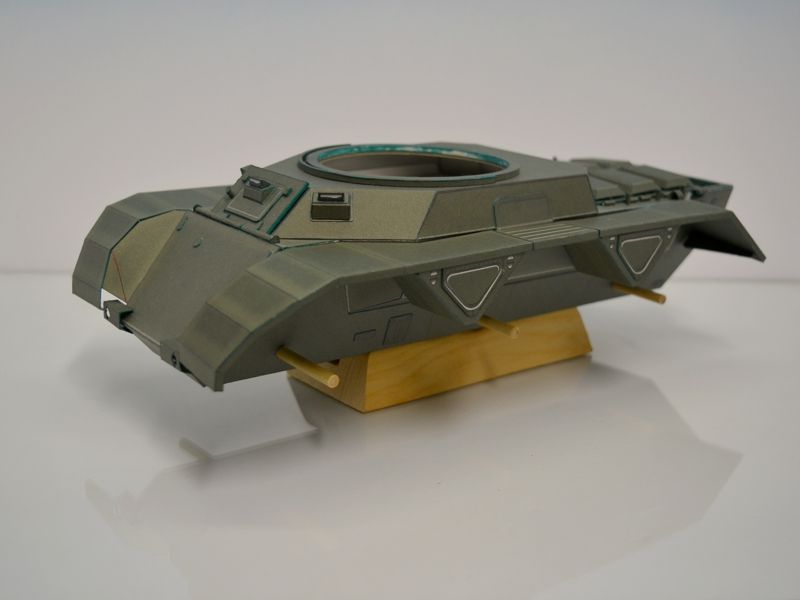
__________________
SUPPORT ME PLEASE: PaperModelShop Or, my models at ecardmodels: Dave'sCardCreations
|
|
#139
07-02-2016, 11:34 AM
|
|||
|
|||
|
Really enjoy following your design/build procedures.
|
 |
| Tags |
| saladin, armoured, car, project, centurion, scale, started, model, matchbox, 1/16, dinky, design, work, toys, tank, issue, basic, kit, profile, army, number, issued, remember, printing, reference |
|
|


 Linear Mode

