


|
|
|
#21
 09-10-2016, 05:35 PM
|
||||
|
||||
|
Now you can refold those Glue tabs and the Part should be ready for gluing.
If the top panel curves a bit more than it should...thats okay. Better that, than have it not curve enough. You don't want the part fighting you when you glue it together.  ... Start gluing the Tabs against the top panel. Glue one or two tabs at a time, working your way around the curved edge. It can be a bit easier to hold the part firmly in tweezers, while forming the top panel into place. If you try to fit, glue, form and attach the entire curve all at once, you will not do as good a job. Glue short sections, lining things up carefully...wait for the glue to set up in-between sections... It takes a bit longer to get it done, but it will look a lot better. 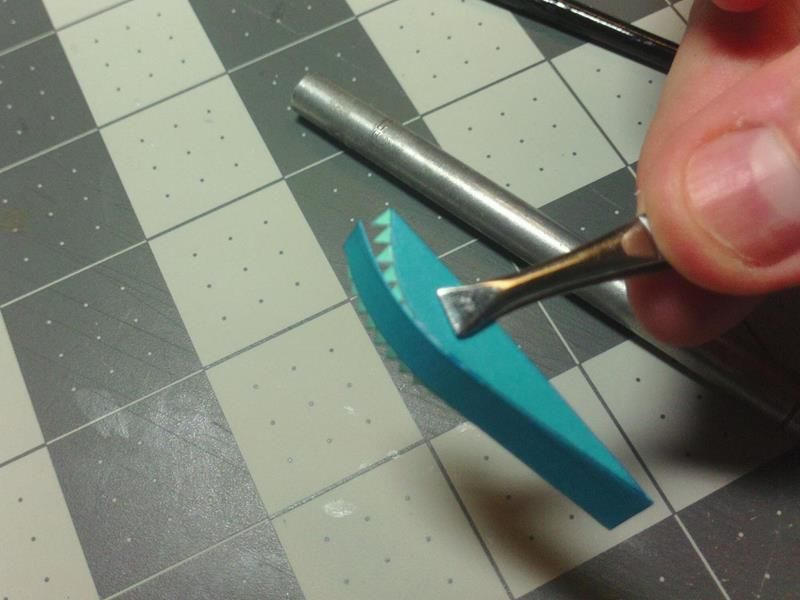 ... Its important that the ends line up. If the top panel overhangs slightly, thats okay...because we can trim it later. But we don't want it short. Do your best to line up the ends. 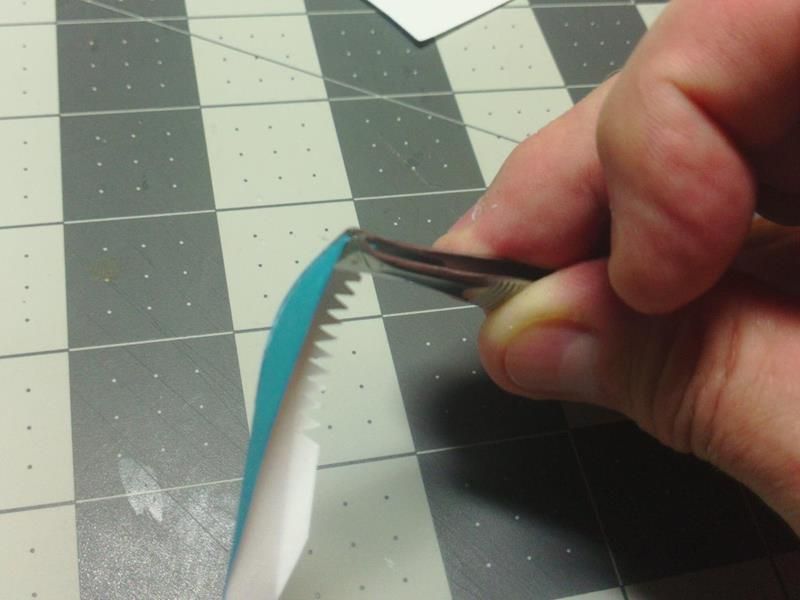 ... Use your tweezers to clamp newly glued tabs. Apply pressure to secure the connection...it will grab faster and more securely. Apply pressure on the insides of the Arches too. 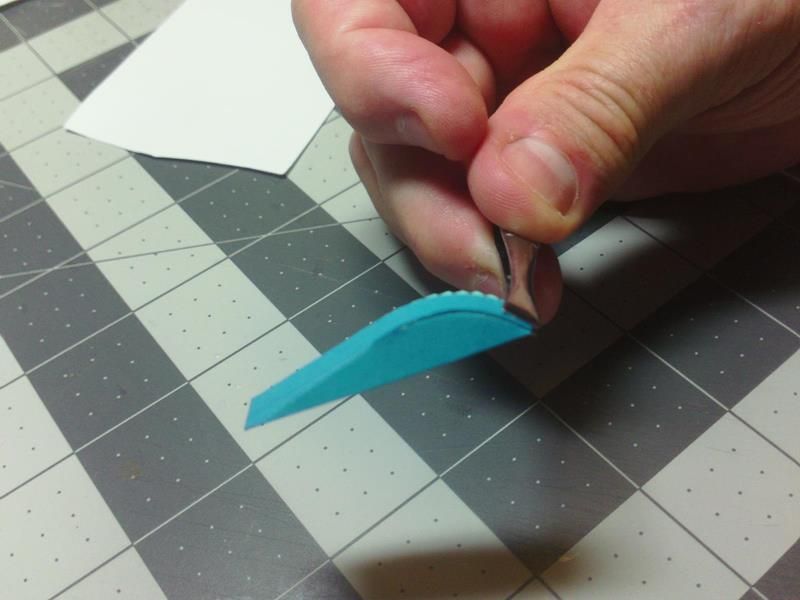  ... Thats one Wheel Arch formed and ready for attachment (to the Body). Lets do the opposite side front Arch. Its exactly the same thing...only mirrored...so the assembly is exactly the same. This one should go a lot quicker for you. 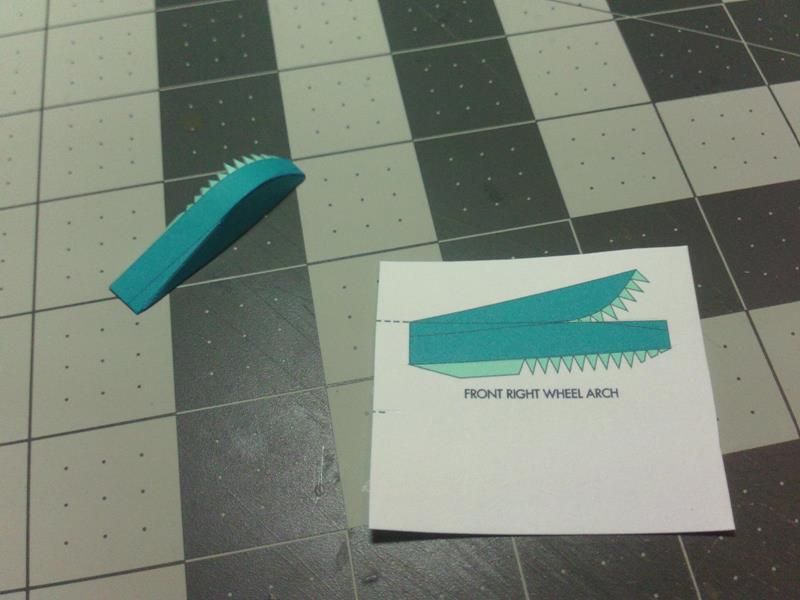 ... Scored Part. Cut out the part. Cut the Glue tabs. 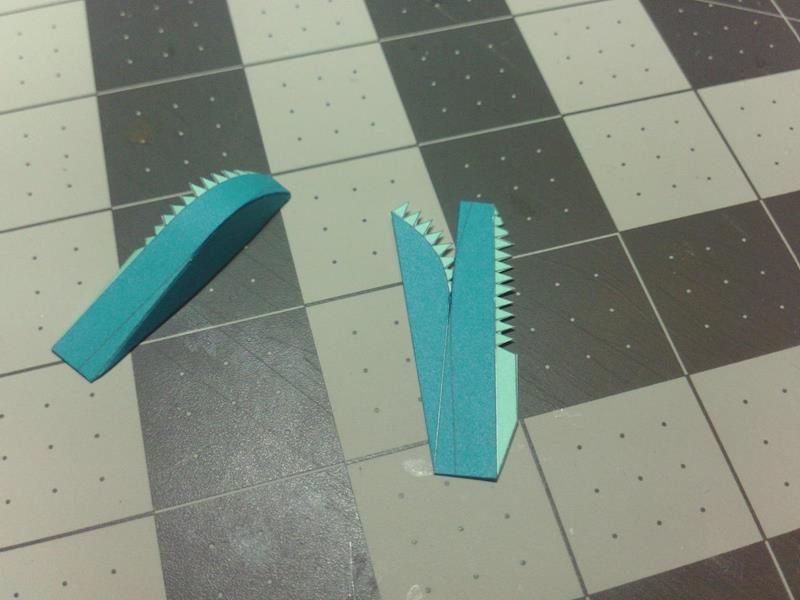 ... Edge colour....Fold, shape, curve, glue....etc And put the two Front Arches aside for now until we get the body done. 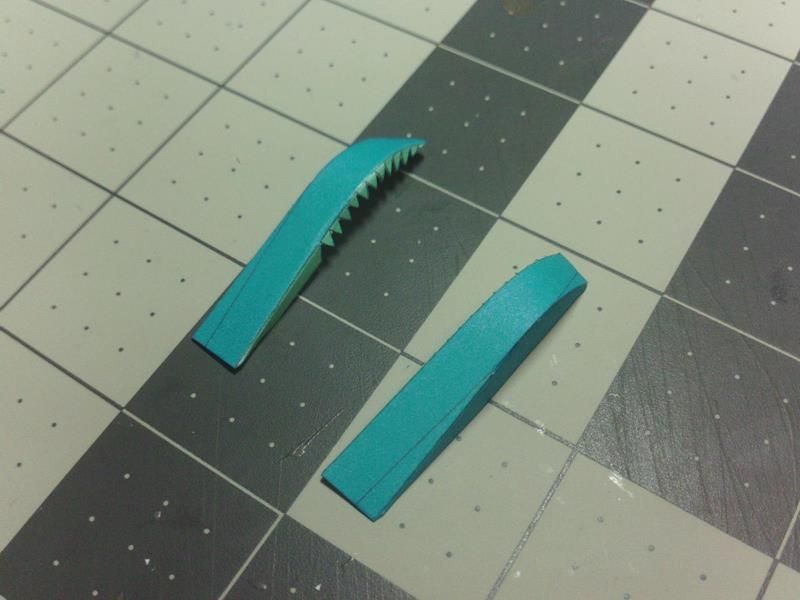 ...
__________________
SUPPORT ME PLEASE: PaperModelShop Or, my models at ecardmodels: Dave'sCardCreations 
|
|
#22
09-11-2016, 10:28 AM
|
||||
|
||||
|
Have the CN7 Printed, and will start Tomorrow; been sidetracked with this TV marathon for a show about these folks who're tooling around the Galaxy in a ship...
Alan 
|
|
#23
09-11-2016, 10:40 AM
|
||||
|
||||
|
Printed and scored ... Rule and small ball tip
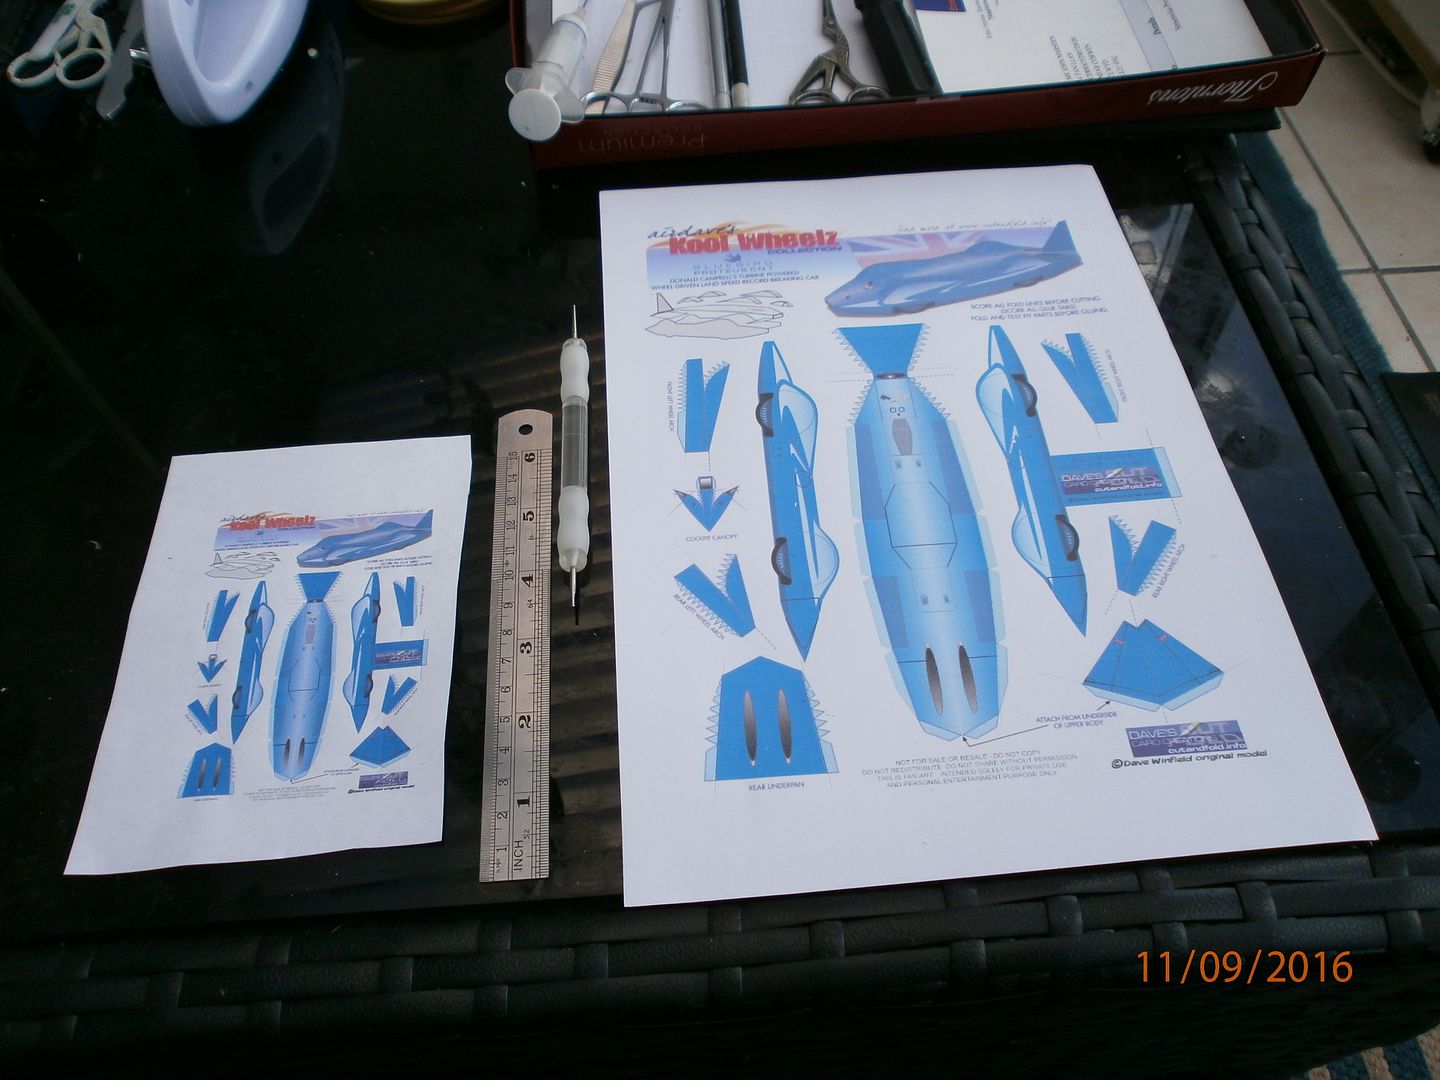 Cut out ... Embroidery scissors 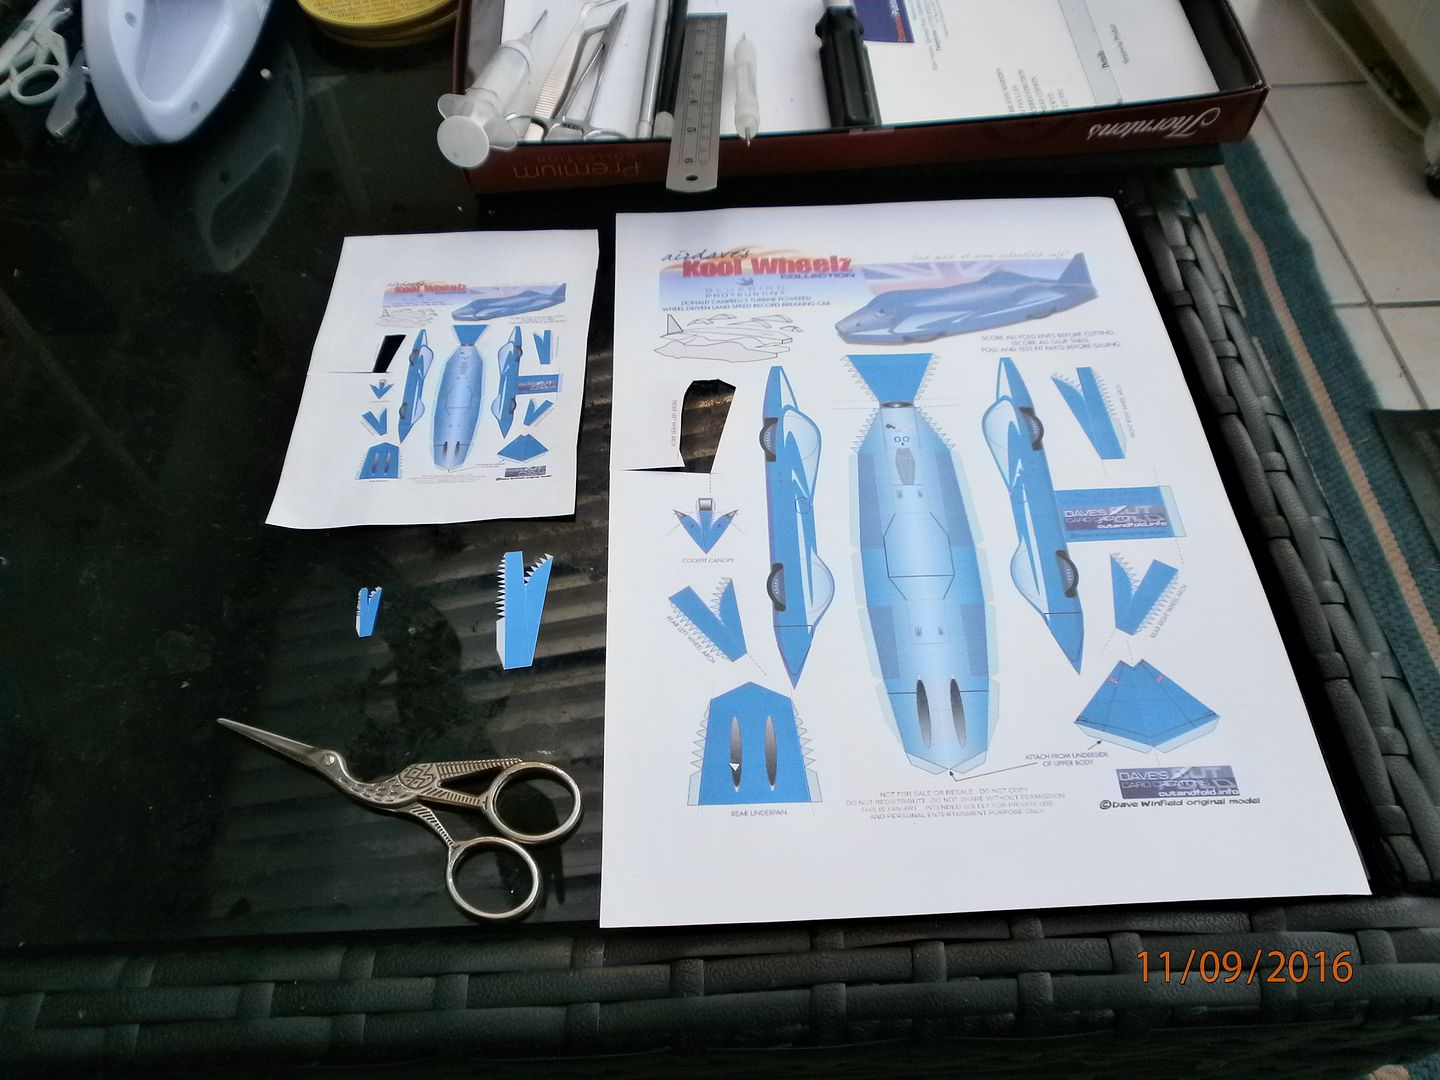 Formed ... Surgical clamp and bent tip tweezers 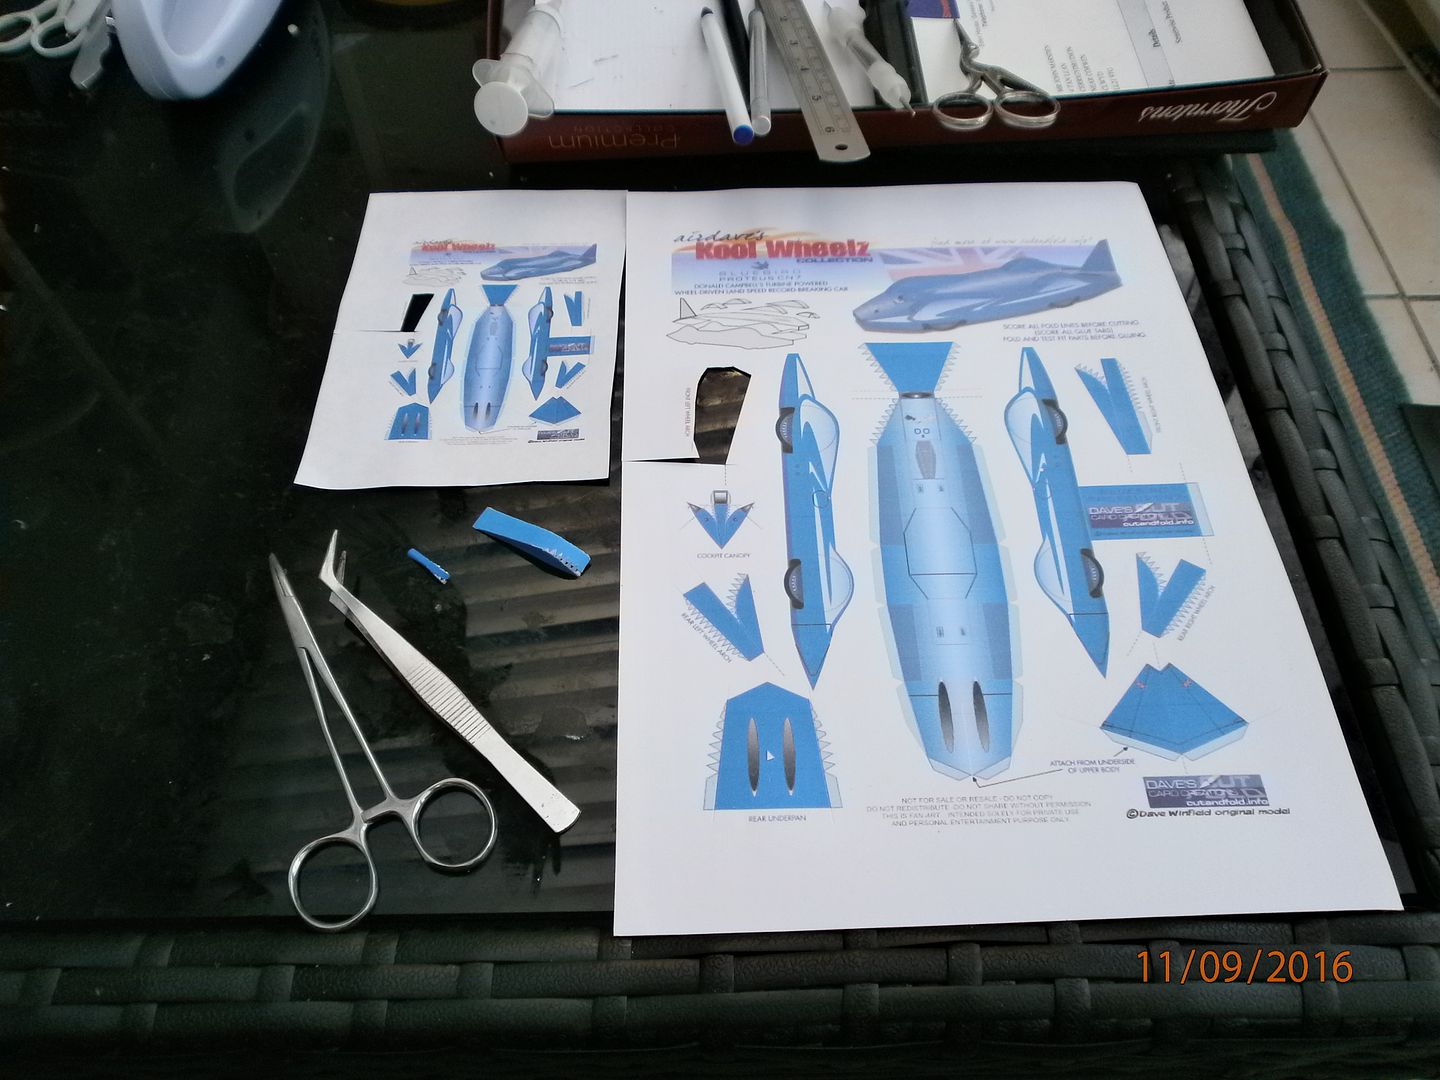 Glued ... Clamp Tweezers and Glue hypodermic. 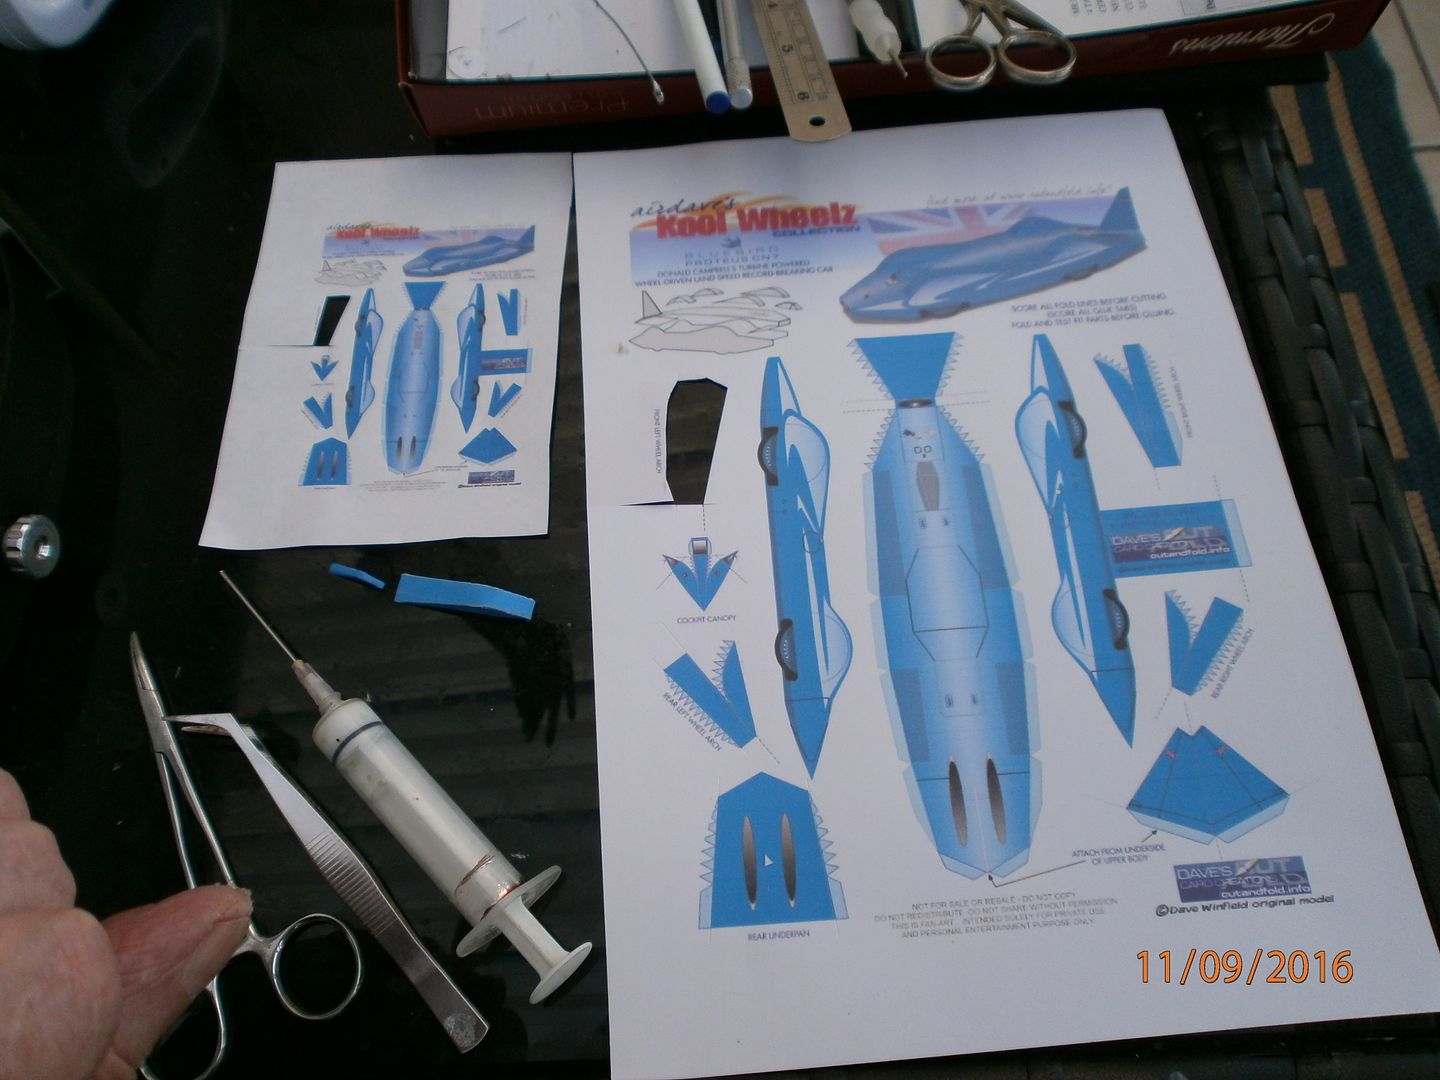 RH wing bulge also now complete. Will take next pic when all four(8) done.  And just for fun ... the mini Koolwheelz colection so far ... 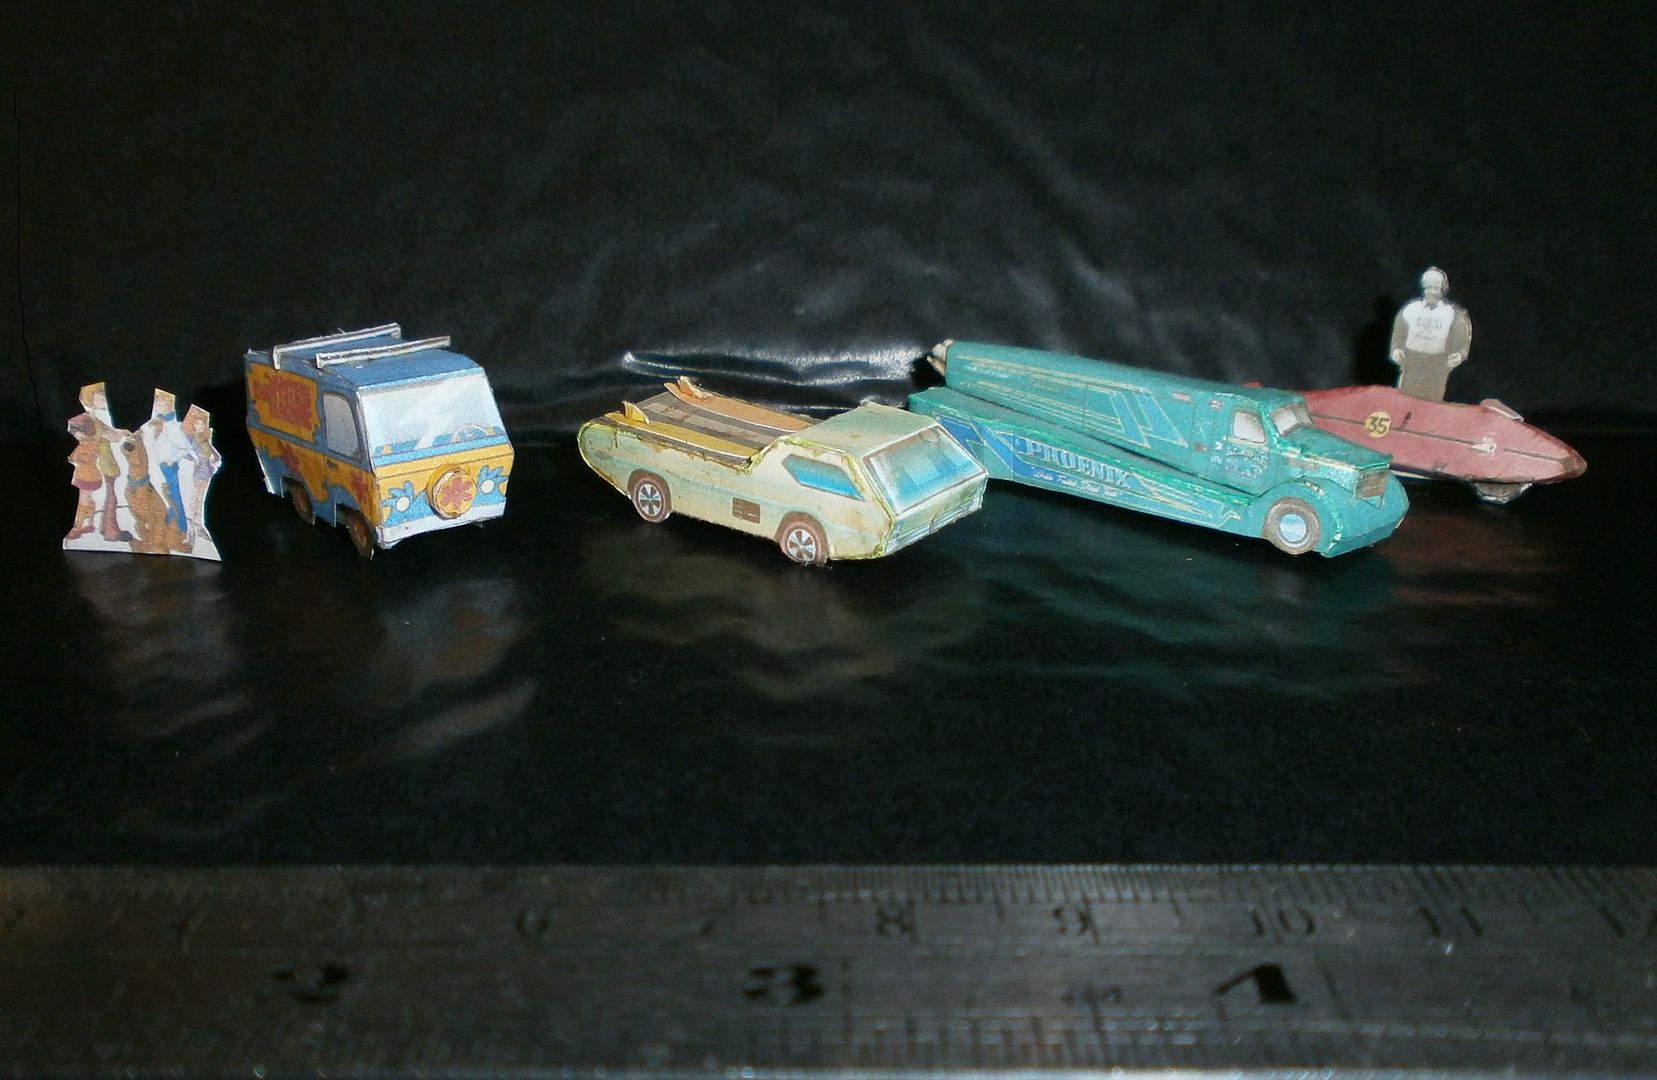
__________________
Keep on snippin' ... Johnny Last edited by JohnM; 09-11-2016 at 10:52 AM.
|
|
#24
09-11-2016, 11:27 AM
|
||||
|
||||
|
For someone who is dealing with physical problems of the Hands,
why are you tortuiring yourself with these miniature builds? That Fast Indian must have been a nightmare. I hated building the full size KoolWheelz version! lol
__________________
SUPPORT ME PLEASE: PaperModelShop Or, my models at ecardmodels: Dave'sCardCreations
|
|
#25
09-11-2016, 01:44 PM
|
|||
|
|||
|
Printed, scored, wheel arches cut and glued. All caught up now.
|
| Google Adsense |
|
#26
09-11-2016, 05:44 PM
|
||||
|
||||
|
Continuing on...hopefully everyone is getting through the front Wheel Arches with no serious issues.
Let me know if you are all doing okay. Plenty of time to get caught up...even with these next parts. Next.... Now that we have mastered the Right and Left Front Wheel Arches/Pods, its time to assemble the Rear Arches. Exactly the same thing. Slightly different size, but thats all. The build process is exactly the same. Lets try to do two at a time. Cut out the parts from the Model Sheet. 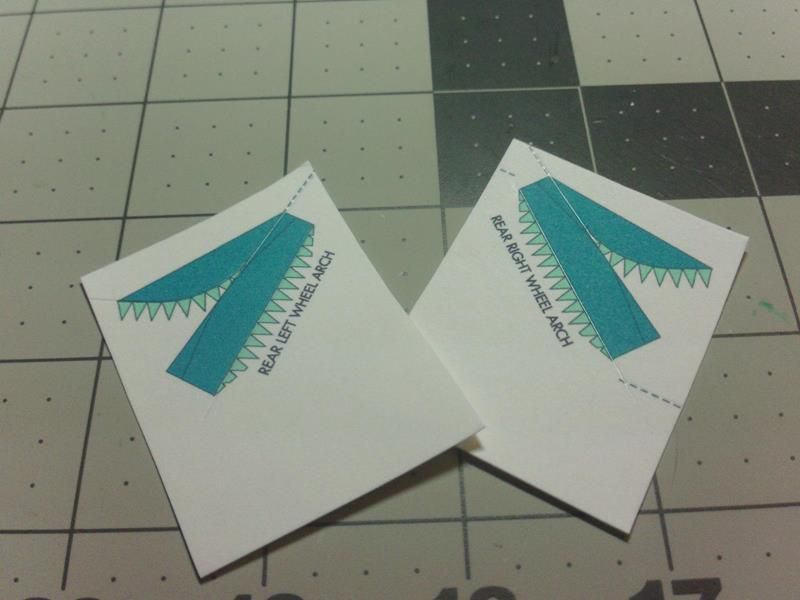 ... You did already score things properly...right? Cut the straight sides with a Knife and a Metal Straight Edge to get the best (straight) cut. Cut the ends of the top panels the same way. Cut around the Glue tabs with your scissors (or your knife).  ... Cut out the remaining sections of the Glue Tabs. Bend all the Glue Tabs. Use clamps and/or straight edges to get clean folds. Fold the edges of the top panels to create the side panels. Then fold the curved Glue Tabs. Unfold everything again, and apply the curved shape to the top panels. Once again, use the side panels as your reference and match things up as closely as possible. 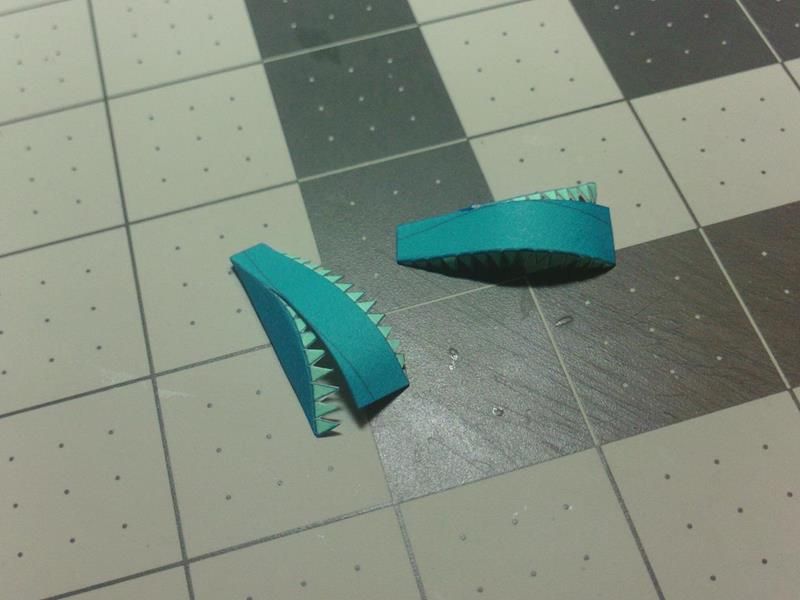 ... Now make sure all the Tabs are folded again and eyeball the shape and fit... then glue the curved edge Tabs ...remember, take your time, glue one or two Tabs at a time. Apply plenty of pressure, and make sure each Tab is securely glued. Make sure the ends of the top Panels are aligned with the side panels at the ends. Thats it. Now we have a full set of Wheel Arches/Pods that will eventually mount on the top of the main Body. So, these Parts can be set aside for now, until we are ready for them. 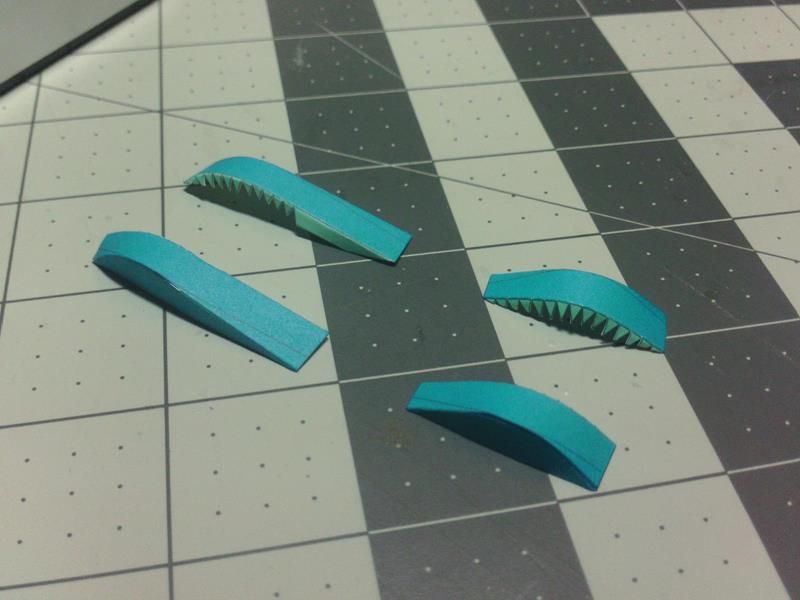
__________________
SUPPORT ME PLEASE: PaperModelShop Or, my models at ecardmodels: Dave'sCardCreations
|
|
#27
09-11-2016, 07:04 PM
|
||||
|
||||
|
Oh dear. Things went somewhat off the rails on these wheel arches. The left front went well, no problems at all. Then on the right front, my knife went ever so slightly off line when cutting the straight line that the arched part glues to. It got a little ragged at the inside corner, and I couldn't seem to trim it neatly. The edge coloring really looked pretty awful on that ragged bit. By this time I was pretty sure I was going to have to print another one anyhow, so I tried applying a little water to that inside corner, and of course that made it worse, as I expected. I printed another copy, but I had run out of the card stock I used for the first printing, and the new cardstock doesn't quite match. Right now I'm waffling between building the whole model with the new stock (which would involve re-scoring everything, plus discarding a really nice left front wheel arch), or using the very slightly mismatched right front wheel arch with the old stock. Today I had other plans and didn't have time to work on it at all, but I should have no trouble getting caught up tomorrow.
Here are some pictures. The first shows the left front arch. The second shows the messed-up right, and the third shows the mismatched pair, with the right one unglued.
|
|
#28
09-11-2016, 07:42 PM
|
||||
|
||||
|
I never try to fix things. lol
I live with the damage I caused or I print a new part and start again. We've only done the front arches so far. Is it really that much work to build a new pair of wheel arches? I don't mean to sound flippant. The point of this exercise is to gain some experience. But its not like you have to build the entire model over. If you have another sheet printed, then start again. Thats my advice. You've only got to score the fold lines and rebuild the front arches. I know you don't want to hear someone tell you to "do it again!" but its all I got. You know, you won't be satisfied if you don't do your best.
__________________
SUPPORT ME PLEASE: PaperModelShop Or, my models at ecardmodels: Dave'sCardCreations
|
|
#29
09-11-2016, 07:59 PM
|
||||
|
||||
|
airdave,
You're the Teacher here; you go right ahead and tell us... not only the right course of action, but what's required to end up with the best Model we can get. It's what any Teacher running a Class would do. Alan
|
|
#30
09-11-2016, 09:10 PM
|
||||
|
||||
|
I should have also added that my own assemblies are far from perfect.
In this case, the wrong Blue marker is leaving some splotchy spots. And I am sure I will make a mess of the main Body when we get to it! lol Oh well. It all comes down to what you expect and what you can live with. Lets see where everyone is tomorrow, and then I'll decide when to post the next step.
__________________
SUPPORT ME PLEASE: PaperModelShop Or, my models at ecardmodels: Dave'sCardCreations
|
| Google Adsense |
 |
|
|


 Linear Mode

