


|
|
|
#31
 09-28-2016, 05:54 PM
|
||||
|
||||
|
Lets build and attach some Wheels!
And, we'll start with the Front Wheels... I apologize in advance, for some of the slightly blurry photos. Start by cutting out the two tread parts and the two tread inner liners.  ... After edge coluring, use a dowel or cylinder to roll the Treads and liners into hoops. Try to roll even and smooth. 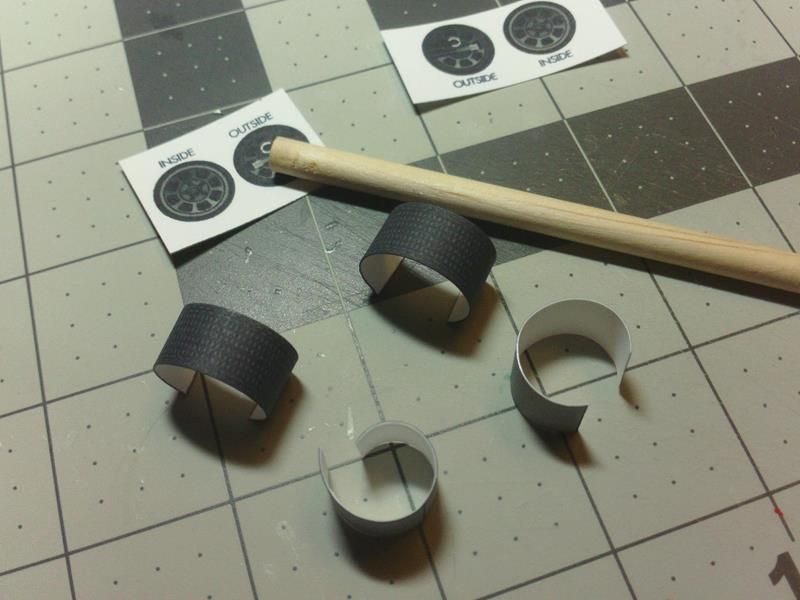 ... Once the parts are rolled sufficiently (meaning they want to stay rolled)... start by gluing one end of a Tread to the center line on the liner part. Glue only about 1cm of tread part to the inner liner. 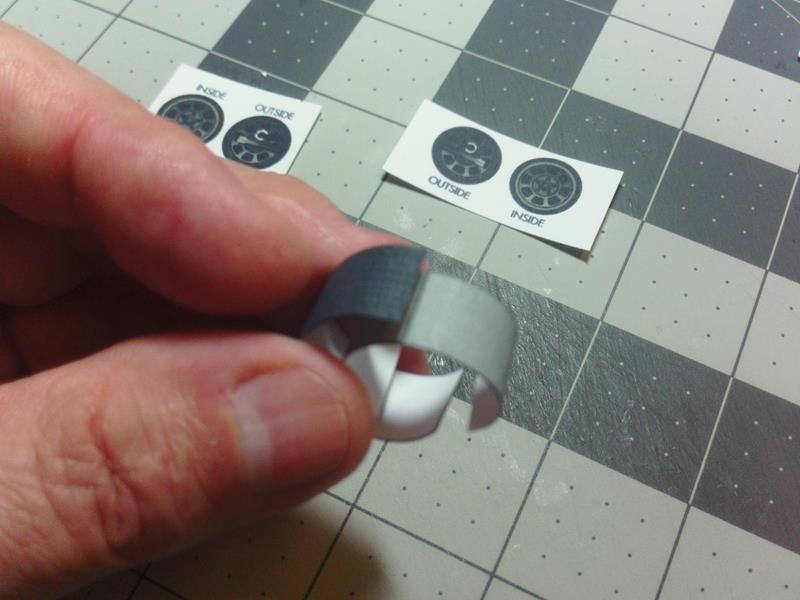 ... Its not important that you glue the Tread part dead center on the Liner, but if you get it close the center line will act as dark filler for any residual gap in the finished tread part. 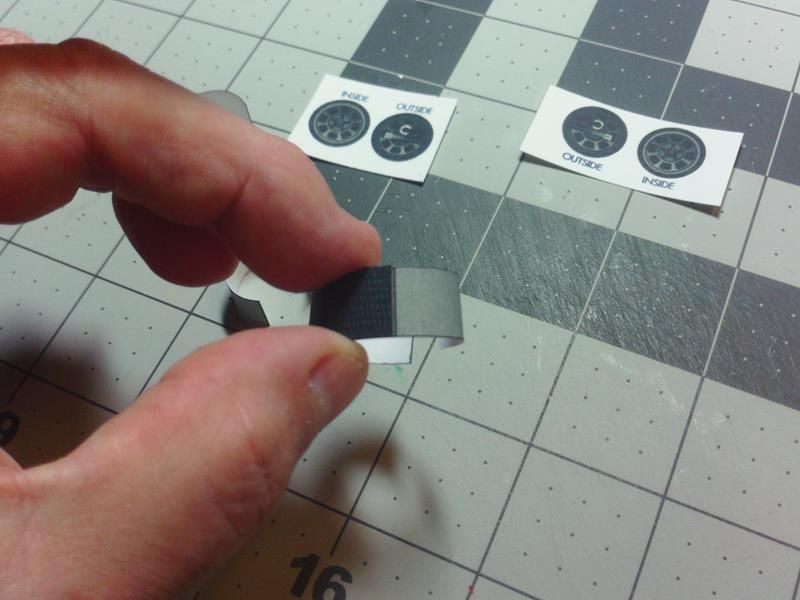 ... Clamp the connection and allow the glue to dry for a secure attachment. I used clamping tweezers for this. You can start work on the second tire while you are waiting for the glue to dry. 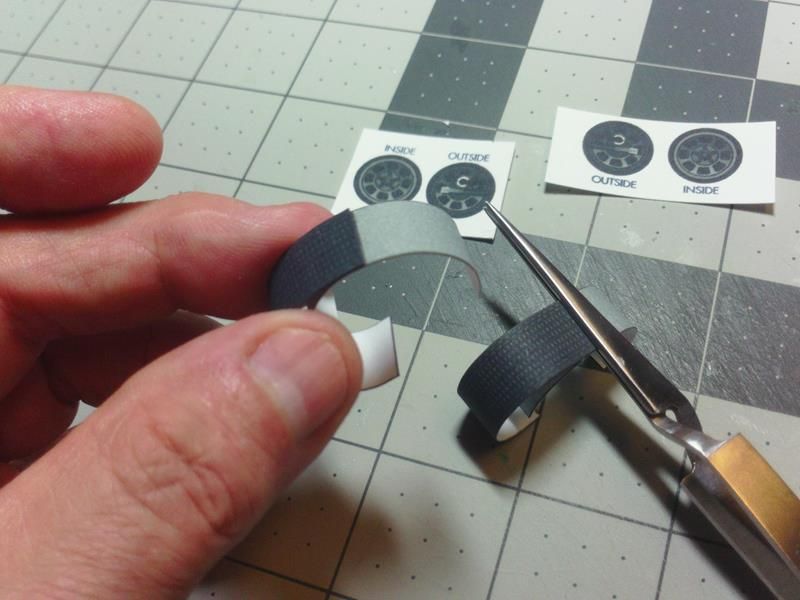 ... Also...while you are waiting for glue to dry...cut out the four Wheel faces. There are two inside and two outside faces (for the front wheels). Don't forget to edge colour. 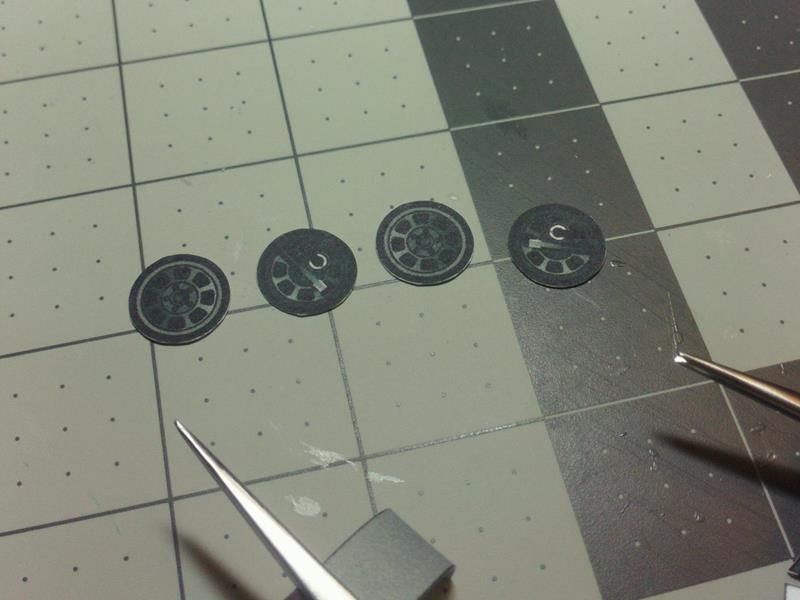 ... Back to the Tread parts, reroll the parts using your dowel. We need to put the curve back in! 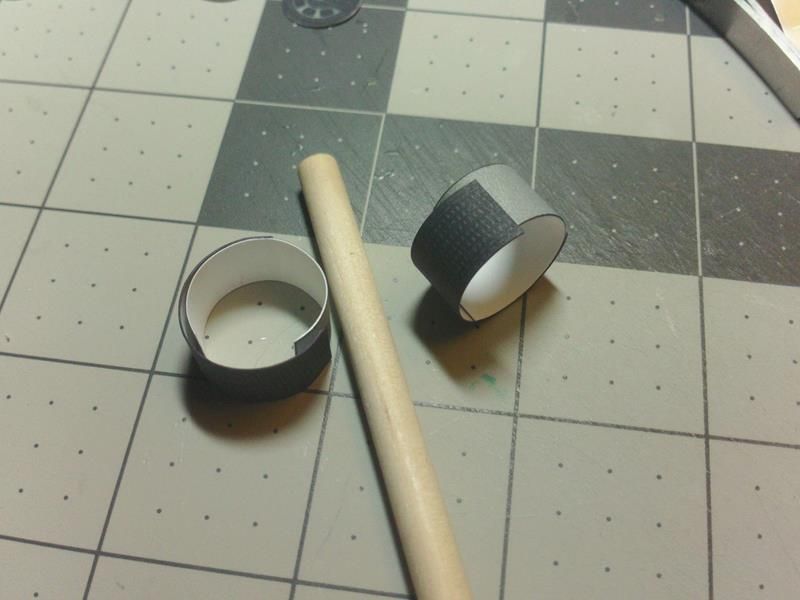 ... Wind the inner liner hoop tighter, giving you some excess on the Tread strip. Butt up the opposite end of the Tread strip with the already glued end.  ... Glue in place, so that the ends of the outer Tread strip are "butt joined" with as tight a connection as possible. Don't worry about the inner liner strip - focus on the outside tread strip. Sorry for the blurry pic. 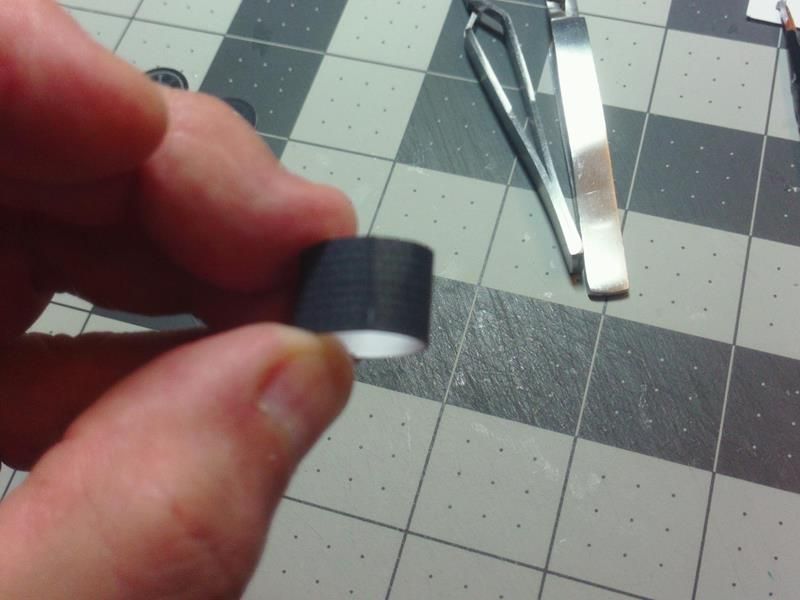 ... Clamp the connection once it is glued, and allow it to dry. And then repeat the process for the other Tire. 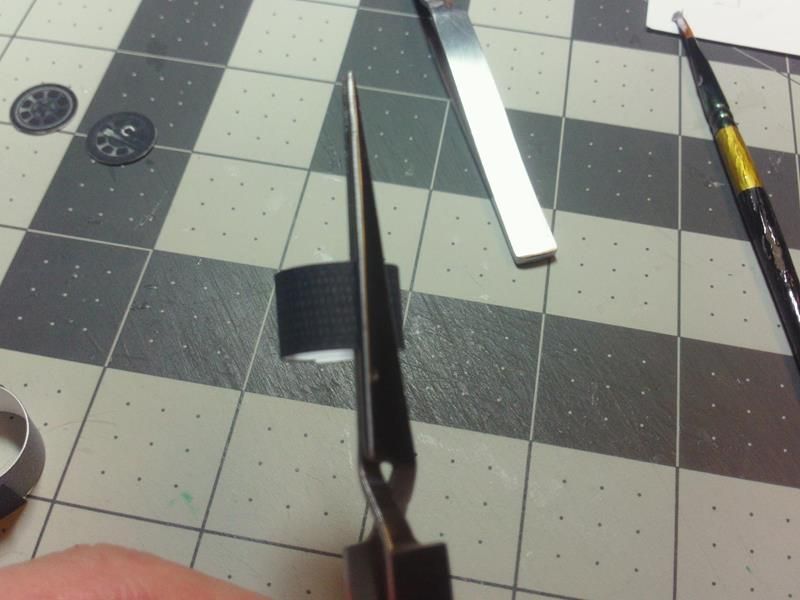 ... The inner Liner strip does not have to be glued in place. It can be left loose...it will act as a support for the Tire face. But...if the Tread strip was cut correctly...and butt joined tightly...the inner strip should fit exactly and you can glue it to the outer Tread strip to create a stronger, double wall Tire Tread. Either way is fine. 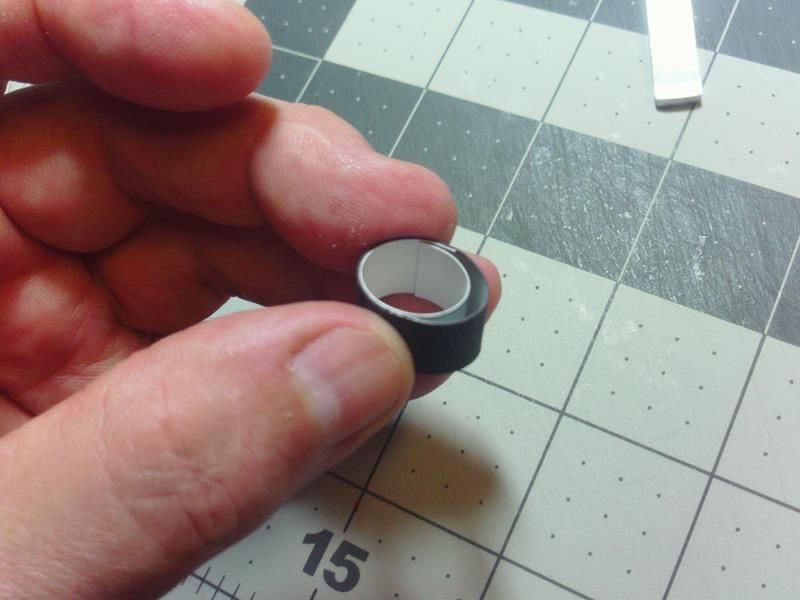 ...
__________________
SUPPORT ME PLEASE: PaperModelShop Or, my models at ecardmodels: Dave'sCardCreations 
|
|
#32
09-28-2016, 05:55 PM
|
||||
|
||||
|
Front Wheels continued...
The inner Liner strip will match the proper inside diameter and the ends will also butt join. The Front Tire parts can be glued together like this.  ... Before the glue has time to fully cure, find a cylinder or dowel that fits the Tire hoops tightly. Place the Hoops on the dowel so that they dry into a perfect round shape. Allowing the parts to sit overnight (at least 8 hours) will help the parts retain this shape. You'll thank me when it comes time to attach the faces! 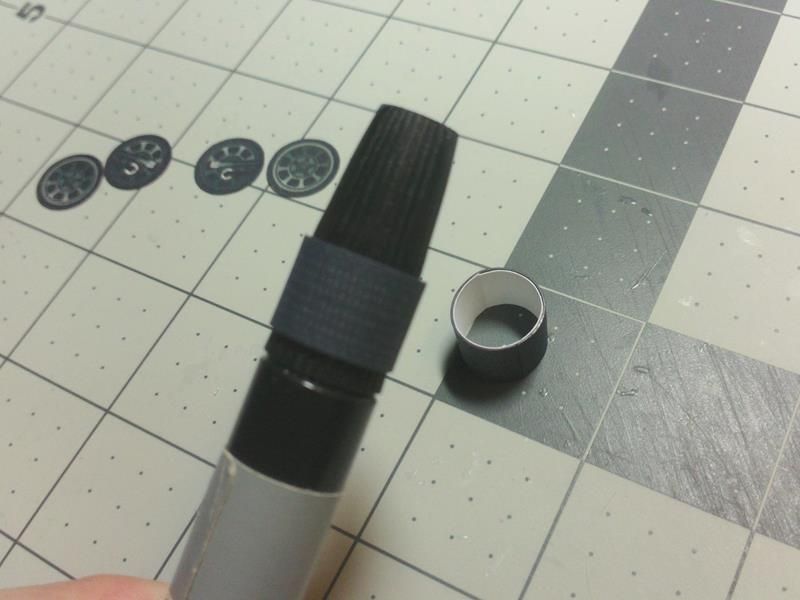 ... To attach the Tire Faces, separate your parts into right and left, inside and outside faces. Apply a thin bead of glue to the edge of the tire Tread part. Pay attention to the colour and shading on the Rims (Wheel faces). There is a light area and darkened area to the spoked dish of the Rim. The lightened area is the bottom of the Wheel (light shining from above). So, the darkened area of the spokes, is the top. Keep this in mind when you match the inside and outside faces. 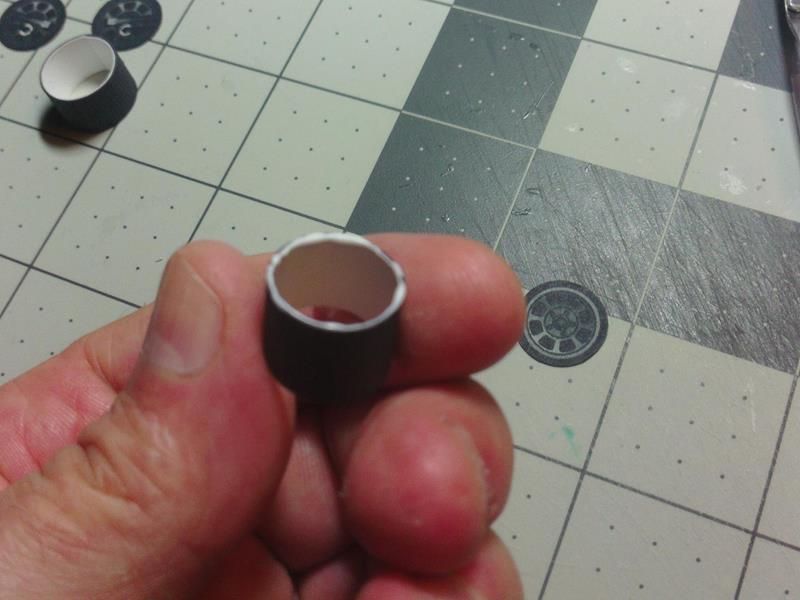 ... Choose an inside or outside face and center it on the Tread hoop. Watch for excess glue squeezing out and clean up immediately. Apply pressure until the glue grabs completely...but keep adjusting so that the parts are centered. 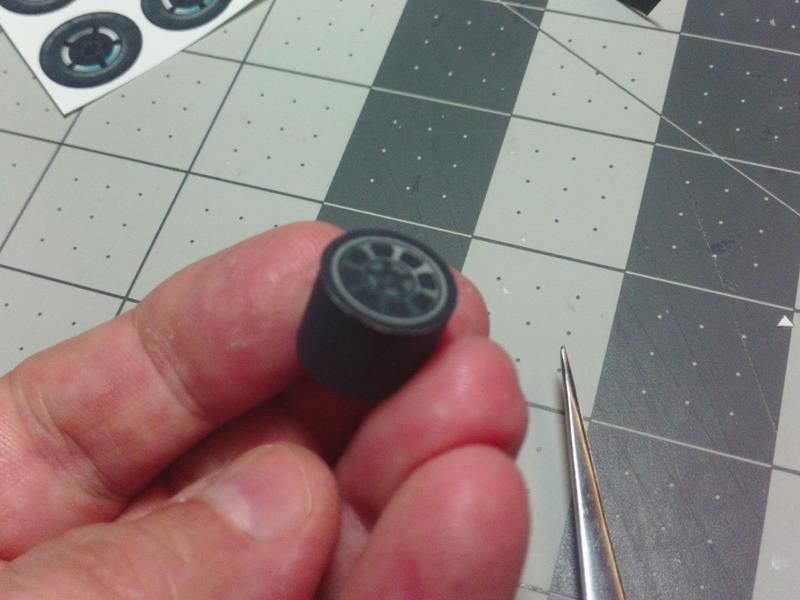 ... Allow to dry completely before attaching the opposite side face. Work on the other Tire while the first one is drying. Make sure you glue the same inner or outer face on to the other Tire tread. 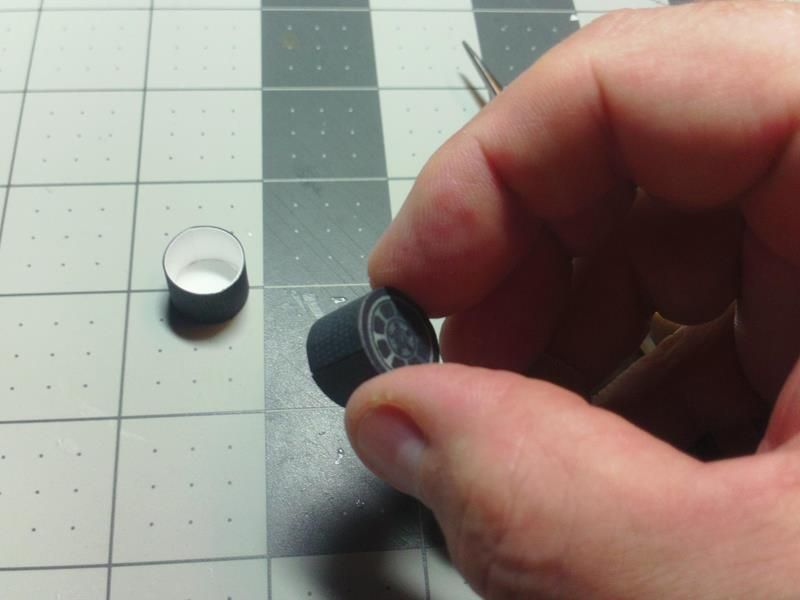 ... After things are secure, you can a ttach the opposite faces (outside faces shown below) to complete the two Front Wheels. 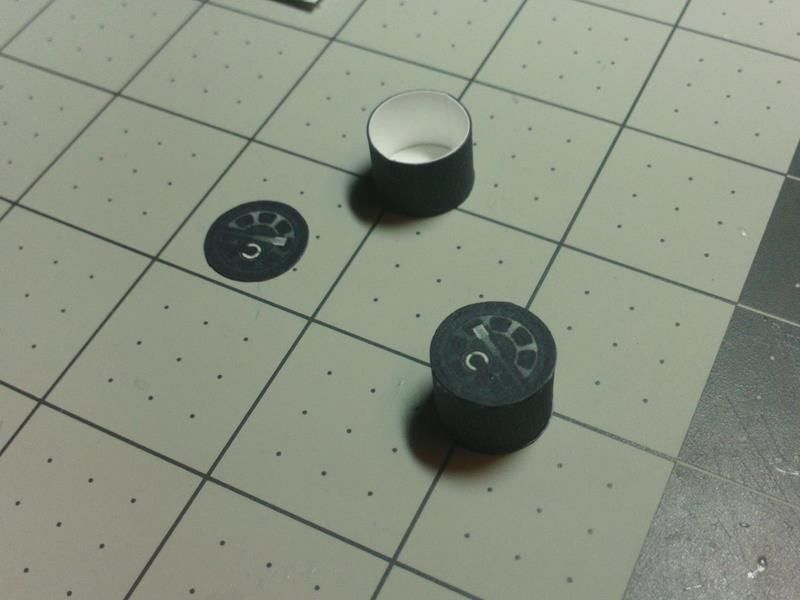 ... If you have fine (sharp) scissors, you can trim around the edges of the tire faces, removing any excess overhang. Don't forget to re-colour the edges after trimming. Note...you may have noticed that the Tire faces look a bit different than yours. After this test build, I applied a shaded area to the outside Tire faces (which acts as a locator for attaching the Wheels to the Body). 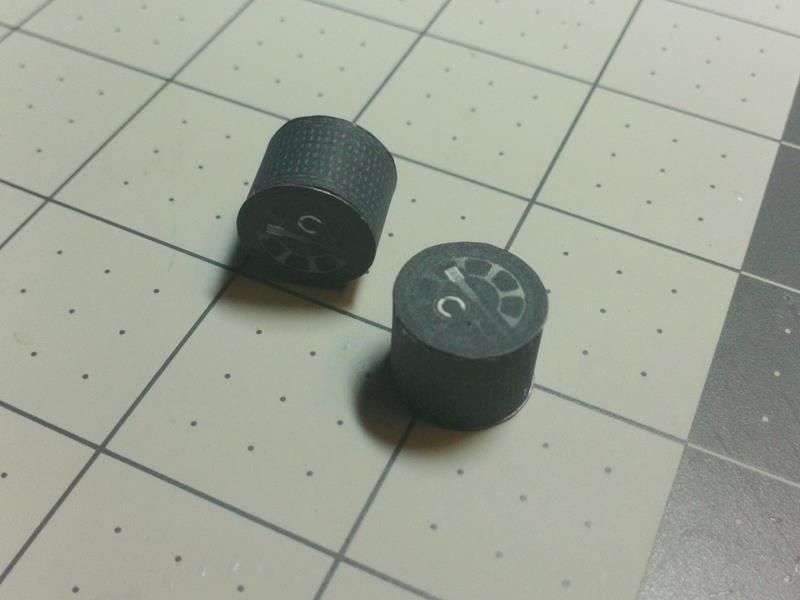 ... So, attach your front Wheels to the Body by locating the Wheel against the forward Body extensions. The darkened pattern should help you match the correct location. Apply glue to the darkened area and press tightly to those forward Body extensions. 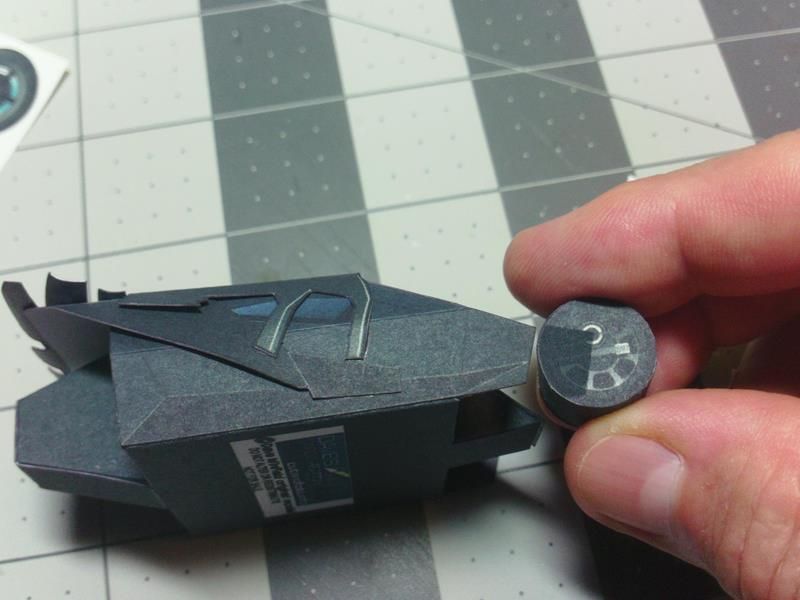 ... Hold in place...apply some pressure... until the connection is secure. 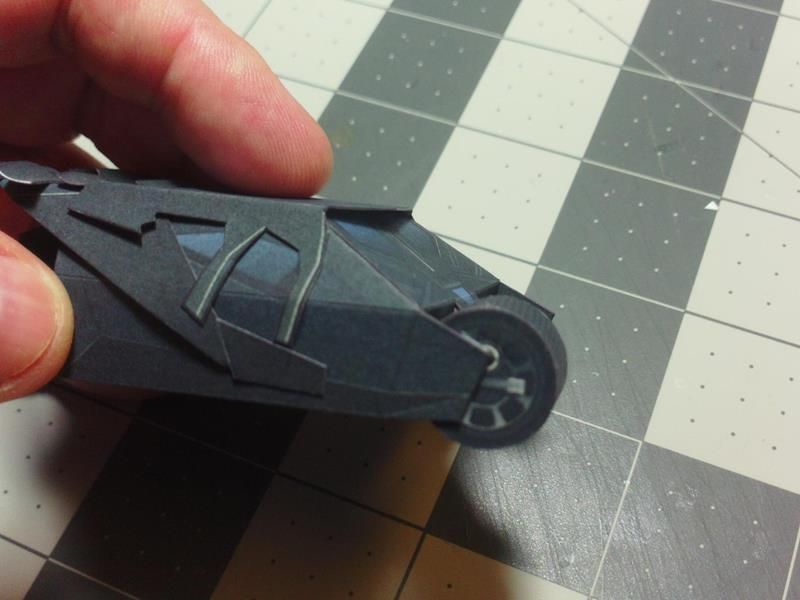 ... Attach the second wheel in the same manner. Use the darkened pattern to position the Wheel, but also try to copy the placement from your first wheel attachment. And, there should be a small gap between the Wheels and the front of the Body. 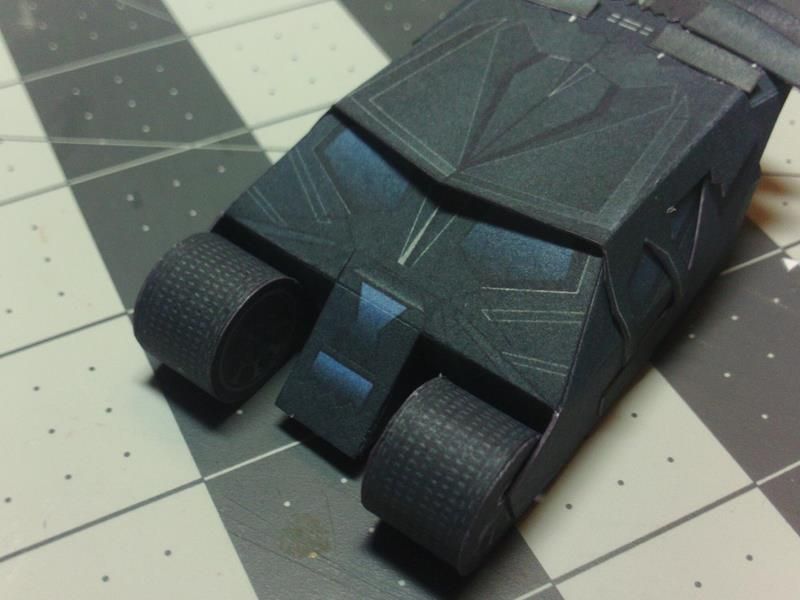 ...
__________________
SUPPORT ME PLEASE: PaperModelShop Or, my models at ecardmodels: Dave'sCardCreations
|
|
#33
09-28-2016, 06:20 PM
|
||||
|
||||
|
I was about to write "Yahoo, I'm caught up (until Dave posts the next lesson)." In the time it took me to walk downstairs to upload my photo, Dave did indeed post the next lesson, so I was caught up for about one minute. Despite my best efforts, the aftmost wing is a tiny bit off center, but I'm leaving it that way. Back to the workbench . . .
|
|
#34
09-28-2016, 07:21 PM
|
||||
|
||||
|
Actually, I saw the wheels post before I got the wings done...
 Confession time ... this is the third tumbler I've done, and on the other two I curled the wings down ... oops
__________________
A fine is a tax when you do wrong. A tax is a fine when you do well.
|
|
#35
09-28-2016, 08:00 PM
|
||||
|
||||
|
Wheels - Phase 1
Waiting the requisite 8+ hours before attaching outer faces.
I am still not good at cutting out disks freehand. VK - Is it just my computer screen, or are you building an olive drab Tumbler? Don
|
| Google Adsense |
|
#36
09-28-2016, 08:39 PM
|
||||
|
||||
|
no, when I photograph on the fake wood office work table, the colors get slightly skewed
After I built the first tumbler, I thought 'if I build another, I think I'll copy that back end and make a former to support the sides'. Then I forgot when I did the second, and forgot again this time. Oops
__________________
A fine is a tax when you do wrong. A tax is a fine when you do well.
|
|
#37
09-29-2016, 10:14 AM
|
||||
|
||||
|
Wheels On
My inadvertent scoring of the wheel brackets has come back to haunt me, but the wheels are completed, look okay from a distance, and are attached to the chassis.
Speaking of wheels, my C-130 wheels that I built in a fit of enthusiasm when Dave posted his tutorial on working with hoops (Working with Hoops - Building a Paper Wheel (C-130)) are piled up in the background. I am working on a replacement for that jack-legged one at eight o-clock. Eventually, I hope to put a C-130 on top of them. Don
|
|
#38
09-29-2016, 11:39 AM
|
||||
|
||||
|
At lunch, I attached the wheel faces and attached to the vehicle.
Wow, I'm actually caught up!  I like that black acrylic paint. I think I might go back and edge with it before moving on
__________________
A fine is a tax when you do wrong. A tax is a fine when you do well.
|
|
#39
09-29-2016, 04:11 PM
|
|||
|
|||
|
Holy wrong way Batman you put the front wheels on the wrong sides.
 No worry Robin I have a bat wheel remover.  I mounted the first wheel then when I went to mount the other one I realized that I had mounted the first one one the wrong side.  Luckily the glue wasn't fully set and I was able to remove the wheel without much damage. Luckily the glue wasn't fully set and I was able to remove the wheel without much damage.
|
|
#40
09-29-2016, 05:33 PM
|
||||
|
||||
|
The two (four) Rear Wheels are of a similar construction to the front Wheels...only different.
You need to make sure you have scored the edges of the Tread parts, where the glue tabs fold. And (something I missed on my own build), the center of each tread should be scored for visual effect. The Tumbler's Rear Wheels are Dual Wheels...actually four large Tractor tires. So a center score line will help define the Dual Tire configuration. 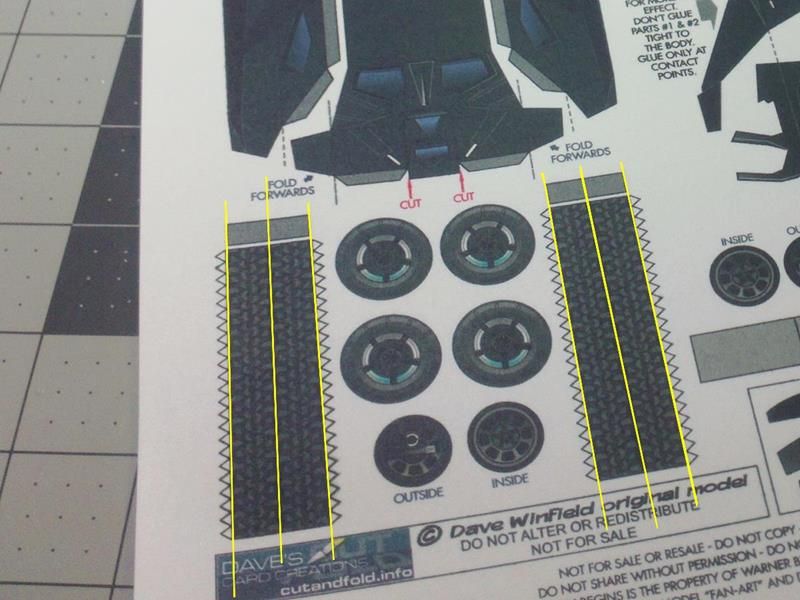 ... Cut out the two treads strips, including the Joiners...and the four Wheel Faces. 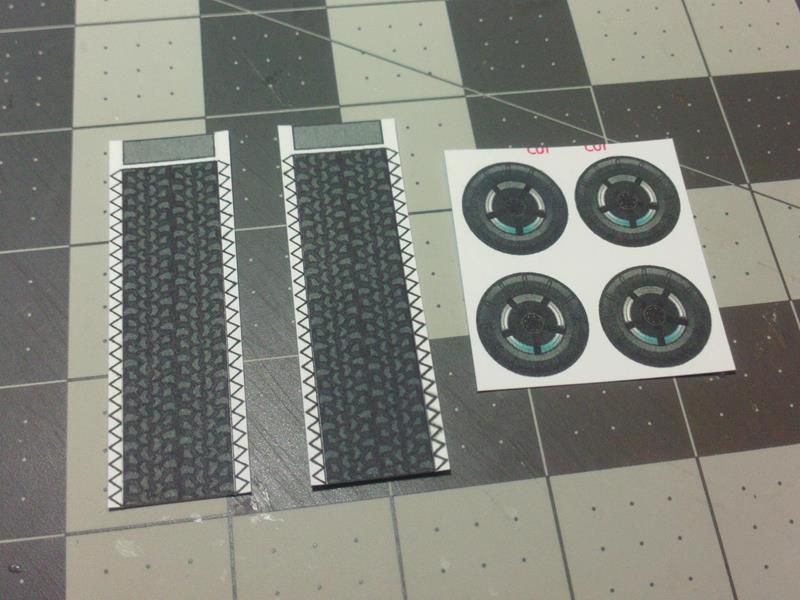 ... Cutting the small glue tabs is tedious, but necessary with this method. These Tires do not use an inner Liner strip. This is the second of two common Wheel construction methods (that I use on KoolWheelz models). So, its a good learning experience for you! 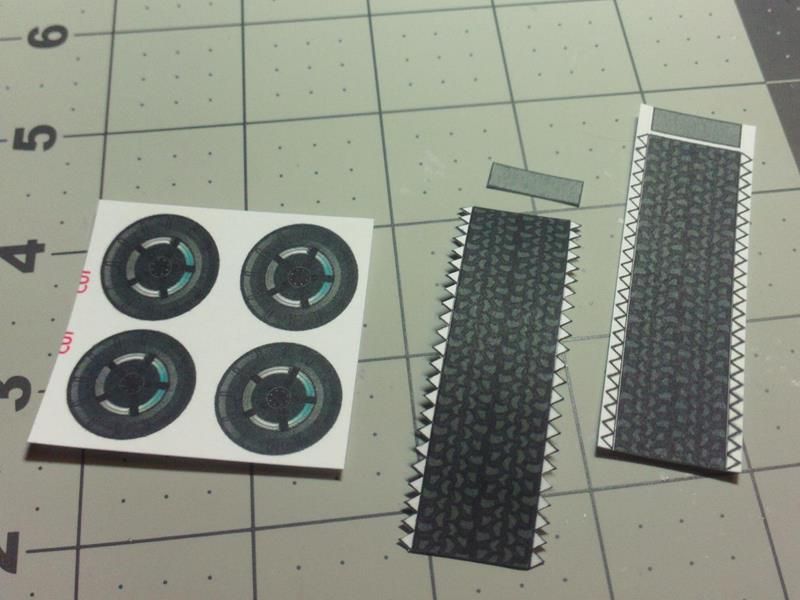 ... Glue the small Joiner Strips at one of the tread parts. Leave about 50 percent of the Joiner exposed. 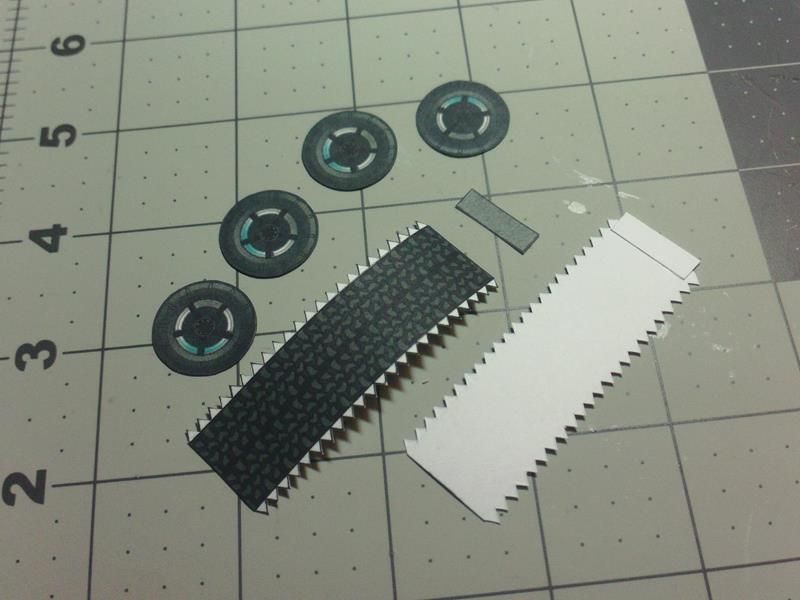 ... Once the Joiners are securely attached, roll the Tread strips with a dowel or similar cylindrical object. 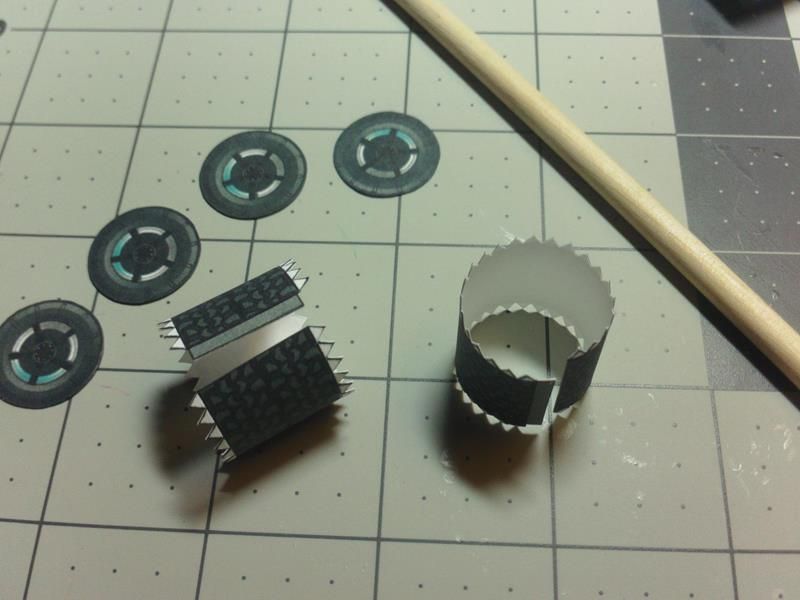 ... Overlap and glue the opposite ends of the Tread strips onto the Joiners. The goal is a tight butt joint with no visible gap.  ... The single part with tabbed edges method works well for larger hoops and rings and has only one drawback ...the smaller the hoop diameter, the more obvious the overlapping joiner area. The joiner strip tends to cause a visible bulge where in the curved part. 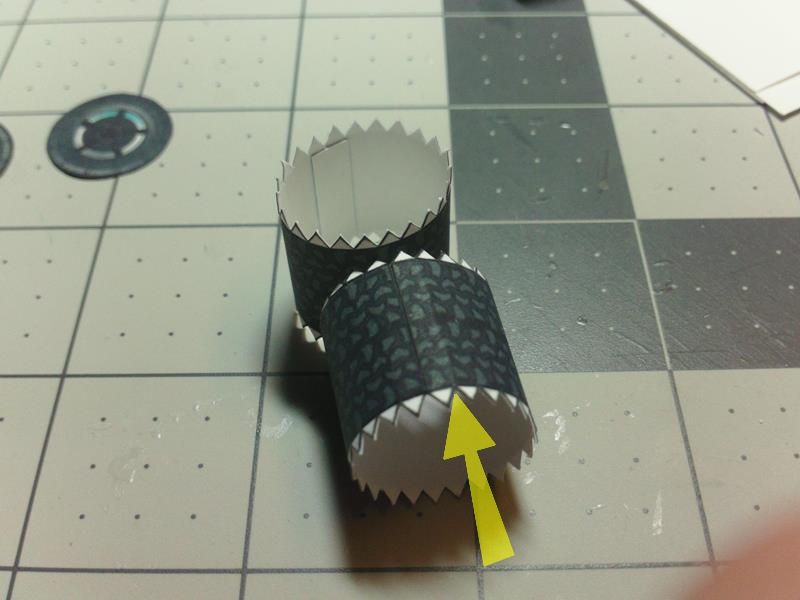 ... Next step is to fold down the Glue tabs. Since they are prescored, they should fold fairly easily. I just fold them over with my finger tip. BUT...only fold one or two tabs at a time! Take your time. if you try to fold more than that, they start to fold crooked. 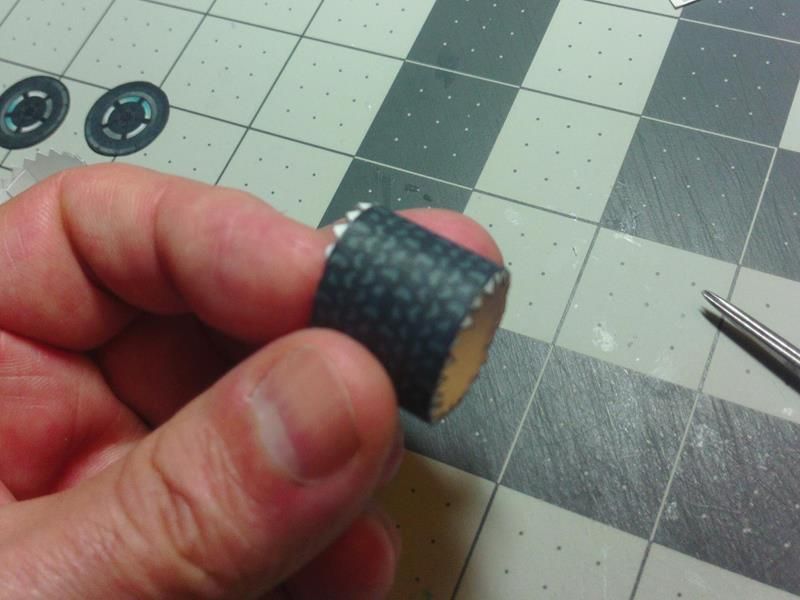 ... Keep folding the tabs until they look right and they want to stay folded. Fold them way past right angle...put a good crease in them! This will help you when you attach the wheel faces. 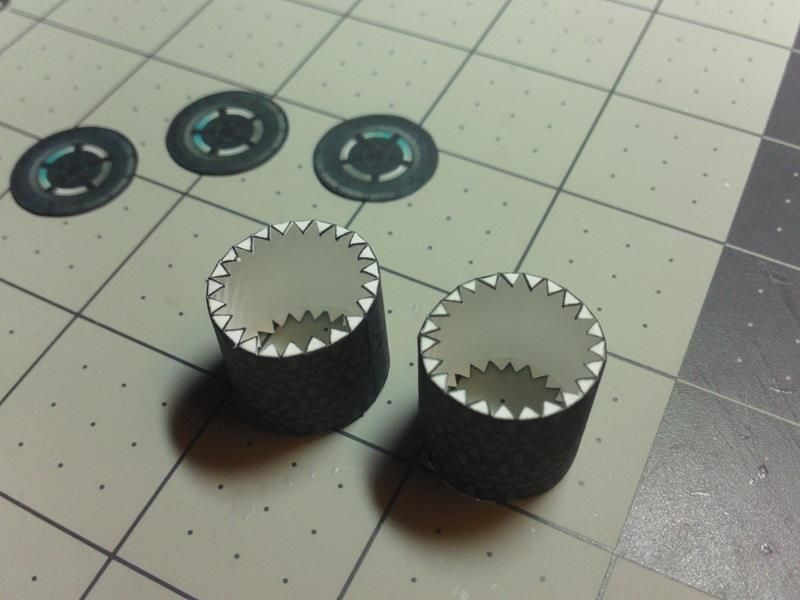 ...
__________________
SUPPORT ME PLEASE: PaperModelShop Or, my models at ecardmodels: Dave'sCardCreations
|
| Google Adsense |
 |
|
|


 Linear Mode

