


|
|
|
#11
 10-07-2016, 11:50 AM
|
||||
|
||||
|
Dave, what to you consider a good quality paper brand. Maybe this has been one of my main problems. I have been using Neenah. It says it's premium Cardstock. I use 110 lb. 65 lb. and 32 lb. because it's all I can find in the general area I live it. If you can suggest a better brand and a place I can order on line that would be a major help. Thank you. wc

|
|
#12
10-07-2016, 02:29 PM
|
||||
|
||||
|
Boose Still in the Game
Got overwhelmed by yellow lines so I decided to only score each piece as I get to it in the assembly sequence. Will refer back to the diagrams each time.
Cut out the chassis piece and nearby parts (Image 1). Scored the fold lines (Image 2). Since Dave posted the assembly image, I wasn't sure if we were supposed to continue, so did the first series of folds (Image 3) and then decided I better wait for more instructions. I can't find the Koolwheelz section on this page: cutandfold-papermodelforum.com, but found the T-6 build in "Builds in Progress," and hope to make use of that soon finally to get the Maryland Air National Guard T-6 built. Don
|
|
#13
10-07-2016, 02:47 PM
|
||||
|
||||
|
Nope...didn't instruct you to fold anything.
If you wasn't sure, then why.... oh never mind. Good thing you don't work for the Military...oh wait... Quote:
You need to be a member to see those forum areas. Those forum areas are clearly labeled. Did you need it displayed in a different language Don?
__________________
SUPPORT ME PLEASE: PaperModelShop Or, my models at ecardmodels: Dave'sCardCreations Last edited by airdave; 10-07-2016 at 02:57 PM.
|
|
#14
10-07-2016, 03:00 PM
|
||||
|
||||
|
Quote:
And you have to be logged in to see the Members Section
__________________
A fine is a tax when you do wrong. A tax is a fine when you do well.
|
|
#15
10-07-2016, 03:07 PM
|
|||
|
|||
|
I went ahead and folded and glued the chassis while I still have power. It's a bit tricky hope I got it right. It's raining and blowing pretty hard now. I'm warming up the candle so it will be brighter later. (that is the way it works!!! right?)
")
|
| Google Adsense |
|
#16
10-07-2016, 03:22 PM
|
||||
|
||||
|
All points taken. Have unfolded folded part of Rover. Have registered for the cutandfold forum. Have acquired and printed out Rover Assembly Instructions. Did ten push ups. Standing by for the next step.
Don
|
|
#17
10-07-2016, 04:42 PM
|
||||
|
||||
|
Step 2
Fold the chassis like what the Hillbilly did. See ya tomorrow.
__________________
SUPPORT ME PLEASE: PaperModelShop Or, my models at ecardmodels: Dave'sCardCreations
|
|
#18
10-07-2016, 05:38 PM
|
||||
|
||||
|
What? You mean I still have to show you how to do this? LOL
... Okay. For those of you that want to follow...Don... Lets start with the outer panels at either end of the floor pan. Use a straight edge or clamping tweezer like I am doing. Fold up the first section...these are valley folds. Repeat for all four panels. 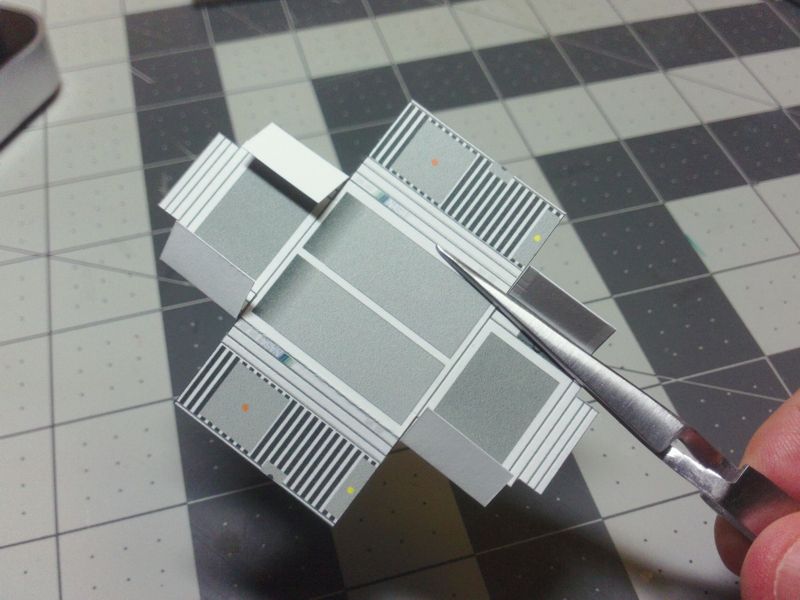 ... Not only do the folds need to be straight and parallel, but they need to be well folded. Use a flat tool to burnish the folds...make the edges sharp. 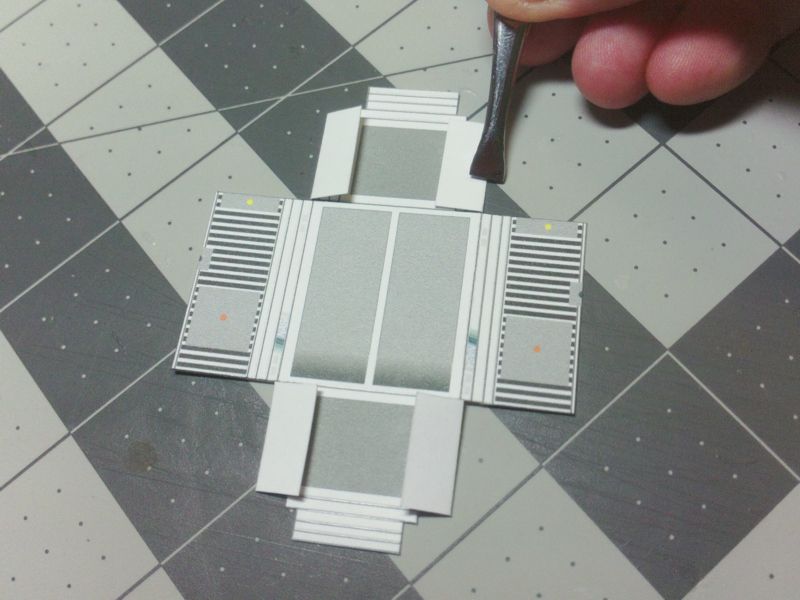 ... Now fold the next three scored lines to make mountain folds, creating a box rail. This also wraps the first section (with its valley fold) over onto the top side of the floor pan. 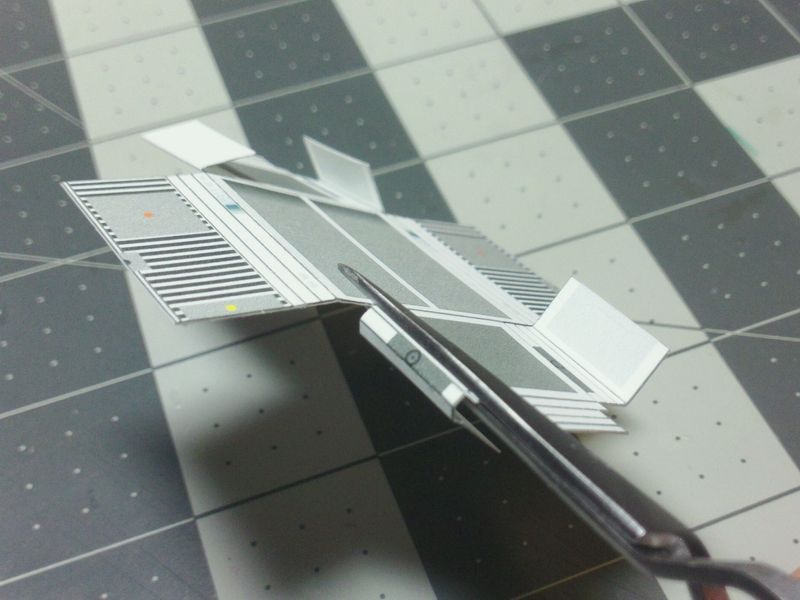 ... This is the effect...creating a box rail and a second floor layer. Everything should be square...90 degree folds. 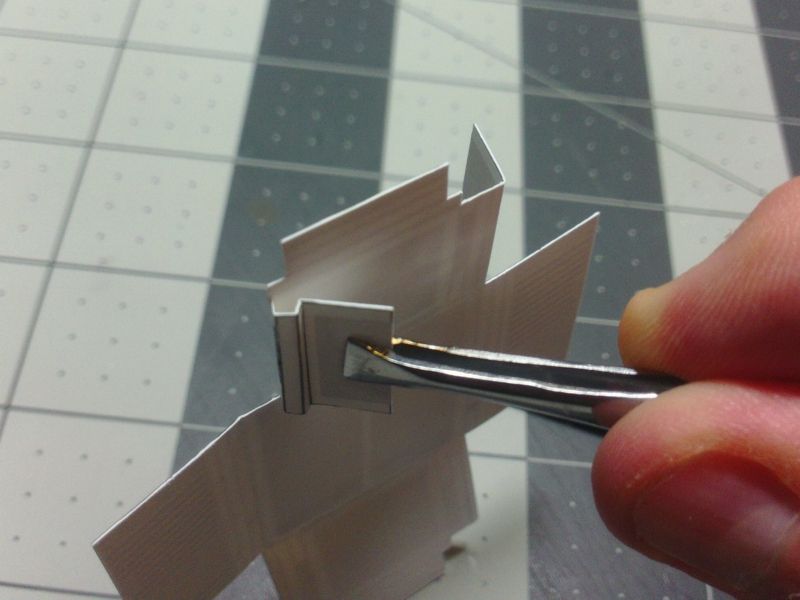 ... This step will be repeated for the four outer panels (front and rear). But first... test fit the first panel and get a feel for what is happening on the top side of the floor pan. At this point, you'll notice how weak the floor pan is across the middle of those sections. (remember, I said "don't score" across the middle?) Just to add a bit more strength, I paint some glue across those areas. Let it dry completely before continuing with the floor pan construction. 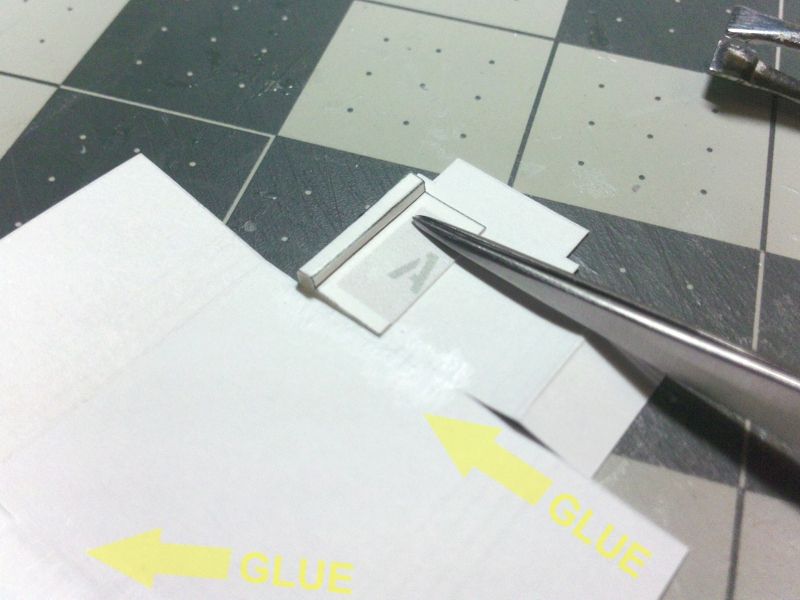 ... To help locate and glue the topside floor panels into place, a center line will help. Hold the floor pan part up to a light, so you can see through it and find the center gap between those gray panels. With a pencil, mark a center line front and rear. 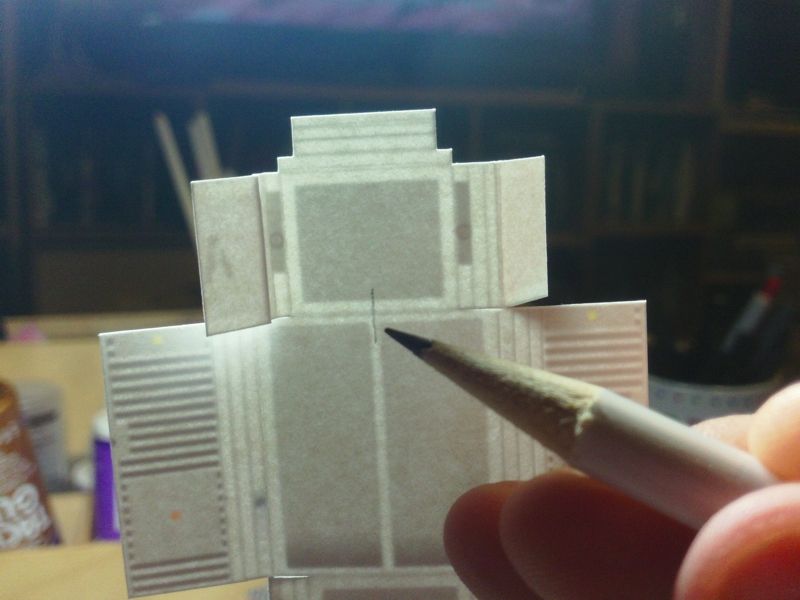 ... On the top side of the floor pan, you can now draw a centerline for reference. 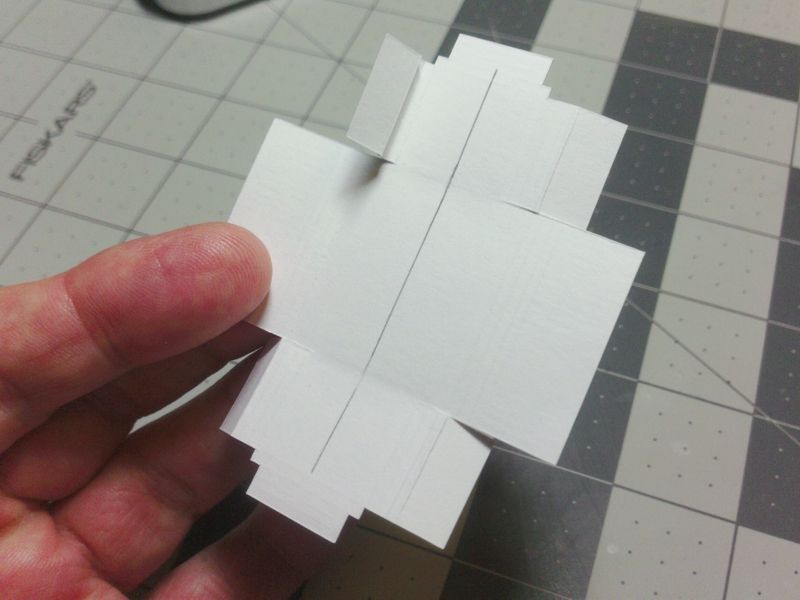 ...
__________________
SUPPORT ME PLEASE: PaperModelShop Or, my models at ecardmodels: Dave'sCardCreations
|
|
#19
10-07-2016, 05:39 PM
|
||||
|
||||
|
Now glue down the first floor panel by lining it up with that pencil centerline.
Press it down in place and it will create the box side rail. 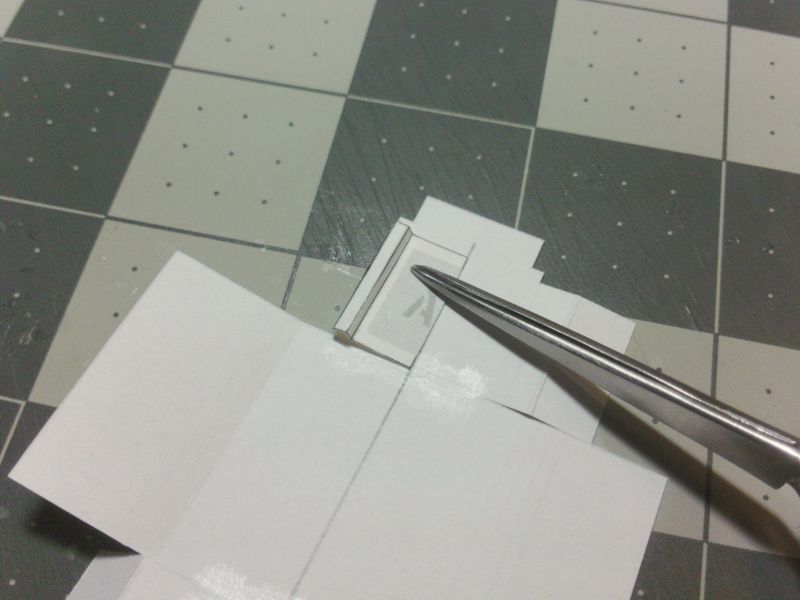 ... Repeat this procedure with the front and rear floor sections lining everything up with that center line.  ... Repeat for the opposite side of the floor pan, butting up the ends of the floor panels at the centerline. 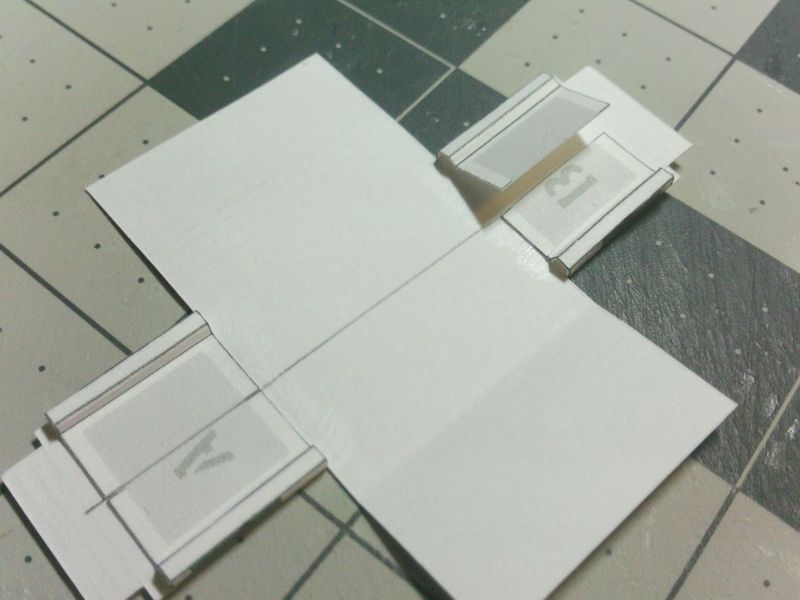 ... Now repeat the procedure for the two center sections. These are longer and wider, but the assembly is the same. Start by folding the first outer floor panel section, with a valley fold. 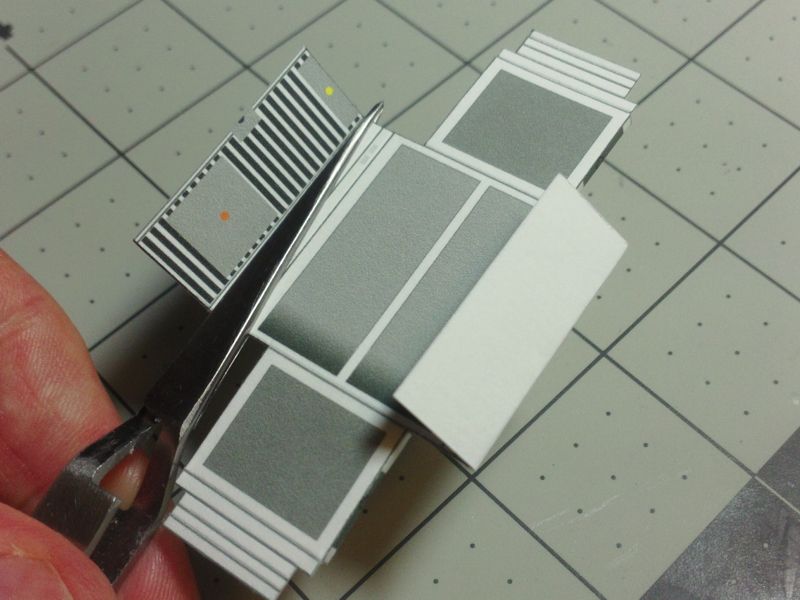 ... Crease the fold well to make it as sharp as possible. 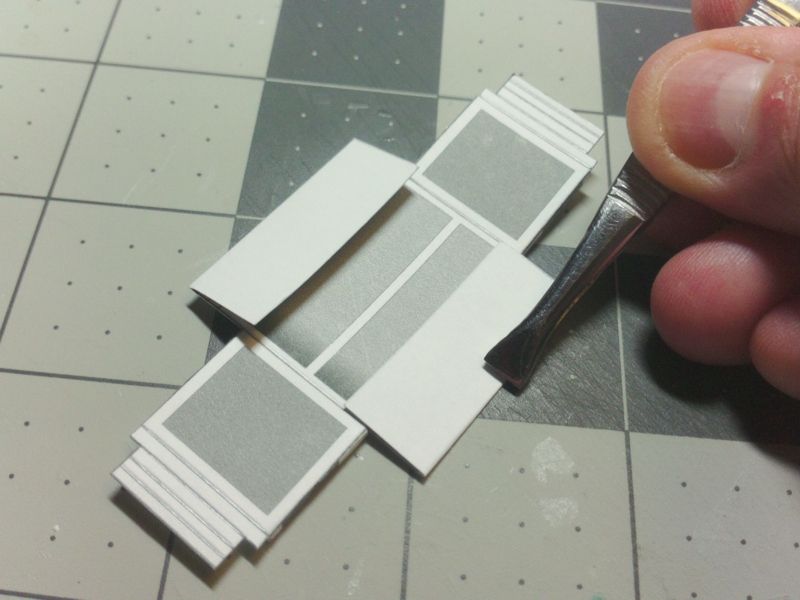 ... Now fold the other lines, forming the box rails, and fold over the end sections to create the topside floor panels. Line them up with that centerline again and glue them in place. 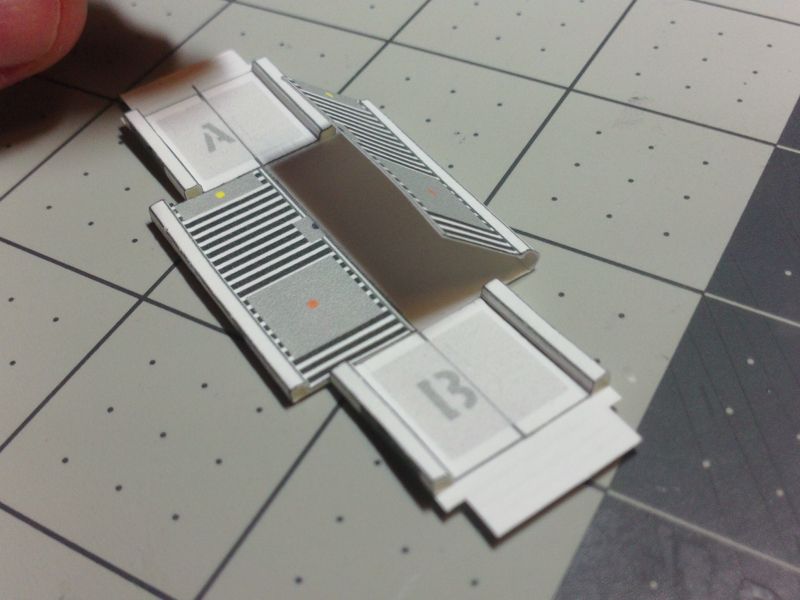 ... Your Floor and Frame should like this (next photo) with six lengths of box side rail and a double thickness floor (divided into three sections (front A, middle and rearB) 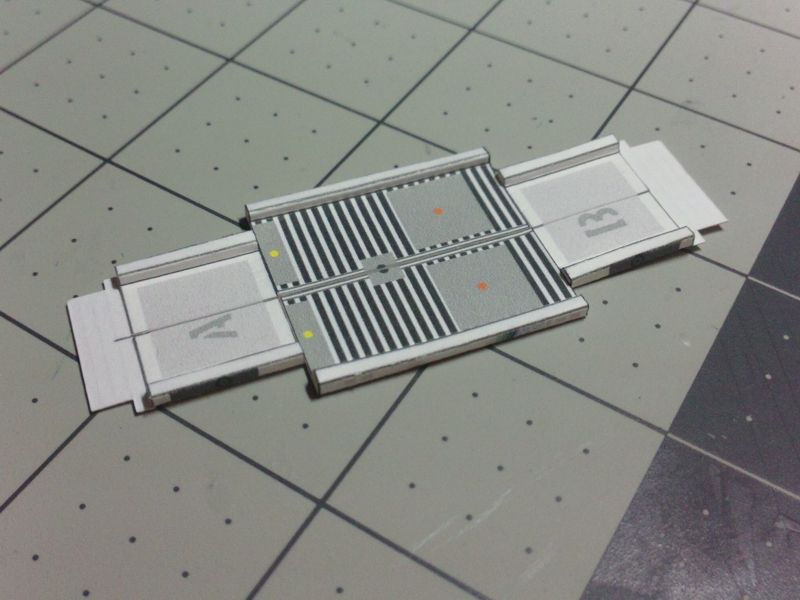 ...
__________________
SUPPORT ME PLEASE: PaperModelShop Or, my models at ecardmodels: Dave'sCardCreations
|
|
#20
10-07-2016, 05:39 PM
|
||||
|
||||
|
Complete the box rail frame, by folding the end rails.
Both front and rear form the same way. The end rails consist of a three sided box tube and a fourth side that is longer (matching the overall width of the floor pan). Fold the first three sides to form the box shape. 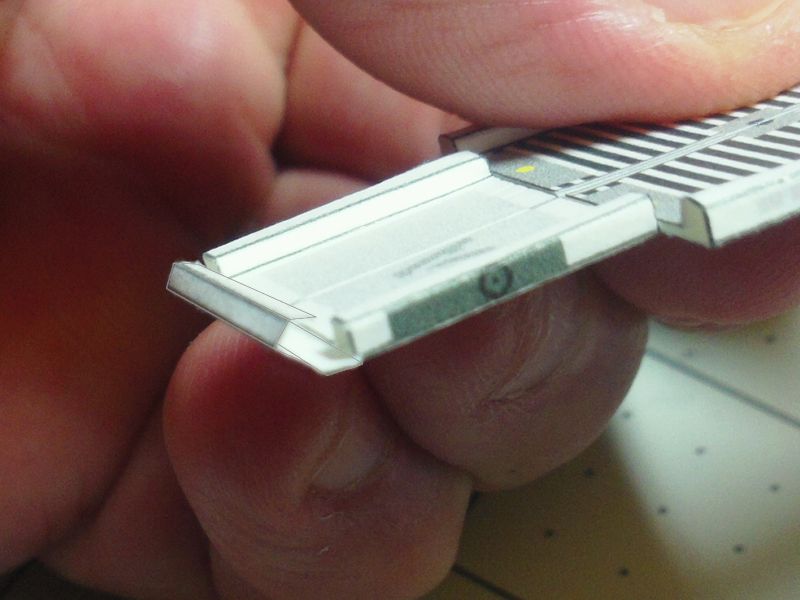 ... Then fold the entire box rail, including the longer strip, into the floor pan. 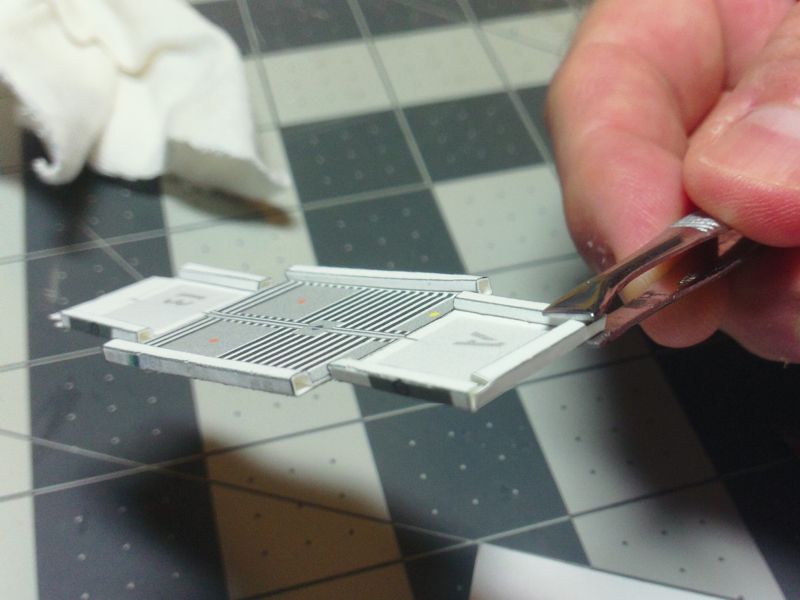 ... Glue the box rail directly to floor panel A. At the same time, glue the longer strip to the open ends of the side box rails. Repeat this procedure at the rear end of the chassis (Panel B). 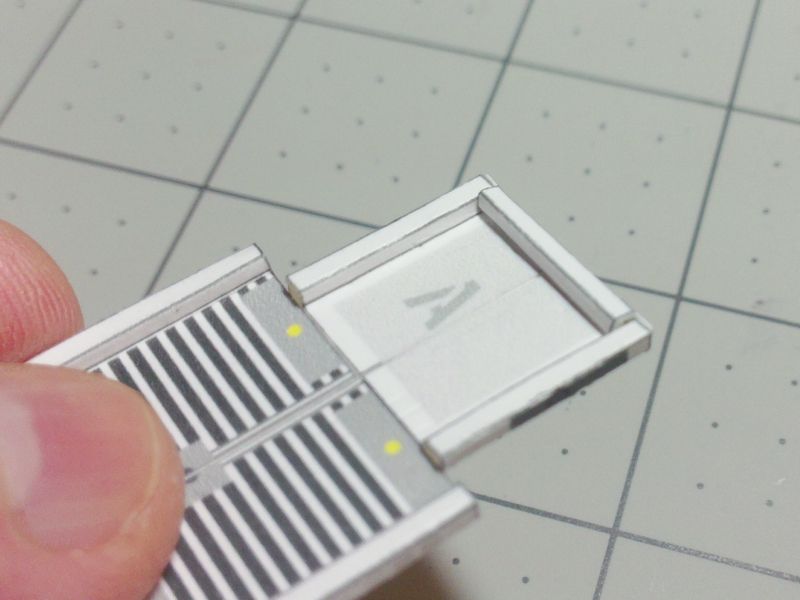 ... Your finished chassis (box rail floor pan) should look like this (next photo). Keep squaring up the box rails as the glue is drying. Glue cure time varies... but you can manipulate the parts for quite sometime before the glue sets completely. Try to make your frame as square and straight as possible. 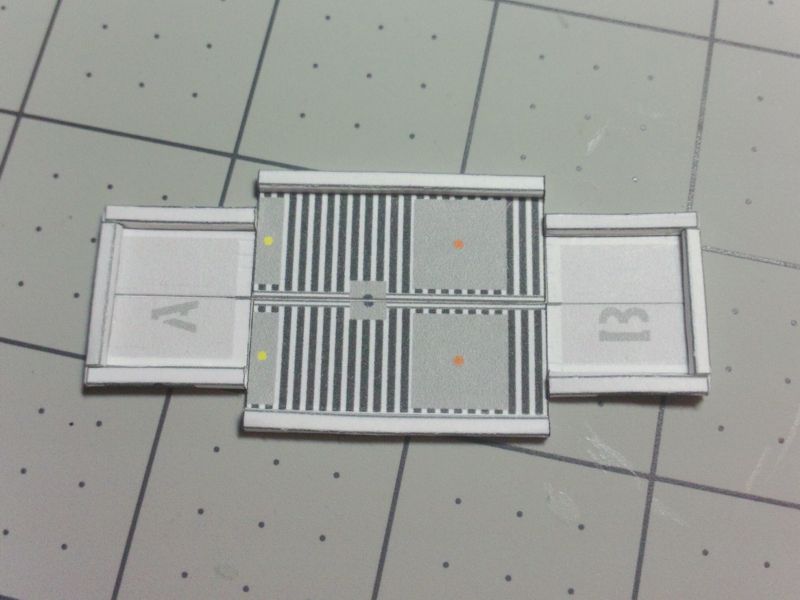 ... Heres another shot of the rear end of the frame. 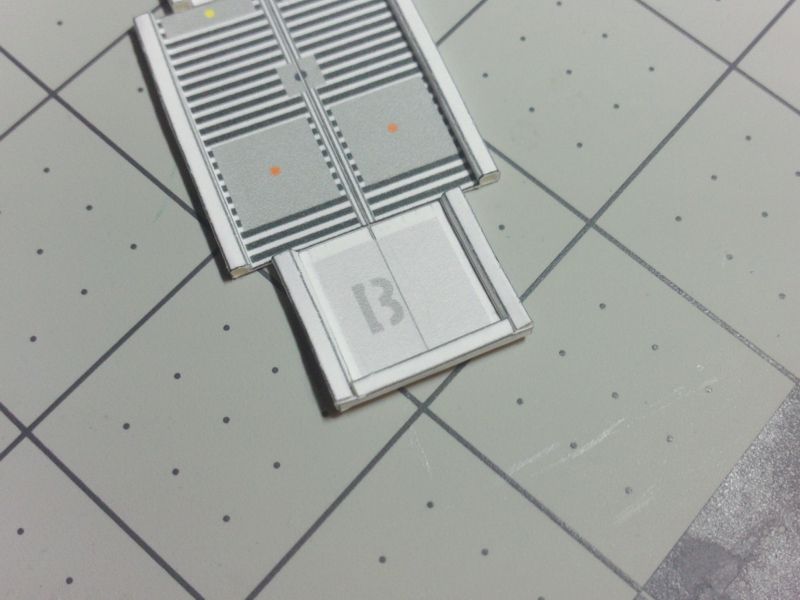 ...
__________________
SUPPORT ME PLEASE: PaperModelShop Or, my models at ecardmodels: Dave'sCardCreations
|
| Google Adsense |
 |
|
|


 Linear Mode

