


|
|
|
#11
 12-22-2018, 07:12 AM
|
||||
|
||||
|
Quote:
__________________
MS I love it when a plane comes together. - Colonel John Hannibal Smith, A Team leader Long Live 1/100!! ; Live, Laff, Love... 
|
|
#13
12-22-2018, 08:15 AM
|
||||
|
||||
|
so...back on the subject...
continuing with the fun of designing, we now have a Thunderbolt Glider. Every photo I take is washed out. I've been trying to turn the gamma down, but they still look too a lot brighter. 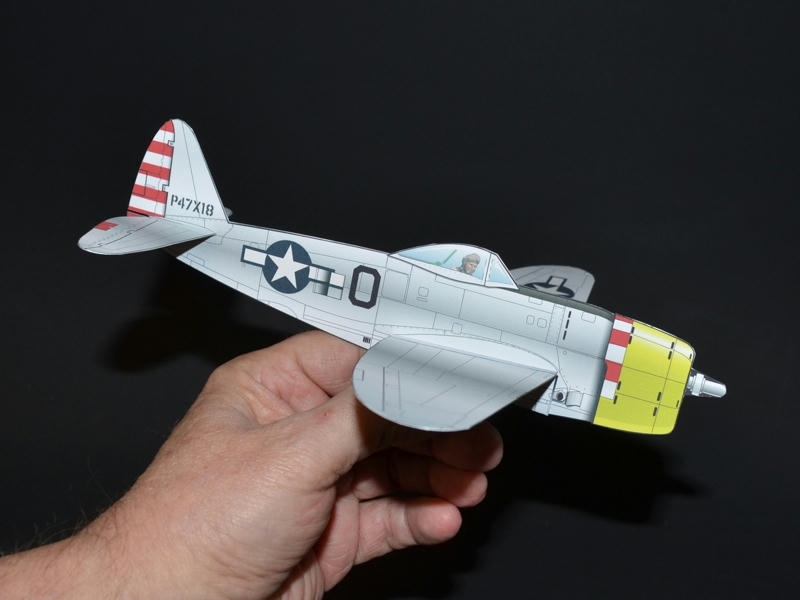 I thought the P47 might be more nose heavy and glide better, but its pretty much the same thing. Its got bigger elevators...so it will be easier adjusting those. For fun, I weighed all the Gliders to see their overall weights. I wish I could calculate just the nose weight, but I can't. Mustang P51 is 6 grams (0.2oz) Tutor jet is 5 Grams (0.15oz) P47 is 6 Grams (0.2oz) I think next...I`ll try a painted finish, something other than the "bare metal" look. 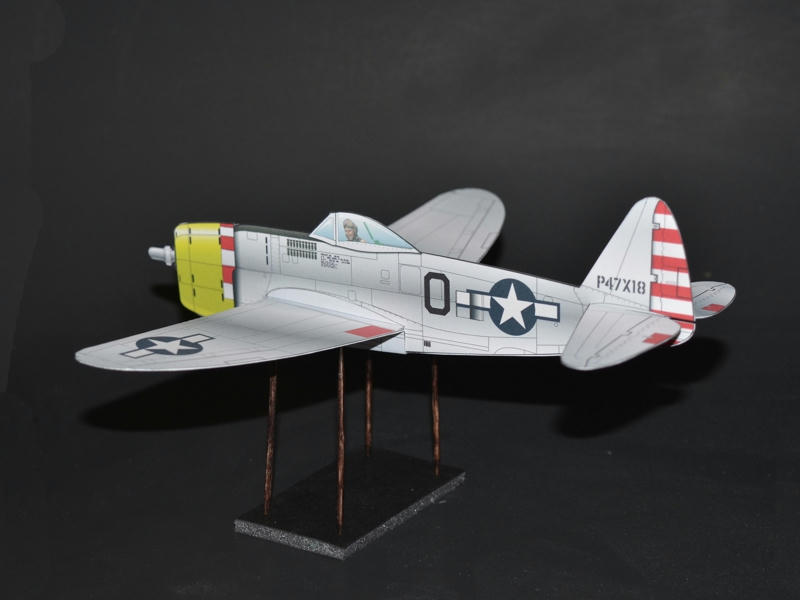
__________________
SUPPORT ME PLEASE: PaperModelShop Or, my models at ecardmodels: Dave'sCardCreations
|
|
#14
12-22-2018, 03:59 PM
|
||||
|
||||
|
Quote:
I dunno much about the physics I took....but I do know the rule of thirds. Locate the wing a third of the way back from the fuselage nose. Make the wing chord about a third of the wing length (measured from the wing root to wing tip....not the total wing span). Make the stabilizer area about a third of the wing area. Locate the center of gravity about a third of the wing chord from the leading edge. My adopted grandson used my rules to win a design contest when he was studying aeronautical engineering in college. And I have yet to ever fail me when designing a model I wanted to actually fly rather than just sit there looking good.
__________________
It's not good to have too much order. Without some chaos, there is no room for new things to grow.
|
|
#16
12-26-2018, 08:51 AM
|
||||
|
||||
|
As mentioned elsewhere, the wings are now extended with a small up-folding wing root tab
that attaches the upper wing to the fuselage. By extending the wing root fairing, it helps glue and lock the upper wing surface to the fuselage. Seems to add a bit more strength and hold the wing dihedral in place a little better. Shown here on the P47 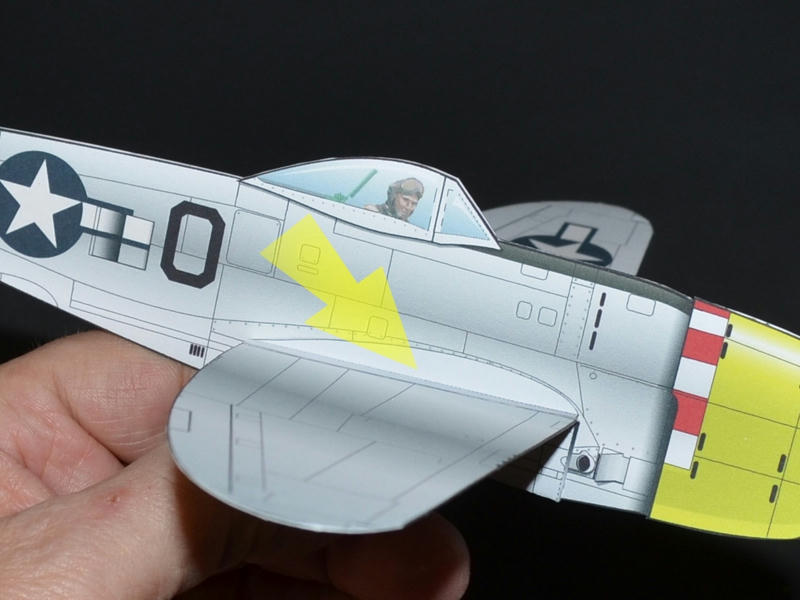 I'll apply this part to all the designs... except for the Tutor Jet model. Its inboard jet engine intakes allowed for an additional and separate part to be attached. Theres plenty of room on the model sheet for this slightly larger part. And it adds a bit more 3D to the artwork. Plus, the Tutor Jet is the lightest of the models, so the extra part adds a bit more weight. 
__________________
SUPPORT ME PLEASE: PaperModelShop Or, my models at ecardmodels: Dave'sCardCreations
|
|
#17
12-26-2018, 08:52 AM
|
||||
|
||||
|
As I said earlier, its time to try something other than a bare metal finish,
so for the next plane I did a camouflage style paint scheme. This model is inspired by my Daughter's affection for this Fighter... the P40 Warhawk 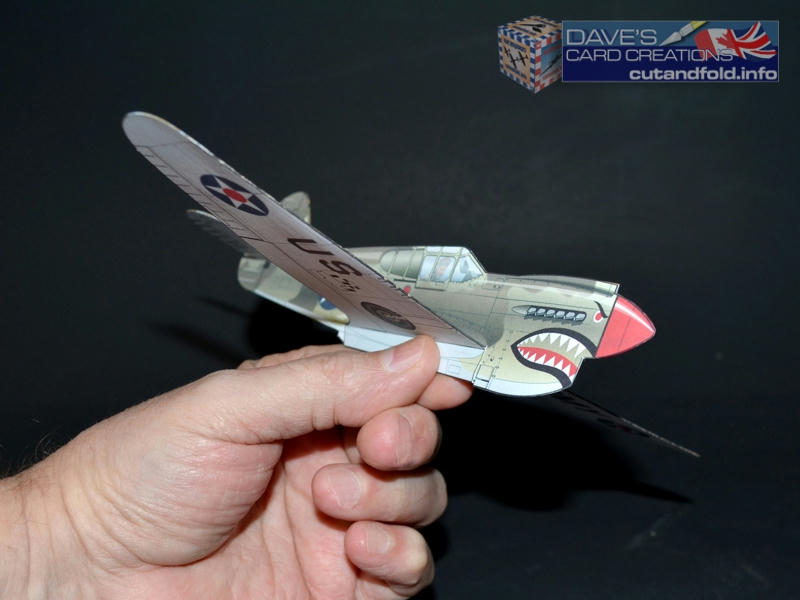 I am actually doing some research...checking the overall length of the real aircraft and trying to keep them all in a similar scale. As room on the model sheets allow, I am adjusting the models slightly larger, or smaller, as per scale. The P40 is roughly the same size as the Mustang, same weight, same design construction. This model also has the same wing root fairings. And it flies the same (with some added nose weight). Actually, with the aid of a large paper clip, the P40 flies better. I got this model to glide all the way across the room, straight and level. 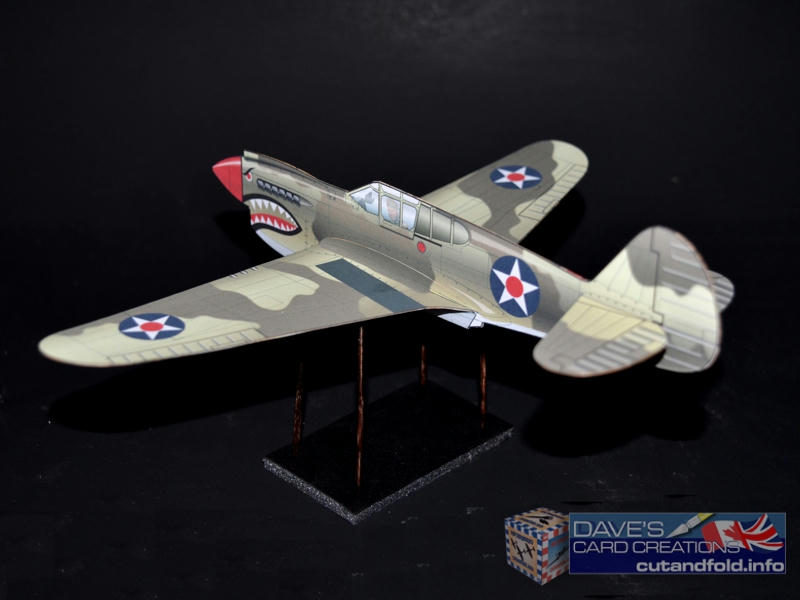 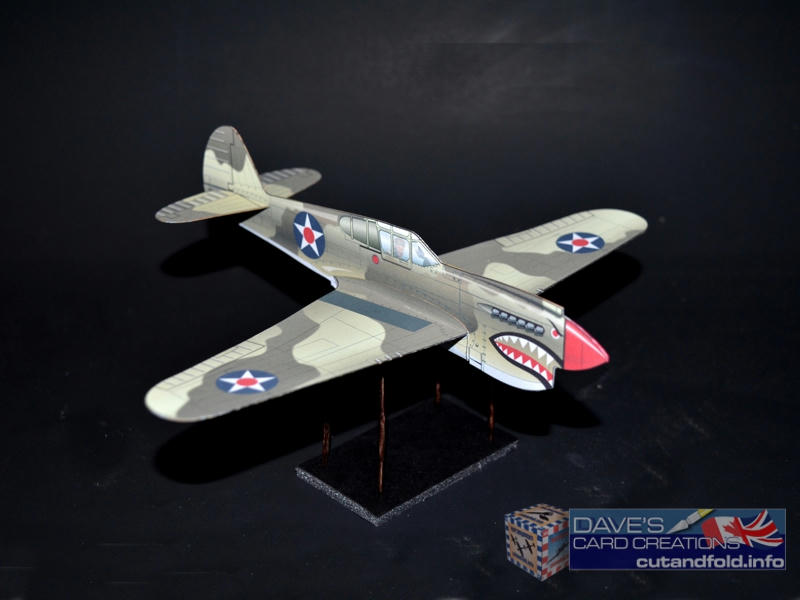
__________________
SUPPORT ME PLEASE: PaperModelShop Or, my models at ecardmodels: Dave'sCardCreations
|
|
#19
12-26-2018, 09:36 PM
|
||||
|
||||
|
I agree with Don on the P-40. From the days of the Wheaties flyers, it's been one of my favourites. I would definitely want to turn it into a true AVG model with the flying tiger and the Chinese insignia. And of course it's the best flyer of the bunch.
Curt
|
|
#20
12-27-2018, 02:07 AM
|
||||
|
||||
|
Quote:
Ok, the angle you keep adding to the wings is called incidence. 1 degree to 1.5 deg should be fine. All keep stalling because the tail is too heavy! Add weight to the nose like you said keeps the nose down. Now the model could weigh too much. If you make the wings slightly bigger the glider will like it. Add some dihedral for stability. Yes, for a model to fly you must properly "Weight & Balance" them. Rule of thirds can get you close to the proper CG for your models, 1/3 way back from the wing leading edge would be a good place to balance the models at. This is important for models to fly. I've done quite a few of these basic models a few years ago. Lesson learned: 1) The side of the fuselage is a huge rudder, real hard for the actual little rudder to work to keep from turning. Make sure fuselage is really straight . 2) Wing "Chamber" did not work on these really small models. Flat plate is best. 3) Bend a wingtip up about an inch from the end, this gives a little dihedral stability out near the wingtip for better control. Great looking models Dave! Mike
__________________
Cardstock Property Tables and Terms Flying Cardstock Models http://www.papermodelers.com/forum/m...uers-projects/
|
| Google Adsense |
 |
|
|


 . Some day, I will tell you the story of when a flight instructor cut the power on a 172 on approach to show me how the glider guys did it
 ") .
. Linear Mode

