


|
|
|
#32
 03-04-2019, 03:23 PM
|
|||
|
|||
|
I vote for 1/16 but like Don, whatever you decide on is fine.

|
|
#33
03-06-2019, 06:00 PM
|
||||
|
||||
|
As you can see...I'm getting more votes for 1/16.
And I've already voiced my opinion, for and against, and the reasons why i wanted to go with 1/24... and yet, 1/16 is pulling me in again! I couldn't resist throwing together a 1/16 frame last for comparison. The design is still being modified, so there are a few errors in this frame... but its surprising how much bigger 1/16 really is. 
__________________
SUPPORT ME PLEASE: PaperModelShop Or, my models at ecardmodels: Dave'sCardCreations
|
|
#34
03-06-2019, 06:40 PM
|
||||
|
||||
|
Put my vote in for 1/24, but if you do 1/16 I can reduce. Needs to fit with the 6 or 7 hundred 1/25-24 paper and plastic I already have. Plus I can lift a Ford motor out of one of my 40 Ford kits then.
|
|
#36
03-07-2019, 10:36 AM
|
||||
|
||||
|
okay...after much deliberation I have decided to go with the larger 1/16 scale!
I wonder...should I start a new build thread then? While I would have preferred to produce something a bit smaller, that would take up less room on the shelf, the bigger scale seems to be where my design skills are better suited. So...continuing on with the Frame... thanks to some new friends on another forum, I have acquired some photos and accurate info on the frame construction of this Ford. I was trying to nail down a more accurate representation of the frame and its crossmembers (as specifically applies to the Ford F-AT 4x4 beetleback Cab 12 design). And now I can finalize most of the artwork for the Chassis and move forward with the proper design for testing... and, in that regard, I built another set of Frame Rails. Anyone who has ever tried to construct long straight box tubes out of paper and cardstock, knows the frustration. Its a fight to keep the tubes from curving and twisting. And thats the problem I am having, especially up front near the angle ends of the Frame Rails. 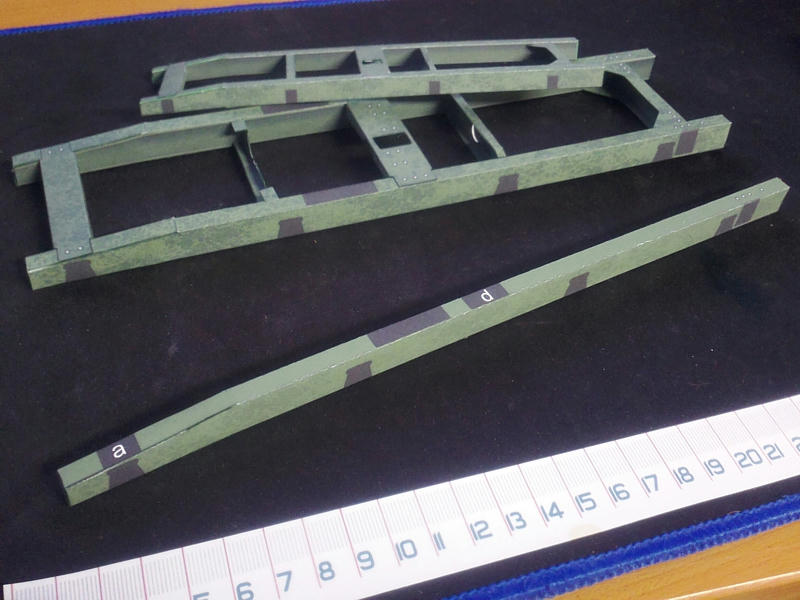 I completed one almost perfect Rail, which proves the Frame can be assembled to an acceptable degree of accuracy. But the second Rail was a failure and I chucked it in the wastebin! Once all the cross members go in, it will help straighten the Frame even more but it would be nice if the Frame Rails went together a bit easier. So, I began to think about other solutions and alternate methods of assembly. I came up with a plan to split each Frame Rail into two sections. A seam hidden behind other suspension parts seemed like an acceptable alternative to a twisted or curvy Rail. So, tonight, I will give it a try and report back to you. ...
__________________
SUPPORT ME PLEASE: PaperModelShop Or, my models at ecardmodels: Dave'sCardCreations
|
|
#38
03-07-2019, 12:51 PM
|
|||
|
|||
|
Enjoy following your design process and problem solving.
|
|
#40
03-09-2019, 08:34 AM
|
||||
|
||||
|
Well, my plan works...sort of...
not only have I made more modifications to the frame rails and the cross members, I have split the frame rails into two parts (with a joiner part). Although there are three parts to assemble now (instead of one long one) the assemblies are very simple. 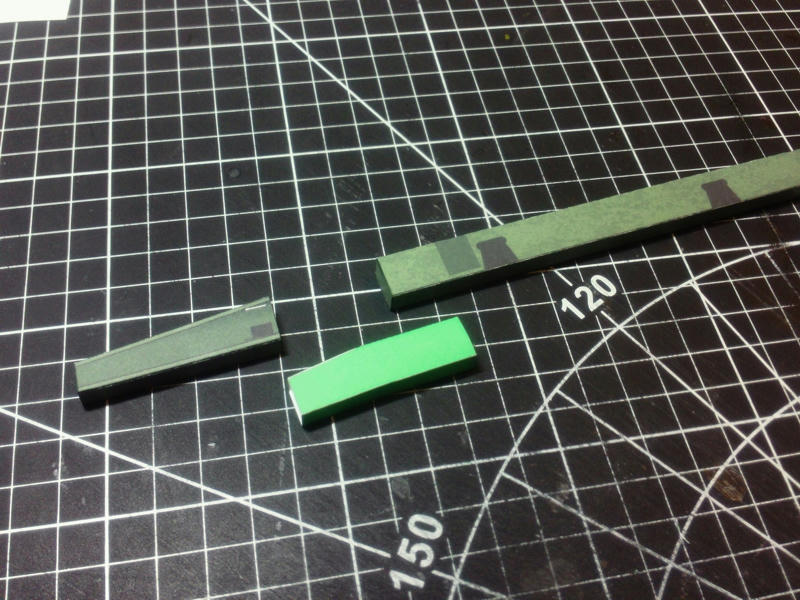 And the longest section is straight and easy to keep untwisted. The joiner section is a very tight fit, but I think it needs to be. Its tricky not to crush and distort the frame tube...I did that to my first attempt...but a tight fit is better I think. 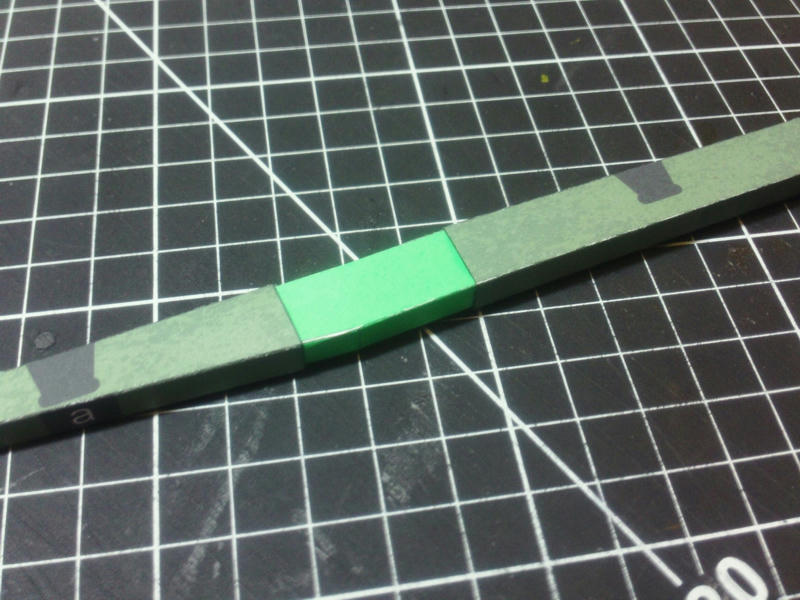 The fit is acceptable, although the seam is quite visible. I probably made it worse... I edge coloured a bit dark, which makes it stand out even more. I still think its an acceptable trade off since the frame rails are almost(almost) dead straight. The cross members will help square up the frame and get it close enough to work. To be honest, a stamped steel frame is not that perfect.  The final result is very good...I am quite happy with this! The help I received from on another forum, helped me sort out the cross members. Disclosure...I made more changes to the frame rails, and rebuilt the parts once again. This last time, I got lazy, and reused some parts (like the joiner pieces for the frame rails). The split connection is a bit rougher than my earlier attempt. I may print some frame rails on lightweight paper, and cut out the side panels and glue them to the rails to hide the front seam. In fact this sounds like a good way to deal with the seam anyway. Something I might put in the instructions?! 
__________________
SUPPORT ME PLEASE: PaperModelShop Or, my models at ecardmodels: Dave'sCardCreations
|
| Google Adsense |
 |
|
|


 Linear Mode

