


|
|
|
#41
 04-13-2019, 12:59 PM
|
||||
|
||||
|
I am waiting on some information regarding the Driveshafts and mid chassis Transfer Case.
I have limited reference images of these components, and would like to know more before I continue designing parts. So that area is on hold. To fill the time, I am assembling the four Wheels (and Tires). I said I would document the assembly, so here goes. A little tutorial for those who might tackle this model in the future. I will be assembling two complete Wheels at the same time...one front and one rear. Shown here are two printed sheets for the Tires. Most of the Tire parts will be on one sheet...requiring you to print that sheet four times. There is also a single sheet containing the central Tread parts (for all four Tires). And a sheet for the pair of front Wheel Rims, and one sheet for the (2) rear Wheel Rims. Since I need only two center Tread parts, I've shopped a single sheet for all the additional parts. 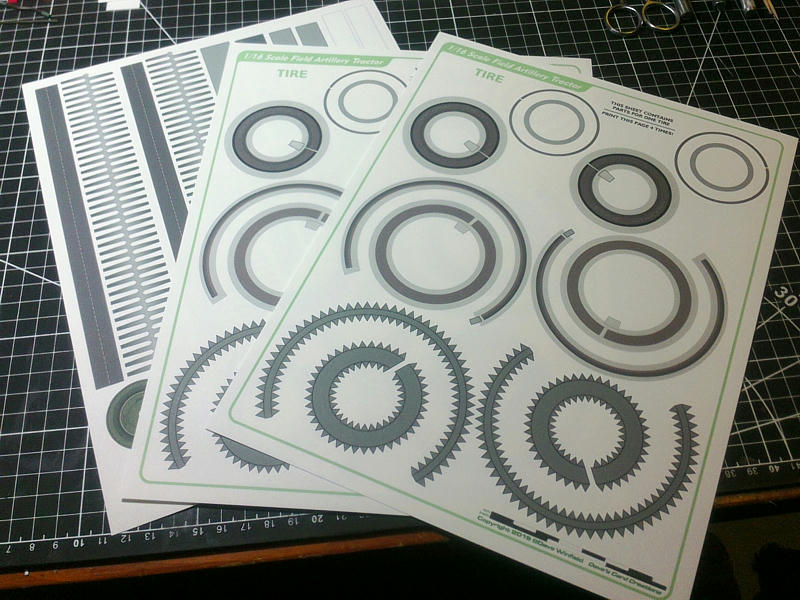 .. So, first I cut out all the parts (for two complete wheels remember). Most things I just chop out quickly with scissors, unless I can quickly cut more accurately ...with a straight edge and knife. You'll notice the thin layering detail parts (to the right) I don't have to cut out completely until they are layered and glued. 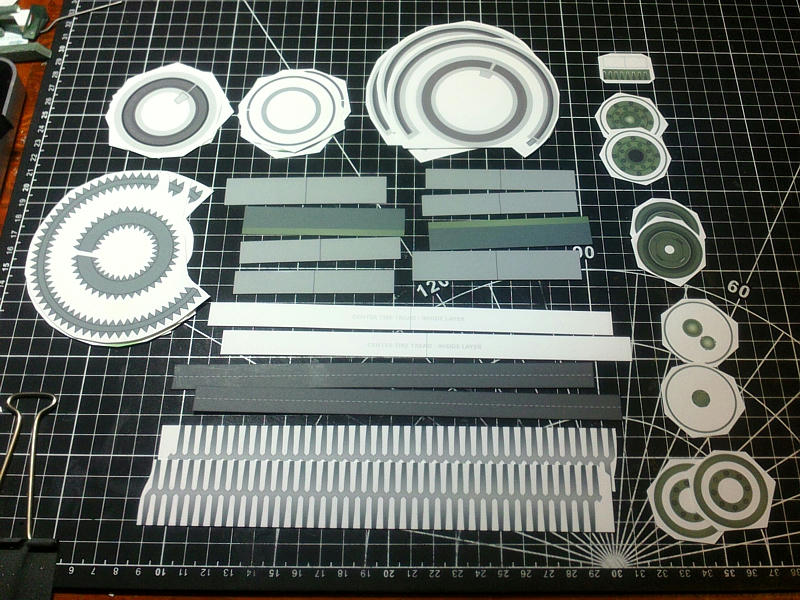 ... Tabbed joiners make assembly easier since they eliminate the need for those small joiner blocks (for hooped parts) and they accommodate the connecting of mating parts. To make them work properly, they should be prescored to fold easily and precisely after assembly. So, I get that out of the way now. 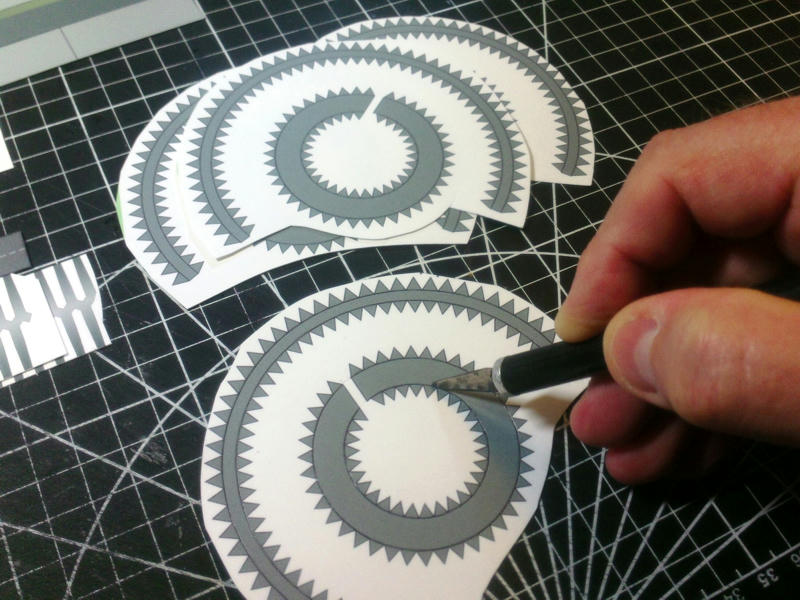 ... Its taken about two hours in total to get all the parts cut out, trimmed and edge coloured, ready for assembly. Its a lot of tedious cutting...tabbed joiners and the raised Tread parts being the worst. But cutting out a bunch of circles is also time consuming. I use small surgical scissors where I can, but for inside radiuses (radii) I always use a Hobby Knife.  ...
__________________
SUPPORT ME PLEASE: PaperModelShop Or, my models at ecardmodels: Dave'sCardCreations 
|
|
#42
04-13-2019, 01:13 PM
|
||||
|
||||
|
Put the Tire parts aside, and focus on the Rims themselves...
the faces of the front and rear Rims are similar but slightly different and both require some layered parts. The thin outside edges of the Rims (inner and outer) are layered as well as the center raised rings. The front axles have larger extended hubs that also require separate assembly. 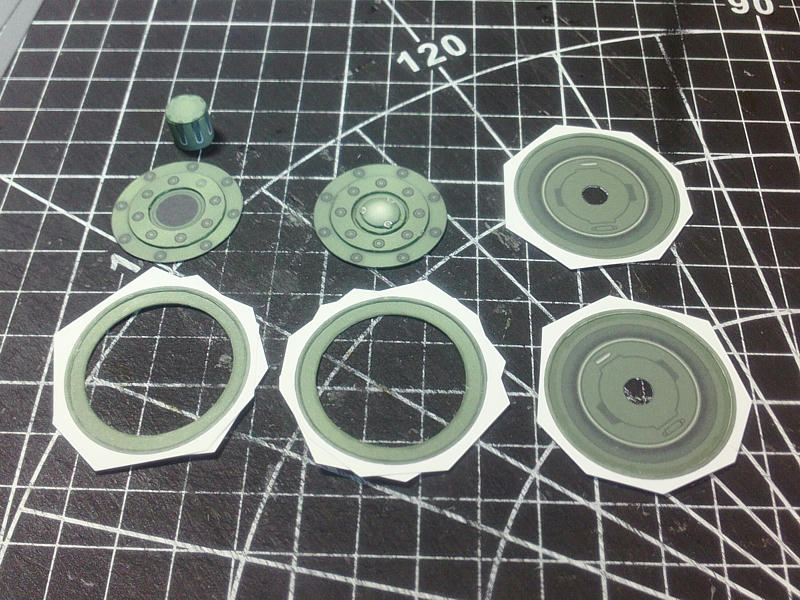 ... The center part of each Wheel is a tube layered in four parts. The main tube with two inner layers that will support the inset face of the wheel. And an outer layer that strengthens the tube, and provides a thicker edge for the outer Rim Lip. keeping the tubes perfectly round is tricky...but the inset wheel faces will help. 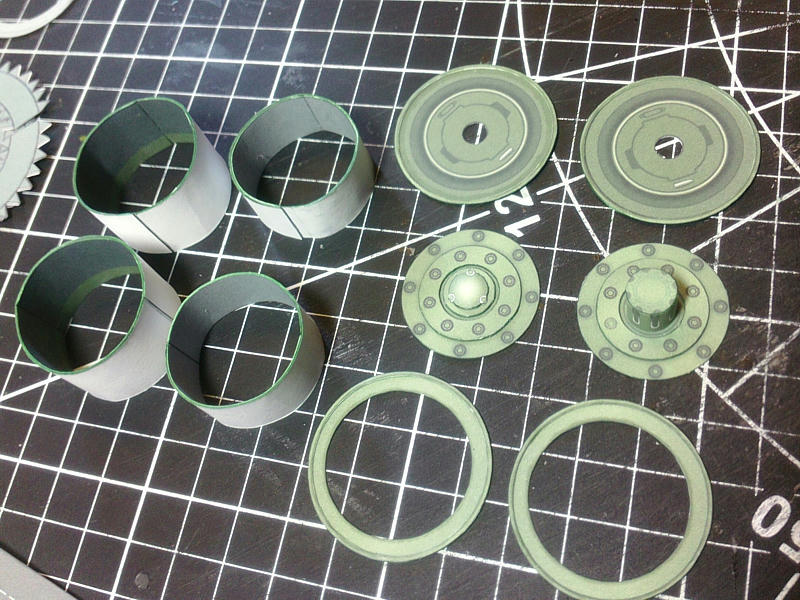 ... Another shot of the Wheel Rim tubes going together. the main tube and outer layer have been assembled. And now I am inserting the two inside layers. 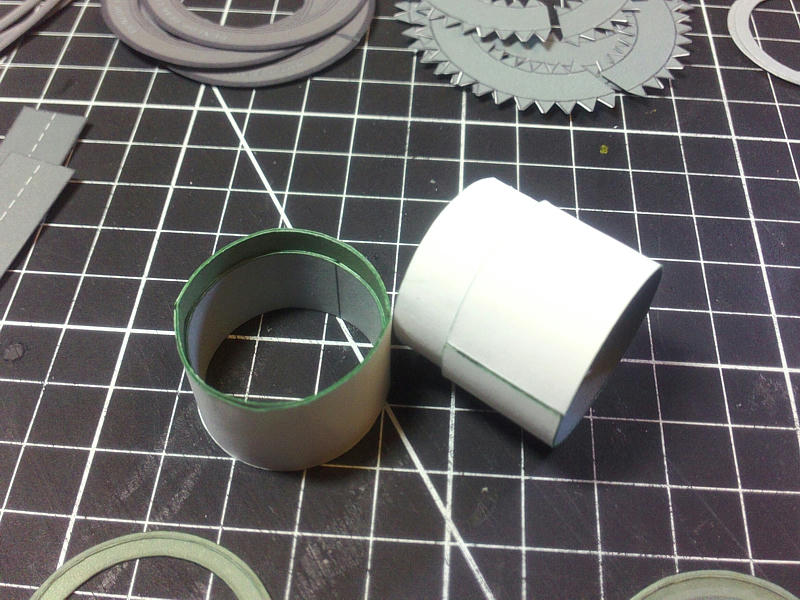 ... The inset faces have to be sized perfectly to slide in and sit atop the inner tube layers. (I glue them in place from the back) And the (front/outer) Rim "lip" discs are edge glued into place. The inner wheel faces are set aside until the Rims are installed in the Tires. 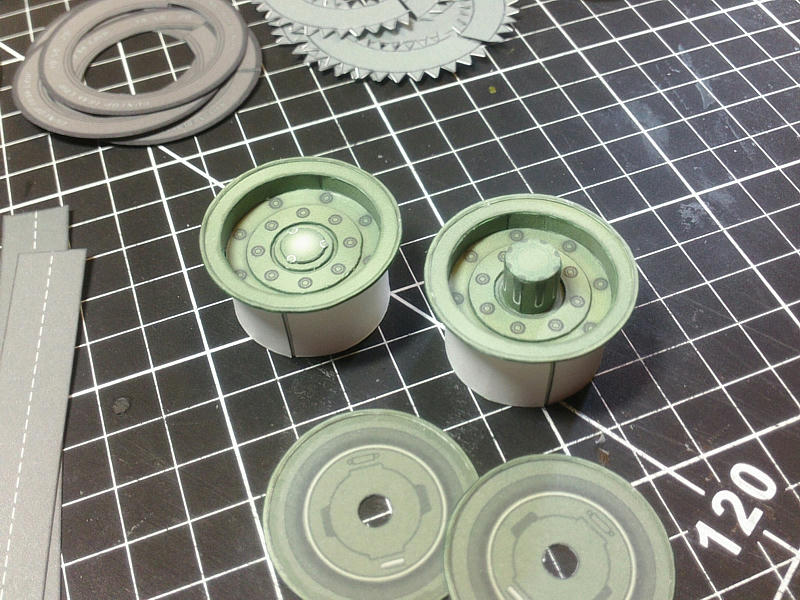 ...
__________________
SUPPORT ME PLEASE: PaperModelShop Or, my models at ecardmodels: Dave'sCardCreations
|
|
#43
04-13-2019, 01:33 PM
|
||||
|
||||
|
Fascinating to see the design behind the wheels and then to see the wheels take shape.
Any sufficiently advanced paper modeling technique is indistinguishable from magic (to paraphrase Arthur C. Clark's Third Law). Don
|
|
#45
04-15-2019, 10:55 AM
|
||||
|
||||
|
Now...assembling the Tires...
the order with which these tires can be assembled is up to you. In fact, over the course of assembling 10 of these wheels* I have varied the procedure. *these Tires and Wheels are a modified version of the Wheels I created for my 1/16 Saladin project. I think there are advantages and disadvantages to each method and order of assembly. But here is my latest method: Starting with the center center of the Tire, create a hoop using two strips. Inner and Outer layers are slightly different length and should fit together precisely. You can trim the inner layer if needed. 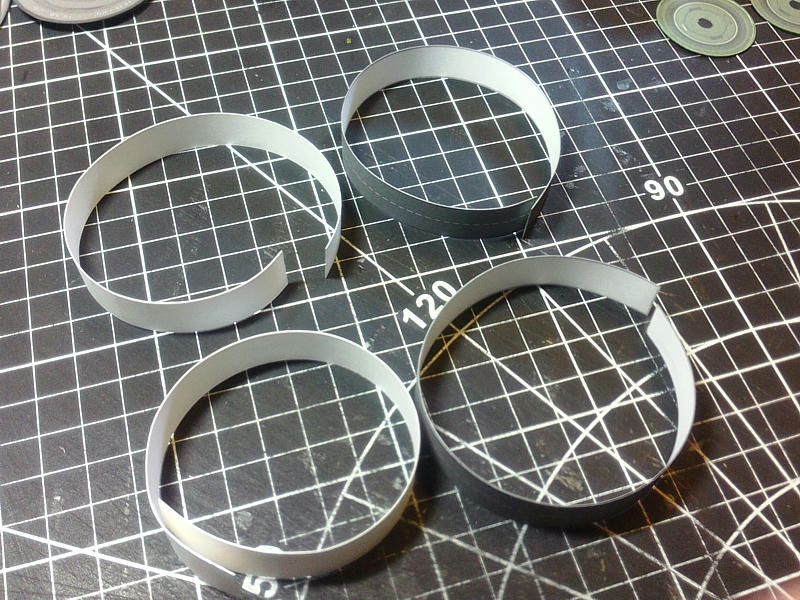 A joiner tab is not required if you alternate (opposite) the inner and outer layers. Offset the seams, in other words. 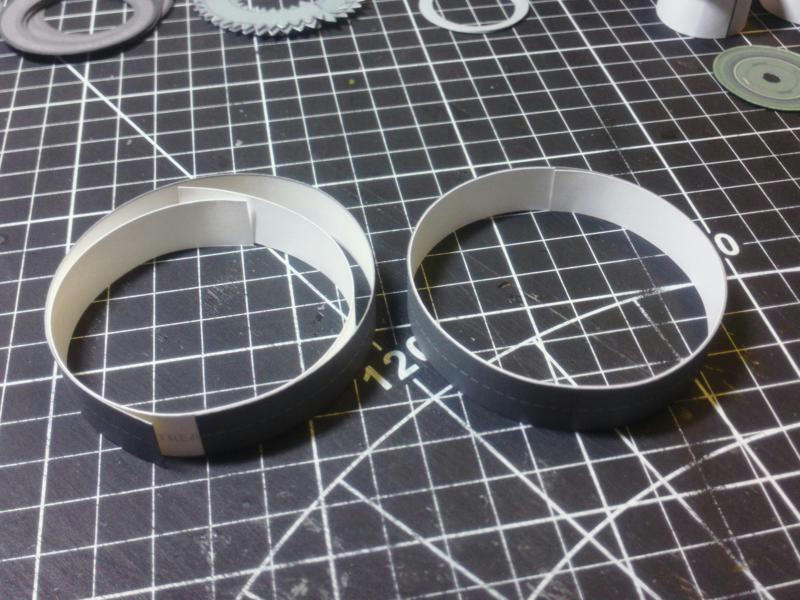 ... Once glued, set aside the center hoop(s) to cure, and start building the sidewalls. The Sidewalls are made up of three sections (rings)... Starting with the thinnest and first section (which attaches directly to the center strip). These rings/hoops need to be formed so that they connect to create a beveled(angled) hoop. This is also the use of the first set of tabbed joiner rings. They also need to be angled and formed. 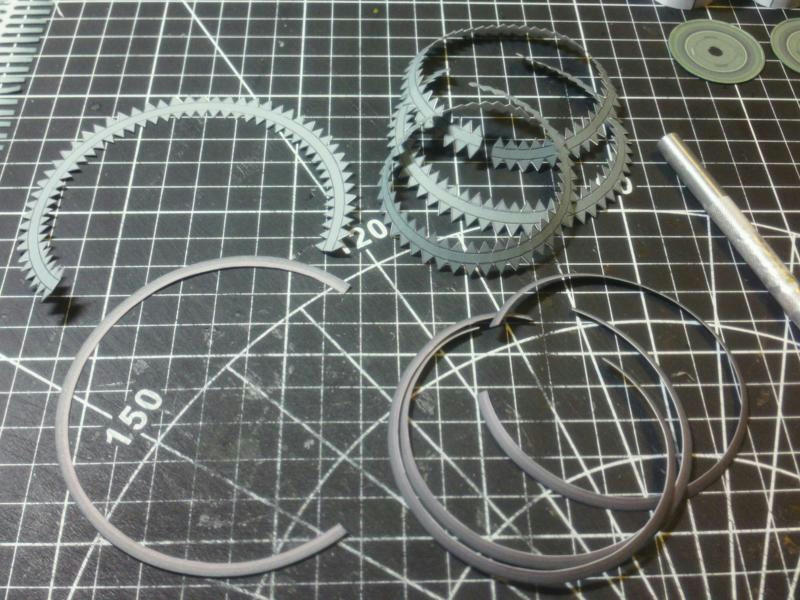 Assemble the sidewall section one with the tabbed rings, the same way as the center hoops. You don't need to join the hoop with a little tab, but you can if you want. Otherwise the tabbed ring will complete the connection. Just offset the seams of the tire hoop to the tabbed joiner hoop.... Easiest way to do this is glue one end of the sidewall ring and align it to the center (roughly) of the tabbed joiner. Make sure to keep it inline centered. Then glue the other end, butt it up to the first, and glue it to the joiner hoop. Now work your way around, gluing the tabbed joiner hoop to the underside of the sidewall hoop. Most important thing is keeping the tire strip centered on the joiner strip. 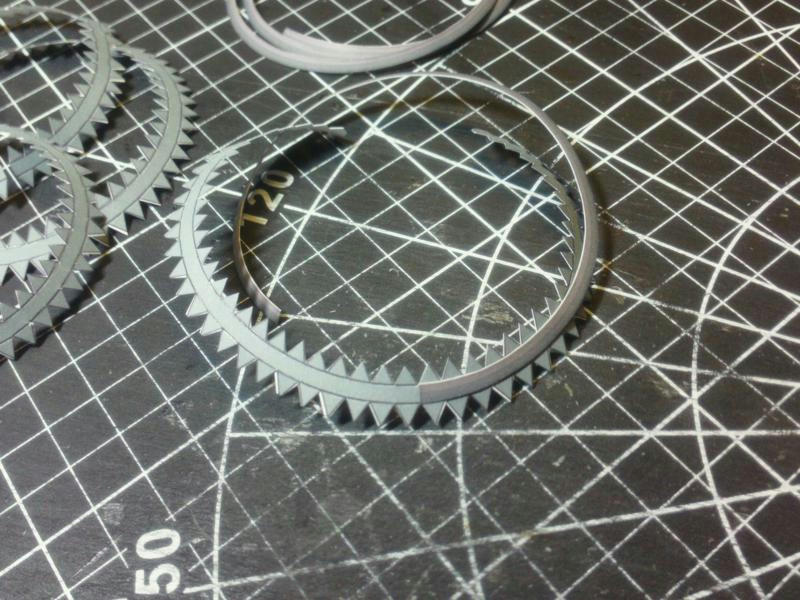  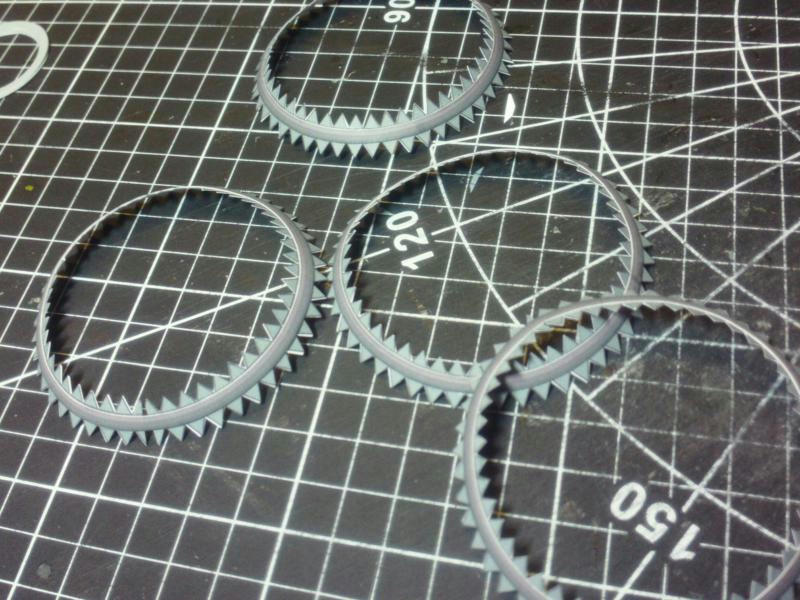
__________________
SUPPORT ME PLEASE: PaperModelShop Or, my models at ecardmodels: Dave'sCardCreations
|
| Google Adsense |
|
#46
04-15-2019, 10:56 AM
|
||||
|
||||
|
The next section of the Tire sidewall is a little wider.
It is also a beveled/angled hoop. This section will connect to the tabs on the first section, so it will need to be joined with a small inline connector. So, once the curve is formed, glue the connector in place, and connect the Hoop. (I use any round thing (dowel, knife handle, marker tube) to curve and form the strips) 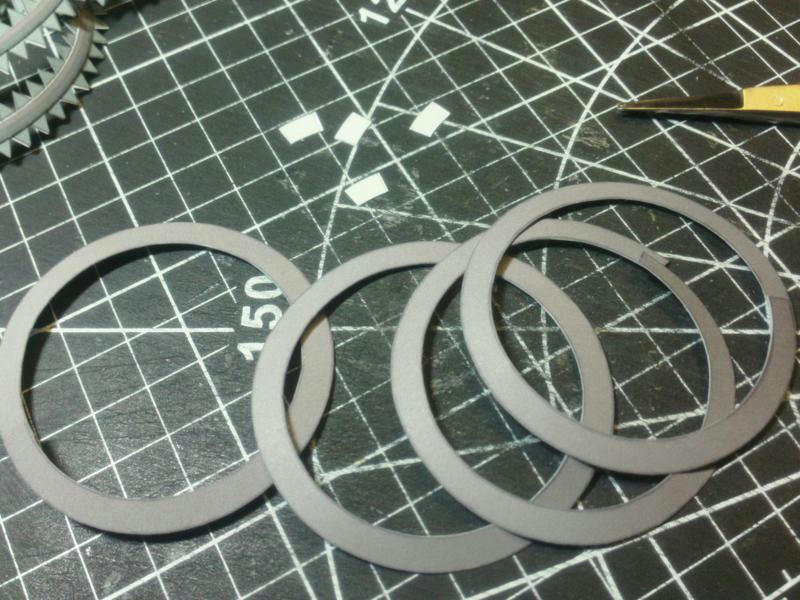 Set these aside to fully cure, while proceeding on to the third section. ... Third section is the smallest diameter sidewall ring, and the widest. Like the first section, it uses a tabbed joiner strip/hoop. It is also a beveled/angled hoop...but it is concave (angled the opposite way) It angles inwards to complete the shape of the tire sidewall. The center of this hoop will be the "tire bead", next to the Road Wheel (rim). So, assemble just like the first section, but angle/form the hoop inwards. 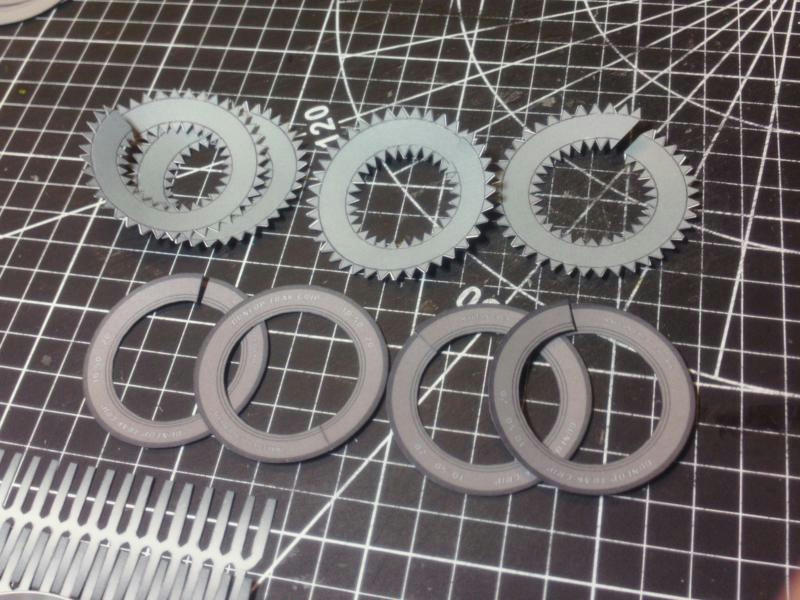 The angle is very shallow and the parts warp easily...this will be self corrected when the sidewalls are assembled. 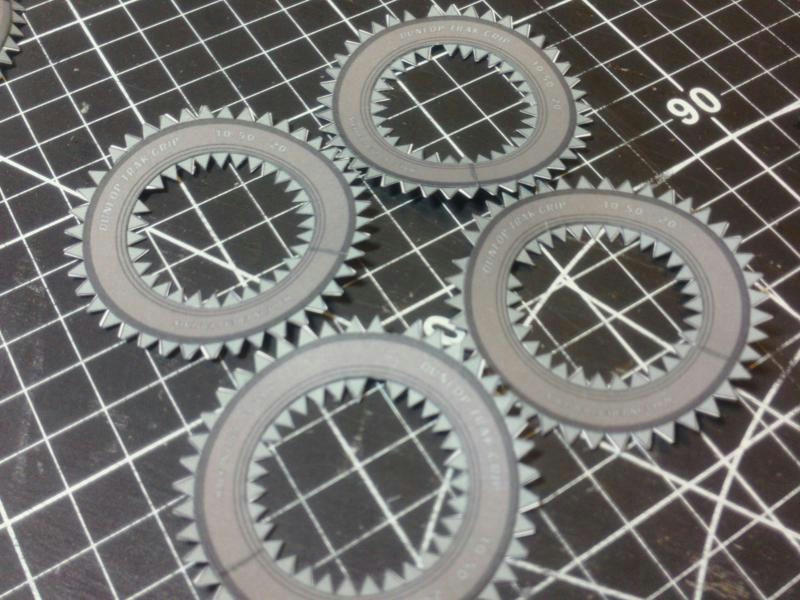 ... Now, I can start assembling the sidewalls... going back to the first section (which will attach to the center Tire strip) the outer rings of tabs needs to be folded to fit inside the Tire center Hoop. If you forgot to score all the tabbed joiners beforehand, this step will be a problem. 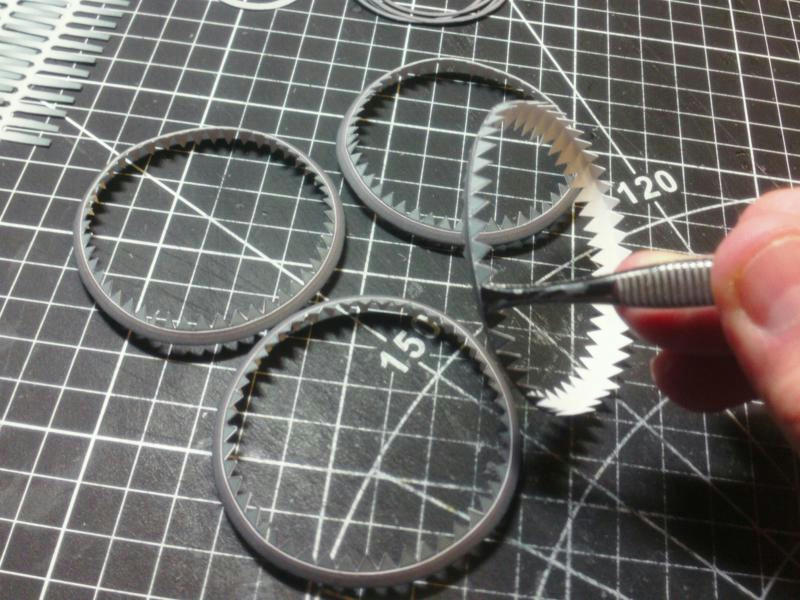 ... I put a wet layer of glue around the inside edge of the center hoop, before fitting the first sidewall ring. Working quickly, I press all the tabs down while positioning the sidewall ring. The goal is to get the tightest fit, all the way around the Tire. Lots of finger pushing and smooshing to squeeze it all together before the glue fully grabs. All the sections will require carefull, but quick, manipulation with your fingers to get the right position and best fit. Using a little extra glue, (wet) so it dries slower, will help. 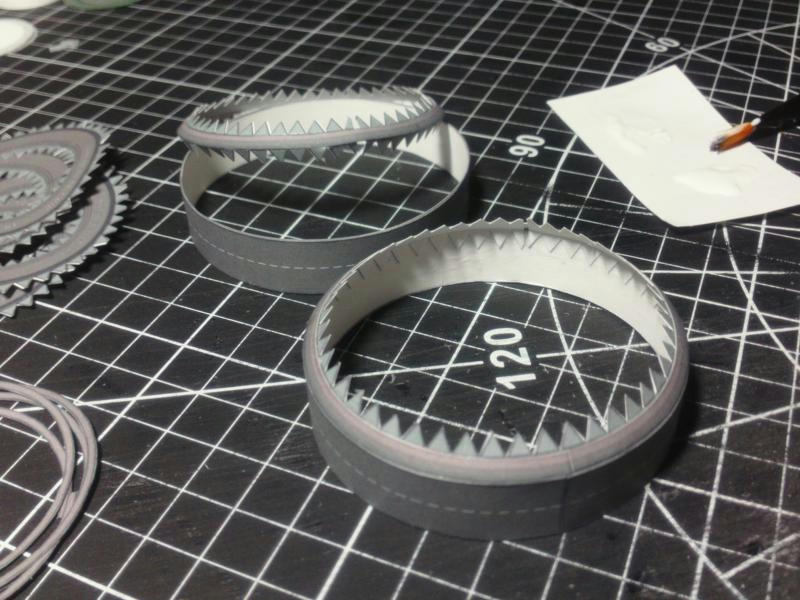 ... Four sidewall rings to install. This part starts the transition of shape from center tread to sidewall. The goal will be, for every section, to get the tightest fit. I also coat the tabs inside, with glue, so that it squeezes into any gaps and strengthens the surface. PVA glue is pretty flexible, so its almost like painting a reinforcing layer. 
__________________
SUPPORT ME PLEASE: PaperModelShop Or, my models at ecardmodels: Dave'sCardCreations
|
|
#47
04-15-2019, 10:56 AM
|
||||
|
||||
|
The next two sections (second and third) I connected before fitting to the Tire.
These two rings are opposite bevels and connected using the tabbed joiner on the third section. Lot of finger pushin' and smooshin' again. I want to get the best fit possible and try to retain the double angle surface. 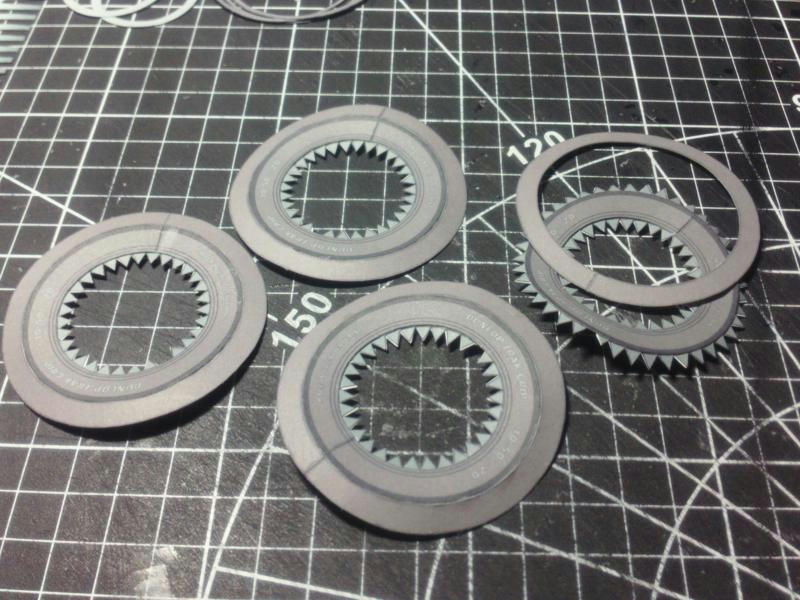 ... Once assembled, this two-part-part can be fitted to the first sidewall section of the Tire. It looks awkward at first, but it actually goes together quite easily. Try to keep the Tire assembly as round as possible, and make sure to bend/angle the glue tabs so they line up properly. A liberal coating of glue around the outer edge of the sidewall rings... and just drop the sidewalls rings into place. Now, align and flush the connections...reaching in from behind, you can manipulate the parts to fit together tightly. Keep working the connections until the glue grabs fully. 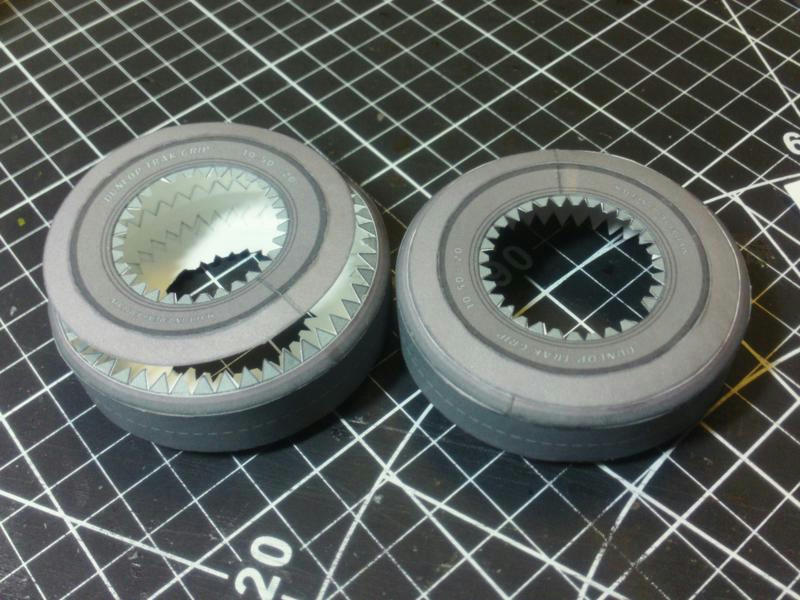 Fitting the opposite side gets a bit tougher, because the opening to reach inside the tire is closing up! Allow yourself a bit more time for the second side, buy applying a wetter glue layer. A lot of the connection seams will covered by the final Tread strip. But enough shows through, that you want to get the best fit of all the sidewall sections. You'll find the tire ends up with a nice ballooned shape, but some waves and ripples are inevitable. I think these are fine, since real tires also have these surface irregularities. ...
__________________
SUPPORT ME PLEASE: PaperModelShop Or, my models at ecardmodels: Dave'sCardCreations
|
|
#48
04-15-2019, 11:02 AM
|
||||
|
||||
|
Dave,
these instructions are excellent, they even give me the confidence to do the tires and wheels on my Czech kits Thank you
__________________
"Rock is Dead, Long Live Paper and Scissors" International Paper Model Convention Blog http://paperdakar.blogspot.com/ "The weak point of the modern car is the squidgy organic bit behind the wheel." Jeremy Clarkson, Top Gear's Race to Oslo
|
 |
|
|


 Linear Mode

