


|
|
|
#1023
 01-08-2015, 03:33 PM
|
||||
|
||||
|
yes, I see that.
looks like some sort of glitch in the saved PDF. I did not notice it. I'll resave the file and reupload. thanks ...okay, new file uploaded. appears to be a save/optimization glitch when saving to PDF. I bumped up the image resolution and it cleared up the problem. (the new file size is a bit bigger, but thats the price.)
__________________
SUPPORT ME PLEASE: PaperModelShop Or, my models at ecardmodels: Dave'sCardCreations Last edited by airdave; 01-08-2015 at 03:43 PM. 
|
|
#1024
01-08-2015, 04:18 PM
|
||||
|
||||
|
That is strange. I don't see that on my copy that I downloaded this morning. Did it only show up when printed?
__________________
A fine is a tax when you do wrong. A tax is a fine when you do well.
|
|
#1025
01-08-2015, 04:31 PM
|
||||
|
||||
|
I just checked the uploaded PDF and it was there.
And the glitch is on my original PDF. So I don't understand why it would not be on your copy? lol
__________________
SUPPORT ME PLEASE: PaperModelShop Or, my models at ecardmodels: Dave'sCardCreations
|
|
#1026
01-10-2015, 10:47 PM
|
||||
|
||||
|
Well, its the weekend...and we all know what that means!
Its time for another tutorial from Dave!! haha haters...shut up. Step 1. When assembling the first part of the new KoolWheelz model, you need to cut out the three main parts of the central sub-assembly. I recommend you score all the fold lines before cutting out the parts. Notice the spot that says "cut out"? Don't cut it out. 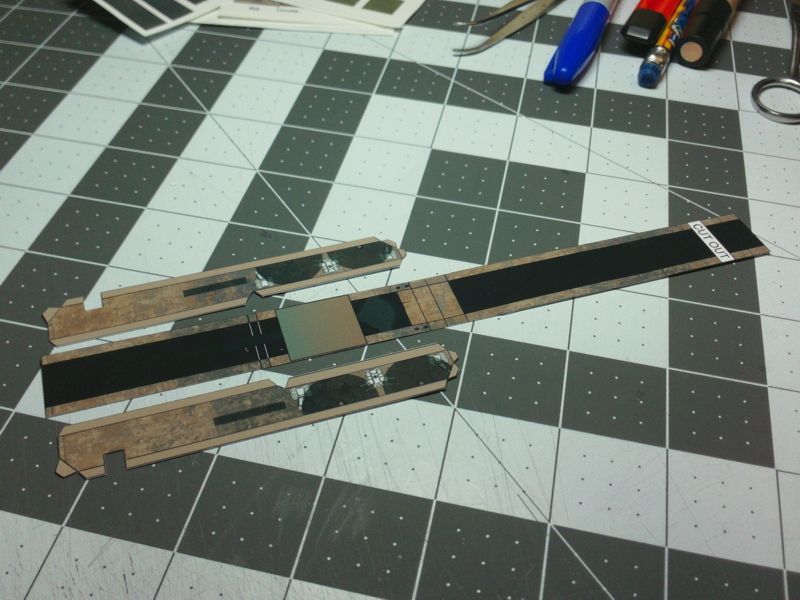 Step 2. These parts require some preliminary folding to simplify the assembly procedure. "Side" parts require glue tab folding. "Central" part requires some shape folding. 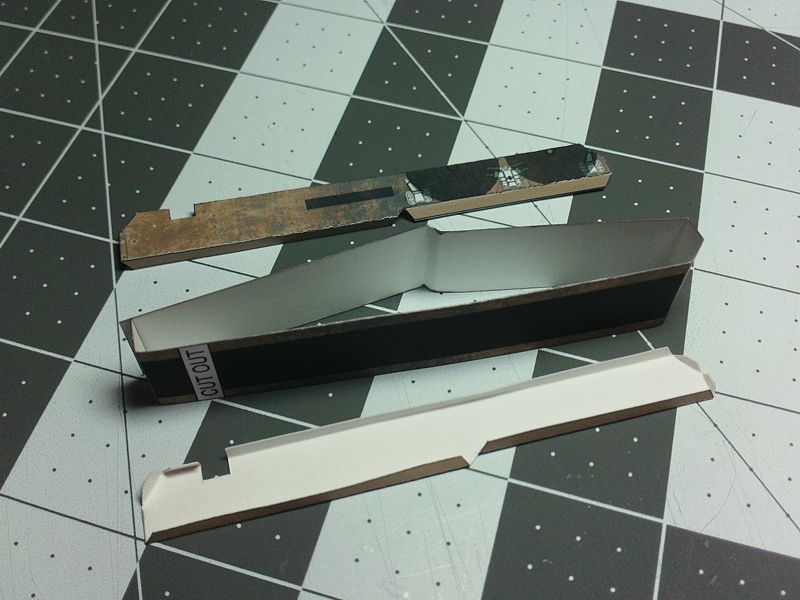 Step 3. Glue it all together...I like to start in the middle with a long straight section and then work towards the ends, making sure edges are flush and square. Once the central sub-assembly is completed, you'll need to assembly the central sub-assembly sub-assembly....which is basically a long box thingy with flat ends. 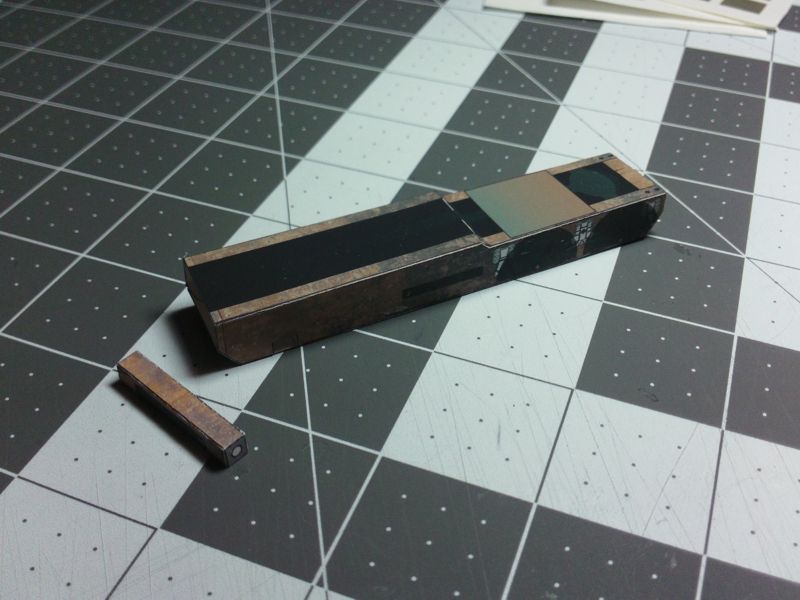
__________________
SUPPORT ME PLEASE: PaperModelShop Or, my models at ecardmodels: Dave'sCardCreations
|
|
#1027
01-11-2015, 10:19 AM
|
||||
|
||||
|
Quote:
__________________
"Rock is Dead, Long Live Paper and Scissors" International Paper Model Convention Blog http://paperdakar.blogspot.com/ "The weak point of the modern car is the squidgy organic bit behind the wheel." Jeremy Clarkson, Top Gear's Race to Oslo
|
|
#1028
01-11-2015, 10:27 AM
|
||||
|
||||
|
"central sub-assembly-sub-assembly"
its long...its boxy...and its a thingy with flat ends. ...if I used the proper nomification (for that part) everyone would guess it was the main support beam for the pulse cannon. And that would blow the surprise.
__________________
SUPPORT ME PLEASE: PaperModelShop Or, my models at ecardmodels: Dave'sCardCreations
|
|
#1029
01-11-2015, 01:29 PM
|
||||
|
||||
|
okay, moving on...
Step 4...Remember that spot that says "Cut Out"?...which I told you not to cut out... now...cut it out! Its real easy since the side notches give you easy access for a pair of scissors. 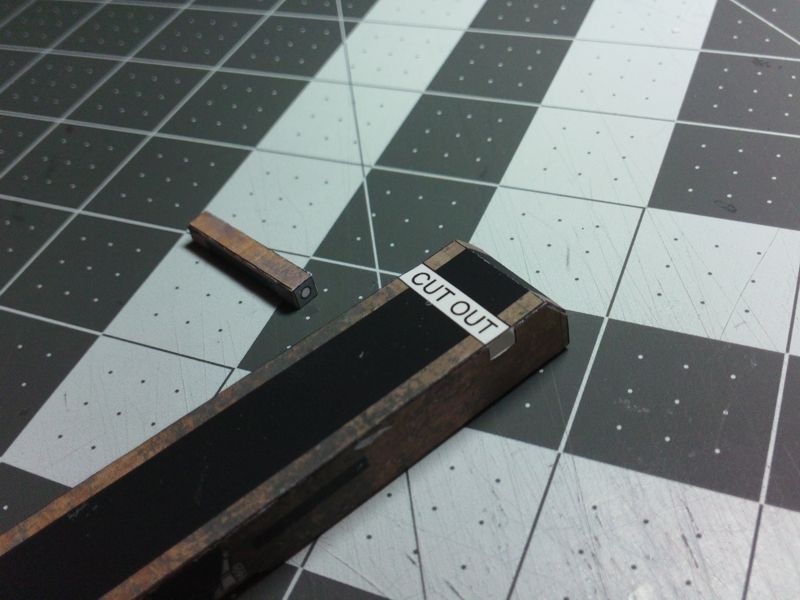 ... Step 5 Once you have cut out the "cut out" spot that I told you not to cut out (earlier)... phew you can install the cetral sub-assembly-sub-assembly into the hole. You remember...its the long boxy thingy with flat ends? Just center it up in the hole and glue it into place. Its important that it is centered! 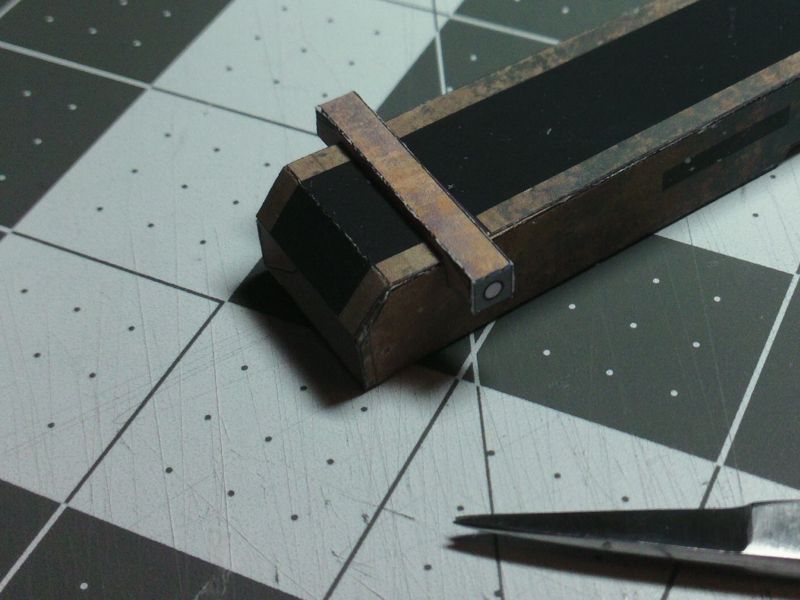 ... Step 6 And that brings us to the round, flat sided, sub-sub-sub-assembly thingies. There are six of them to assemble...comprised of eighteen parts. So, first thing is...cut 'em out. 
__________________
SUPPORT ME PLEASE: PaperModelShop Or, my models at ecardmodels: Dave'sCardCreations
|
|
#1030
01-11-2015, 02:33 PM
|
|||
|
|||
|
is it a
car boat?
|
 |
|
|


 Linear Mode

