


|
|
|
#2161
 01-08-2018, 05:19 PM
|
||||
|
||||
|
Lets begin the 2018 Koolwheelz releases....
first up! Plymouth Prowler. Its a 2 page PDF, because I am combining two versions of the Prowler. Purple and Yellow. Find the Prowler model in the Specialz-Road Cars section at my website! Dave's Card Creations There will also be an Assembly sheet published for this model. Look in the Koolwheelz Assembly Sheets area of my forum. cutandfold-papermodelforum.com 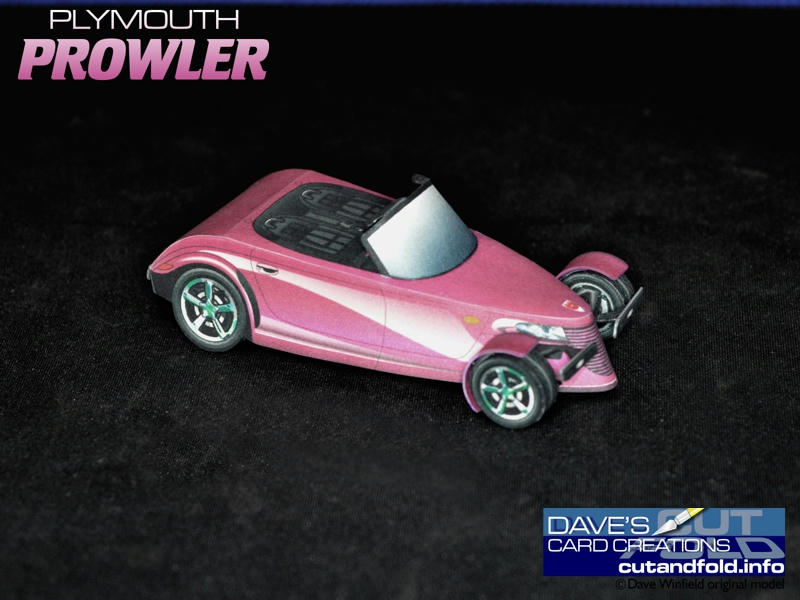 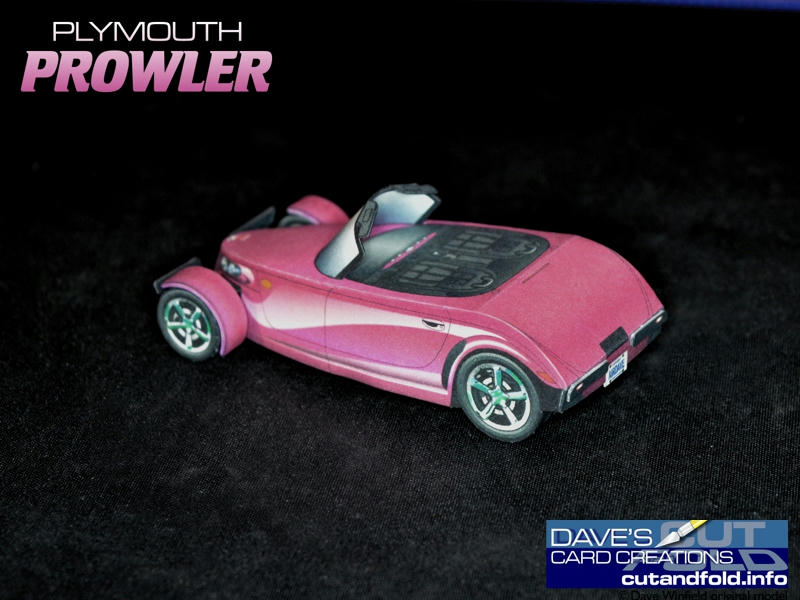 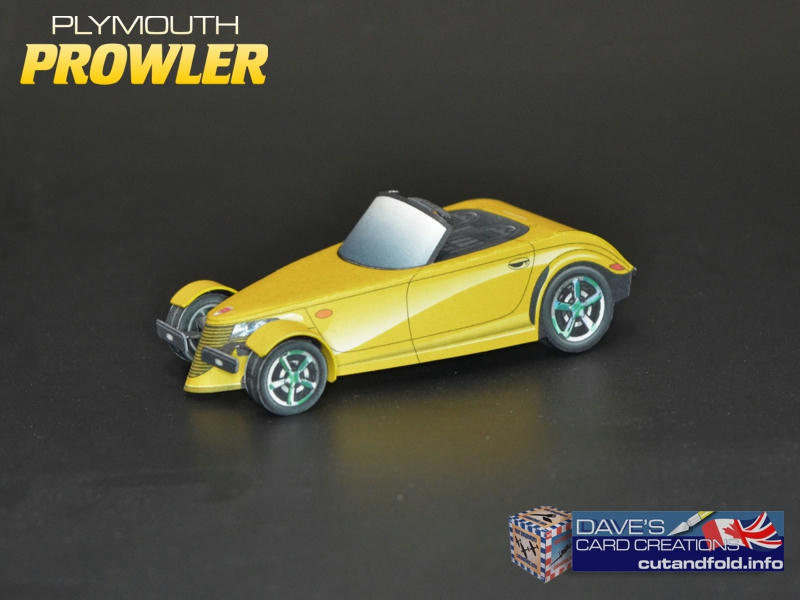 
__________________
SUPPORT ME PLEASE: PaperModelShop Or, my models at ecardmodels: Dave'sCardCreations 
|
|
#2163
01-08-2018, 08:00 PM
|
||||
|
||||
|
Very nice, Dave. Thank you.
BTW ... built Little Willie last night
__________________
A fine is a tax when you do wrong. A tax is a fine when you do well.
|
|
#2166
01-09-2018, 03:22 PM
|
|||
|
|||
|
thank's indeed airdave glad for you! you have a friend! on the other side of me!

|
|
#2167
01-10-2018, 12:12 AM
|
|||
|
|||
|
Dave, are you thinking about doing another group build thread with one of the new Kool Wheelz models? I plan on going back and reading the previous ones and building the models but would enjoy building one with the group. Thanks again for all of your work. Gregg
|
|
#2168
01-10-2018, 08:20 AM
|
||||
|
||||
|
I have not been thinking about documenting any of the builds,
so I haven't been taking photos. Just in too much of a hurry I guess. I have been focused on moving quickly through the to-do list. And I am trying to get back to some other projects. I just checked all my memory cards and it looks like I did take a few photos of three of the builds, but I am not sure that I have enough stages documented to work as a build tutorial. And, when it comes to building a model for the second time, I get very bored and uninterested. I will try to keep this in mind for some upcoming Koolwheelz designs. And I'll work on the photos I have taken, to see if I can create a Tutorial (or two, or three). I invite others to document their own build (of any Koolwheelz) and organize a group build?
__________________
SUPPORT ME PLEASE: PaperModelShop Or, my models at ecardmodels: Dave'sCardCreations Last edited by airdave; 01-10-2018 at 08:50 AM.
|
|
#2169
01-11-2018, 10:25 AM
|
||||
|
||||
|
Updates to Prowler models...
I made a couple of changes to the colours, the outline colours and other small details. I also fixed the upper trunk mounted Brake Light on the Yellow car. I noticed the error on the purple car before I released the model. The red light was missing I made the correction on the purple car, but forgot to transfer the fix to the yellow one. Anyway a new model sheet has been uploaded. .... Tip to shaping the windscreen. After you curve the windscreen to match the shape of the Dash/Interior, apply a stronger bend out near the ends of the Windscreen. Note the dotted lines in the following photo. The very ends should angle slightly... this will allow you to straighten out the top edge of the Windscreen. The bottom is heavily curved to match the shape on the car body but the top should be straighter...as straight as you can get it. Its going to want to curve, but if you shape it while you glue the inner and outer layers it will hold its shape as the glue dries. 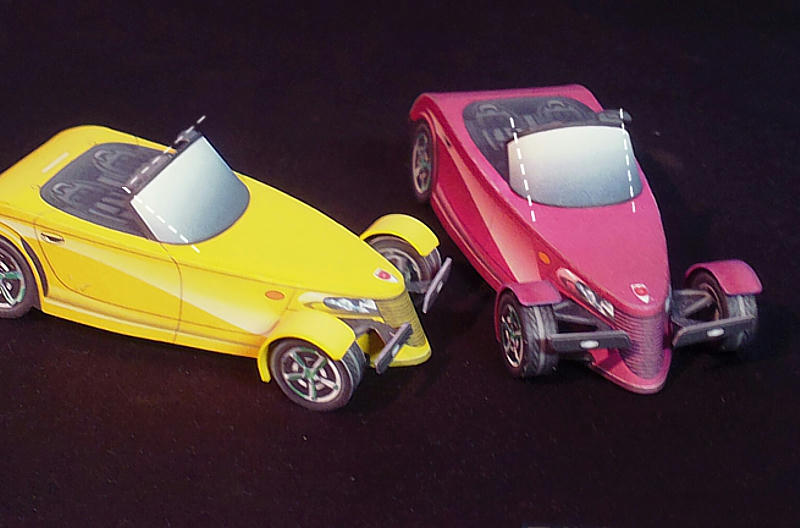 Tip to installing the Windscreen... slice the two little slots on the Body (top) before you assemble the body. After assembly, and after glue is completely dry, slice the slots again. You have to cut through the glue tabs...and open the slits to receive the Windscreen tabs. After the Windscreen is formed to the correct shape, glued and cured... insert the two side tabs into the body. Grab them from underneath with your tweezers and pull through... and glue in place. Wait until the glue has completely cured and the tabs are locked in place. The front bottom edge of the windscreen will most likely not be touching the body. This is okay. Carefully apply a bead of glue under the front edge of the Windscreen and push it down to contact the Body. Hold it in place until the glue grabs and holds. Thats it.
__________________
SUPPORT ME PLEASE: PaperModelShop Or, my models at ecardmodels: Dave'sCardCreations
|
|
#2170
01-15-2018, 05:18 PM
|
||||
|
||||
|
New for 2018....the Aston Martin DBR9 GT1
The DBR9 is the "race" version of the AM DB9 Road Car. Lets face it...nothing is more British than Aston Martin, and Aston has produced some of the most beautiful road cars of the last 100 years. With their hand made approach, they have a standard of excellence that rivals any other luxury and exotic carmaker. And Aston has proven itself on the track aswell winning countless numbers of races and race series throughout its 100 year racing history. The DBR9 signaled Aston Martin's return to racing after a 40 year hiatus in 2005...and in 2007 Aston Martin triumphed at leMans once more.. DBRs competed in both GT1 and GT3 classes, with the early GT1 cars being powered by the iconic DB9 V12 engine. The Race cars actually retained the chassis, engine block, and cylinder heads of the DB9 road car's V12 engine. I had a variety of paint schemes to choose from but in the end I decided to go with British Racing Green and some common markings. This model is not intended to be representative of any specific DBR9. 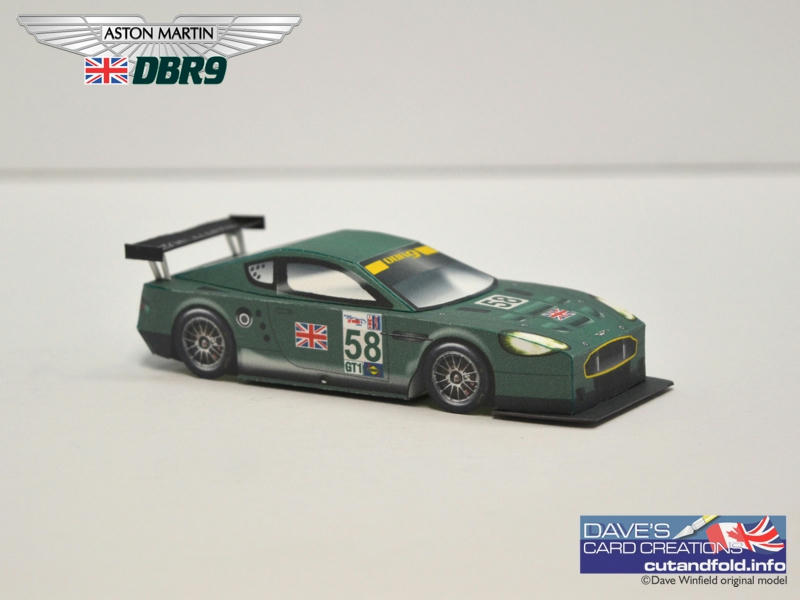 You can find the Aston DBR9 in the Koolwheelz - Racerz section of my website. And, there is an Assembly sheet for this one. Find it in the Assembly Diagrams thread (Koolwheelz section) at cutandfold-papermodelforum.com  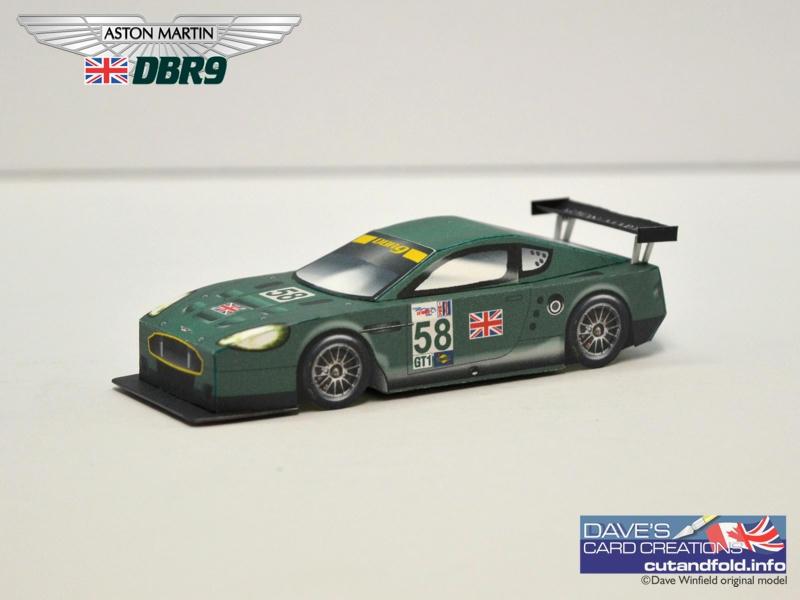
__________________
SUPPORT ME PLEASE: PaperModelShop Or, my models at ecardmodels: Dave'sCardCreations
|
 |
|
|


 Linear Mode

