


|
|
|
#1
 02-23-2012, 03:14 PM
|
||||
|
||||
|
SD MS-06 Zaku
Hello everyone!!
Im still on hiatus on my viva las vegas built, too much green  To help me pass time without getting to stressed with paper models (Rings a bell to anyone??) I decided to tackle this little fellow that I found some years ago on the internet. Its original author is Shiroku (at least that is what I have figured out) and I found it here MS-06 Since its instructions are a little hard to follow, being them in Japanese and missing some crucial steps, I will provide some pictures and comments over the steps the instruction miss, in order to convince some other fellow modelers to do this SD Zaku. Here are the original instructions MS-06 Instructions The author designed this SD robot to be done on colored paper/cardboard, you have to print the B&W diagrams over the colors he recommends, the parts are separated by color to help things up. I did not wanted to go over that way, so I decided to add colors to the parts and print them on a laser color printer. Here are the parts once printed. 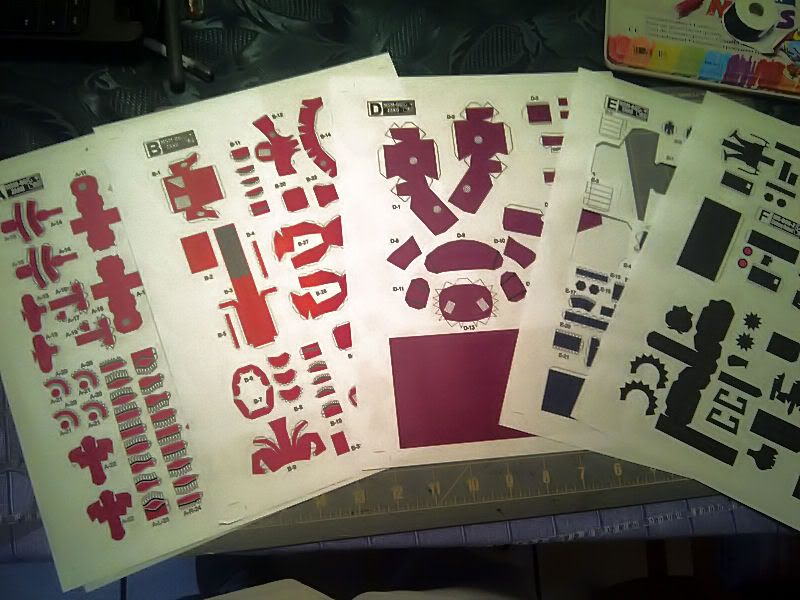 You start with pasting parts C-2 over 0.5 mm cardboard in order to make them sturdier. This is the heads inner part and at the end it will make the head turn! Then you paste together C-1,C-2 & C-3 to make the eye ring, after that cut the red part A-5 and glue it to the eye ring, make sure the eye ball is closer to the top than to the bottom , here is a picture of what I mean: 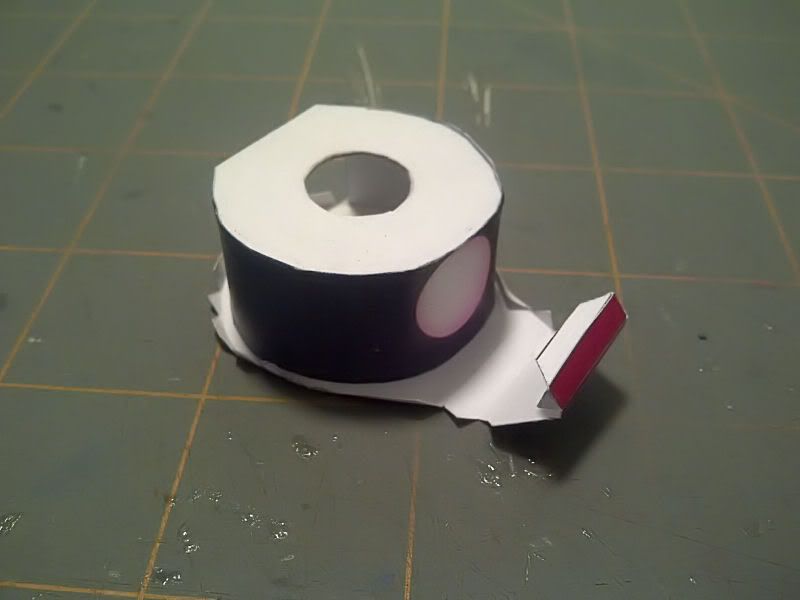 Use the holes on the parts to align them before/while gluing them: 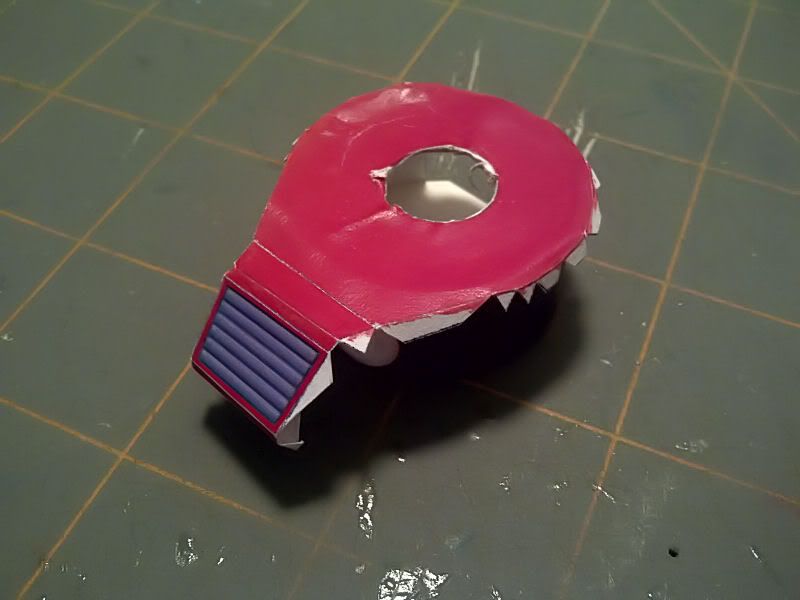 Put this assembly apart; then cut parts A1 and A10. Part A1 has a little notch over that you have to cut out; it is too wide to my taste, so if you can eliminate it and just cut a line there, it will look better. Glue every tab one by one, trying to form a curve for every section. Part A10 have to be folded and glued in half, then cut to shape. When gluing it to A1, make it pass through the notch from the inside. After this, cut and glue parts A3 & A4 to A1 from the back little box but leave the last front glue tabs without gluing. Ill explain later why. Now starts the tricky part. The eye ring should be glued inside the head or the head should be built around the eye. However you see it, is a little hard to accomplish. What I did was glue the back tab of the eye ring assembly to the back box of part A1, you get a little flexibility and room to maneuver by leaving the last glue tab from parts A3 & A4 without glue. You can see how it looks on the following pictures: 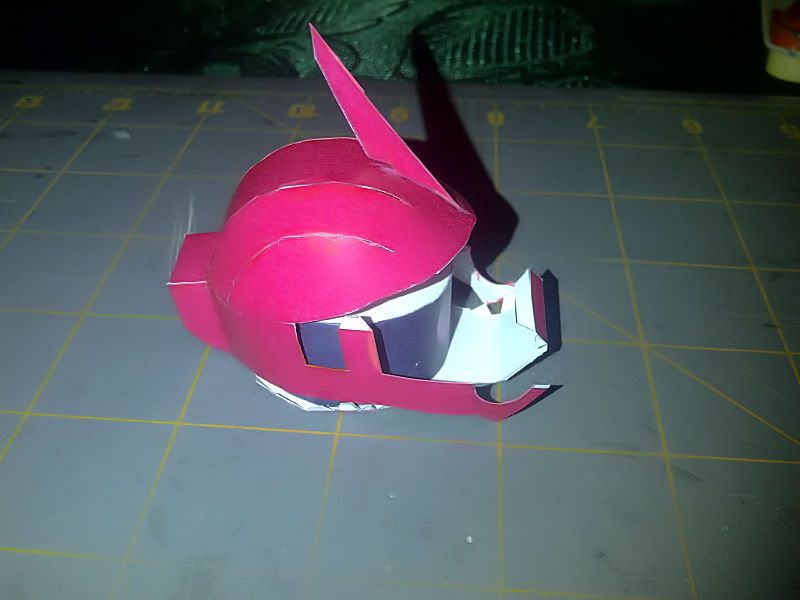 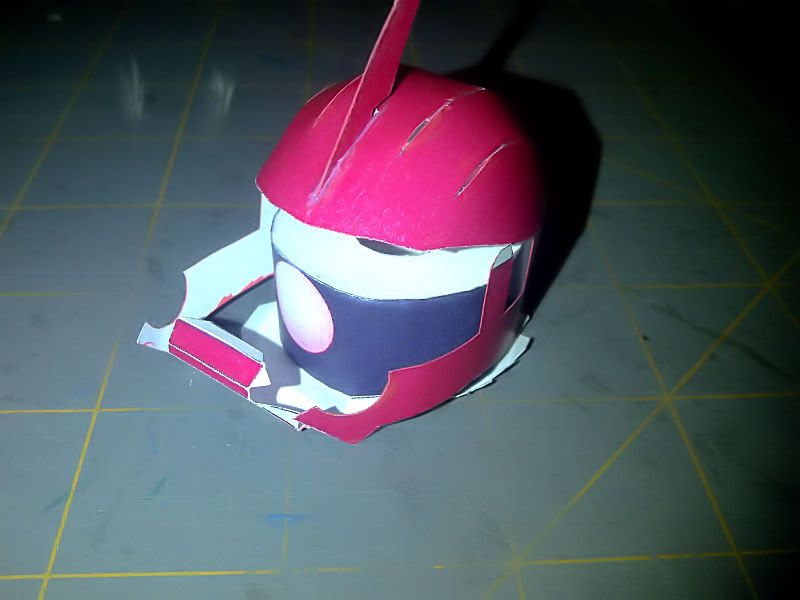  This is a good moment to cut part A2 and glue it to the head, since it helps to give shape to the assembly, glue it to A3 & A4. After this is done, start to glue each tab from the bottom part to the upper part (that is A5 to A3 and A4), you will have to work slowly and use some wire to push them from the inside to help parts to glue each other and keep their shape. Work from back to front and alternate sides, one tab on the left, when dry, another tab on the right and so on. When you got close to the front, glue the upper tabs left unglued (on parts A3 & A4). Leave all to dry. In the meantime cut parts A6 and A7, form and glue the tube and when the head is dry , attach it to the front. Here are some pictures of what it should look so far: 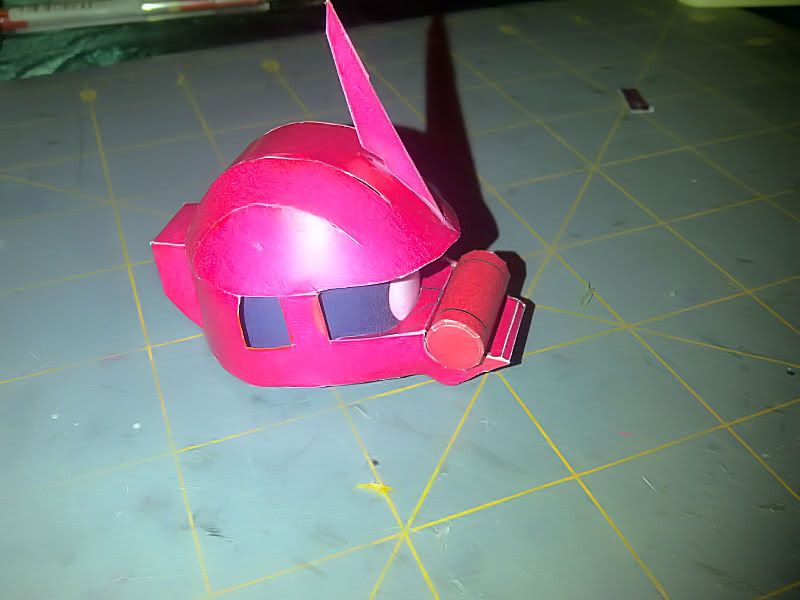 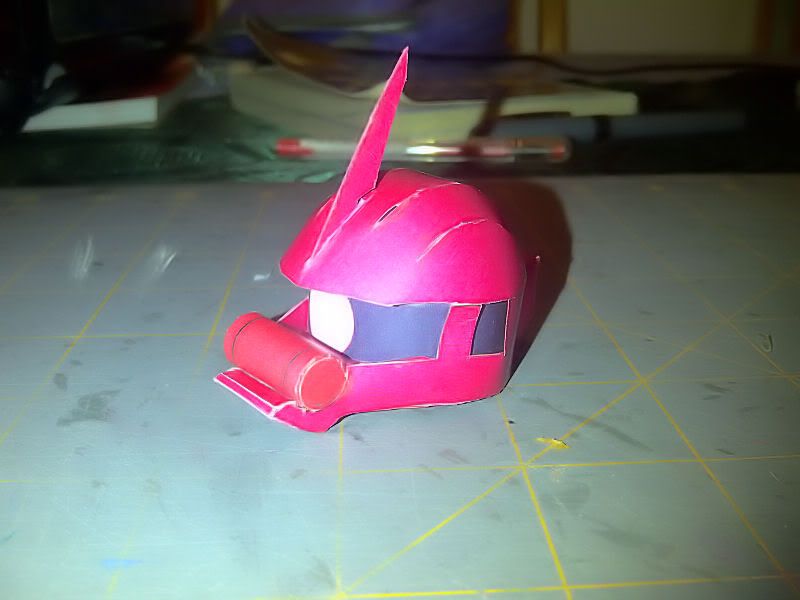 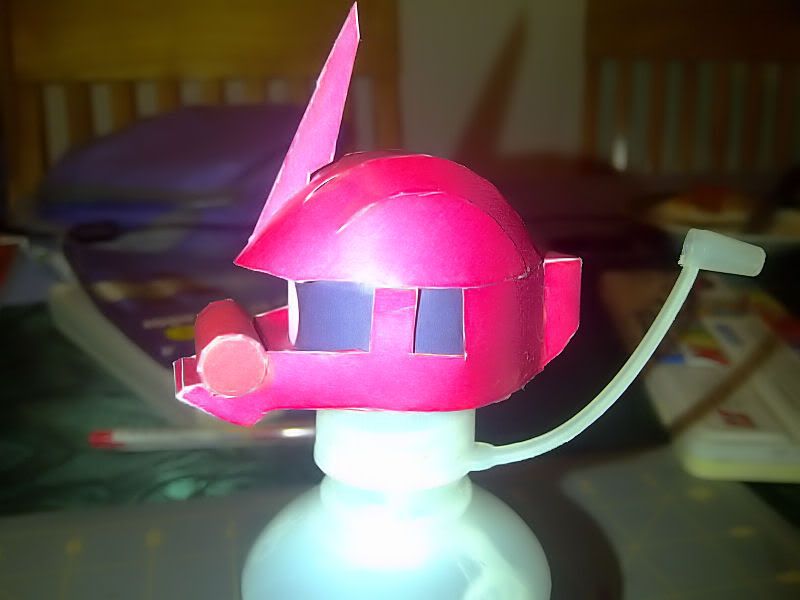 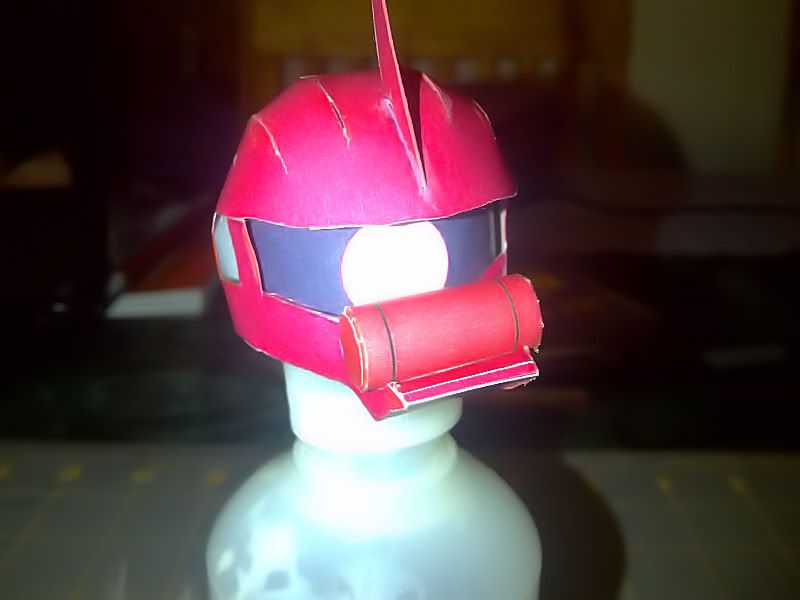 Next will be the tubes that goes around the head. Cheers! 
|
| Google Adsense |
|
#2
02-27-2012, 10:24 AM
|
||||
|
||||
|
Hello! I’m back again with more updates.
Next step is to build the hose that goes around the helmet. This uses 9 small tubular pieces on each side. 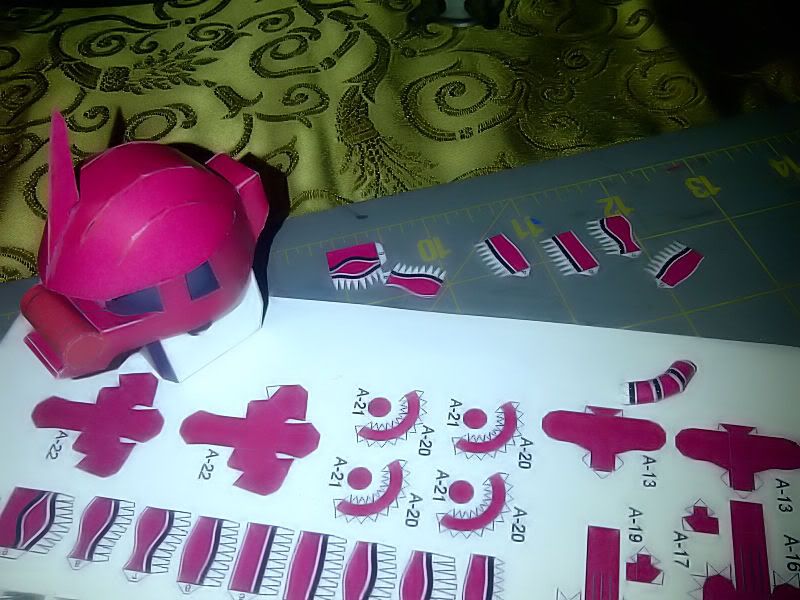 After I printed the parts, I found the same author did other Zaku versions that have this hose out of one single piece each side, I highly recommend getting these parts and use them for this Zaku, here is why: When you cut and paste each individual section of these parts, you get an approximate shape of the curve needed to go around the helmet, but due to inexperience/bad-cutting/poor-attention-to-detail/phase-of-the-moon , the final piece do not follow, at all, this curve. 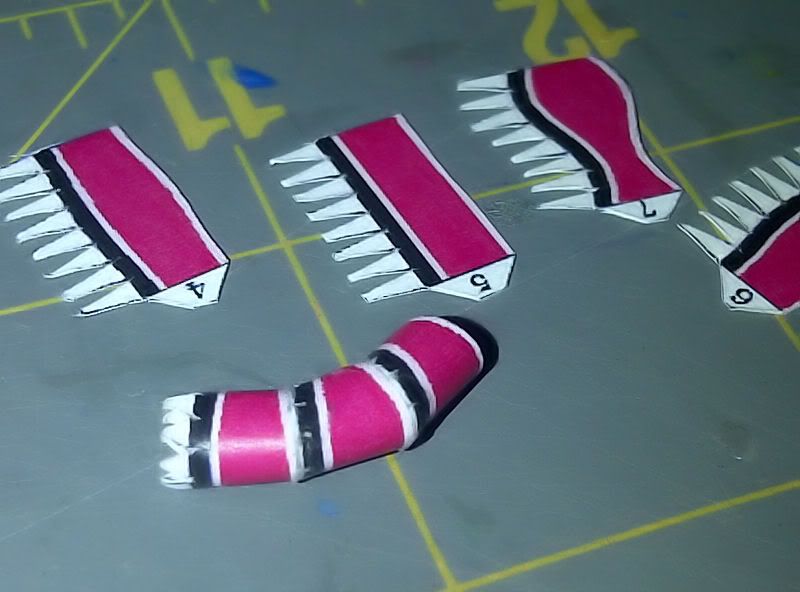 There is something you can do to prevent this to happen, and it is to start from both ends. This mean: fold-glue-attach part 1 to front of helmet, then fold-glue-attach part9 to back of helmet, then go to front, fold-glue-attach part2 to part1 and so on going back and front for each section, and even then you will end up with a wide gap between part5 and part6, use a duplicate of part 5 to close the gap, so at the end you will use 10 parts for each side. This is how the left side of my robot ended up looking like… 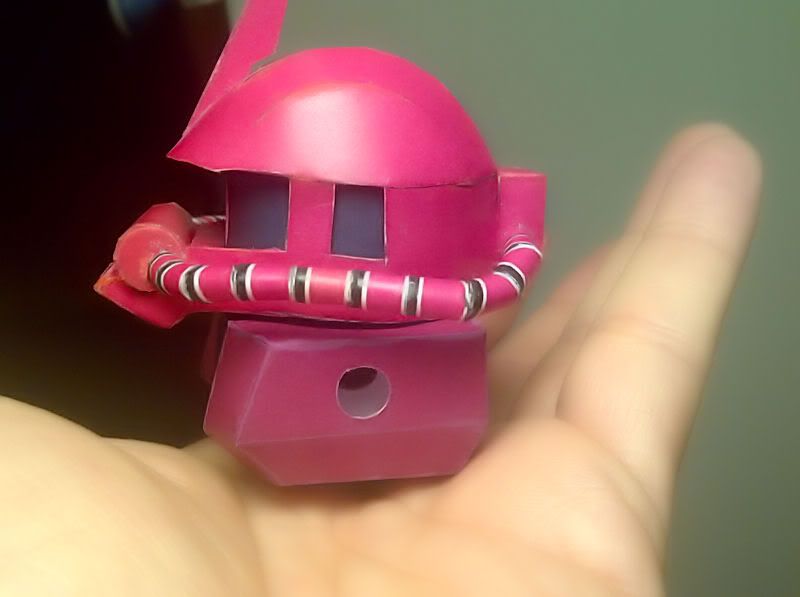 Next step is the torso; this is a straight forward assembly in which you only have to cut, fold and past in order, parts E1, E4, E5, D1 & D2. You can layer E4 in a thicker card, since this is the piece that will hold the head and let it move. I put the two assemblies together and took some pictures (as you might have noticed on the previous picture) : 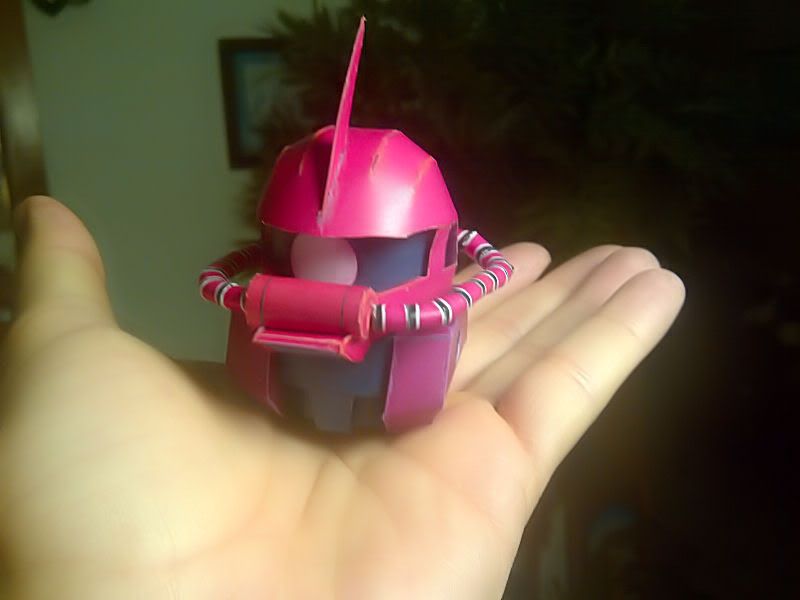  That will be all for today, I will update what I manage to do tonight (yes I'm building faster than I usually do)  Best regards.
|
|
#3
02-28-2012, 01:42 PM
|
||||
|
||||
|
Hello, here are my latest updates.
Next step for the Zaku is the skirt . . . yes, this though guy loves to wear skirts!!  Jokes apart, this robot was designed loosely based on a Samurai armor (you can follow this link for an image of a real samurai armor ) so this is some extension of the upper armor section. This is also another straightforward assembly, no problems on it. Just cut and glue parts around part D13, start with D5 & D6 once they are glued, attach D9 , D12 & D11 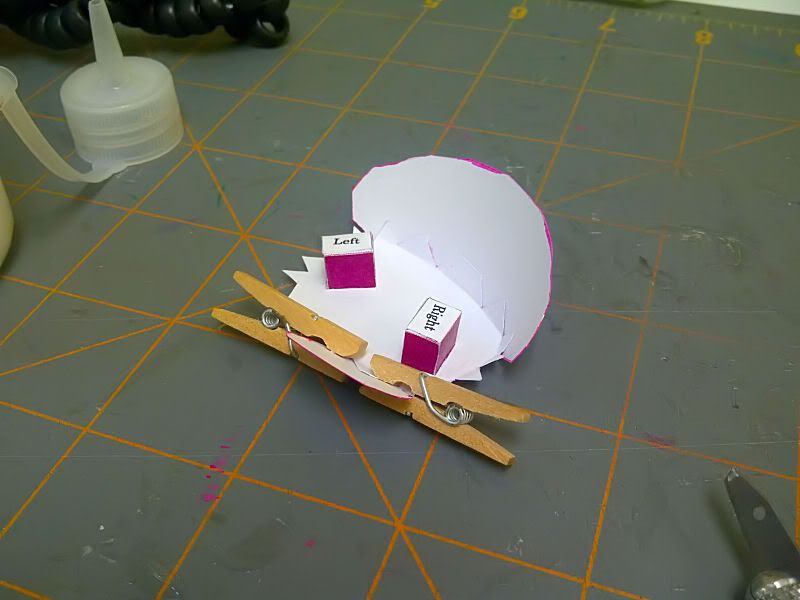 After that, glue at last D8 & D10. Then continue with the inner part D7 with tube formed by D4 & D3 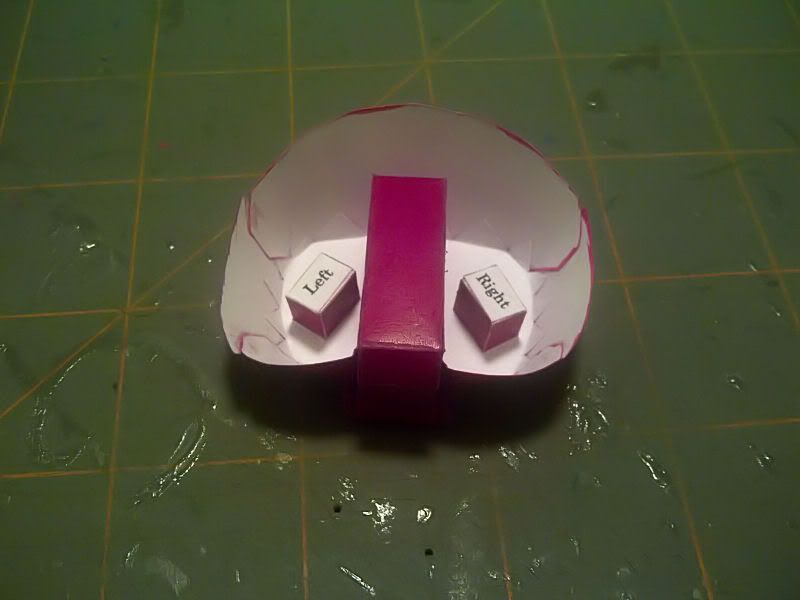 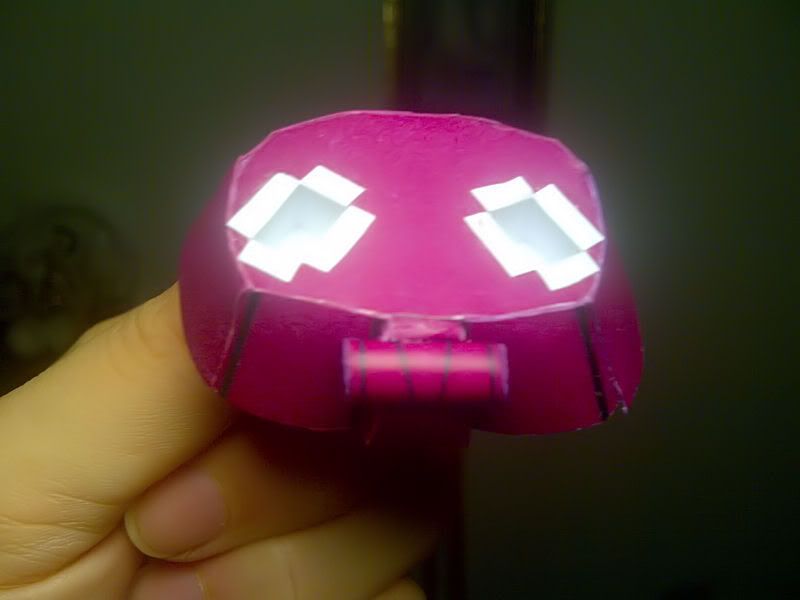 And thats it, it is finished now Here is our little fellow modeling his recently finished skirt er I mean lower armor 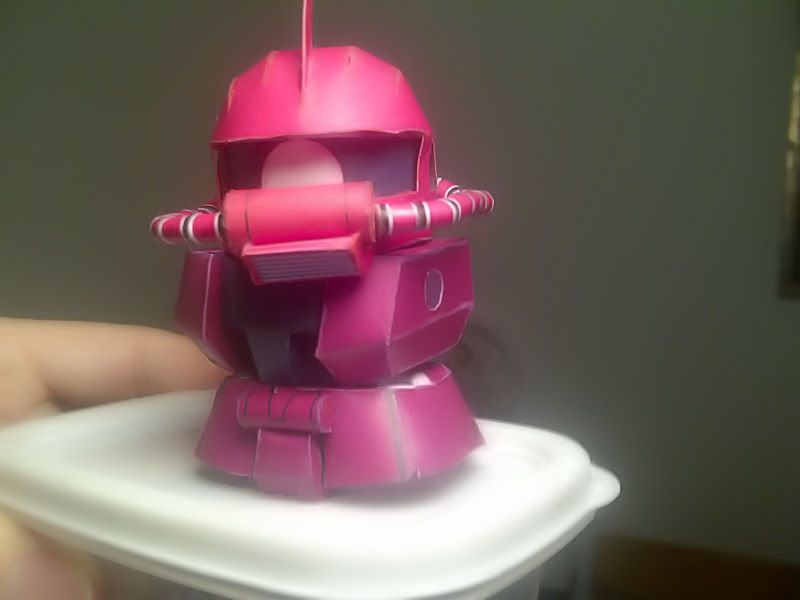 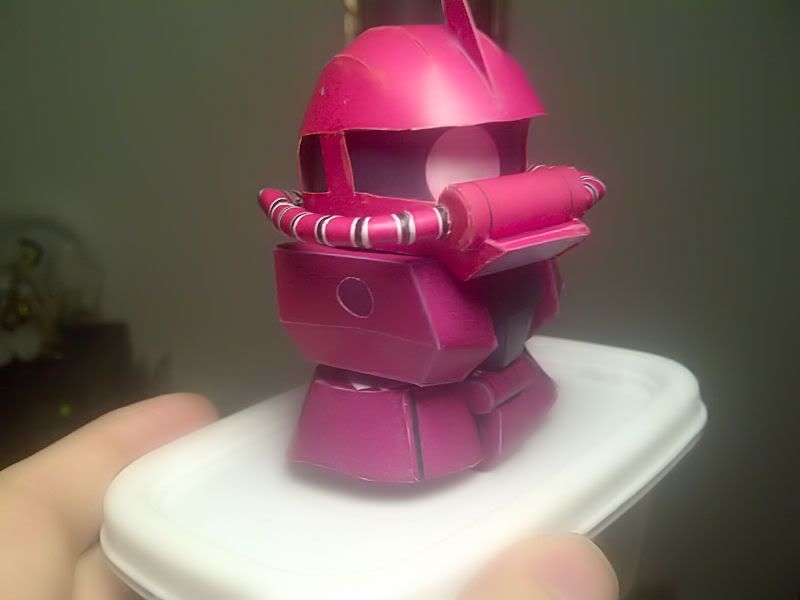 Tomorrow .the shoes and maybe the legs.
|
|
#4
03-14-2012, 11:25 AM
|
||||
|
||||
|
Im sorry for not updating more often; however, I have not stopped building.
This time it is the turn of the shoes-legs assembly. The left shoe goes straightforward with pieces E7-E9 then B27-B29, then E13. part E13 should be glued over B29, like this: 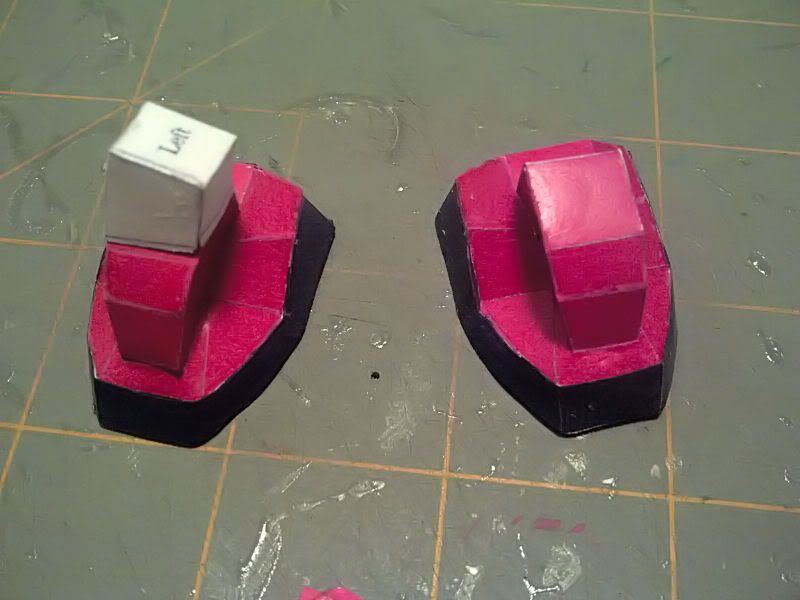 Remember to repeat steps for Right Shoe with parts E8-E10-B28-B30-E14 Now is the turn for the legs, original instructions have an error while indicating parts numbers involved in the assembly. I found part B9(B10) 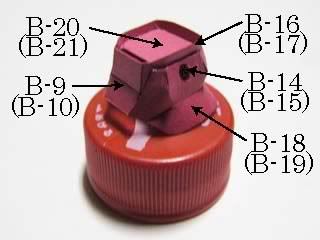 ..should be substituted by B22(B23) 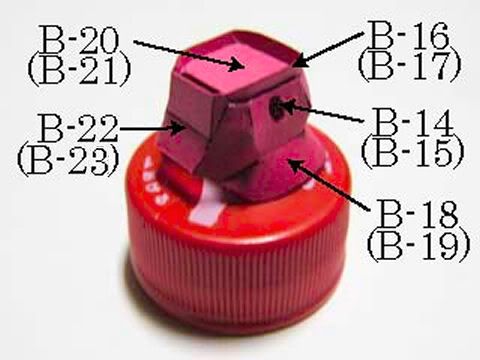 Start by part B14, then glue B18 and then B16, make sure part B16 has color on both sides since a little of the inside part can be seen once finished, make the part round by using a semicircular object, like the tip of a pens cap , to create a curve on the paper from the inside of the part. You will end up with something like this: 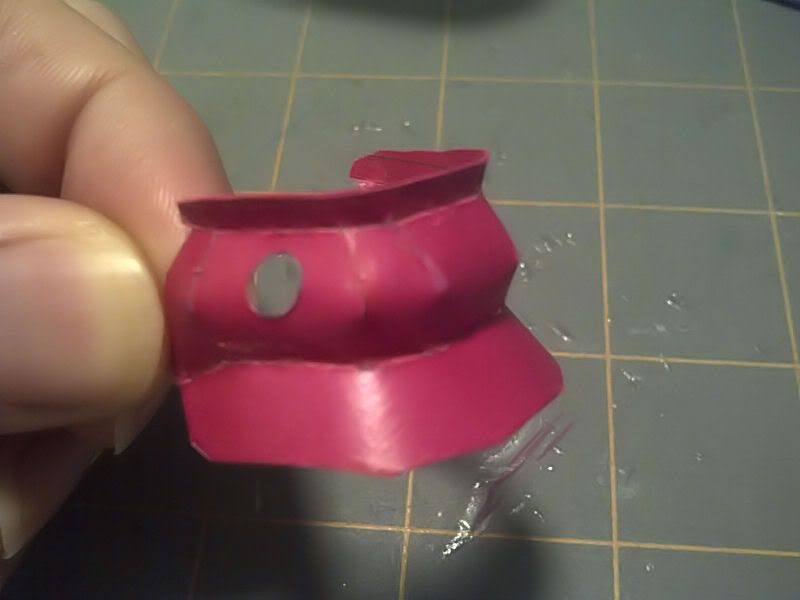 Next you should close that assembly with part B22, like this: 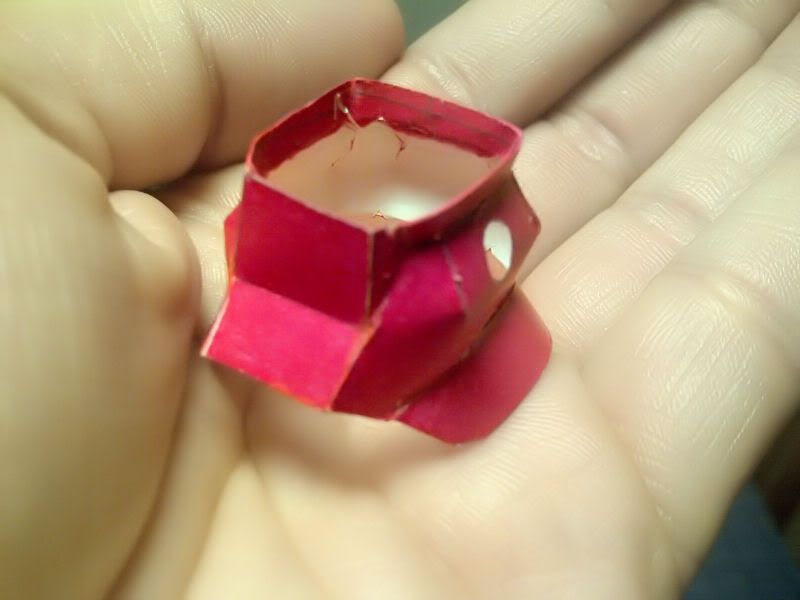 Now goes part B20 on top of them: 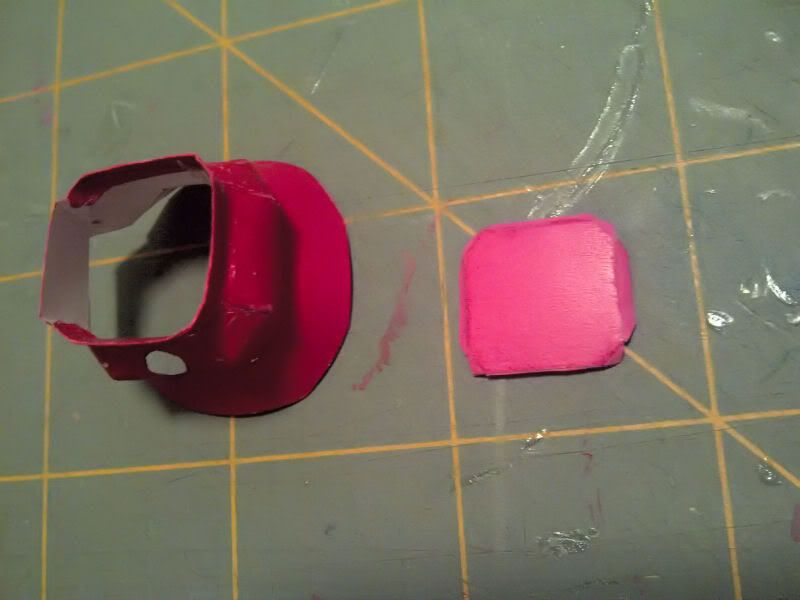 You fold your part, apply glue on the tabs, and then put the part from the inside-out in order to align it with the bottom of B16, the side without glue tab on B20 should go toward part B22, your parts should end up looking like this: 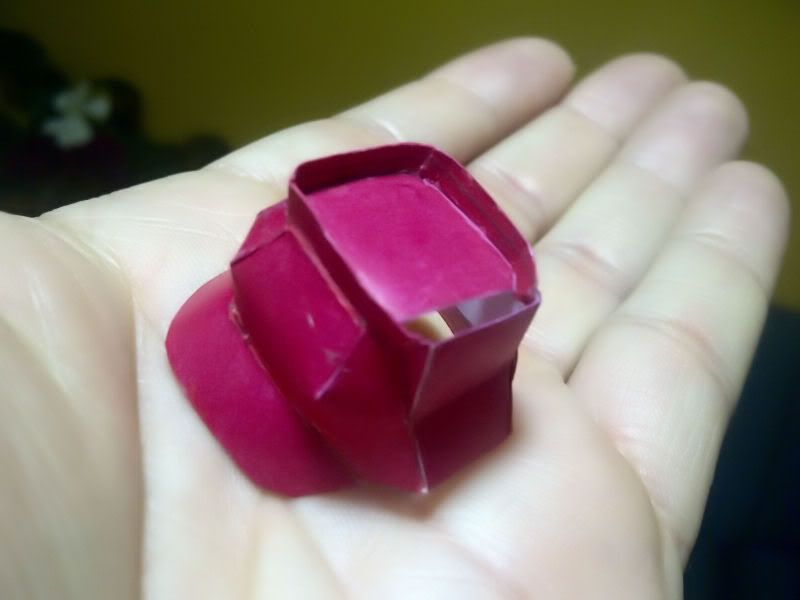 One part not clear enough on the original instructions is the joint part , it is formed by B24 and two B26, like this:  Attach B26 on each side of B24 to form this: 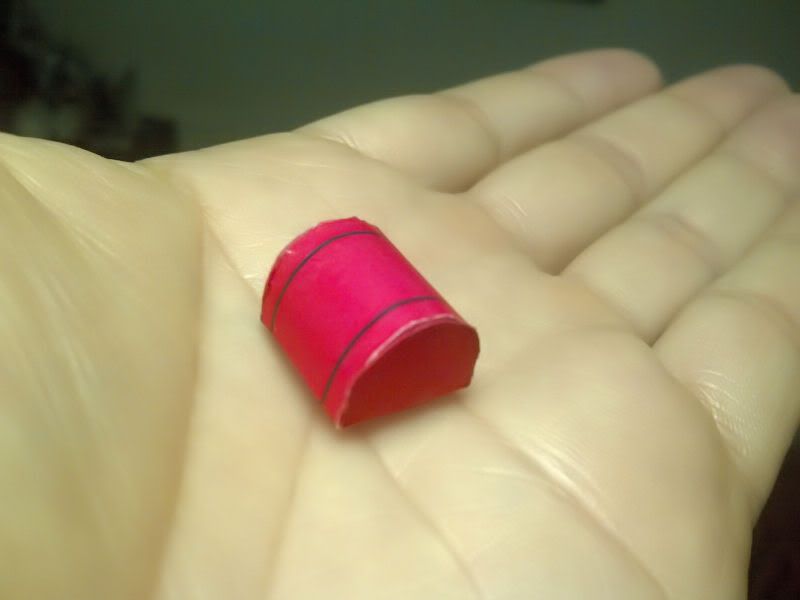 Glue joint part over B20 making sure you got it in the middle, that is same space from one border on every side. After that you only have to fold and glue B12 and knee part E11, on part B12, make sure you cut the square hole the same size than assembled part D6 on the skirt assembly since this is where the parts go together. After repeating same procedure for right leg and foot, you will end up with this: 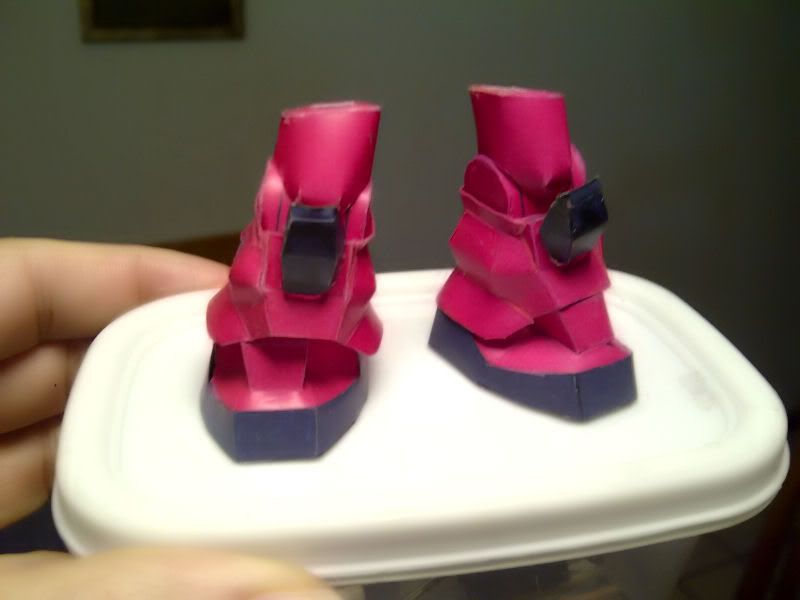 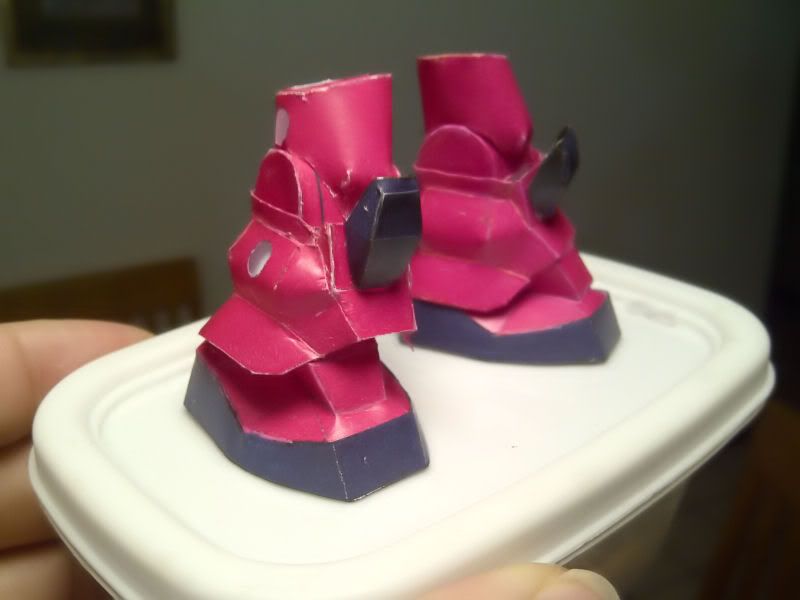 I couldnt stand against the temptation so I got all assemblies together and took some pictures. Here is the figure, so far: 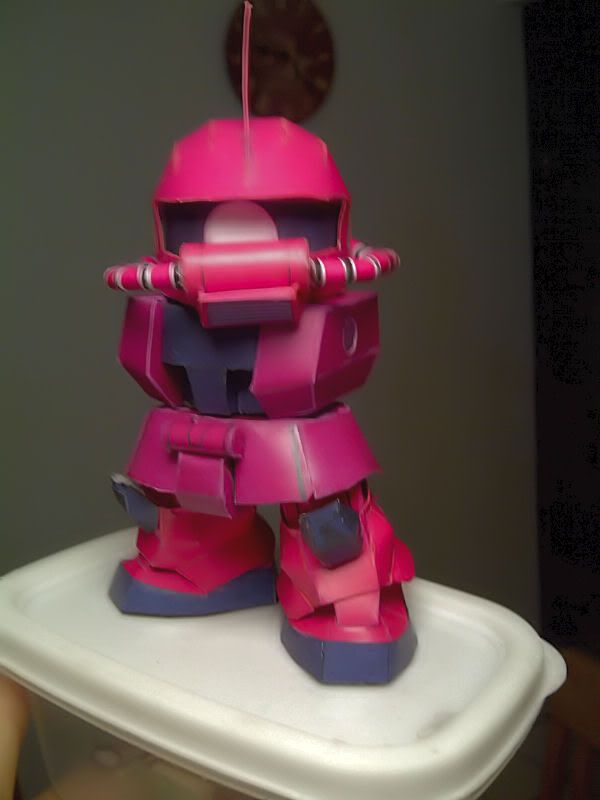 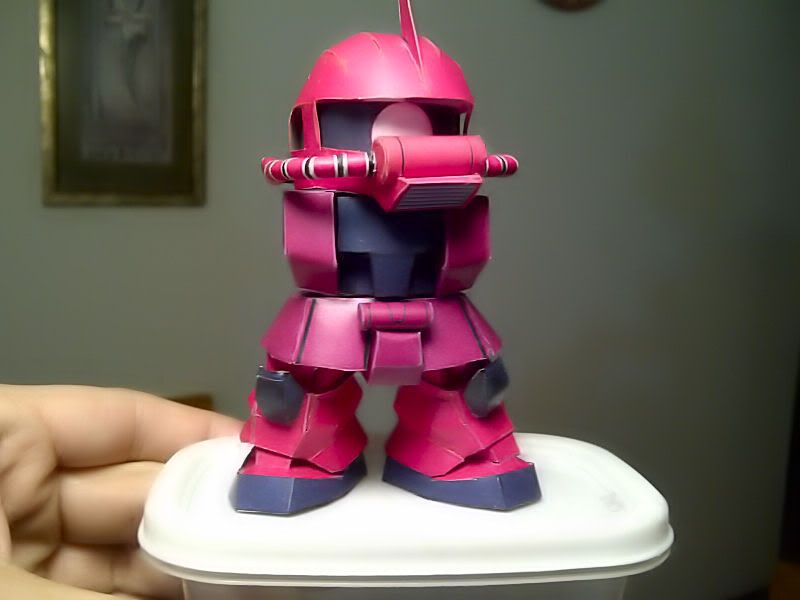 Until next time .
|
|
#5
03-16-2012, 04:53 AM
|
||||
|
||||
|
great tutorial, keep up the good work....
__________________
Free IT tutorial : http://www.bukanSembarang.Info
|
| Google Adsense |
|
#9
03-27-2012, 10:58 AM
|
||||
|
||||
|
Ok, this is almost the last report before I finish the figure.
The arms do not present any problem. As the order on the original instructions indicate, I first assembled the shoulders with parts E-2 and A-12 for the left and E-3 , A-11 and B-4 for the right (the one with the shield). Then the fore-arms with A-13 and two copies of A-21 and A-20, I recommend to cut out the glue tabs of the outside on A-20, this will allow for a neater finish on the area that glue to A-13, also I glued these round parts after all other arm parts were attached, this help you to position these on the proper place, no matter how bad you missed alignment on the other parts. Fold and glue parts A-15 and A-14 and then glue A-13 to them Once you get to the hands, there are some pieces mislabeled on the illustration. Here are the correct numbered parts and the original at its side 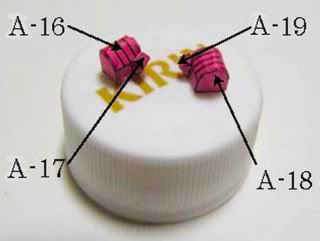  Fold and glue A16 and then fold and glue A17 for the Left and, then repeat with A-18 and A-19 for right hand. To help orienting you which side is which, remember that the thumb should go up and inside once glued to the forearms. Now fold and glue part A22, this is the connecting section that goes between the shoulders and the forearms, the flat-square part go to the shoulder, and the inclined side to the forearm. This is not show on the original instructions but if you take a look at the different pictures on the original Gallery you can make out how things go. Next is the Shoulder armor, here you start by folding and gluing part B9, remember to cut the holes on the sides. Then using two B8 parts already folded and glued as cones, introduce them from the inside to glue them on B9, make sure the glue tabs are folded to the outside, making like a crown around the circular base of the cones. For the third B8, I cut-out the glue tabs, folded the cone and then glued directly on B9 between the other two, look at the pictures to see the right position. Glue shoulder armor to shoulder assembly to A12-E2 I did the backpack after all this, I think the original design called for parts B4 and B5 to be glued around the holes in part B1 to create some counter relief when gluing B2 behind it, but what I did was to glue a 1mm card under B1 BEFORE CUTTING the holes, and then cut the holes and paint the borders, fold and glue and then attach B2 with the color side showing trough the holes. It was faster for me, but take in account that you will need a brand new blade to cut through the 1mm card. Thats all I have accomplished so far, as always I put everything together and took some pictures of the figure. 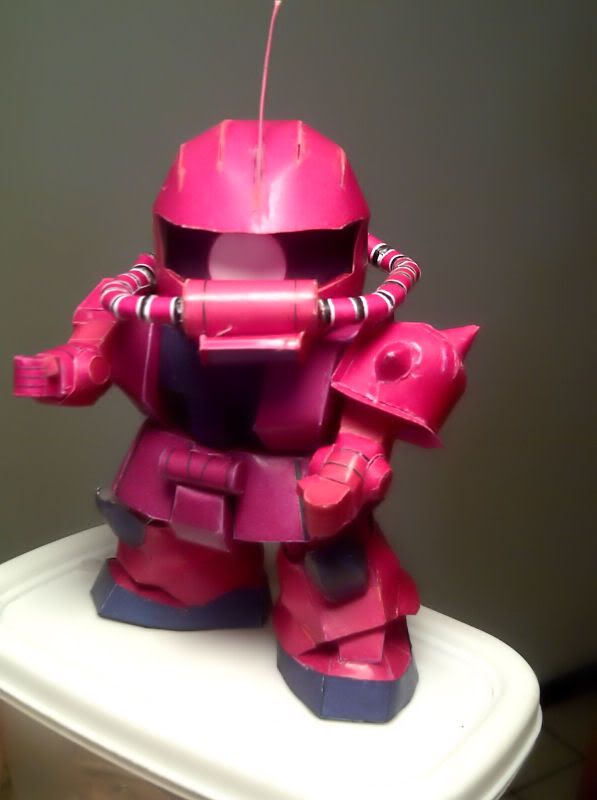 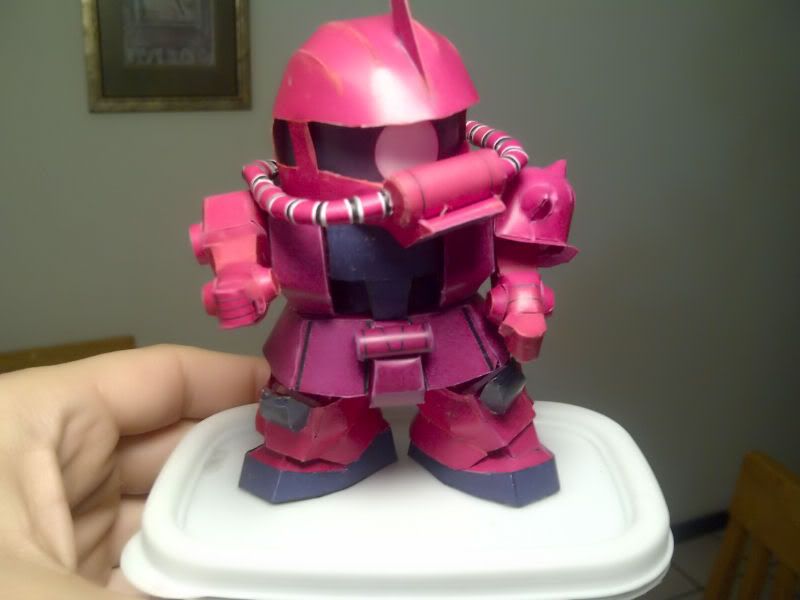 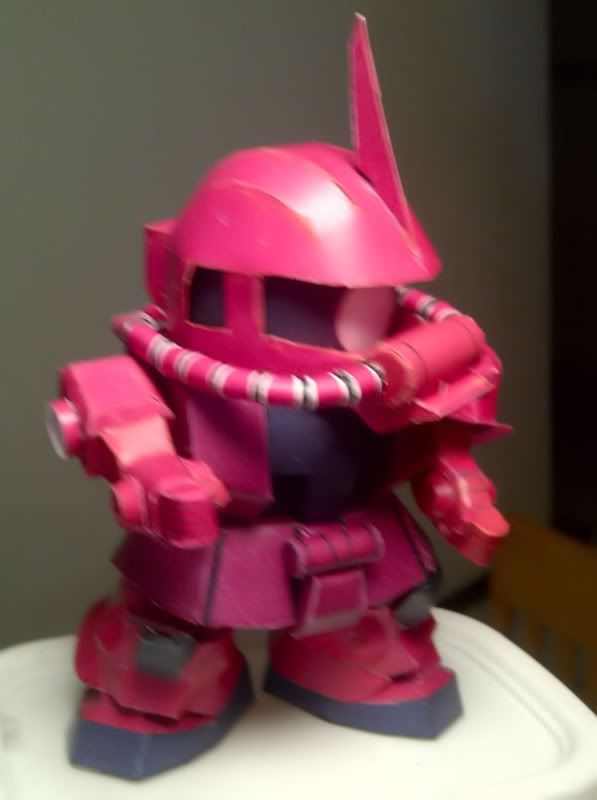
|
 |
|
|


 Linear Mode

