


|
|
|
#121
 08-21-2009, 06:39 AM
|
||||
|
||||
|
Well if he is delayed its probably partly my fault. I keep offering him commissions on new designs - gets some cash in his pocket
 which in turn allows him to have free time to do his other stuff. Seems people are interested in this joint strike fighter thing which in turn allows him to have free time to do his other stuff. Seems people are interested in this joint strike fighter thing Chris
__________________
Want to buy some models from independent designers? http://www.ecardmodels.com and visit the shop! 
|
|
#124
08-28-2009, 03:41 AM
|
||||
|
||||
|
|
|
#125
08-28-2009, 10:03 AM
|
||||
|
||||
|
Hi Jules. What a fantastic model. I can't wait to start building it. As mentioned earlier, it really is a masterpiece. Going by the head and now part2 the final product really will be a fantastic built!
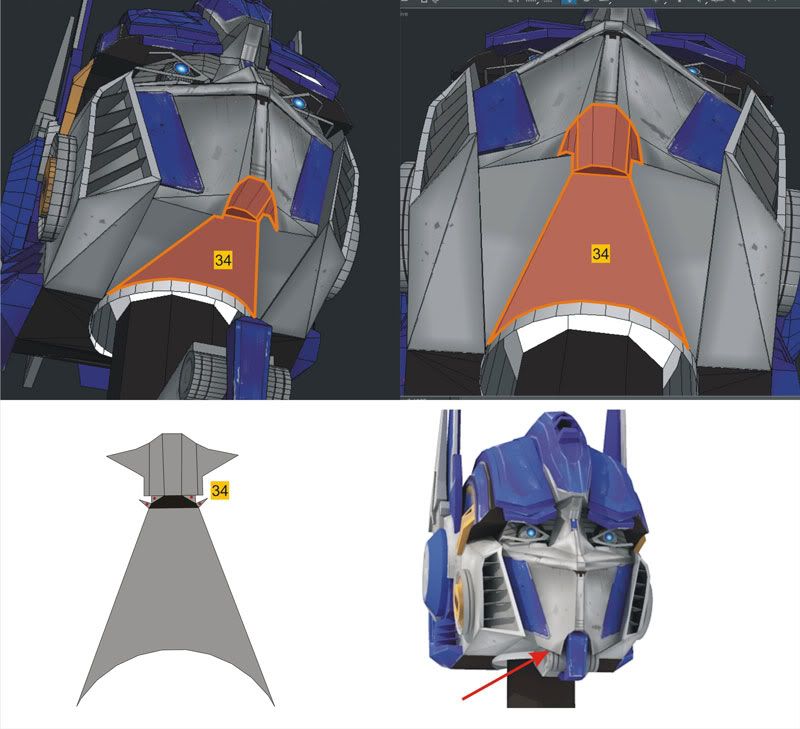
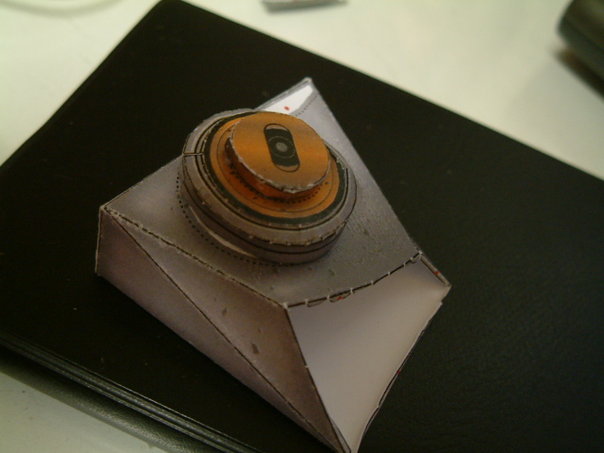
When going over all the pieces however I seem to be left with one extra. No.34. I can't seem to find it in your instructions. I wouldn't want to leave it out and fing a gap at the end. could you tell me where it's supposed to go. Thanks
__________________
Stephen
|
| Google Adsense |
|
#126
08-29-2009, 05:44 AM
|
||||
|
||||
|
Stephen, that's part 34 on the image below
|
|
#127
08-30-2009, 10:20 AM
|
||||
|
||||
|
Thanks Jules. Thats brilliant.
__________________
Stephen
|
|
#128
09-10-2009, 10:31 PM
|
|||
|
|||
|
|
|
#129
09-16-2009, 10:55 AM
|
|||
|
|||
|
Hi It's been a little while since i have been able to do some progress in my optimus build. Since i wnat to do the movie version i decided to scratch build the front chest pieces to more accurately represent it. Now i will use Jules pieces 2A and 2B to support my own I'll figure how to do it later once i get back on track.
Since i already had all of that designed it was a matter of putting textures on my parts but since I am but a beginner when it comes to texturing and because i still don't have any ink i decided to make all parts texture-less and to cut out each detail on separate paper. I'm still using my metallic paper.  First i printed the parts on normal paper to get the size right with the head.  I decided to star with the front most pieces of his chest. I made them using the embossing technique i described before. the were much easier to make than i thought they would, and came out pretty good I think.  Close up of the detail.  Comparison between weather and clean version.  Next i finished the part from a single piece. all panel lines were scored and the rivets were made pushing the paper from behind as most of you do. The blue details were drawn by hand then cut on silver and blue paper the blue part slightly smaller than the silver one, then pasted on red part.  Again i cover the whole thing with clear film to create the shiny look.  Both pieces finished.  With the head "in place"  I started the middle chest piece with the autobot logo on it. As you can see my printer only prints in green so i made it in green then made silver panels to cover it up, weathering was done with a black marker .  Finished piece. Again for the logo i had to cut out everypiece on silver paper then paste on red paper and finally onto silver embossed panel.  Close up in place.  I started the windshield. his chest it's starting to take shape.  Finally this is what I have so far. Flames were done using same technique described above. I can't wait to continue on this project as soon as i get some time off work. also I have been working on the now famous modelik Jupiter steam engine. I may start a thread on it if i get the time. Any comments are welcome. Cheers..
|
|
#130
09-16-2009, 06:04 PM
|
||||
|
||||
|
Alejandro, your work is simply amazing! I have no words to say except that I hope you keep going and finish the whole model so we may enjoy the final result. Even just an Optimus bust would be awesome. The 3d customized effects you made are very realistic and the natural looking wear also adds another level of realism. Love that metallic paper!
-Loudog
|
| Google Adsense |
 |
| Tags |
| movie, optimus prime, transformers |
|
|


 Linear Mode

