


|
|
|
#1
 07-24-2009, 03:09 PM
|
||||
|
||||
|
Marek Marathon: RWD 14b "Czapla" Polish Air Forces 1939
After Polish Morane Saulnier AI I asked Chris about PZL P-24, but it was taken. I asked him if there are any other Polish aeroplanes, and to my astonishment he proposed RWD 14b "Czapla" - I've assembled almost three decades ago its plastic model and building it in paper wersion will be like a return to childhood dreams of flying.
The model is more complicated than Morane - for starters there are six pages of parts instead of three. There is a lot of equipment in two cockpits, very complicated cowling and engine. Both planes are umbrella monoplanes powered by rotating radial engine - so in this aspect they are of quite similar construction.  First thing - I've glued almost all parts - that were meant to be thickened - on a 0,5mm cardboard and cut them all out. If there are inside cutouts i do them first, and then I cut the outside. As I'll later sandpaper the cut edges smooth, I can cut curves approximating with a series of flat cuts - pressing the blade down into paper again and again. This is fast and accurate method.  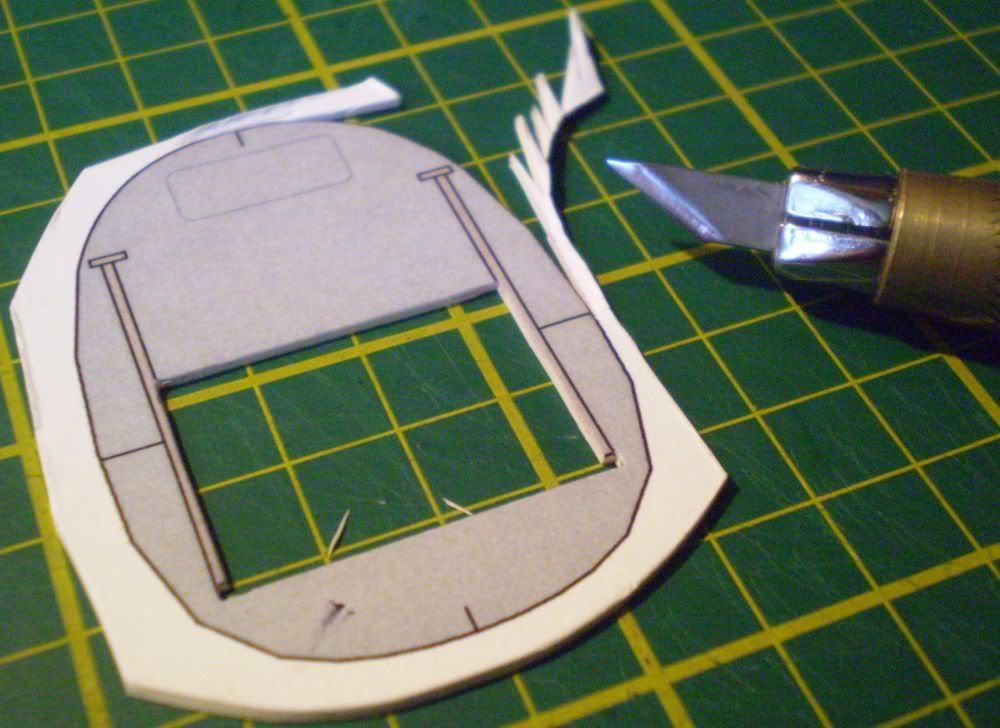 I marked and pressed out the marks of skeleton ribs impressed on fabric covering rear part of fuselage:   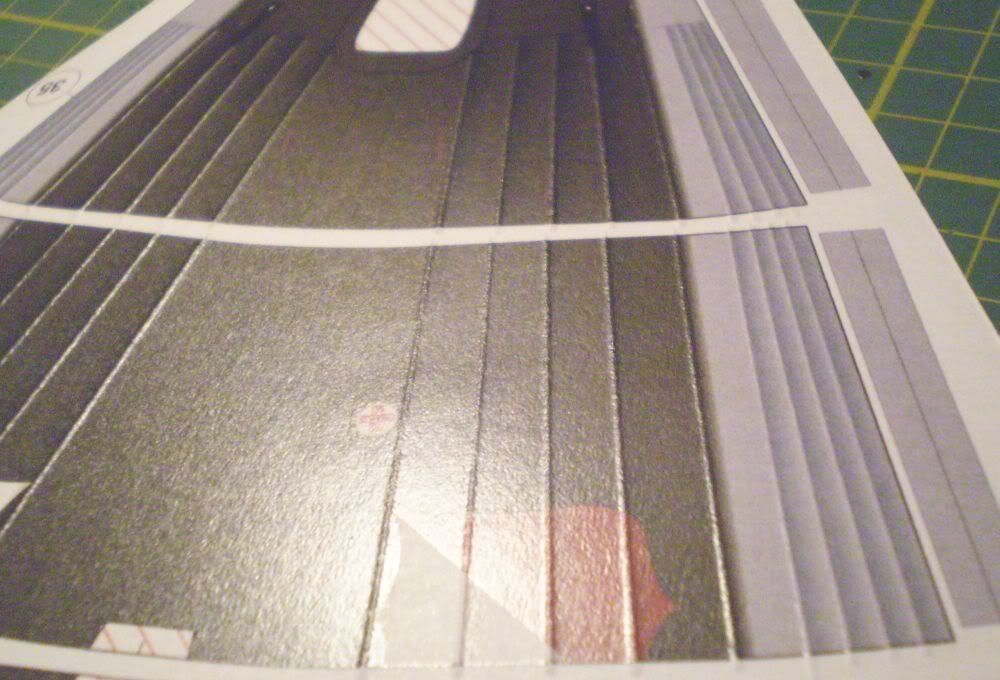 I've thickened the cockpit framework also - althought it was not marked for thickening, the marking on the floor clearly show that it was meanto to be thickened. And good - the framework in Morane was very flimsy. This one will look more sturdy.   As one can see, there is a lot of parts for cockpits with equipment - a small model in itself. Thats the next step. 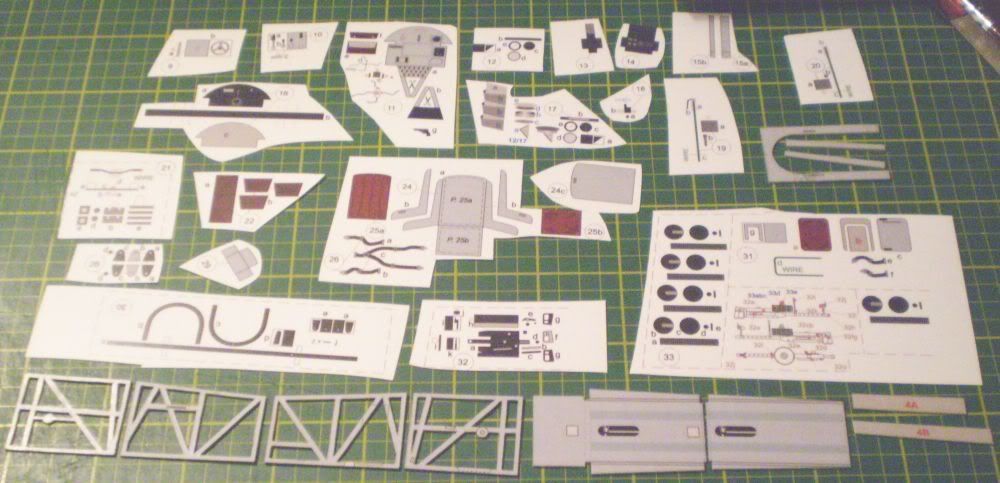

|
| Google Adsense |
|
#2
07-24-2009, 03:12 PM
|
||||
|
||||
|
WOW! very fast
 looks great and thanks for the tips looks great and thanks for the tips Chris
__________________
Want to buy some models from independent designers? http://www.ecardmodels.com and visit the shop!
|
|
#3
07-25-2009, 06:23 PM
|
||||
|
||||
|
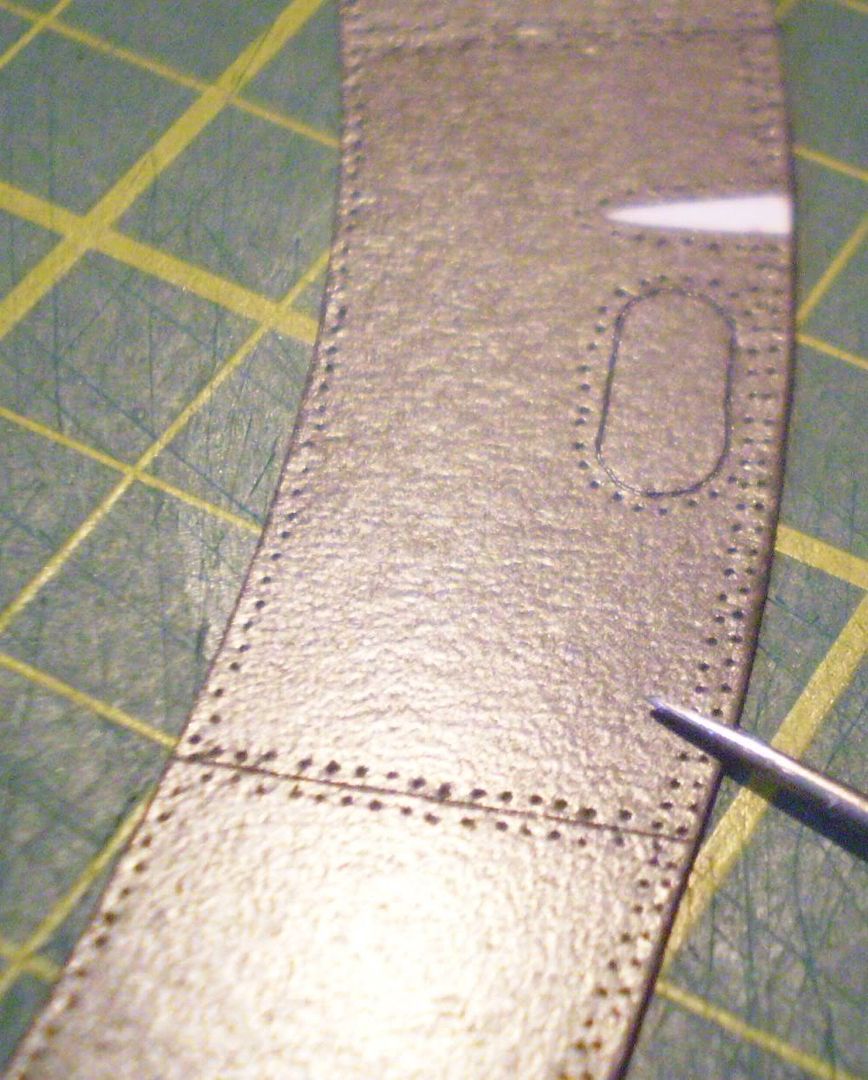
As I'm still experimenting with enhancing of a model features, I have added rivets pressed with blunted sewing needle and with a dry ballpen with ball removed. Partitions were marked by pressing a blunted Olfa knife. The indentures are almost invisible when looking straight on, but under light you can see them perfectly. I think in this scale this way is perfect, as they'd be visible only from close distance anyway. Btw. pressing all of the rivets and lines of sheets partitions on the fuselage I've come to a real appreciation of the amount of work put into making an airplane. All those rivets, sometimes in two rows had to be each clinched separately, not mentioning drilling the holes...
   After making a swiss cheese out of fuselage I've come back to the cockpits and equipped the crew with: Something to sit on. I tried to make the seats comfy by impressing their surface from the top with an empty ballpen to make crevasses, with an empty ballpen with ball removed to make buttons and from the back with a rounded rods to make them puffy. The belts were added too, so they will be safe flying upside down :)      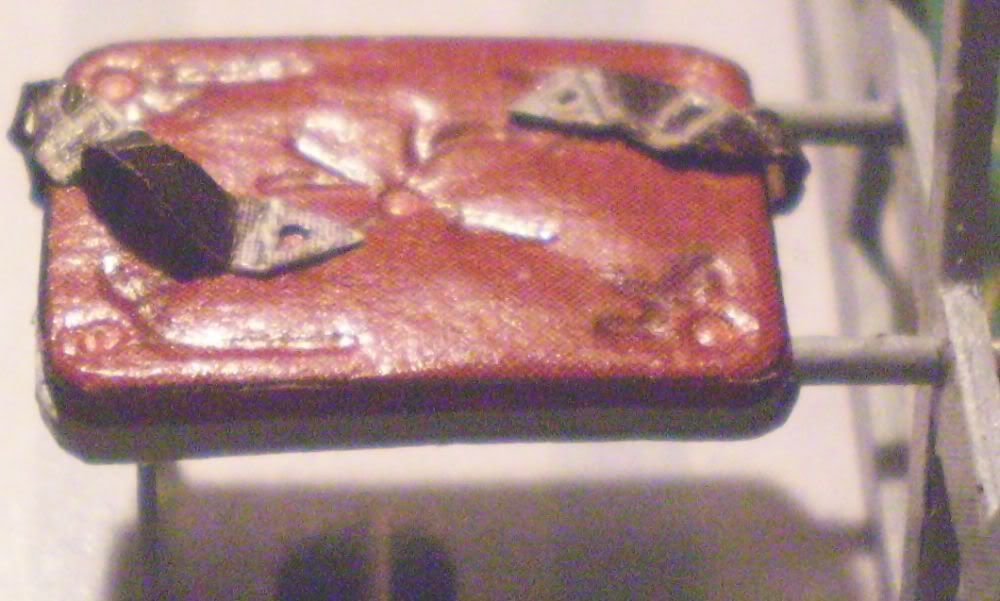 Something to look at. To make the instrument panel more interesting I've indented it too, in a simple way making it much more realistic.   Something to put a gun on. I've glued flat parts of the rotating base to the thickness equal to the width of the part that is glued around them, sanded them with a fingernail file and a tool I've made gluing a piece of sandpaper around a toothpick, retouched and glued together. Then I've cut holes in hinges using a thin syringe needle (it's short to prevent bending).      And something to shoot from. At the moment only the blocky part which I've done similarly to the one in Morane with added indentures along the lines on the part, and the barrell which I swiss-cheesed with the syringe needle shown above. The barrell was rolled on identical needle only longer and glued on place.     The gun is not ready yet, just as the instrument panel - they await their completion along with the rest of the cockpits equipment.
|
|
#4
07-26-2009, 02:14 AM
|
||||
|
||||
|
Great job so far.
__________________
My commercial models
|
|
#5
07-26-2009, 06:33 AM
|
||||
|
||||
|
Looking very nice! And I for one accept the fact that if it looks good from a scale distance, it is very well done.
__________________
Ray Respect the Paper, RESPECT IT! GET OFF MY LAWN!
|
| Google Adsense |
|
#6
07-26-2009, 08:53 AM
|
||||
|
||||
|
Amazing! Got some great tips for us on how to improve the overall look just using whats provided
love it!Chris
__________________
Want to buy some models from independent designers? http://www.ecardmodels.com and visit the shop!
|
|
#7
07-26-2009, 09:39 AM
|
||||
|
||||
|
Thank you for the clear photos and precise explanation of your techniques. This is exceptionally useful.
Could you explain a little more about how you pressed out the "marks of the ribs impressed" on the fabric covering of the rear fuselage? Don
|
|
#8
07-26-2009, 09:47 AM
|
||||
|
||||
|
I think he did it just like scoring a line but from the back then burnished the front a bit.... I think....
 Chris
__________________
Want to buy some models from independent designers? http://www.ecardmodels.com and visit the shop!
|
|
#10
07-26-2009, 04:26 PM
|
||||
|
||||
|
Thank you all for your appreciation. It is my intention to help other modellers build models better and fast.
Don Boose. I've used my backup copy for presentation of making lines impressed in fabric covering fuselage by ribs of the inside construction. As the impressions are raised, the pressing must be done from the back. But at the back there is no way of knowing where to press. So first I have to mark the beginning and the end of the line to be pressed. If the line starts at the edge of the part, then I can easily make small cut with Olfa knife to mark the spot. But when the line ends in the middle of a part, there must be another way of marking - I use to that purpose the same tool that I use for impressing the line itself - an old dry ballpen (To make sure that it will not write anymore I've additionally washed it with alcohol). I simply press a dot at the end of the line. Then I turn the page over and using ruler connect the two marks by impressing line with the dry ballpen. The ballpen spot mark on the other side dissappears replaced with the impression. That's it. Nothing more is needed. The shine on the surface comes from the printing process - it's color laser printout - so no burnishing, Chris.      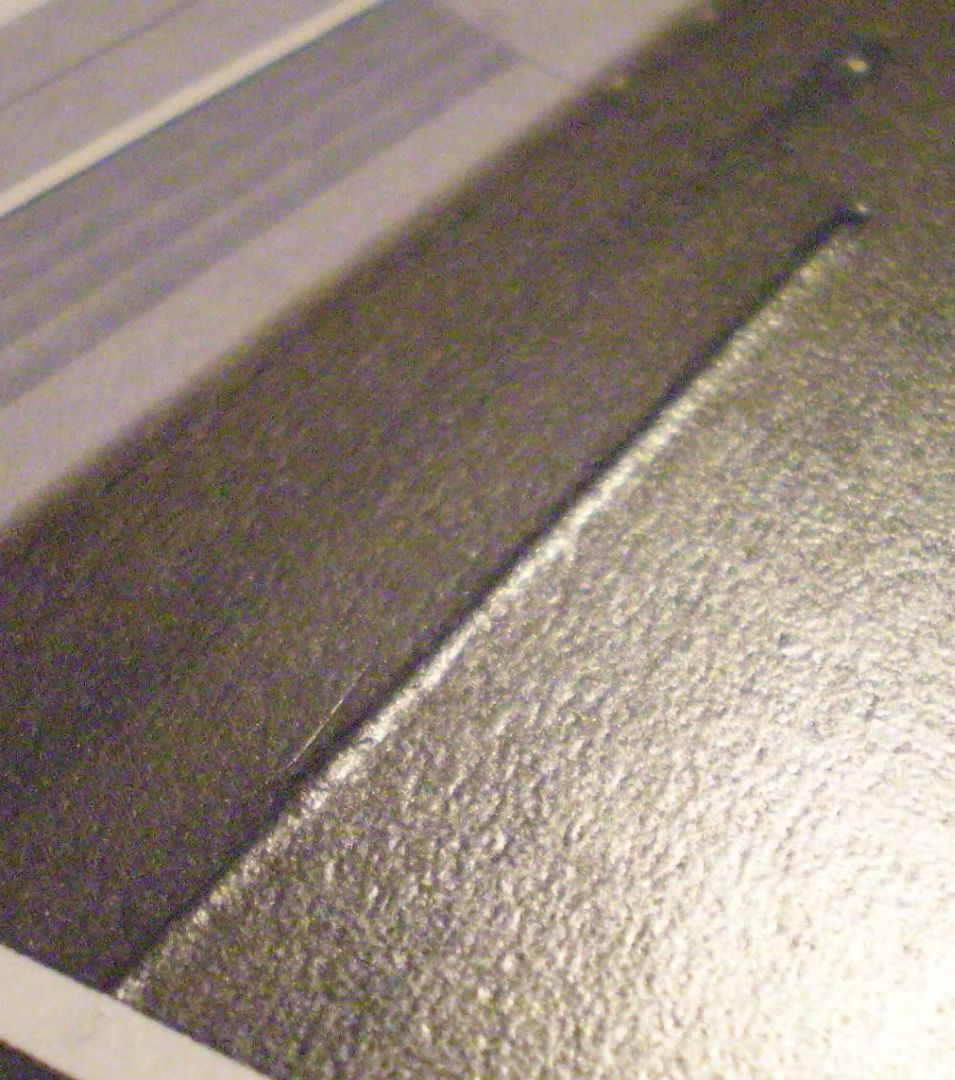 The instrument panel continued. I've thickened the front and back and glued around the ribbon part.    The gun continued. The grip and trigger is glued from three layers of card. First The inside cutouts are made, and at once I retouche the cuts taking the advantage of easy hold. The parts are glued together and impressed with a blunted olfa knife and a sewing needle.    The gunsight is rolled and glued on a sewing needle - its smoothly changing diameter allows for easy fit to the inside diameter of the small part and precise gluing the ends of a ribbon to create a tube. The crosshair is created by gluing two lenghts of wire over a hole in a cardboard, gluing the crossing point with a minimal amount of superglue, and then cutting it away and gluing inside the gunsight.    To the gun are glued other parts - to the final count of twenty one (not counting the crosshair). Now it looks dangerous    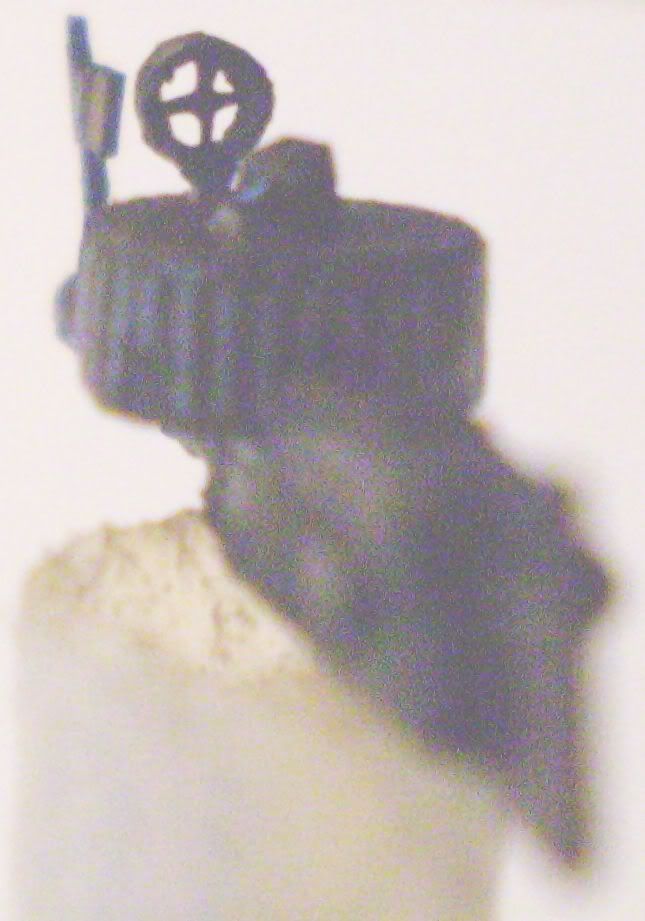
|
| Google Adsense |
 |
| Thread Tools | |
| Display Modes | |
|
|


 Linear Mode

