


|
|
|
#21
 07-19-2009, 06:02 PM
|
||||
|
||||
|
Progress :D
The tail. Skid, wires, support. Wires made from 0,16mm fishing line were cleaned with extraction naptha (removing fat prevents forming beads of paint), and then painted steel colour (Games Workshop acrylic paint 'chainmail'). I was surprised that skid, being so thick was supposed to be painted, instead of providing a ribbon to glue around it. Not that it created any problems :)    Guns. To make the boxy part I used a thinning method - all lines to be bent were thinned from behind - I've made two cuts on both sides along a line, taking care not to cut through, and then the thin strip of paper was scratched out leaving a valley in the paper where the part is thinner and easy to bend sharp, without any roundings. Where there were two edges to be glued on touch, I've chosen one of them, cut a line along it from behind and again scratched away the strip of paper. The thin part of paper is almost invisible to an unarmed eye and glued on touch to the other - unthinned edge - makes a sharp edge too. The water cooler was made exactly the way I described earlier. The muzzle was made of a 0,8mm syringe needle painted black.     Gunsight. Rolling rolling, rolling... rawhide  Everything has its place, everything is in its place...    Finally the fuselage is ready and all that's left is undercarriage, umbrella and wires :D 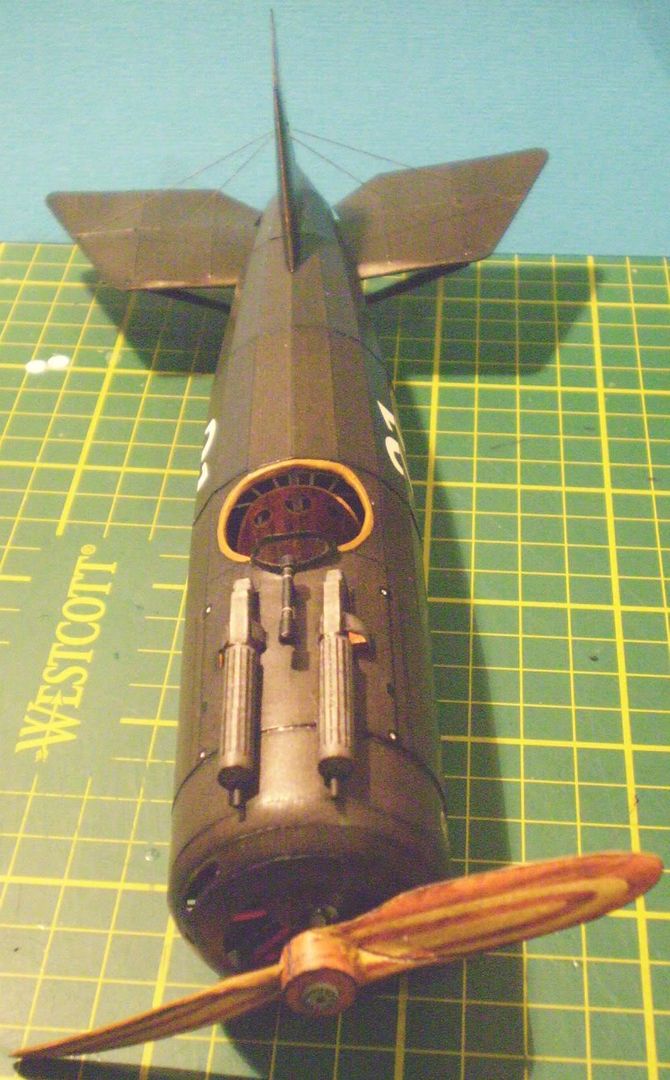

|
|
#23
07-19-2009, 06:20 PM
|
||||
|
||||
|
magnificent!
 Chris
__________________
Want to buy some models from independent designers? http://www.ecardmodels.com and visit the shop!
|
|
#25
07-19-2009, 11:54 PM
|
||||
|
||||
|
All i want to say...... OUTSTANDING............!!!!!!!
|
| Google Adsense |
|
#27
07-20-2009, 09:01 PM
|
||||
|
||||
|
Texman - your jets are coming nicely - no need to despair :)
Chris - it's closer and closer to the final photos :D Don, Werner - thank you :D Art Deco - There's a saying - the one that teaches learns faster :P Now the model. I made all those pesky pegs at once to have them ready to put the wings on. I rolled them into a drop shape - round on one side, sharp on the other. For now they're empty - I'll insert the wire later - the paperclipper is inside to help me form the shape.   To do this with part 26 I had to cut it where it bends   Finally all done, including the ones for the undercarriage   Which is assembled already 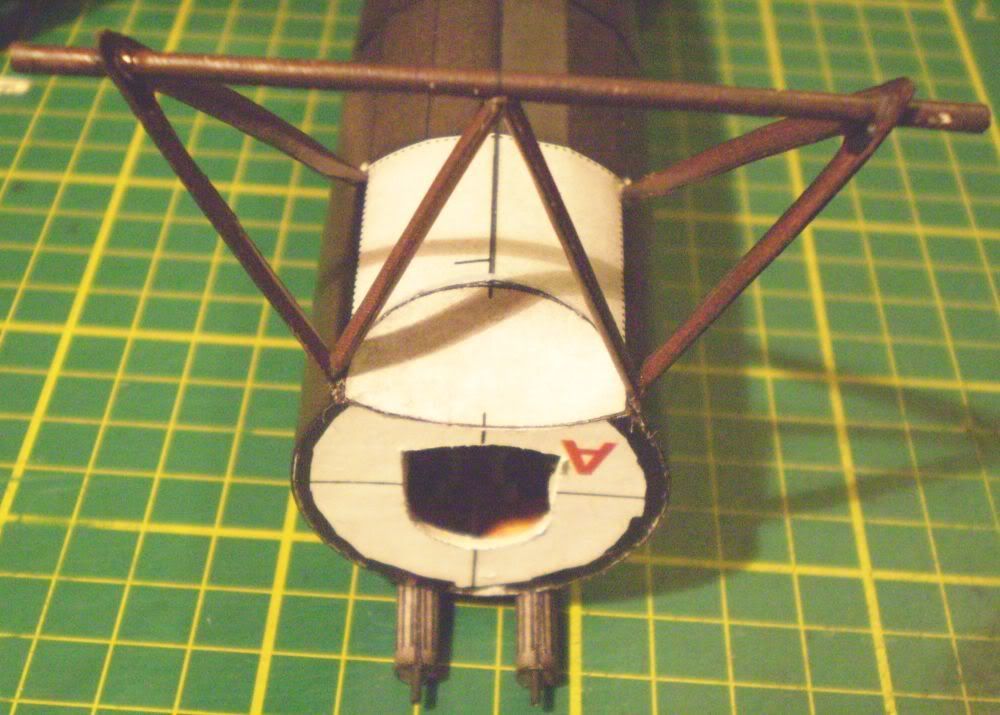 Now the umbrella, wires, wheels, final retouche and next model :P
|
|
#28
07-21-2009, 03:39 PM
|
||||
|
||||
|
Time to assemble the umbrella - to attach the wings to fuselage.
First, each peg has to be adjusted to fit neatly - some cutting is necessary. Then I put the wire inside, bend the ends if necessary, settle it in with superglue and cut the ends short.     The shortest pegs are glued in first. This is important moment - first, on dry I check if everything fits and is well aligned. Then, after gluing, the wing has to be precisely aligned with fuselage, tail and the undercarriage.   After that the other pegs are successively fitted and glued on place     Until the umbrella is ready: 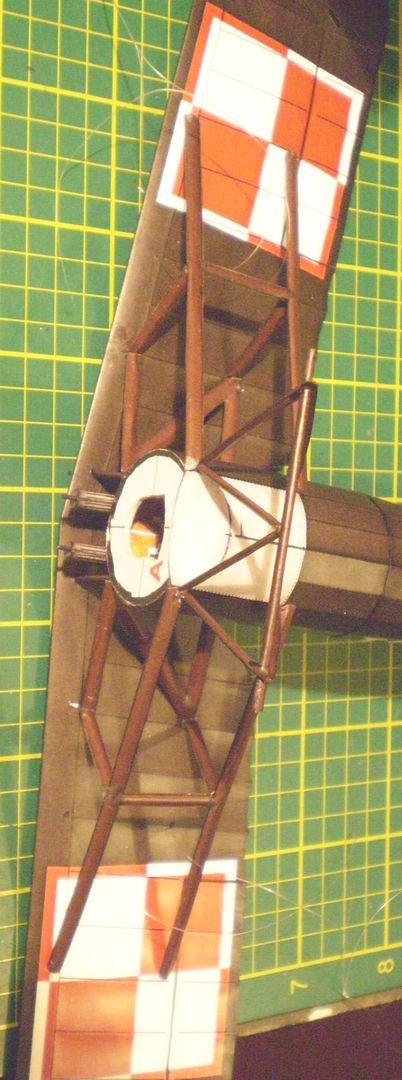 Ufff. That was difficult, I'm not entirely satisfied - there is a visible hole I just couldn't cover, visible spots of glue etc., but overall it looks ok. Last edited by lehcyfer; 07-21-2009 at 04:37 PM.
|
|
#29
07-22-2009, 01:41 AM
|
||||
|
||||
|
I have the lucky chance to see this report for the first time!
Great work and also it is my great pleasure to know the Polish site that you introduced. I really appreciate your showing us of a lot of techniques and look forward to follow your thread.
|
 |
|
|


 Linear Mode

