


|
|
|
#61
 03-12-2011, 11:05 AM
|
||||
|
||||
|
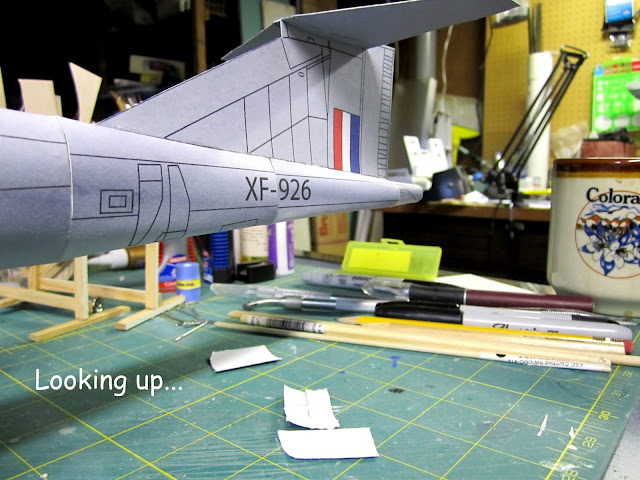
Stabilizer progress
Here are some updates to the mockup. I am adding parts quickly to just check for overall scale. Trying to hold up on total build out till all the parts are finished. This is the tail and the stabilizer. The tail is built out with the panel lines and graphics, the stabilizer does not have the panel lines on it yet.
__________________
Mike Dixon Anything in paper is fine with me 
|
|
#62
03-15-2011, 07:55 AM
|
||||
|
||||
|
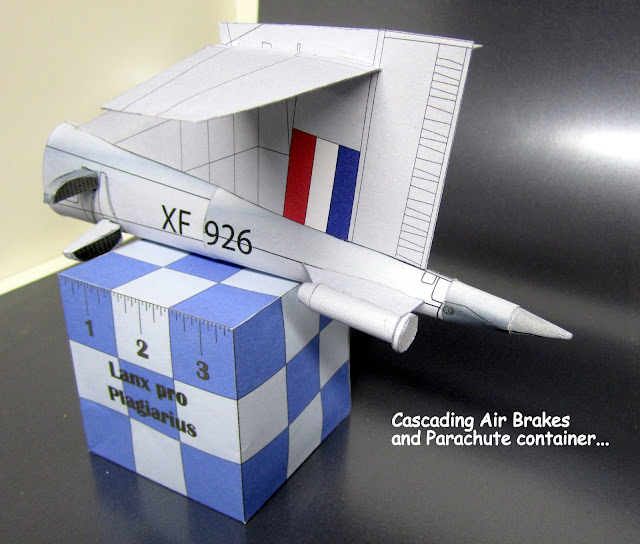
Rear Assembly
I have now got the shape correct on sec 17-sec 19 of the rear of the plane. I have added the cascading air brakes and the parachute container mock ups. The internal bracing for the rear fin has been worked out and the panel lines have been added. Some minor aligment issues and I have not addressed overall coloring of the plane inself. These colors you see have just been laid down to test different ideas. I will have to address the cohesiveness of the color soon...
__________________
Mike Dixon Anything in paper is fine with me
|
|
#63
03-15-2011, 10:14 AM
|
||||
|
||||
|
Hi Mike,
just some minor error - XF-926 was the second machine produced. This lacked the "outboard"-Capsule for the brake-chute - instead it was installed behind the rudder within the fuselage. Take a look here : http://farm3.static.flickr.com/2101/...823944dc_o.jpg So to correct your model - just change the number to XF-923 !  happy glueing, Wolfgang
|
|
#64
03-15-2011, 11:26 AM
|
||||
|
||||
|
Quote:
. Thanks for the heads up on this. I have been over at your sight looking also. The cockpit rudders are a nice touch, your model is looking great.
__________________
Mike Dixon Anything in paper is fine with me
|
|
#66
03-17-2011, 04:32 PM
|
||||
|
||||
|
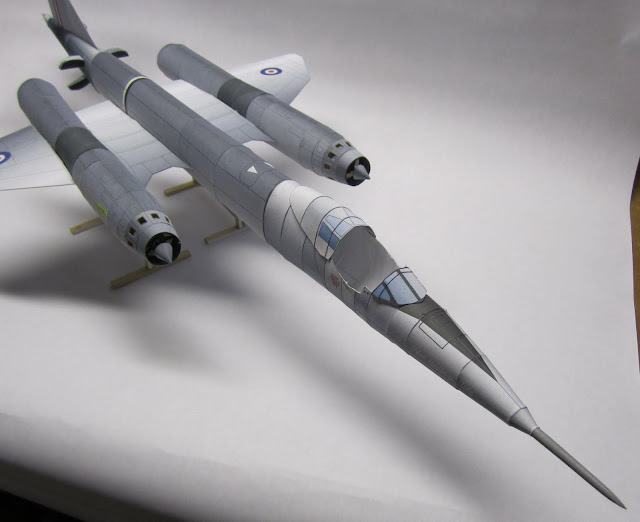
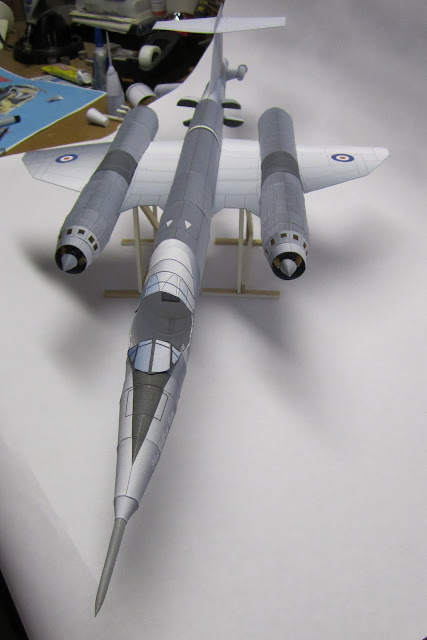
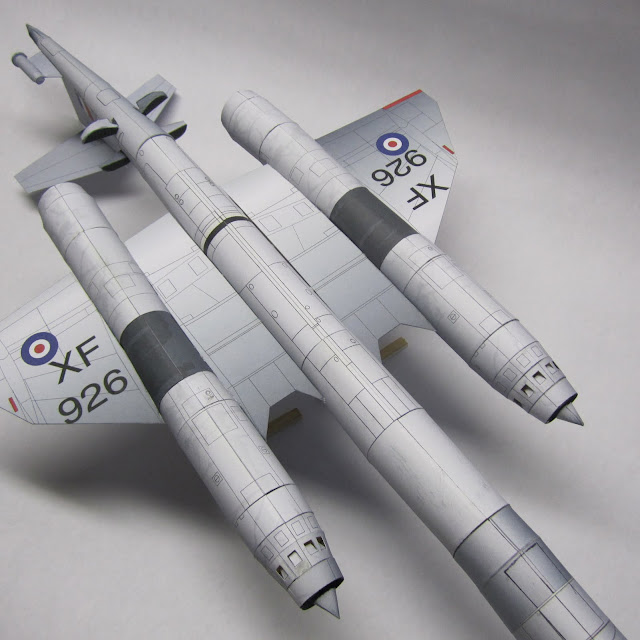
Another Stage of Development
Here are some pictures of the main sections of this model coming together. I have completed the wings, engines, and main sections of the fuselage. The rudder and stabilizer in these photos are not matched yet on the paint scheme and the cockpit section was just one I had sitting around so I pinned it on. This was to get an overall look at the scale and the feel of the plane. I am satisified that I have this part right now and am going to work on weathering and the graphics of the whole structure. Still very rough, but a work in progress. Stay tuned as it will get better....
__________________
Mike Dixon Anything in paper is fine with me
|
|
#67
03-17-2011, 05:13 PM
|
||||
|
||||
|
Looks fast just sitting there...great progress...
__________________
Please critique my posts honestly i.e. say what you think so I can learn and improve... The World According to Me
|
|
#68
03-17-2011, 06:18 PM
|
||||
|
||||
|
Quote:
__________________
Mike Dixon Anything in paper is fine with me
|
|
#69
03-18-2011, 04:32 AM
|
||||
|
||||
|
WOW! coming together very nicely! thanks for sharing the progress with us!
Chris
__________________
Want to buy some models from independent designers? http://www.ecardmodels.com and visit the shop!
|
|
#70
03-24-2011, 07:43 AM
|
||||
|
||||
|
Front wheel completed
Quote:
I've noticed some discussion about the Silhouette cutters and how to use them. Well I cut the tires out of black construction paper with a computer cutter. Got 12 per side 24 per wheel total of 48 for this pic. They all come out perfect and then I just stack them up clamp and hit it with super glue. Sand and paint. This is where the computer cutters really help. Boring repititious work. Anyway here is the front wheel assembly. I made it as a seperate unit that just slips into the opening in the fuselage. The strap is rather an ingenious idea. It looks as though the wheel strut closes the doors as it pushes down on the strap when it is closing.      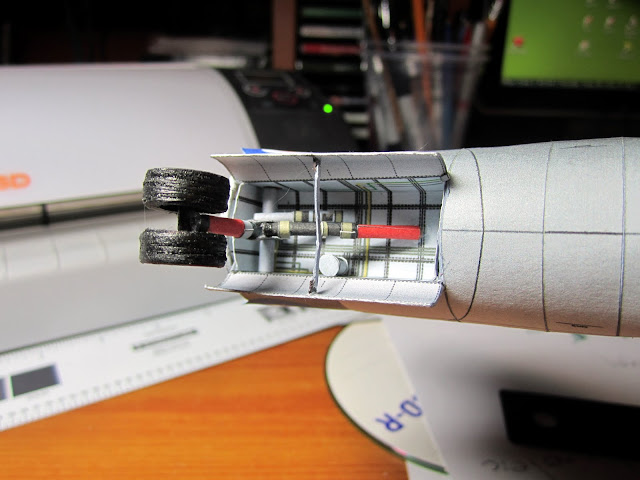  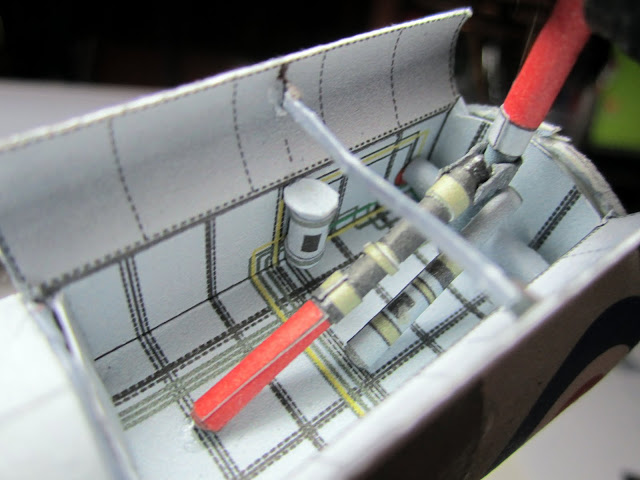 
__________________
Mike Dixon Anything in paper is fine with me
|
| Google Adsense |
 |
| Thread Tools | |
| Display Modes | |
|
|


 Linear Mode

