 |
|
#31
|
||||
|
||||
|
Dear God...
This is just amazing! Mike |
|
#32
|
|||
|
|||
|
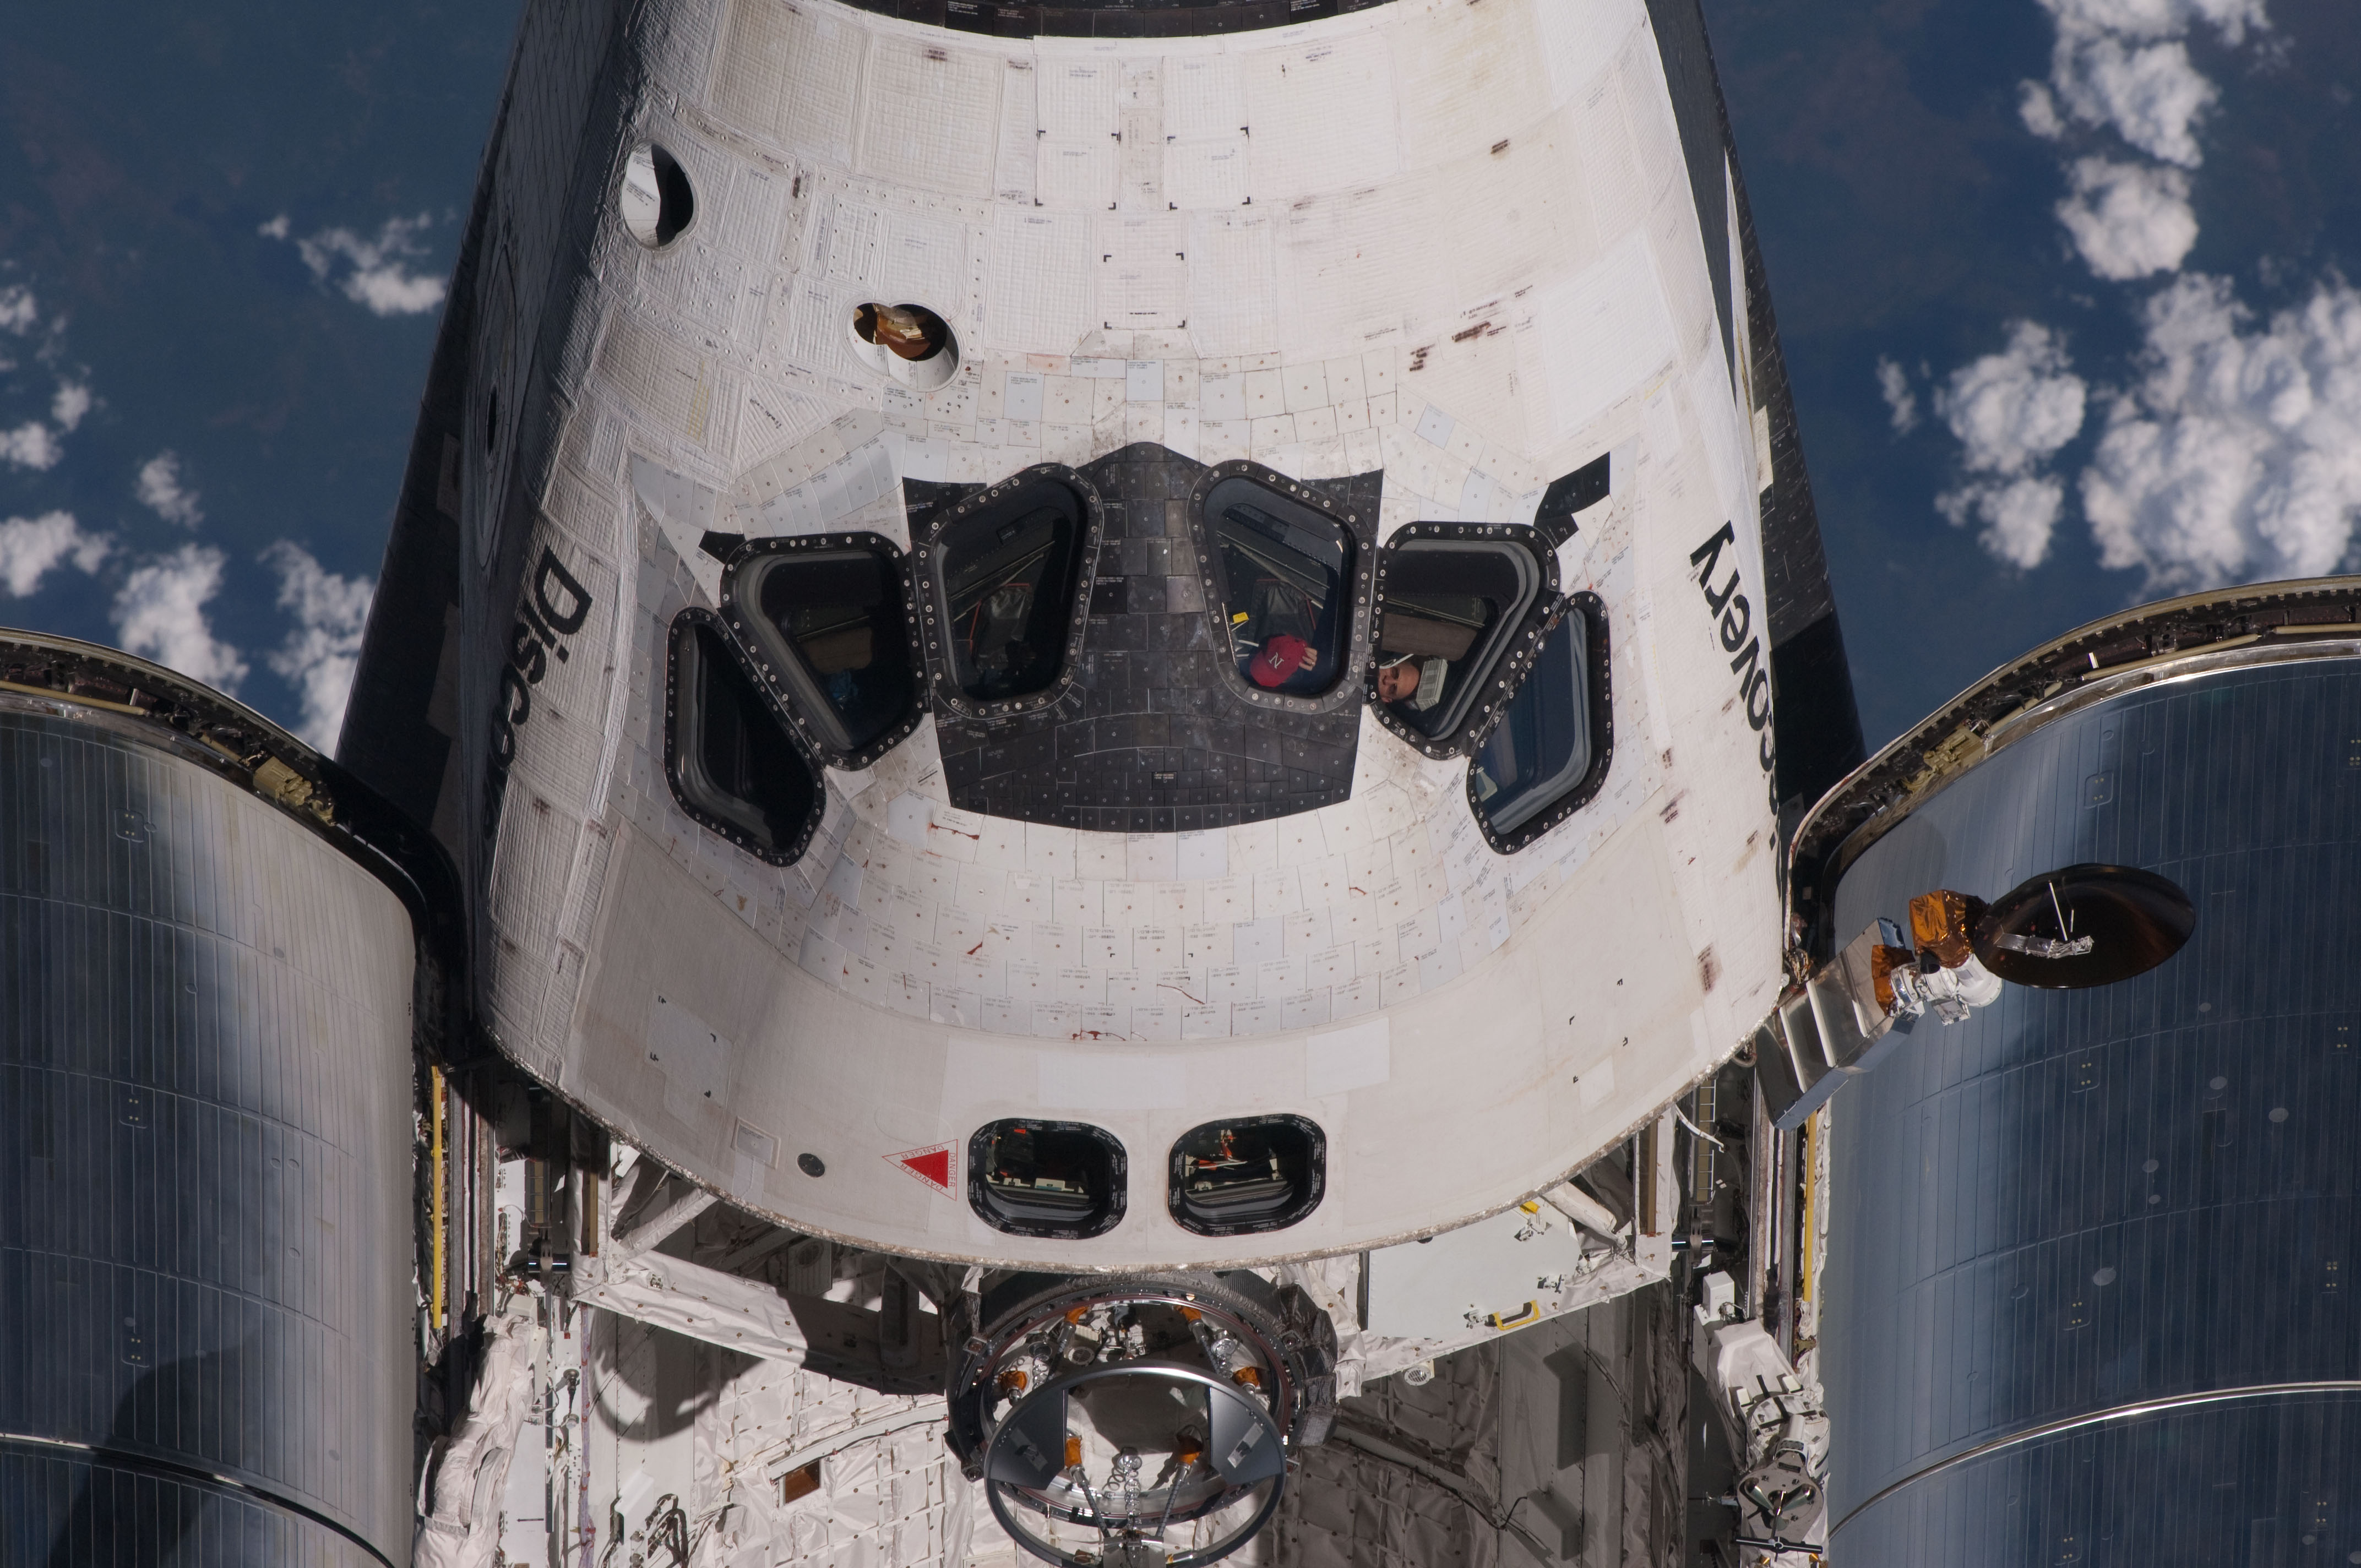
Solution to my cockpit mounting problem: Rails. I just folded 2 full sheets of cardstock into 3rds and glued them on opposite sides inside of the forward fuselage. They slide nicely into the mid fuselage and guarantee a good fit. There's a minor misalignment between the outer windows and the cockpit windows, but I don't see it as much of a problem.
  
|
|
#33
|
|||
|
|||
|
Looks nice!
Don't forget that the windows of the inner cockpit shell and the windows in the fuselage do not exactly align, the inner ones are shifted upwards. See here:  (source: Wikipedia) Thorsten |
|
#34
|
||||
|
||||
|
The cockpit light... Sweeeeeet!!!
And your alignment solution... brilliant! Anxiously awaiting more. 
__________________
Last Build - 1:48 F1 Engine Current Build - Mammoth Tank (Scale unknown) Next Build - P-3 Orion (VQ-1 livery) |
|
#35
|
|||
|
|||
|
Quote:
Yeah, although in this they shifted downward x.X |
| Google Adsense |
|
#36
|
||||
|
||||
|
This is looking too real...excellent.
__________________
Take the red pill and see how deep the rabbit hole goes. |
|
#37
|
||||
|
||||
|
Not to put too fine a point on it, but that thing is HUGE. Great work so far.
|
|
#38
|
|||
|
|||
|
Ha, yeah. I got the engine compartment finished--right now I'm working on the OMS pods, one is finished and the other will be finished shortly--and I estimate that the completed model will be about 4 and a half feet long. That's just a few feet off from my height
|
|
#39
|
|||
|
|||
|
I finally got time to do a bit more work. Most of this was made a few days ago, and I didn't have time to upload pictures.
I got the engine compartment/OMS pods/engine mounts/body flap together. The engine compartment gave some nasty, nasty trouble. The back face ended up being a little too tall. Solution: Fold it. However, that wasn't the worst problem. The OMS pods were far from a perfect fit, with one side trying to pop off on the top. I had to use a cut out piece of paper to glue them down. I also had to use the same dirty fix on the payload bay side. Then, I discovered an even nastier problem: The engine compartment was too wide to fit onto the payload bay. Solution: Cut a T-shaped hole, squeeze it smaller, glue. I had to glue a fairly large piece of paper over the cut to keep it from popping apart again. The fix looks very, very nasty although at least it won't be visible.    After I got all of that done, I decided to take a break from Orbiter construction and work on an alternate payload--A Spacehab Double module. I also modified to orbiter docking system and built some tunnels (for use with Spacehab or in the future, Spacelab). I made the whole system modular so they can be outfitted in multiple configurations. The tubes basically slide into each other. These were made by combining Fortezza's parts with AXM's parts, and retexturing. Here's the payload bay with the Spacehab module, configured similar to Shuttle-Mir  The different parts I have prepared (The Spacelab is 1:48 and hasn't been retextured, its from an earlier build. I'll get it in 1:24 eventually): 
|
|
#40
|
||||
|
||||
|
Looking great! Those main engine gimbal balls look like they could actually pivot.
__________________
Take the red pill and see how deep the rabbit hole goes. |
| Google Adsense |
 |
| Thread Tools | |
| Display Modes | |
|
|