


|
|
|
#1451
 08-31-2017, 03:49 PM
|
||||
|
||||
|
Hello everybody,
I have yet again changed my plan and moulded a new Gutter 2, since the first gutter had been a little too short.  This is the gutter with the hole for the downspout, which then flows into the vertical downspout at the end of the Bay 17. This is the gutter with the hole for the downspout, which then flows into the vertical downspout at the end of the Bay 17.  Source: Library of Congress After the hole (Ø 1.5 mm) for the downspout was punched, the gutter was again moulded in the gradually decreasing half-tubes with corresponding core wires.  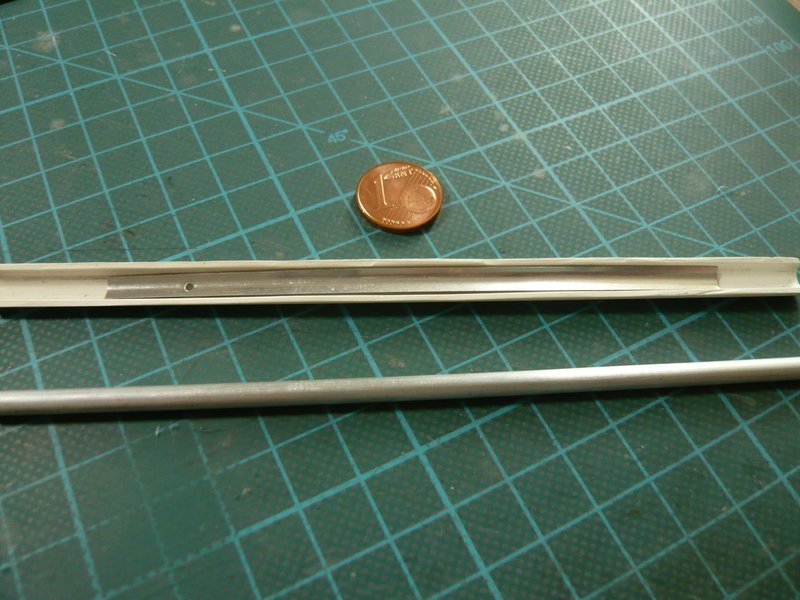 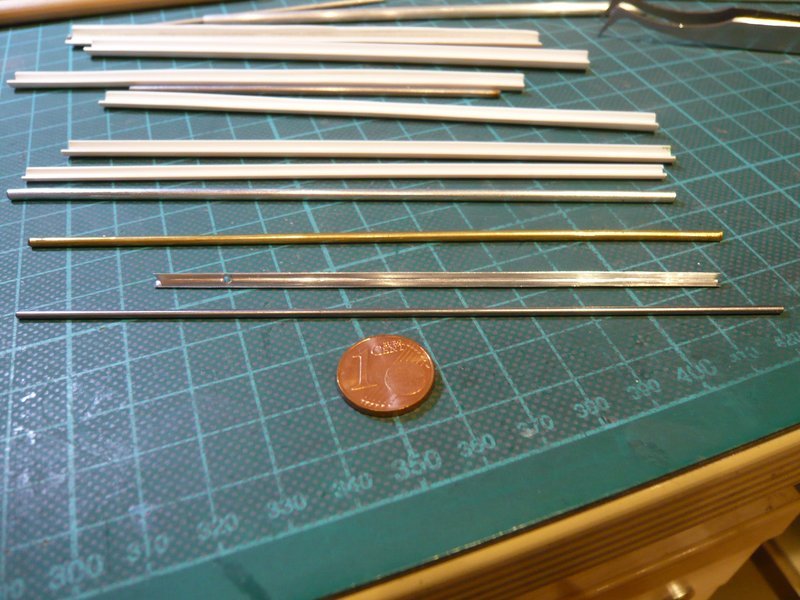 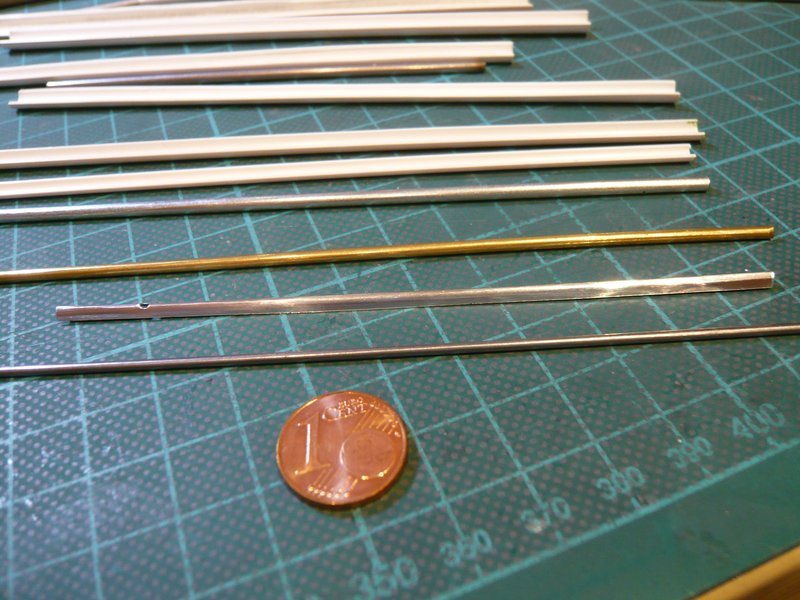 Then the gutter floors were glued in, 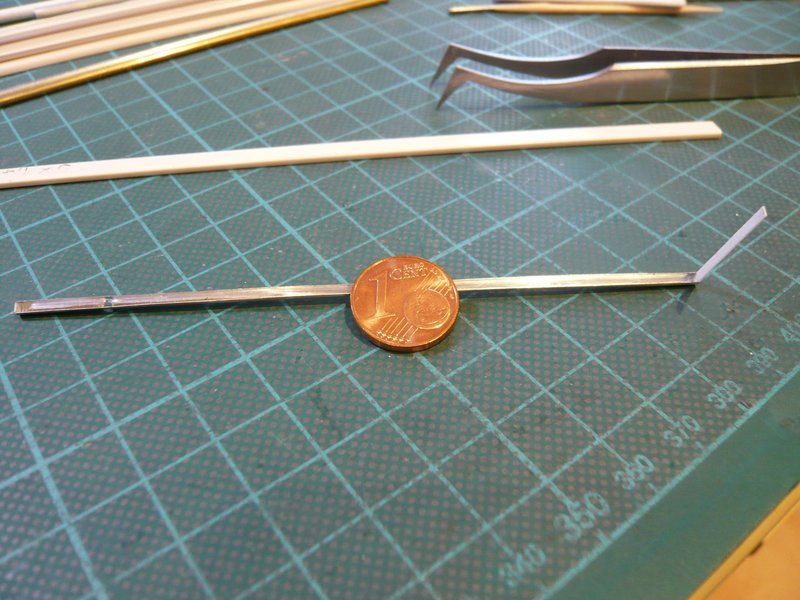 and the gutter was ready.  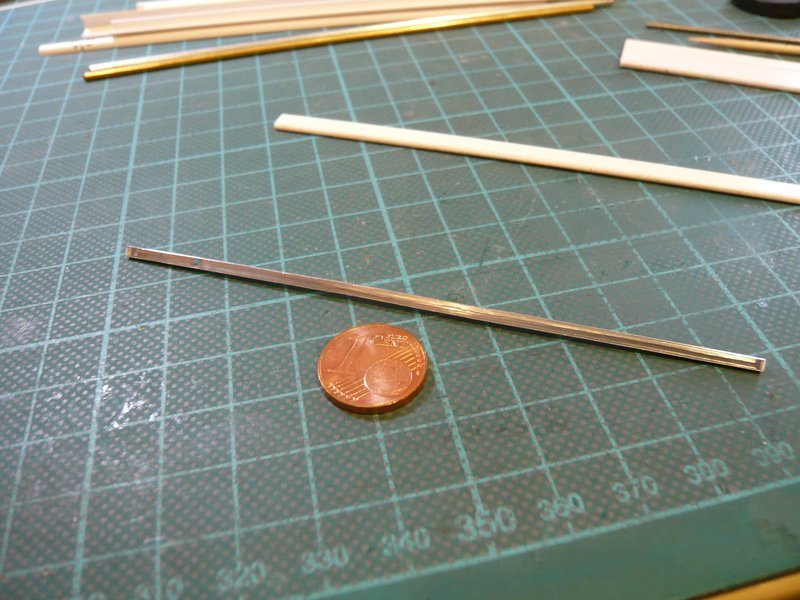 But tomorrow the supports really will follow.  
__________________
Greetings from Germany Manfred Under construction: Launch Pad 39A with Challenger STS-6 (1:144) 
|
|
#1452
09-02-2017, 01:15 AM
|
||||
|
||||
|
Hello together,
today I have tried to put the planned method for glueing the supports to the gutter into action, which has expectedly proved to be a difficult undertaking.  For fixing the supports between the steel rulers I needed again my steel sheet, on which I first attached a tape with the support distances. 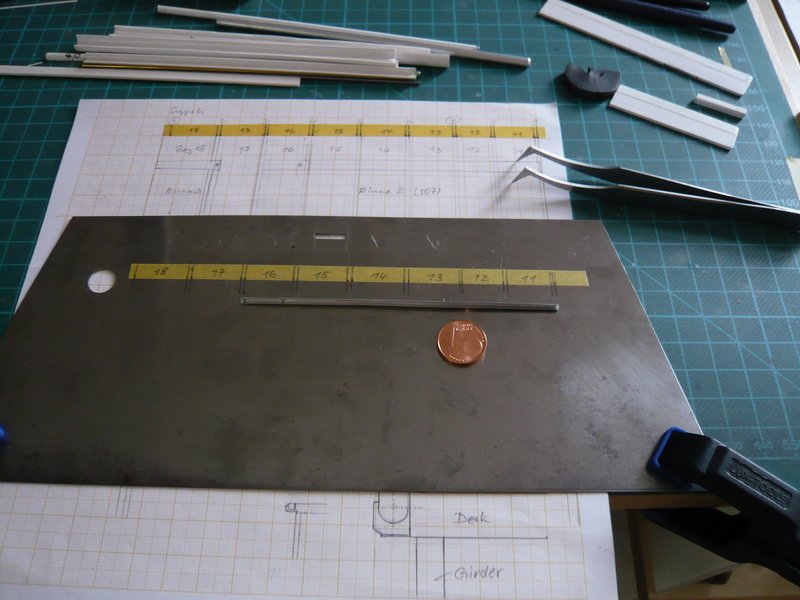 As a vertical stop for the gutter, I fixed a steel ruler vertically in front of a longer brass angle with magnets, 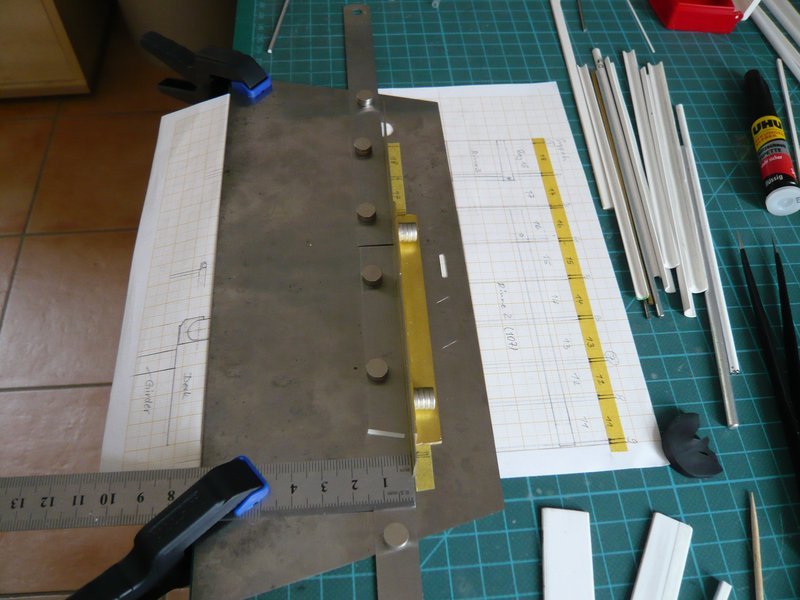 behind which however unfortunately also my markings disappeared, 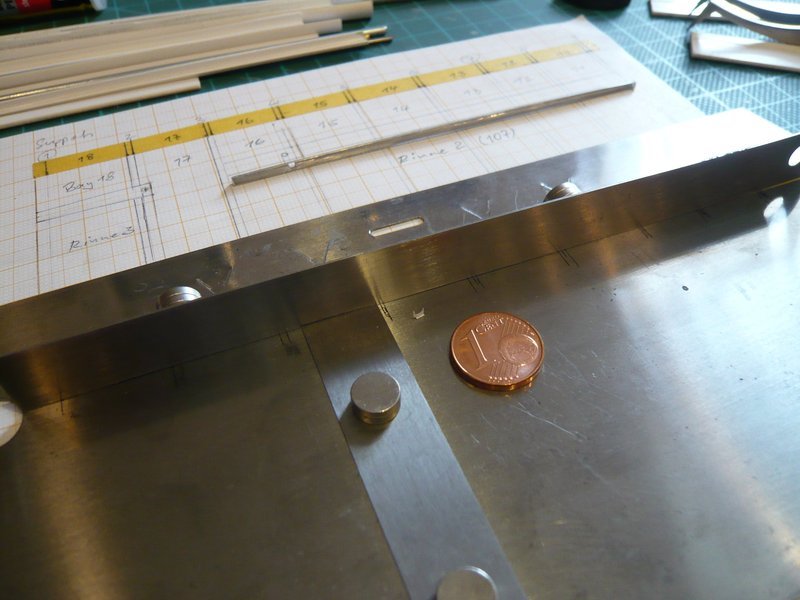 which is why I've also taped the same marking tape on the ruler. And in front of this stop, I then clamped the first support between two more steel rulers and fixed them with magnets. 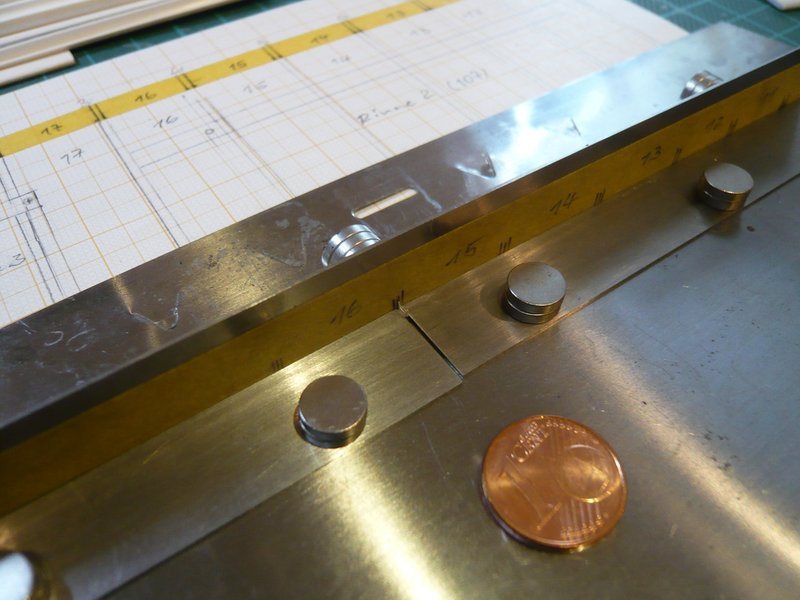 After that, I have put the gutter with the core strip on the support and eyed the arrangement up, which was okay so far,  except that the markings were covered up again. except that the markings were covered up again. Therefore, I had to change my plan and fixed the gutter with an additional steel ruler as end stop. 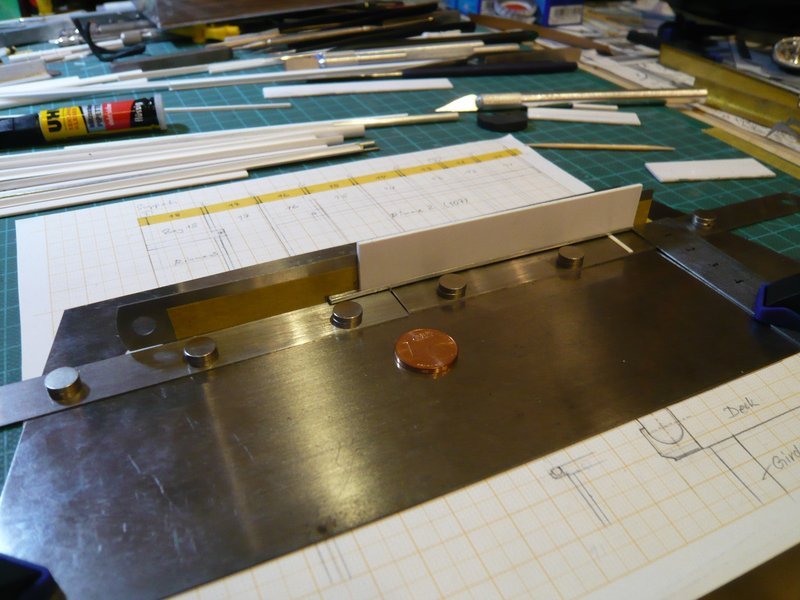 For glueing of the support, CA had to be applied there, the question was only how or where best, so that in the end not everything glues together ...  In order no risking that the support during the CA application would glue between the steel rulers, I have marked the contact point at the gutter. Then I took the core strip away, dabbed a mini-CA droplet on the front rounding of the gutter and then positioned the core strip including the gutter to the rear stop and finally lowered it carefully to the support,  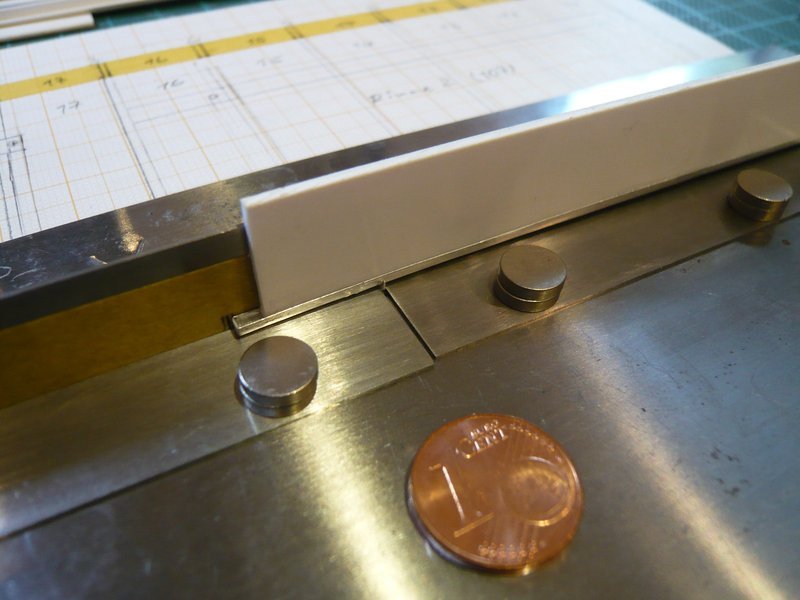 what has worked well so far. And after removing of the core strip, the gutter glued only at the support, so that the rulers could be removed too.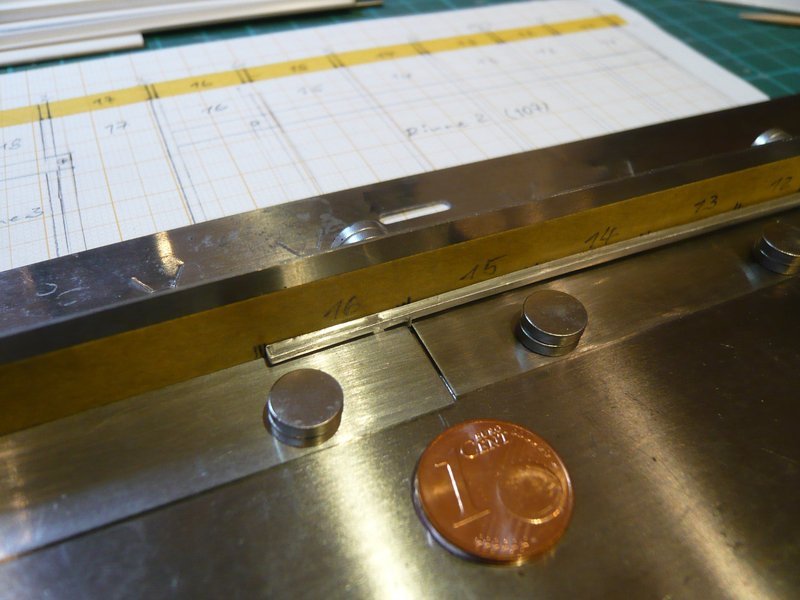 For stabilization, I have carefully dabbed the support from both sides with CA with an acupuncture needle, 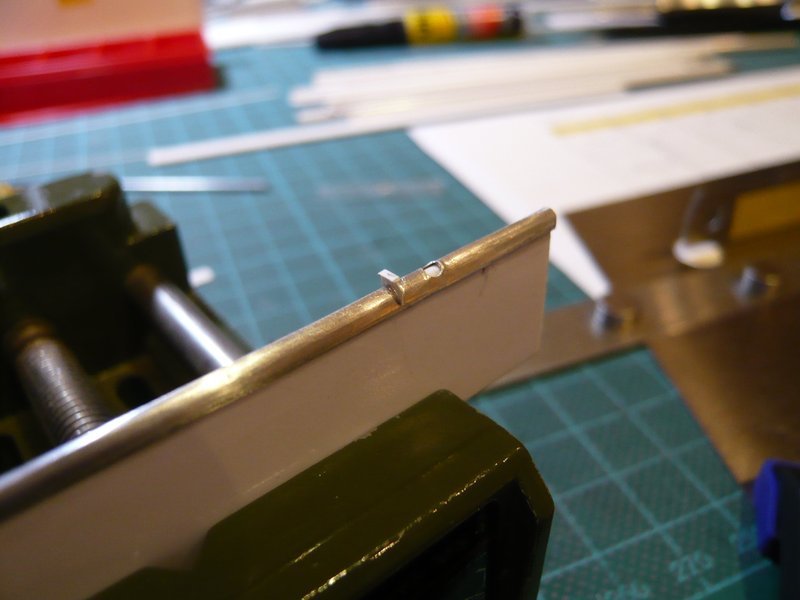 wherewith the first support had been successfully glued.  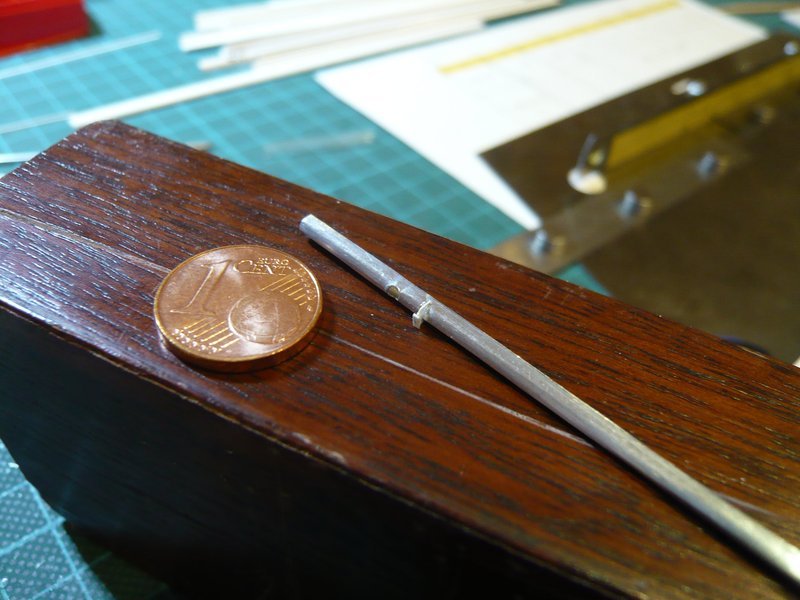 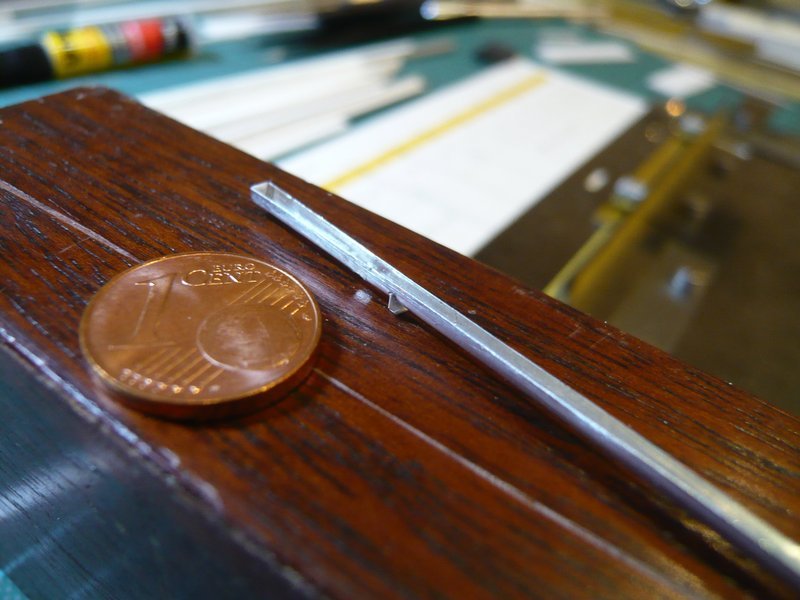 And since this method has worked as I have imagined it and has proved itself, the glueing of the remaining supports can now take place in a similar way. Every beginning is difficult. So you are now up to date again.
__________________
Greetings from Germany Manfred Under construction: Launch Pad 39A with Challenger STS-6 (1:144) Last edited by spacerunner; 09-02-2017 at 03:09 AM.
|
|
#1453
09-02-2017, 05:17 PM
|
||||
|
||||
|
Hello everybody,
after the successful glueing of the first support today I have glued the remaining five Supports at the Gutter 2.  In order to get with the steel rulers into the interstices between the supports, however, I had to clamp them vertically, otherwise it was the same procedure as before. 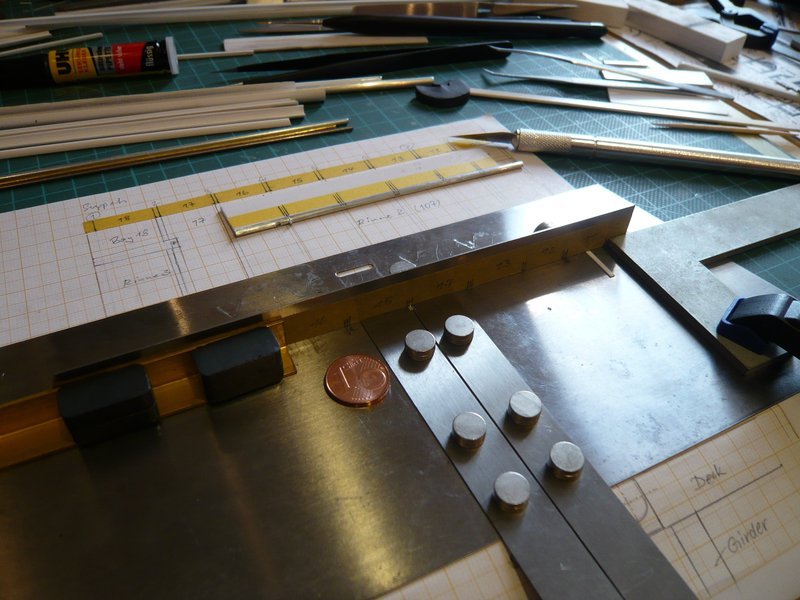 For clamping the tiny supports between the rulers one needs, however, patience and a quiet hand, since the supports can quickly tip over. 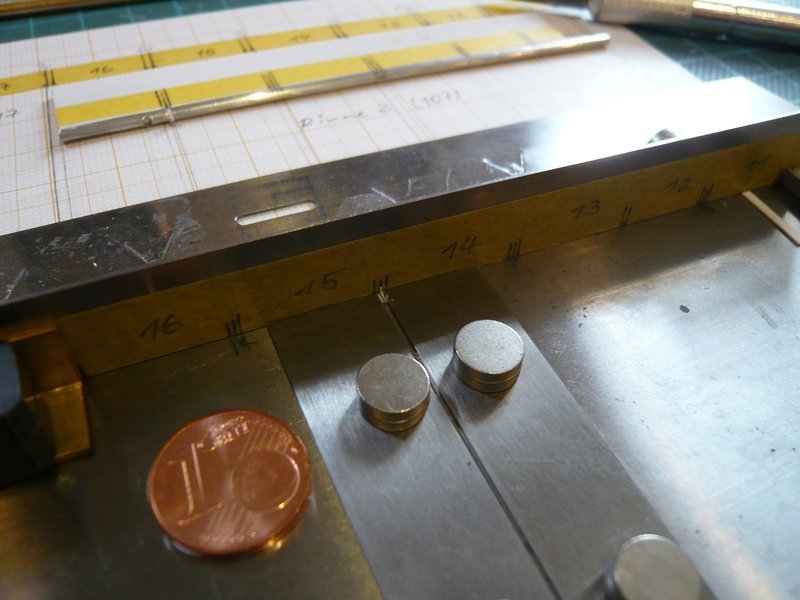 Then CA was applied again and the gutter with the core strip lowered to the second support and glued thereby. 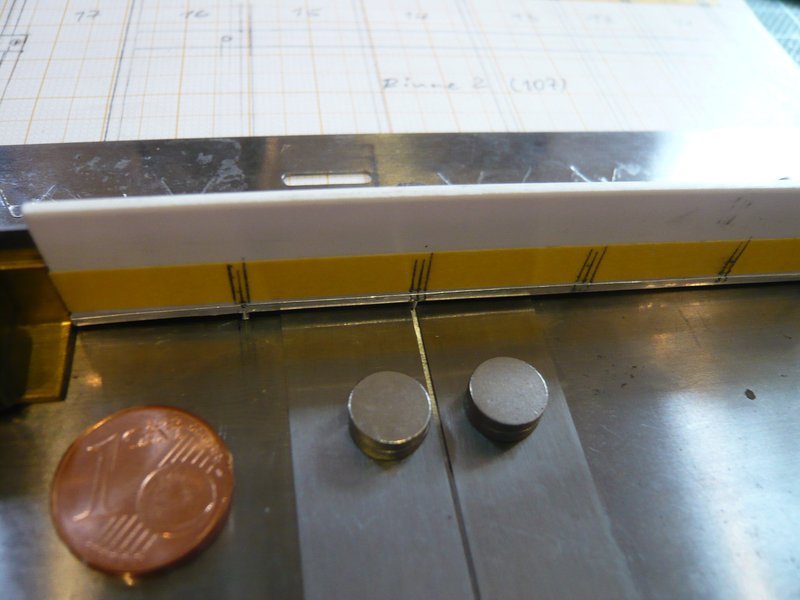 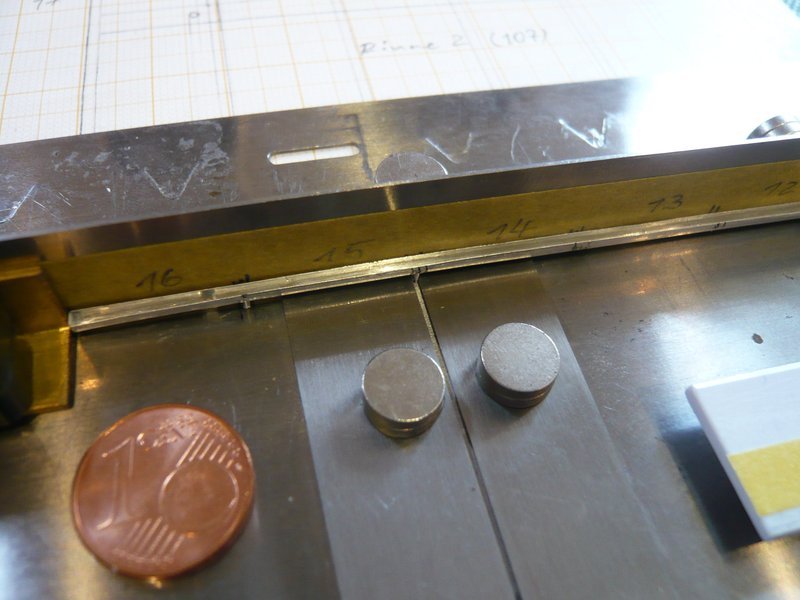 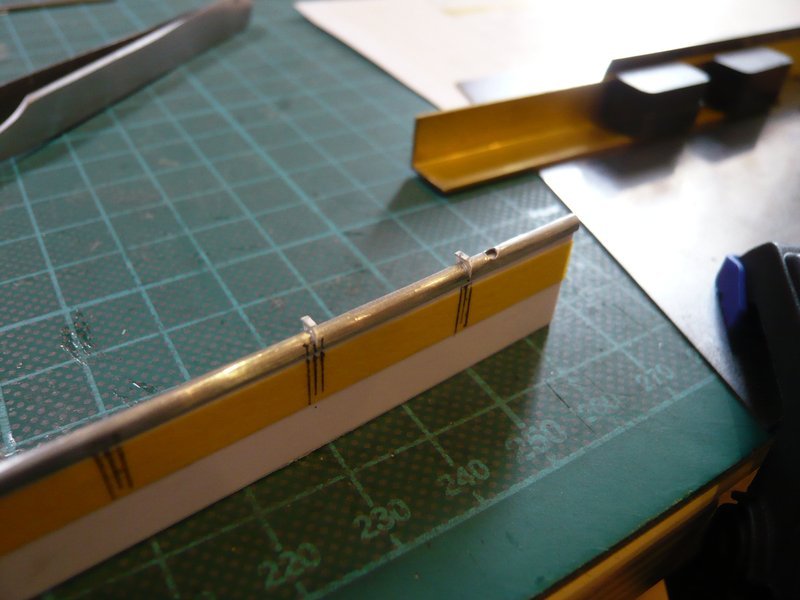 And so it went on until the fifth and penultimate support on this gutter. 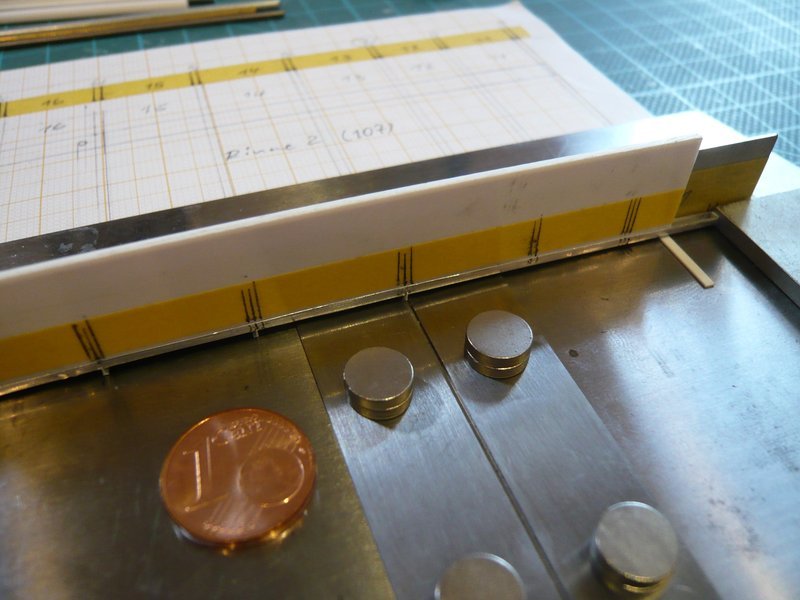 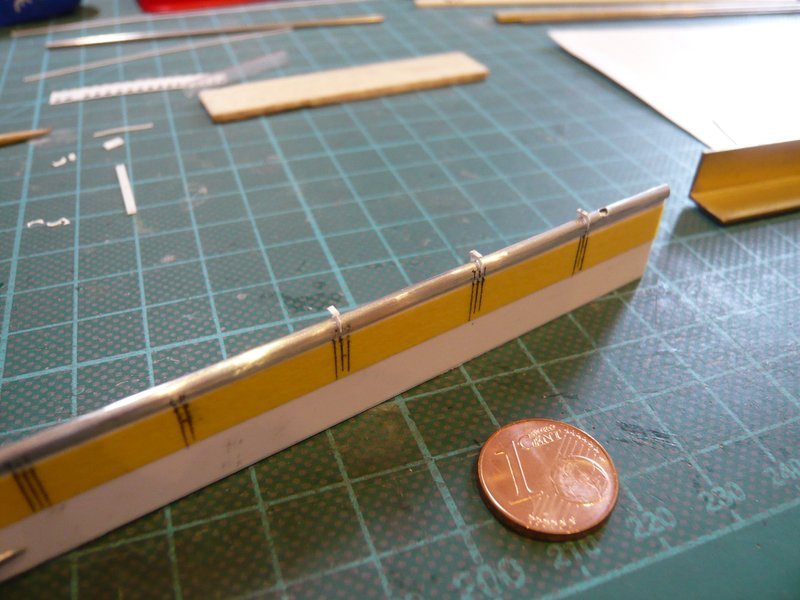  Then came the last support, which lines up precisely with the gutter end at the beginning of the Bay 11, as one can see in this image. 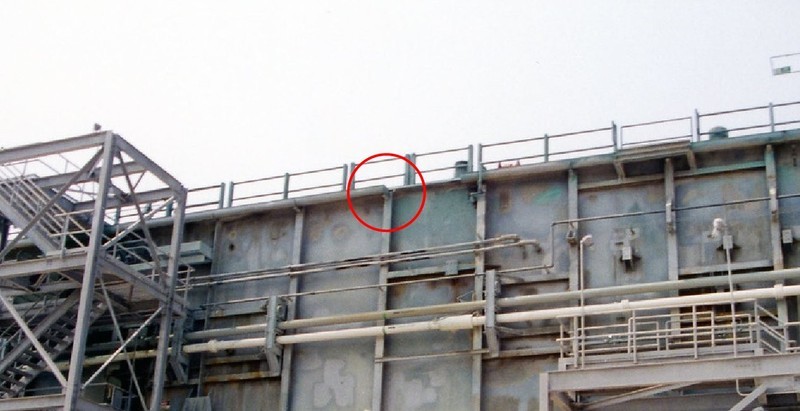 Source: apollosaturn.com (John Duncan) 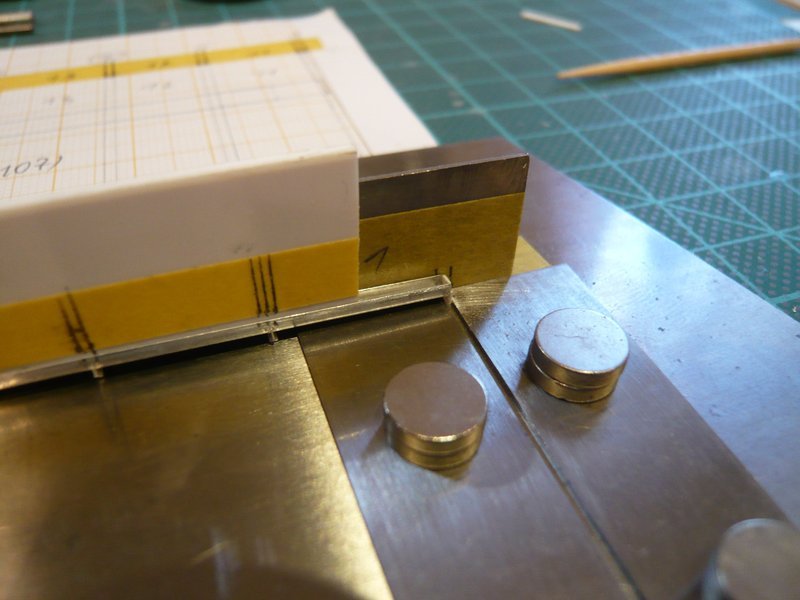 And after this support was glued, 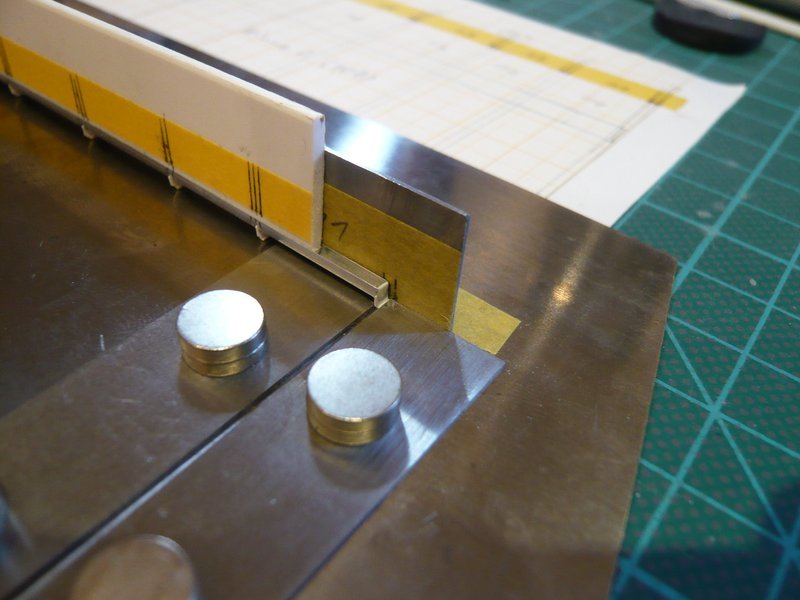 the Gutter 2 was finally finished.  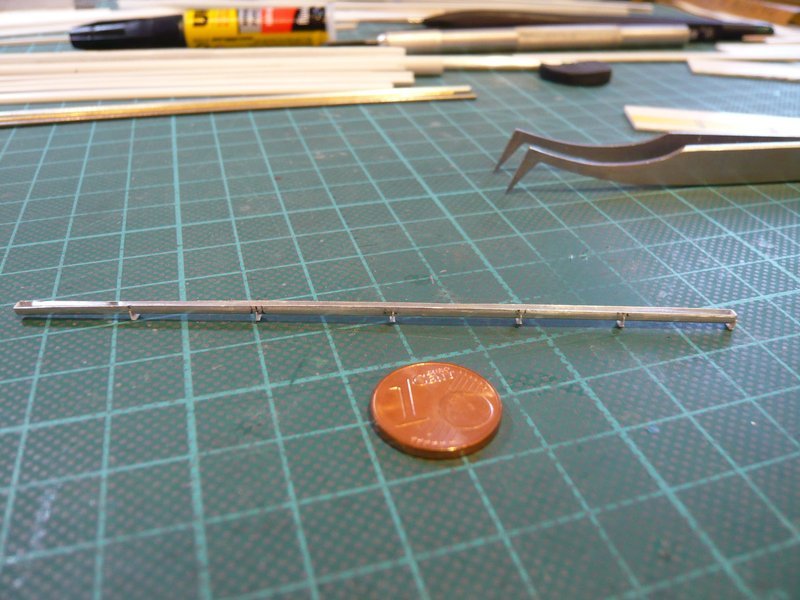 Next, the short Gutter 3 follows at the end of the Side 2, which has only two supports, and thereafter finally the Gutter 1 at the front of the side with its nine supports.
__________________
Greetings from Germany Manfred Under construction: Launch Pad 39A with Challenger STS-6 (1:144)
|
|
#1454
09-08-2017, 04:05 AM
|
||||
|
||||
|
Hello everyone,
as already announced, the short Gutter 3 at the end of Side 2 came next with only two supports as one can see in this image. 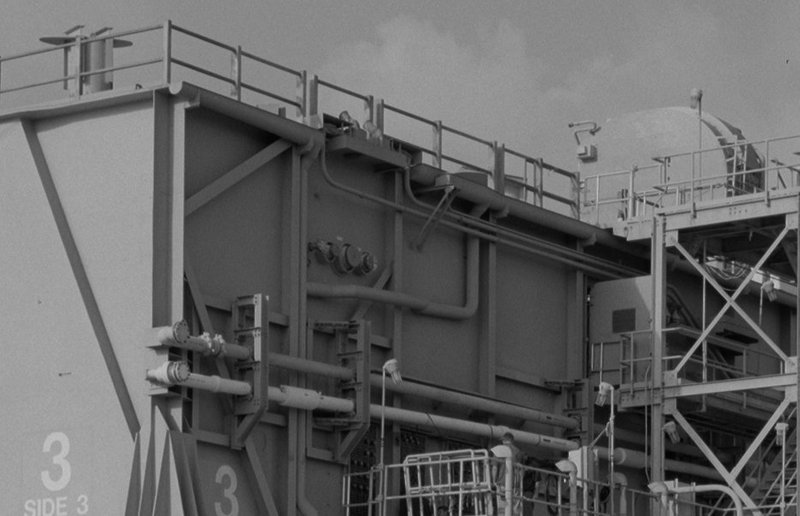 Source: Library of Congress Since I had already shaped the gutter some time ago, 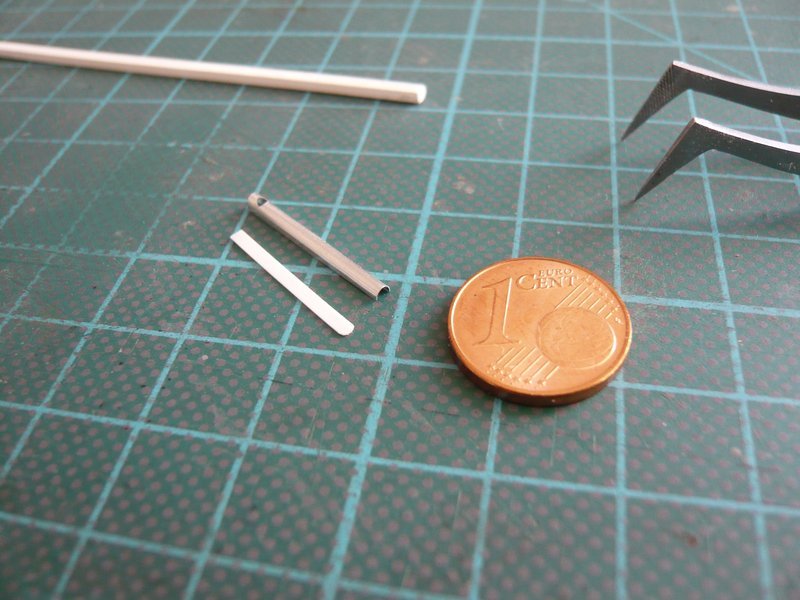 now only the gutter soils with CA had to be glued in, which again happened on Teflon foil, 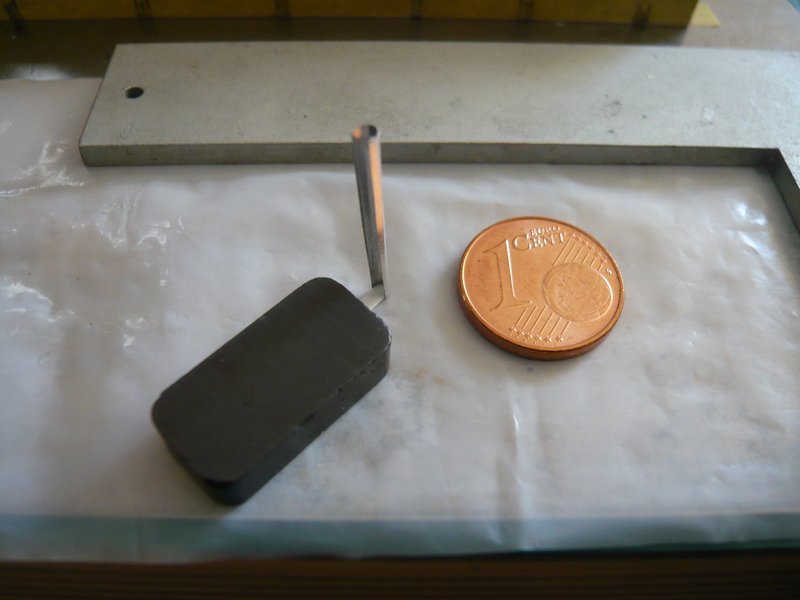 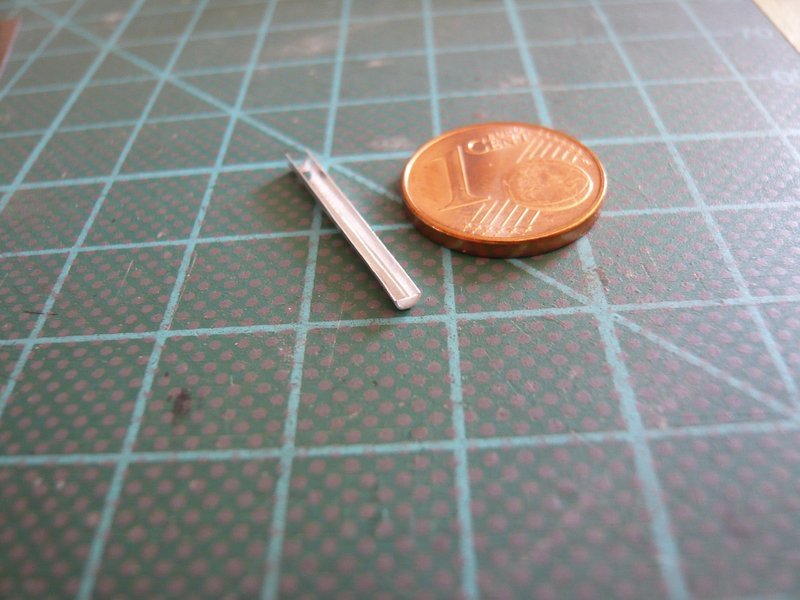 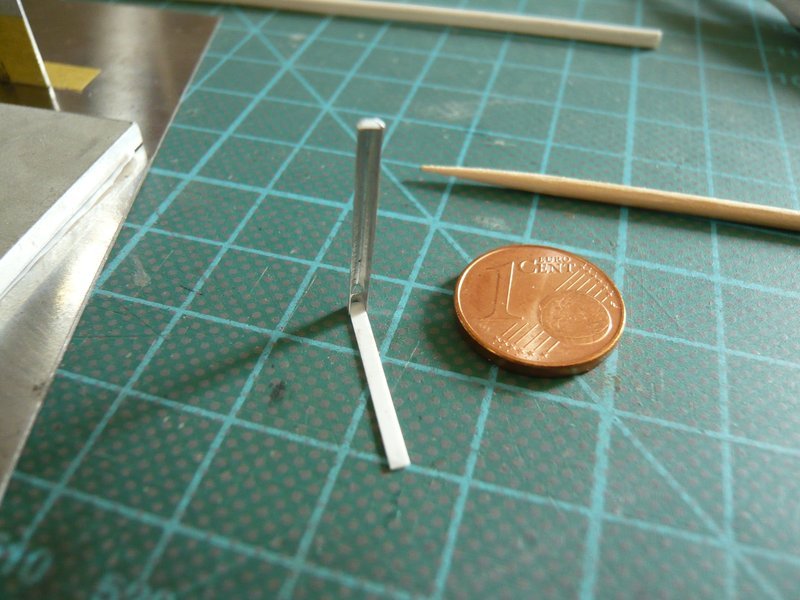 and relatively quickly was done. 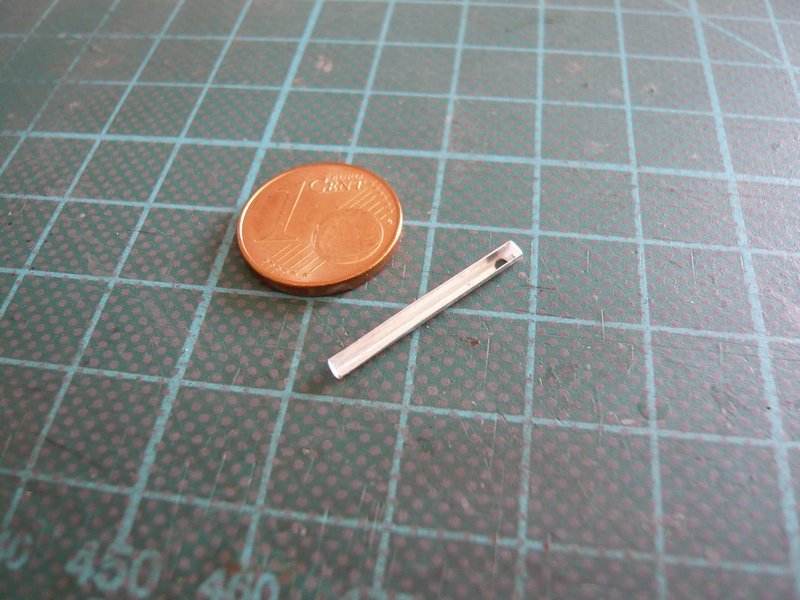 Afterwards, the support (with flange) was clamped in the known and proven manner between the steel rulers, 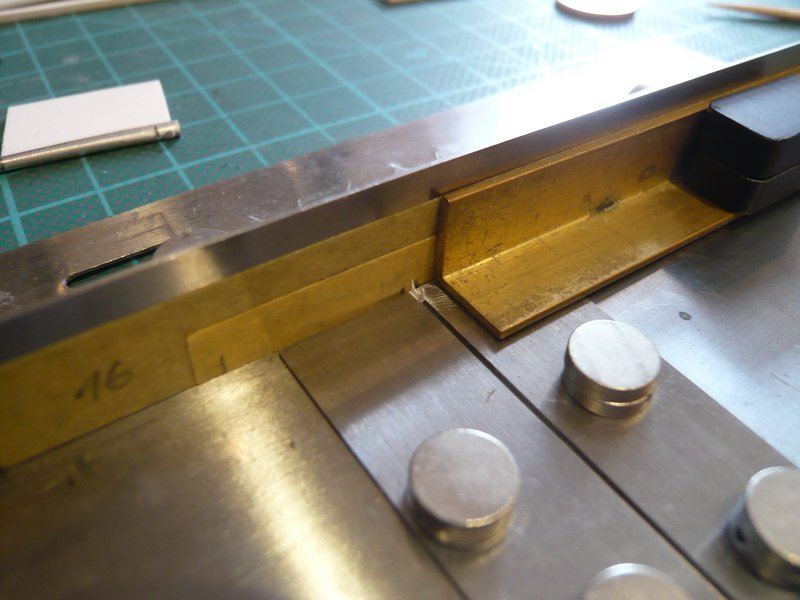 and above it the gutter was glued as usual. 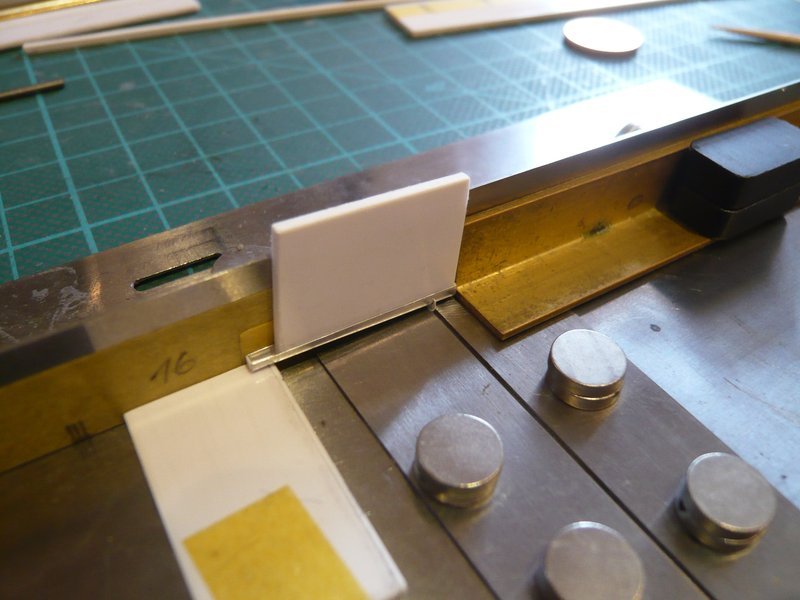 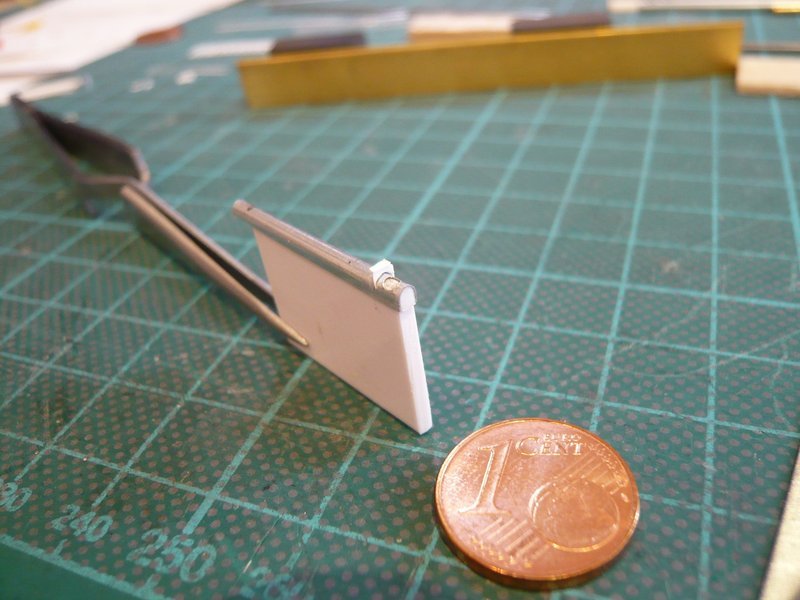 The assembly was then turned upside down and the rear support (without flange) glued. 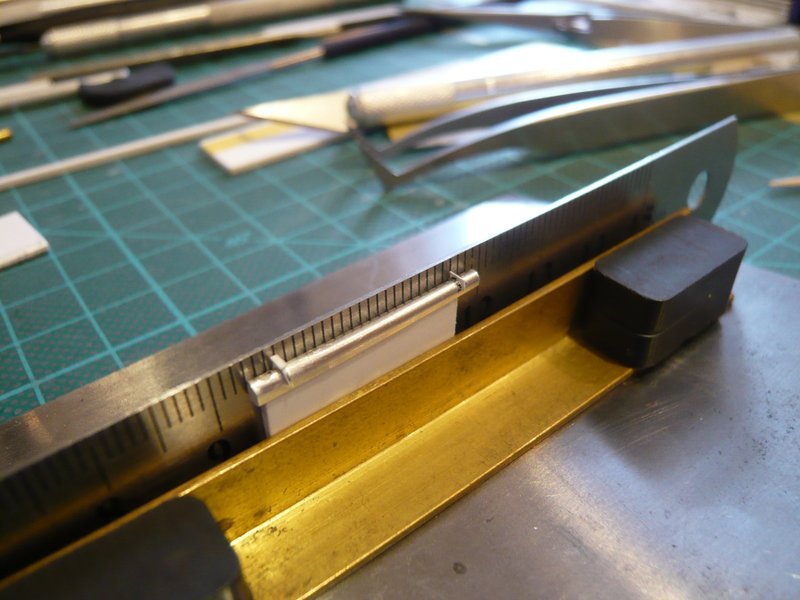 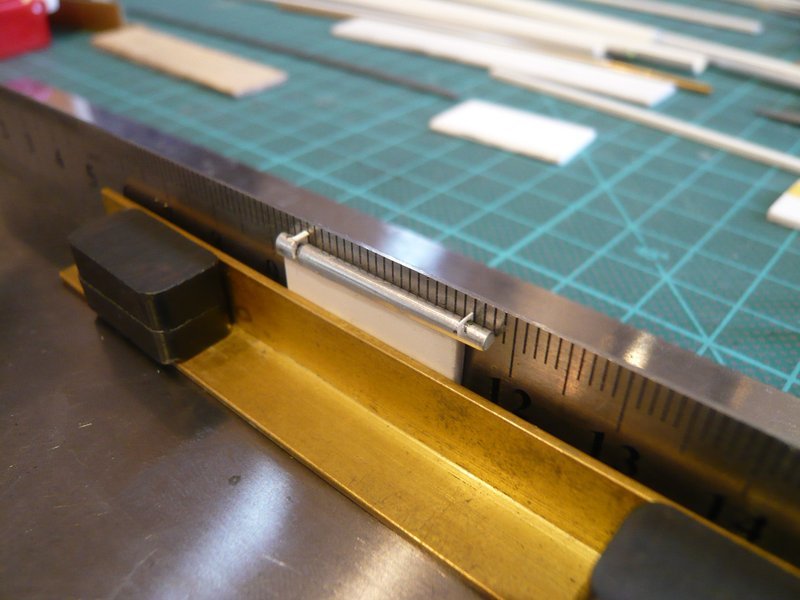 And so the Gutter 3 was already finished, 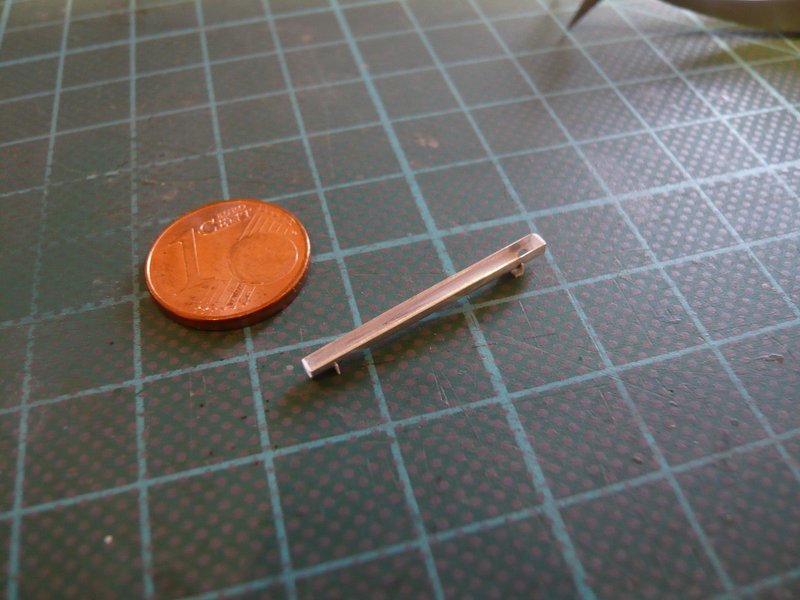 and fits well to the Gutter 2. 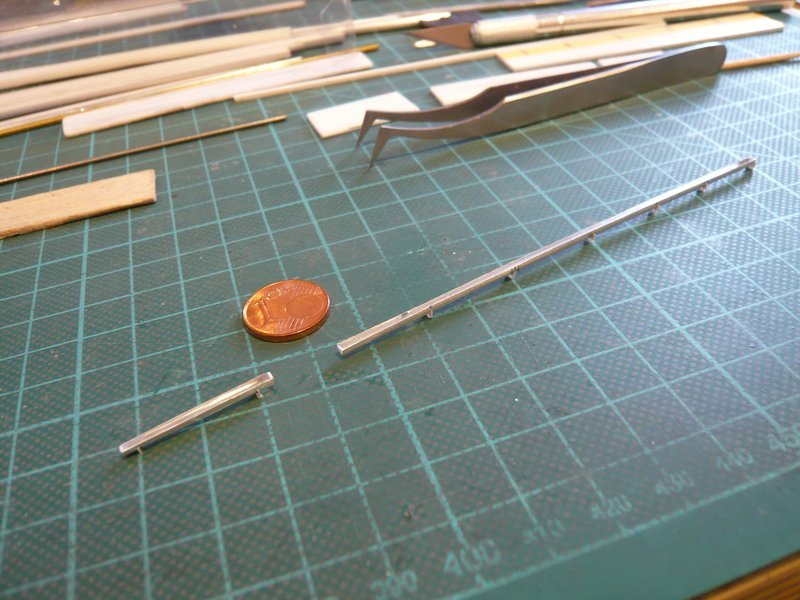 Now still missing the front Gutter 1, which is running from the Bay 9 up to the Bay 1 at the beginning of Side 2.
__________________
Greetings from Germany Manfred Under construction: Launch Pad 39A with Challenger STS-6 (1:144)
|
|
#1455
09-08-2017, 09:09 AM
|
|||
|
|||
|
Manfred,
I continue to be impressed by your attention to detail and your unwillingness to settle for anything that is not accurate. Keep up the fantastic work. What are you going to do when this is completed? Darren
__________________
Darren
|
|
#1456
09-08-2017, 11:03 AM
|
|||
|
|||
|
Manfred,
Did you custom make the half tubes and core wires you're using to form these gutters? Or did you get them from a kit? By the way, thanking you for documenting this build never gets old to me! You're GREAT. Someone with too much time on their hands should stitch together these pictures. Or at least a chronological montage of your smiley faces. hahaha
__________________
Happy Crafting - Scot On the Bench: Planck and Hershcel
|
|
#1457
09-08-2017, 06:06 PM
|
||||
|
||||
|
Quote:
 I will do my best, but because I'm almost always striving for perfection, everything takes so long ...  When the Launch Complex will be completed sometime, then the LUT with the Saturn V is waiting for me already ...
__________________
Greetings from Germany Manfred Under construction: Launch Pad 39A with Challenger STS-6 (1:144)
|
|
#1458
09-08-2017, 06:15 PM
|
||||
|
||||
|
Quote:
The longer half tubes and core wires are handmade, because my Rolling Set is too short unfortunately. Yep, maybe all the photos together would give a nice picture book, but my remarkable smiley collection is not quite so long ... 
__________________
Greetings from Germany Manfred Under construction: Launch Pad 39A with Challenger STS-6 (1:144) Last edited by spacerunner; 09-08-2017 at 11:59 PM.
|
|
#1459
09-16-2017, 02:58 AM
|
||||
|
||||
|
Hello everyone,
although these tricky gutters also do not necessarily lead me to cheers, it does not use anything, and therefore the work must go on.  And now to the Gutter 1, which is supported by eight supports with a flange and by one support without flange at the beginning of the Side 2. 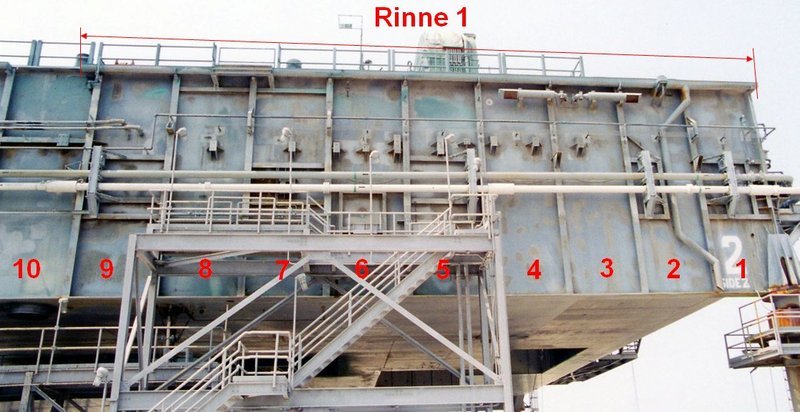 Source: apollosaturn.com (John Duncan) In contrast to the side end (Bay 18) the gutter, flattened outwards above the Bay 1, is connected to the other gutter part directly at the outlet of the downspout in front of the front girder, which is why there is no support there. Therefore, both gutter parts must be glued directly dull one to another at this point, which should not become quite easy as the edges will probably provide little sufficient area due to the very thin aluminum plate (0.1 mm). Here one can see both gutter parts lying on a narrow core strip, so far so good. 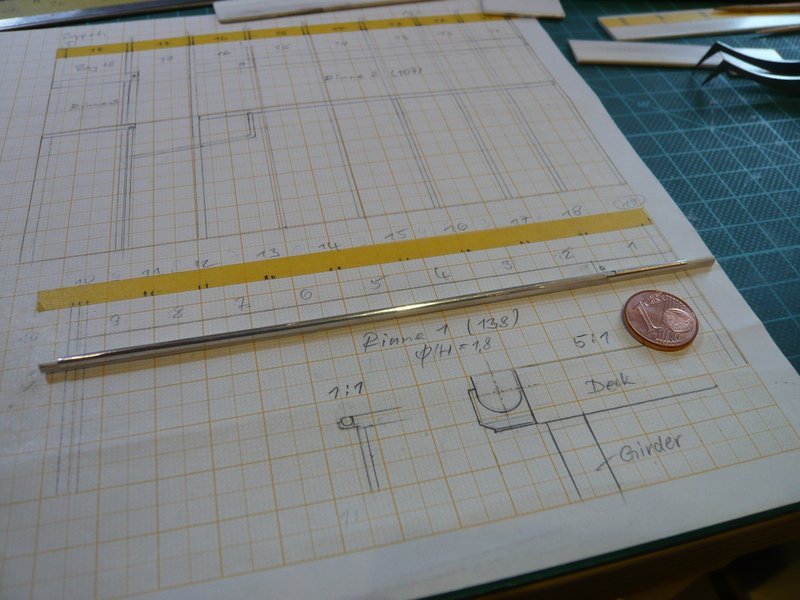 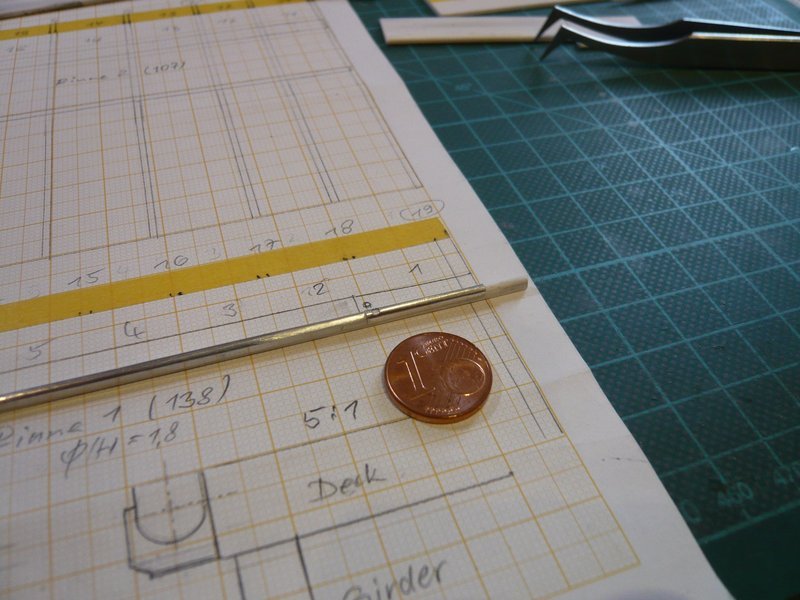 At first, the bottom of the gutter was glued at the back end. 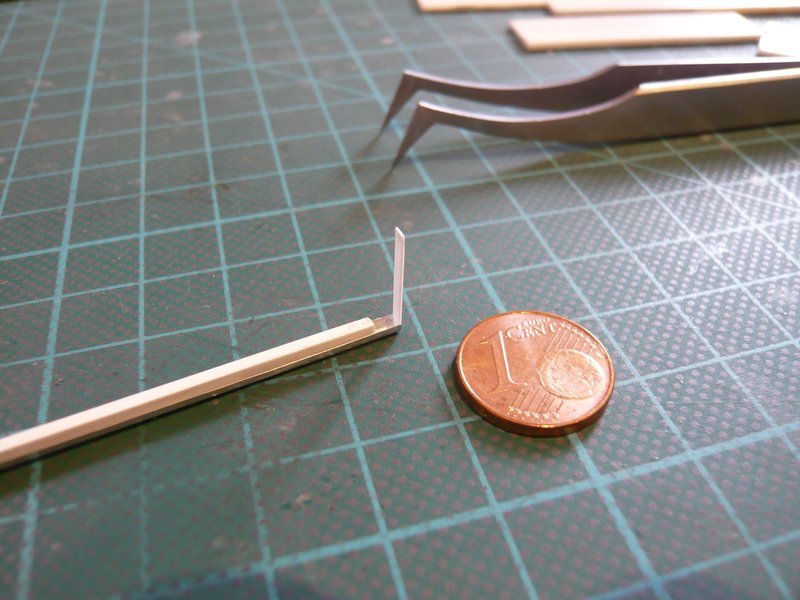 Subsequently, the glueing of the supports took place according to the tried and tested clamping technique, 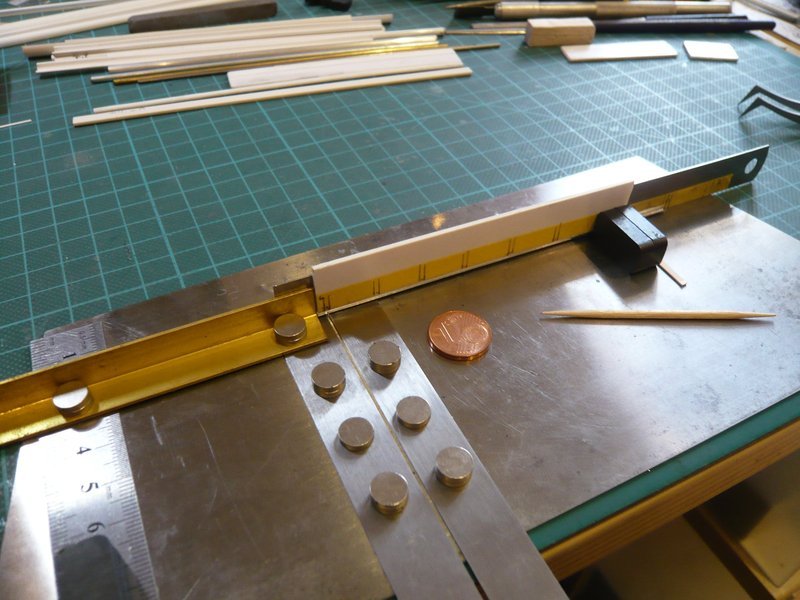 almost as before. 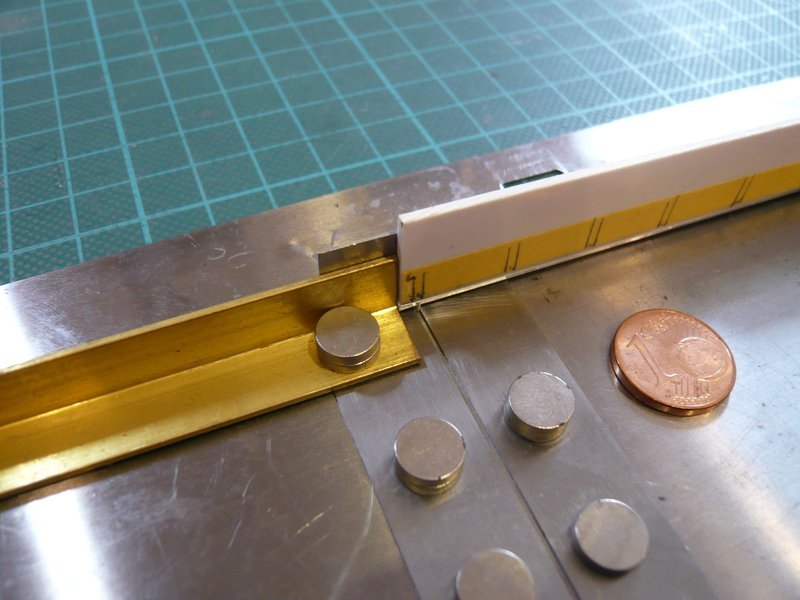 Since the distances between the girders in the front part of the side is slightly less than in the rear part, the steel ruler did not fit between them in the following Bays, which is why I had to redispose. But with narrow cutter knives as a stop, the problem was solved quickly, 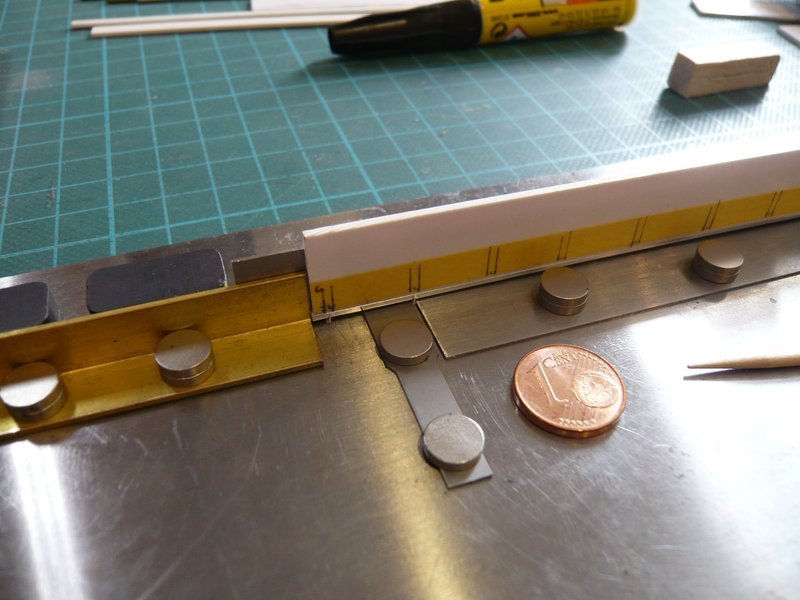 it went on fast, and up to the 7th support everything looked well. 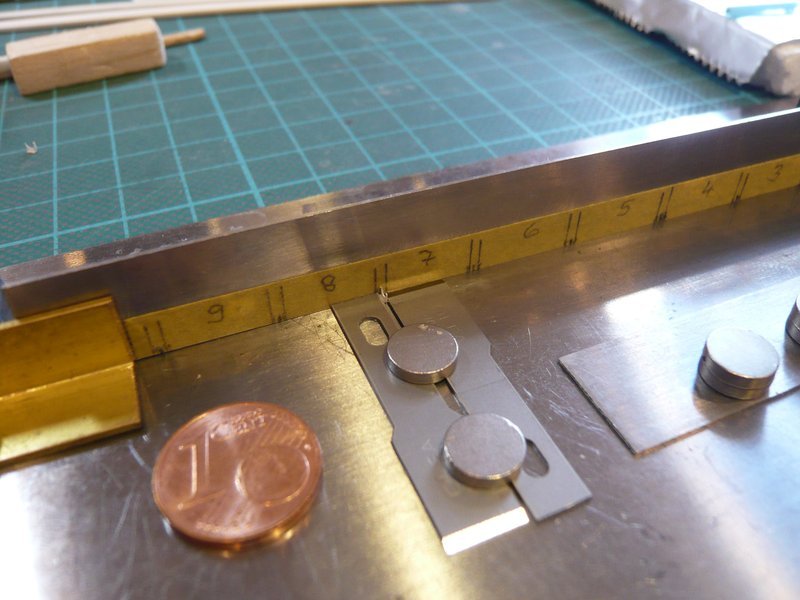 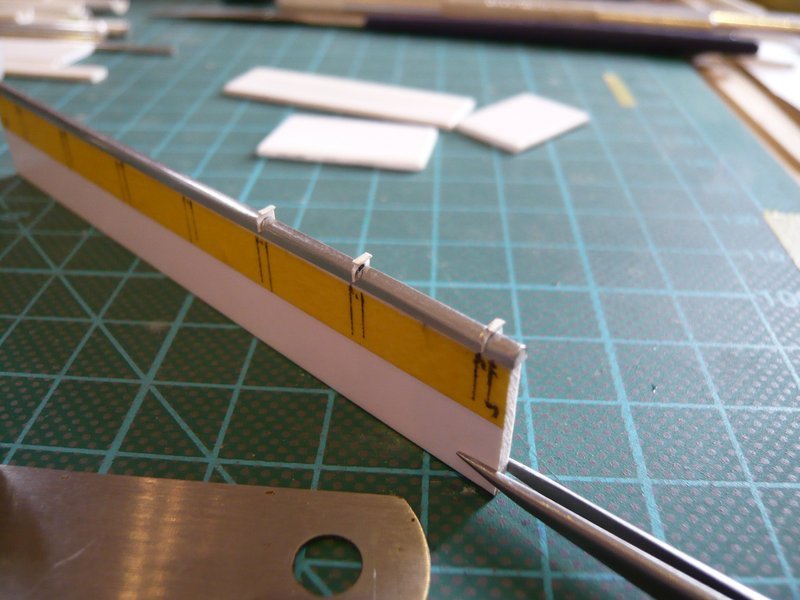 But during constant handling with this unwieldy structure I must have somehow nudged to the third support, whereby its lower flange was suddenly kinked off. After the support had been repaired, he could be glued again and closed the gap. 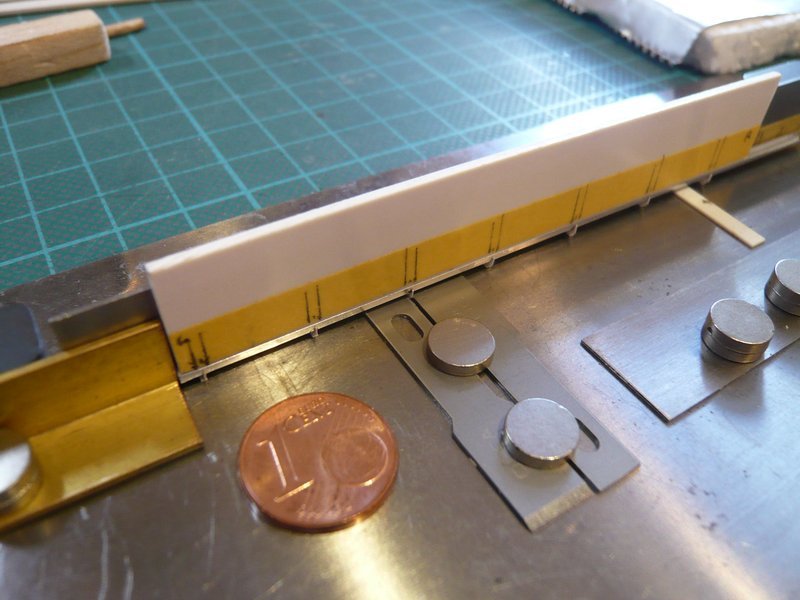 Finally, the last support between the Bay 2/3 followed,  whereby this gutter part was completely supported. 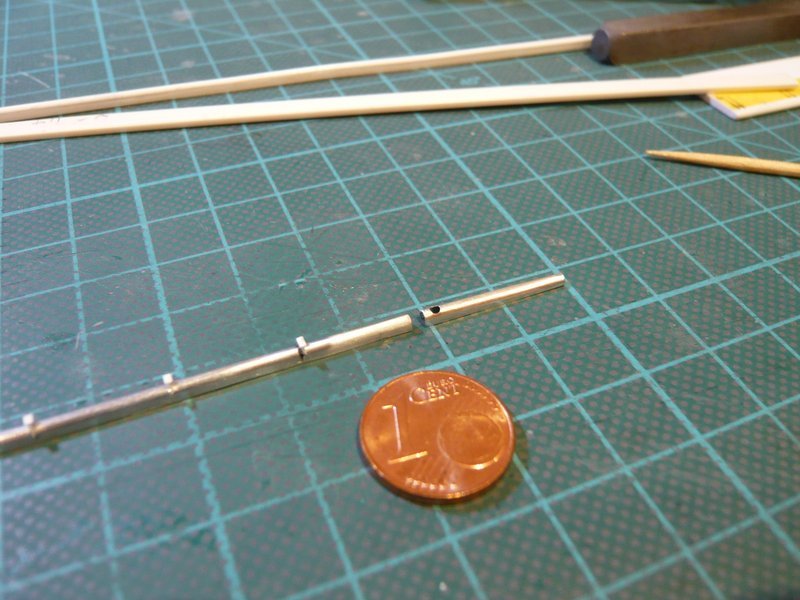 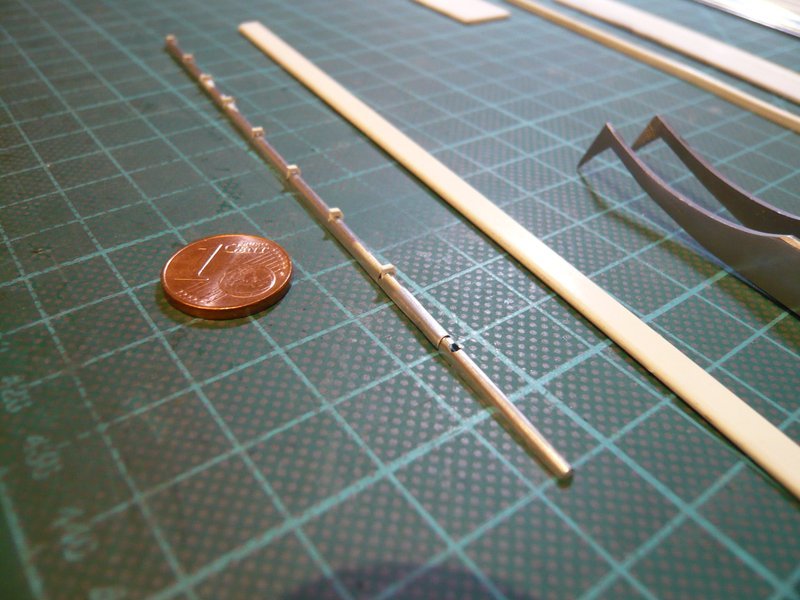 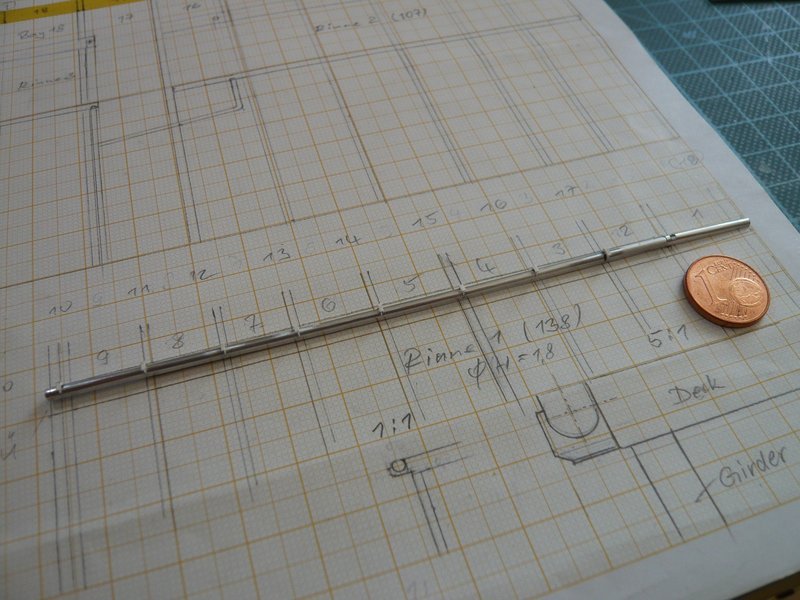
__________________
Greetings from Germany Manfred Under construction: Launch Pad 39A with Challenger STS-6 (1:144)
|
|
#1460
09-16-2017, 02:59 AM
|
||||
|
||||
|
But now the more difficult part of the exercise was next to do, namely, the dull gluing of both gutter parts, which has given me some headache.
 For this I firstly came up with this stable magnet fixing of the gutter over a somewhat wider core strip, which was unfortunately thought too short. In this arrangement, the top edge of the front gutter part would run outwardly obliquely, what should not be,  but rather it must be exactly the other way round. In contrast, the upper edge of the gutter is a continuous line, while the lower edge slightly rises towards the outside. but rather it must be exactly the other way round. In contrast, the upper edge of the gutter is a continuous line, while the lower edge slightly rises towards the outside. 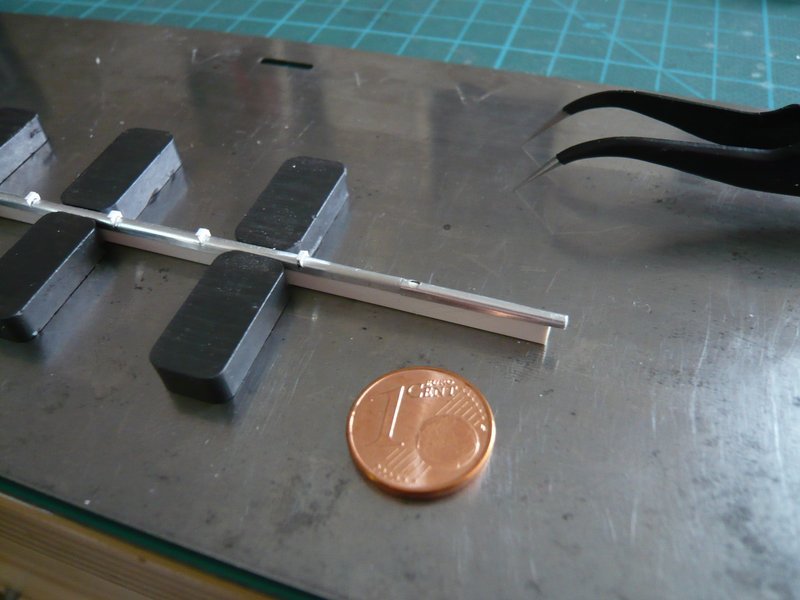 Therefore I have glued the external support without flange, which I first wanted to lay down from above (here only temporary done), 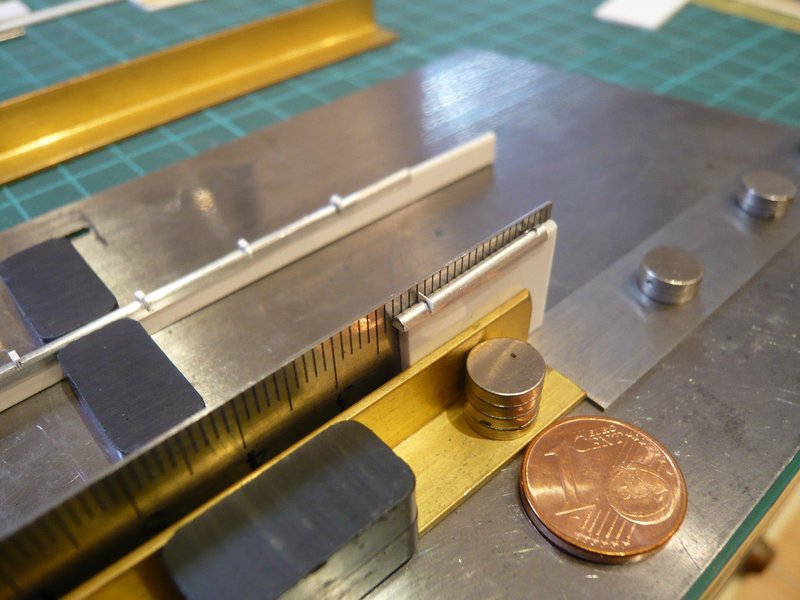 what I but then differently have done, because one this tiny part can hardly hold still in the tweezers, let alone put exactly straight to the point.  That is why I stapled the support on a conversely glued tape strip and then carefully lowered the gutter end, dabbed with tiny CA, 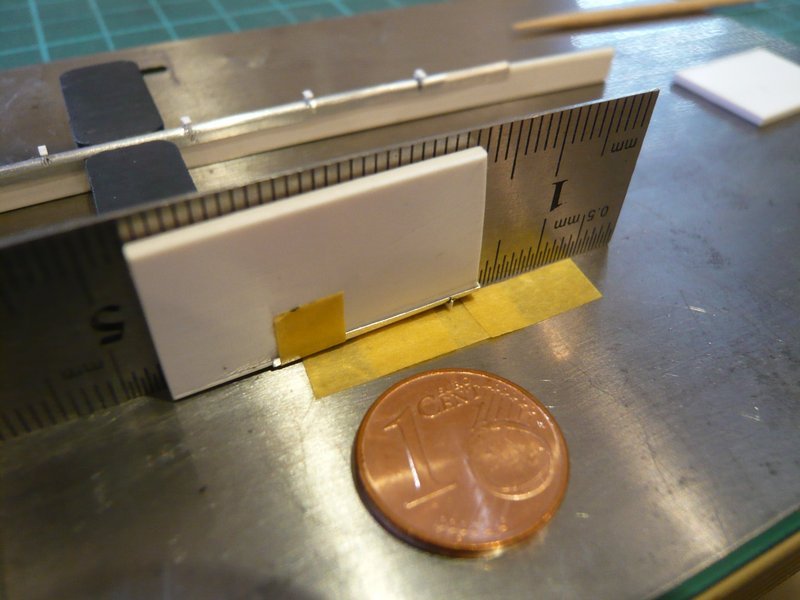 which also worked well. 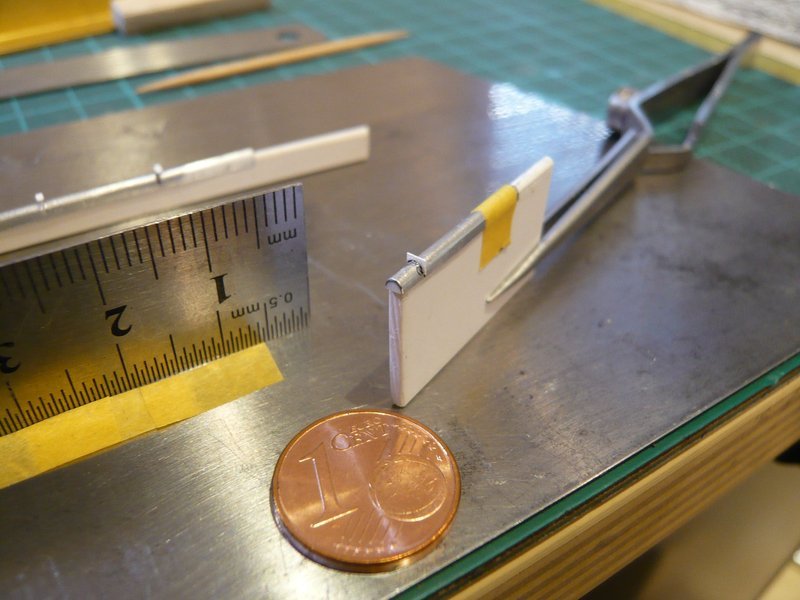 And now again to the dull gluing of the two gutter parts flat above two half-round profiles (1.5 mm) for better guidance. 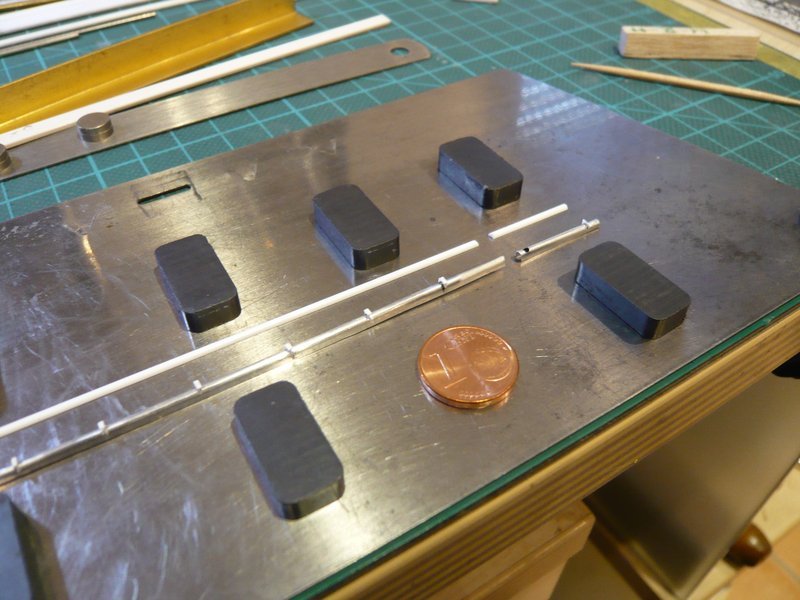 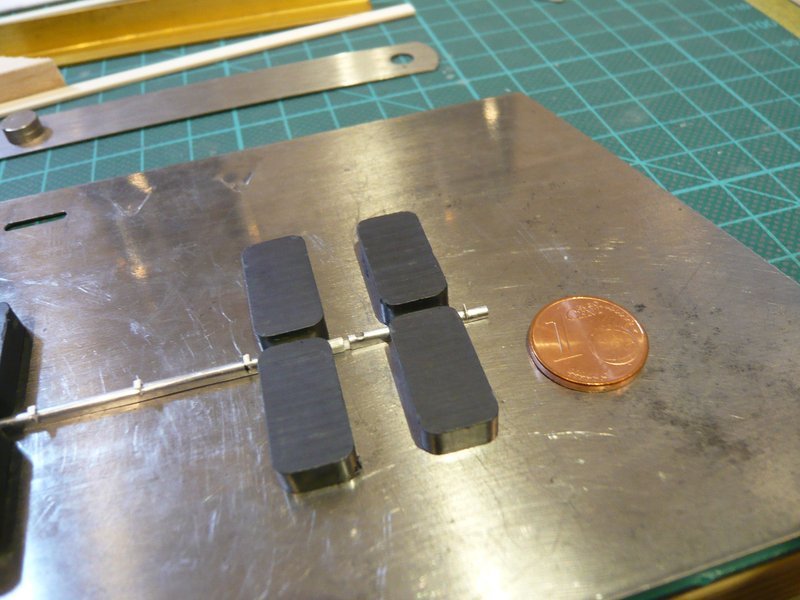 In order to achieve a possible flush connection of the two roundings, I then have glued a small supporting profile (0.5x1.5 mm rectangular profile + half-round profile), 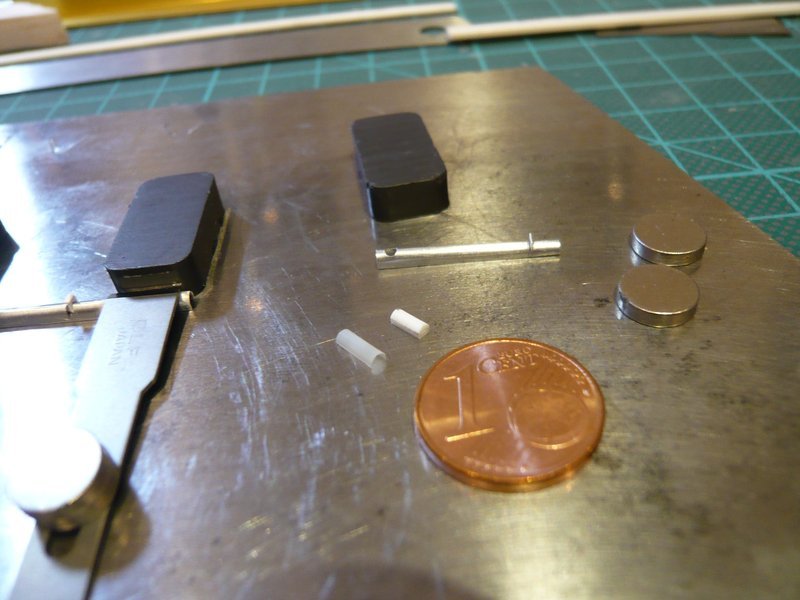 and inserted it into the longer gutter part together with a Teflon strip as CA protection.  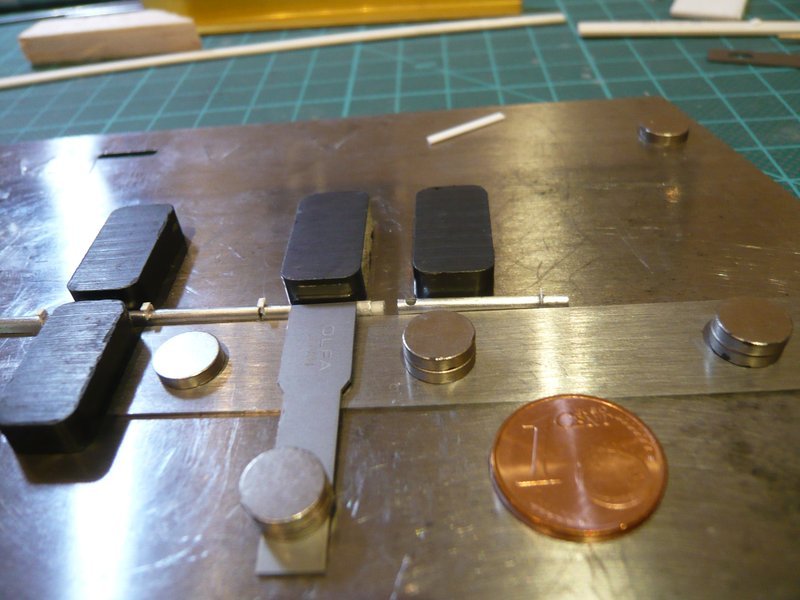 Afterwards, I dabbed the gutter end on the rounding with CA and layed the part over the support profile and lightly pressed, in the hope that both parts would somehow glue together. Unfortunately, this hope has not been fulfilled, because after removing the supporting profile from the gutter suddenly two parts were laying in front of me again.   So I was rather frustrated and I have to think about a different solution, which is why good ideas are required.  So please feel free, but rather come up with it.
__________________
Greetings from Germany Manfred Under construction: Launch Pad 39A with Challenger STS-6 (1:144)
|
 |
|
|


 Linear Mode

