


|
|
|
#1461
 09-20-2017, 10:22 AM
|
||||
|
||||
|
Hello everybody,
okay, admitted, this delicate matter is really not very easy, because the gluing surfaces (cannot to be said actually) or better the gluing edges (0.1 mm) are much too narrow.  To the actually obvious idea,  of using the special glue for photo-etched parts (PE) Gator's Grip-Thin Blend instead of CA I could have come already earlier, especially since its application is simpler and even more advantageous. But sometimes one cannot see the forest for the trees ... of using the special glue for photo-etched parts (PE) Gator's Grip-Thin Blend instead of CA I could have come already earlier, especially since its application is simpler and even more advantageous. But sometimes one cannot see the forest for the trees ...  I had previously only planned its application for the gluing of the various PE parts at the FSS/RSS and therefore it falled a bit into oblivion. 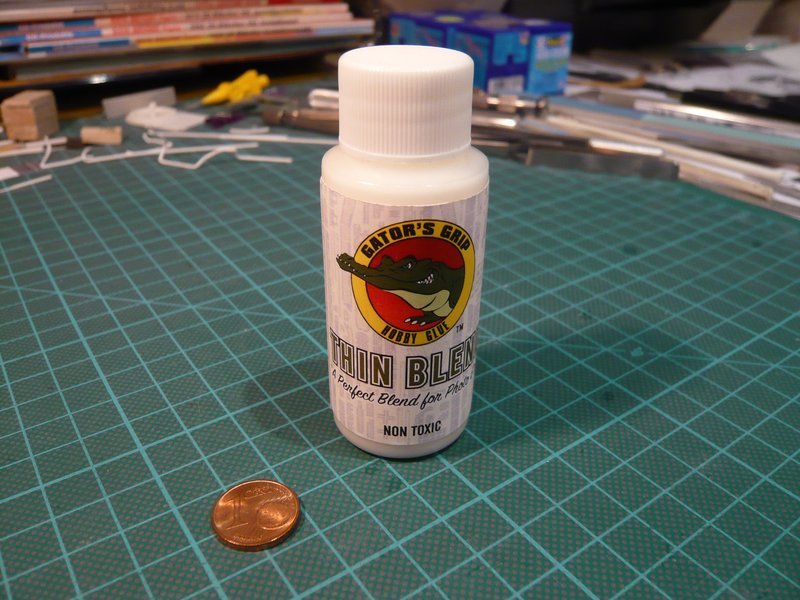 A significant advantage of this glue is that it is water-soluble and does not cure as quickly as Seku. This allows one to correct the seat of the parts for a while. During this time, the initially milky white color changes into transparent, indicating that the adhesive is dry and cured.  A further advantage is the amazing elasticity of the glue in the cured state. While a contact that is glued with Seku can break away quickly, as with one gutter support, the Gator's Grip contact itself can withstand a bending by 90° and then re-erect itself,  also known as Memory effect, what I initially did not wanted to believe. also known as Memory effect, what I initially did not wanted to believe. And this variant I have tried today.  Here one can see the put together gutter dummies, which I have just before lightly painted inside and outside with the Gator's Grip, as well as a similarly attached support. 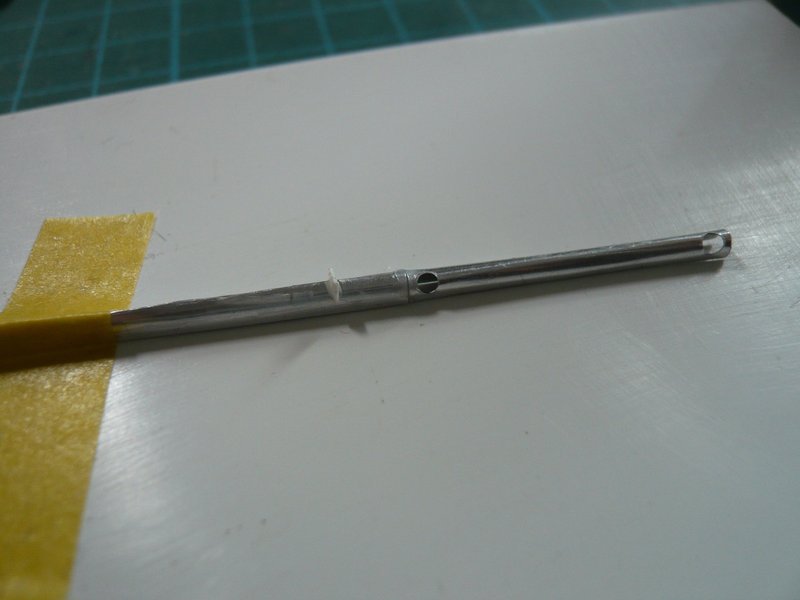 After a drying time of about 10 minutes it looked like this. The gutters were actually tightly connected and held out a slight bend without breaking apart. 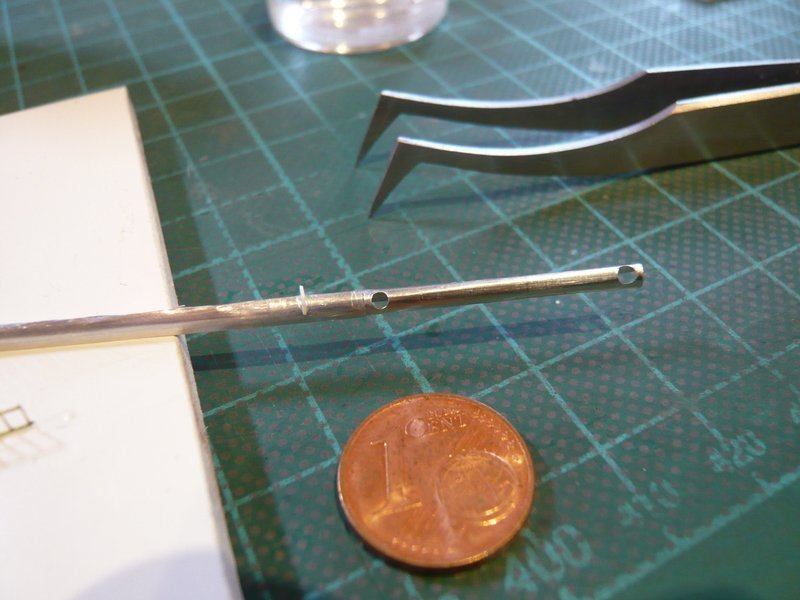 In addition, I also have glued an old PE ladder as well as a piece of handrail upright onto a plastic pad and let dry. 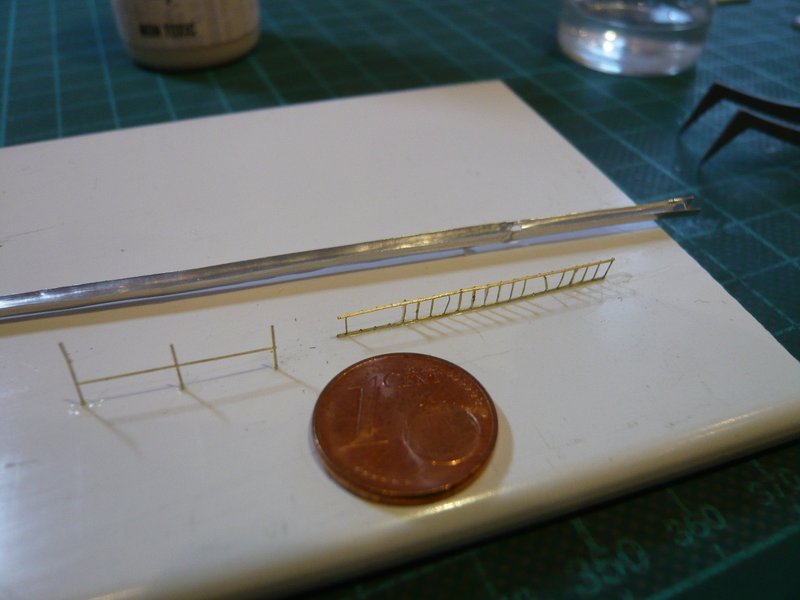 And then followed the brutal nail test for the ladder by loading of a tweezer, what overwhelmed it.  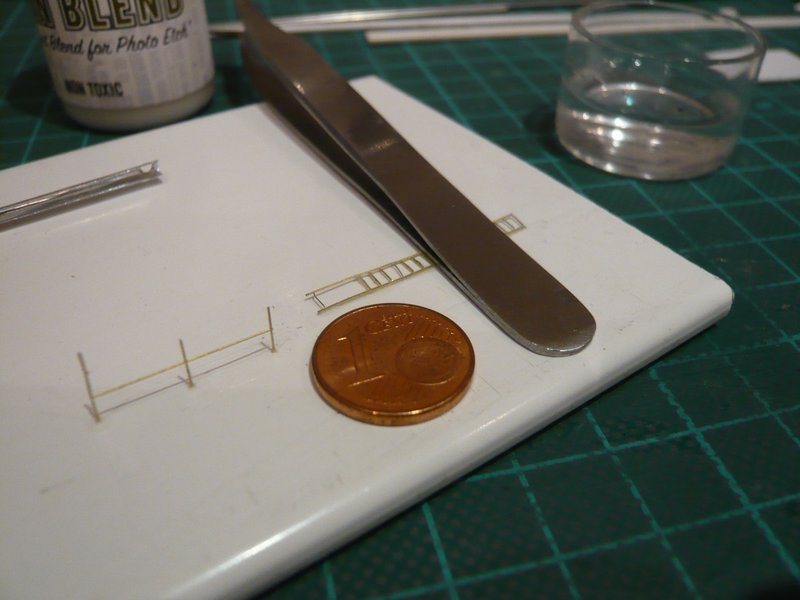 And whether one believes it or not, after taking the tweezers away, the miraculous resurrection of the ladder began, here after half of the recovery from this strain,  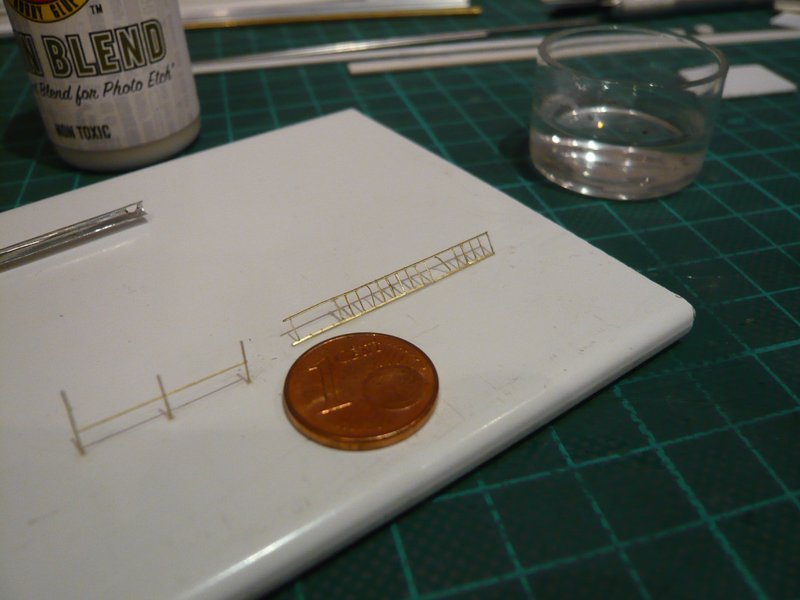 and then almost to the starting point. And the handrail finally had to bend itsef under my cent coin, 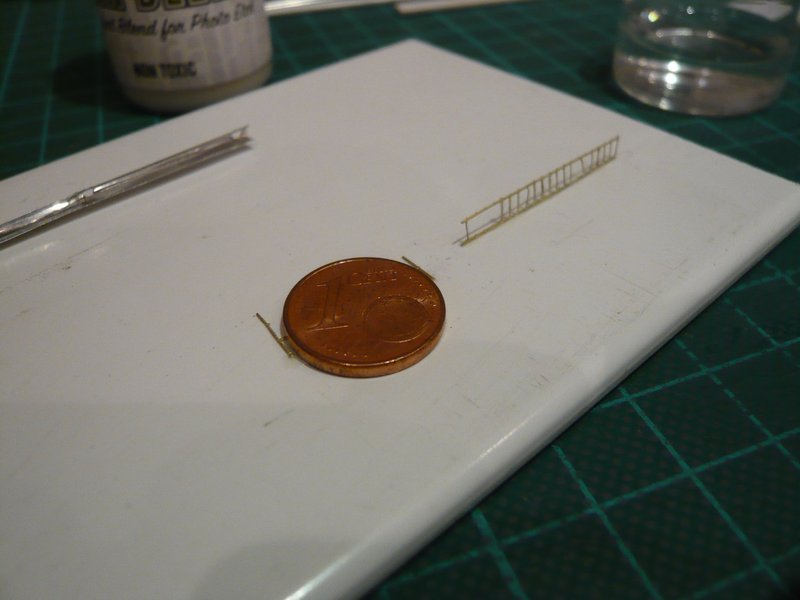 but had surprisingly the same abilities and stood up again little by little, although these are only point contacts!!! 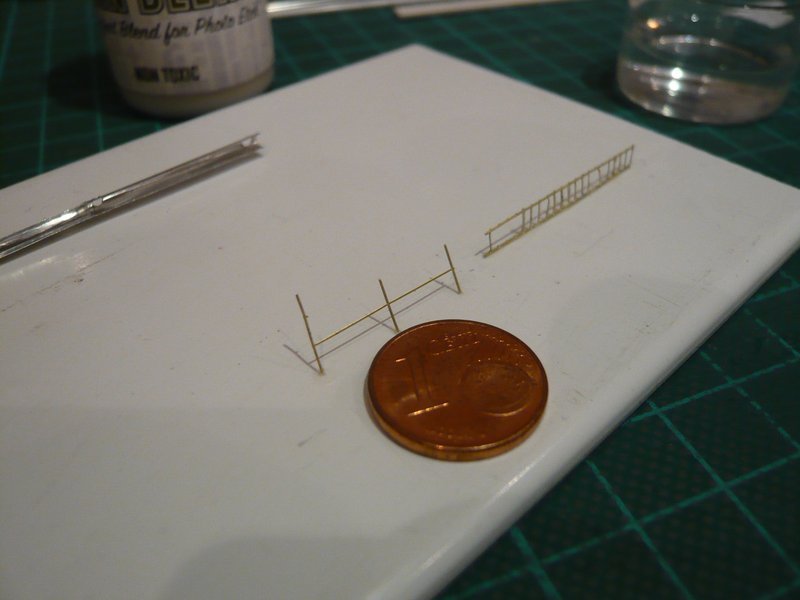 Finally here once again the state of the probands after this stress test, which impressively proves their total recovery. What more do you want?  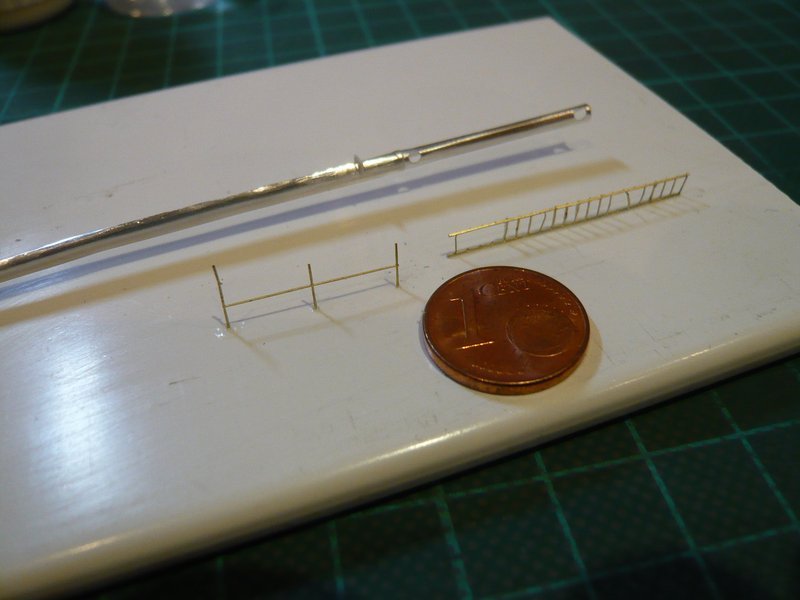 As a conclusion, I can say rightly that the test reports have not promised too much, and that Gator's Grip is really a hellish stuff that convinced me and will be helpful to me when gluing the next gutters on the Side 4, as certainly also in the gluing of the gutters at the MLP deck.  
__________________
Greetings from Germany Manfred Under construction: Launch Pad 39A with Challenger STS-6 (1:144) 
|
|
#1462
09-22-2017, 08:56 AM
|
||||
|
||||
|
Hello everybody,
since I can order Gator's Grip also in Germany, I have tested both varieties in comparison, because I was interested in the difference. 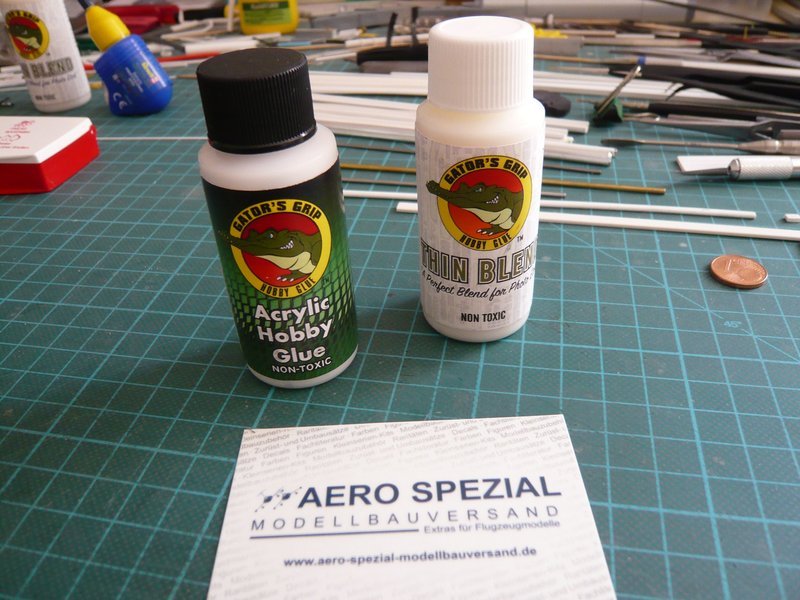 While the Original Blend is rather pasty and resembles conventional wood glue, the Thin Blend is not fluid, but noticeably thinner.  And since the Gator does not bite immediately like CA, I had to hold the two plastic rods first.  As can be seen after a dry time of 5 minutes the Thin Blend actually dries faster, and the milky white color already begins to become transparent. 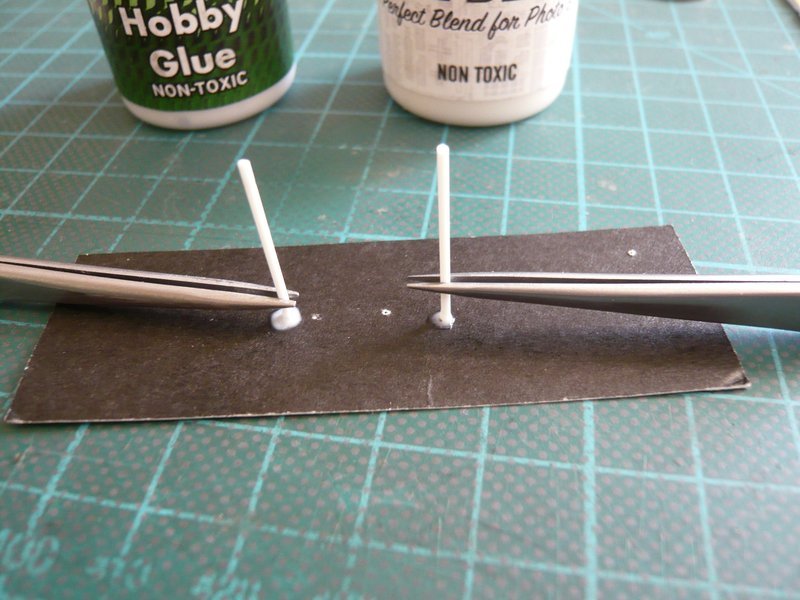 After 10 minutes, both samples are standing already by itself. 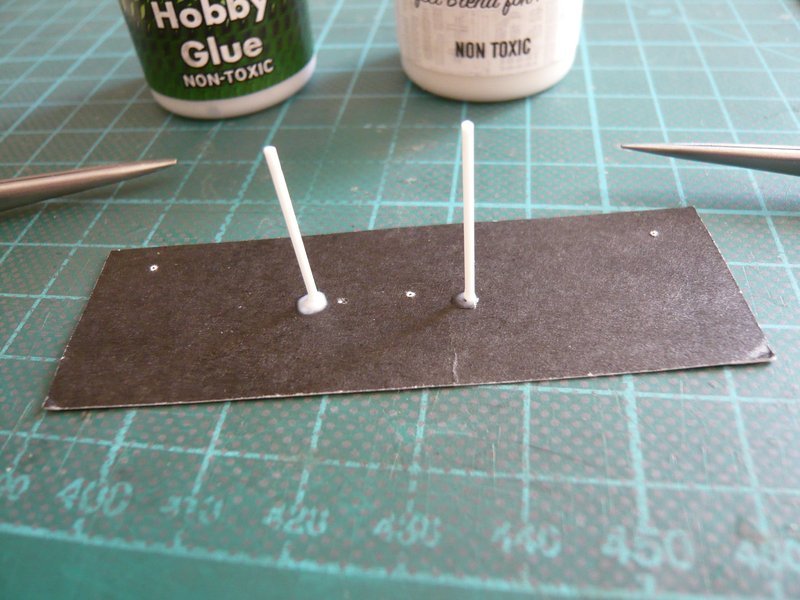 After 15 minutes, the Thin Blend should be almost cured. 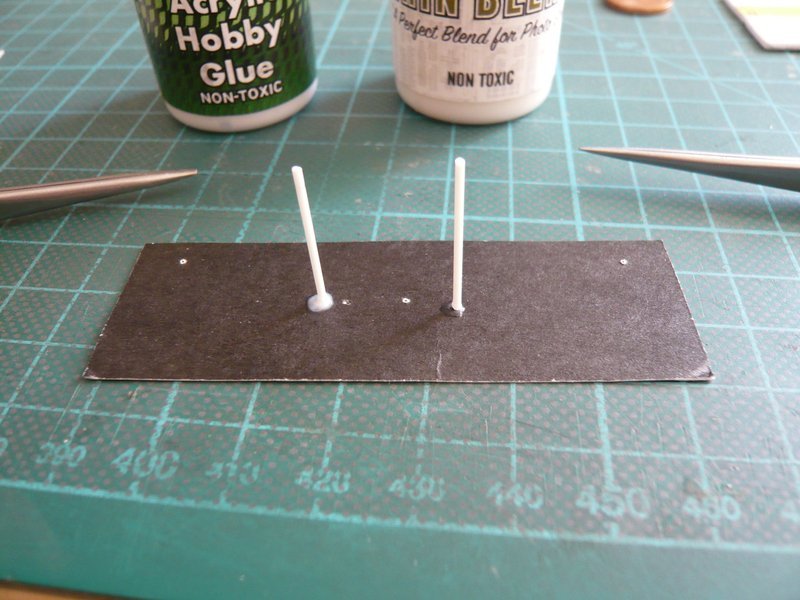 After 20 minutes: 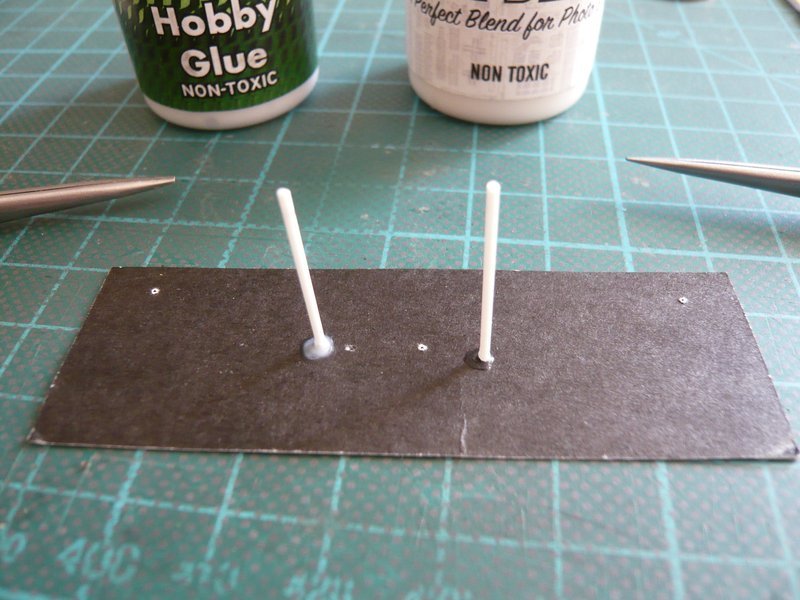 After 25 minutes: 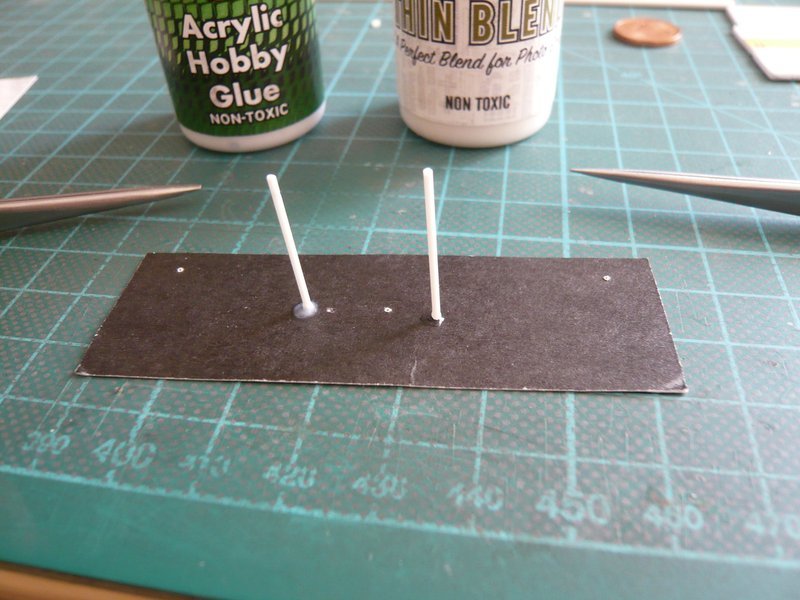 After 60 minutes the original glue was still not quite transparent.  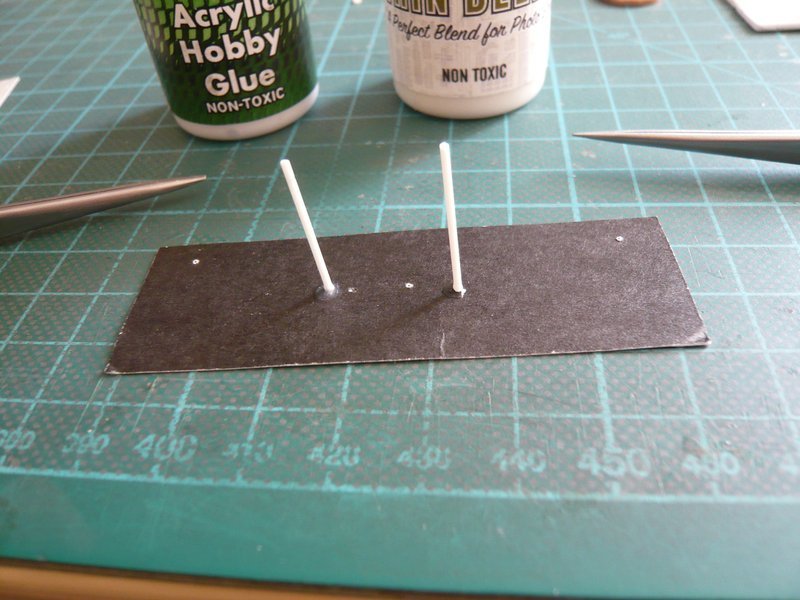 Then came the nail test,  which both samples have survived.  However, the force for upstanding reached only to half, for whatever reason. However, the force for upstanding reached only to half, for whatever reason. 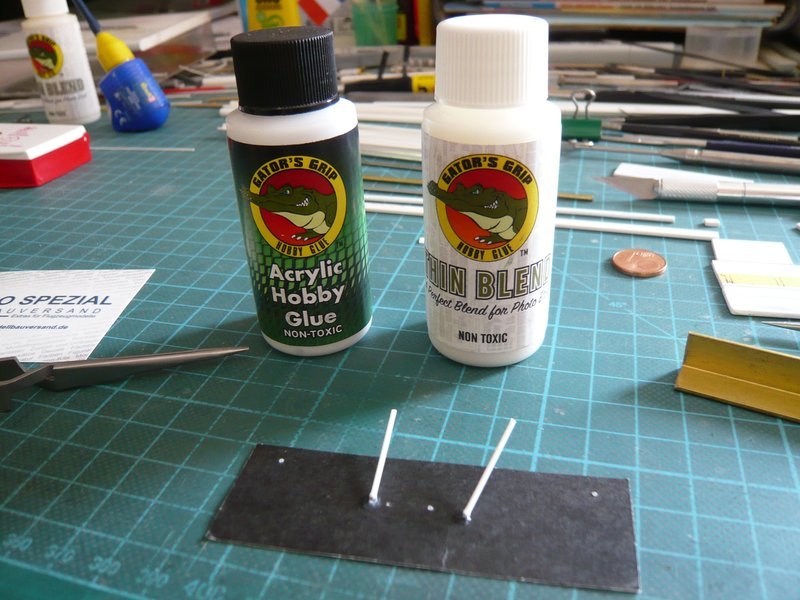 However, the connection is still so stable that the samples can be moved and erected arbitrarily without having to break. 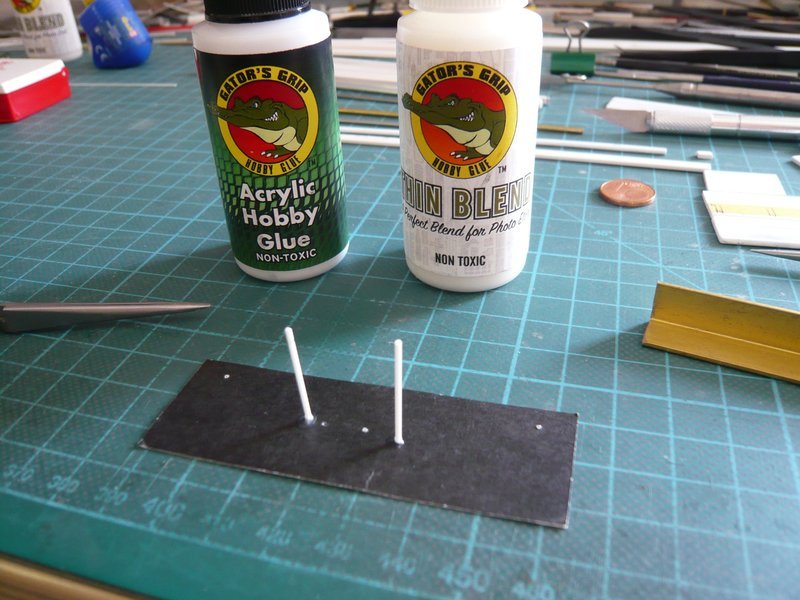 This allows everybody to decide for himself which blend is more advantageous and to order accordingly. I will probably stay with the Thin Blend because of the faster curing.
__________________
Greetings from Germany Manfred Under construction: Launch Pad 39A with Challenger STS-6 (1:144)
|
|
#1463
10-01-2017, 01:05 AM
|
||||
|
||||
|
Hello everybody,
and today finally to the gutters on the Side 4, which basically have the same structure as the gutters on Side 2. The only difference is that there is no console in the Bay 17 as on the Side 2, and therefore there is also no recess as shown on this image on the MLP-2 during STS-8.  Source: NASA As a result, there are only two gutters on Side 4, which can be seen in this image a bit better. For dimensioning it is only important to determine the distances in the recess in the Bay 10,  Source: apollosaturn.com (John Duncan) in which the box for the Fire Hose Reel was installed earlier. The two gutter ends at the beginning and at the end of the side have the same outward lowering structure, as can be seen in this image,  Source: apollosaturn.com (John Duncan) which again have to be glued with blunt ends, but this time immediately with Gator's Grip. For the cutting of the aluminium sheet metal strips (0.1 mm) was used a small montage sketch as usual.   Then, again, the rounding of the gutters followed in the usual way, here first the short initial piece of Gutter 1 in Bay 1, which was relatively simple,  and then the long piece, which was already somewhat more tricky.   As far as for today.
__________________
Greetings from Germany Manfred Under construction: Launch Pad 39A with Challenger STS-6 (1:144) Last edited by spacerunner; 10-04-2017 at 06:37 AM.
|
|
#1464
10-01-2017, 04:11 AM
|
|||
|
|||
|
Wowowow - now he's coming with the gators! :D
 That's some really amazing stuff! I did not know that anything like this is available, I'm still stuck with white glue, UHU and CA on occasion.  Great work, Mani! Keep it up!
|
|
#1465
10-01-2017, 07:45 AM
|
||||
|
||||
|
Hi Marcell,
yep, Gator's Grip is really fantastic, and here is still an encore. It was even possible to smooth the glue contact with a sanding stick, and the 0.1 mm contact seam was resistent and is not broken apart, which would have happened by using CA.  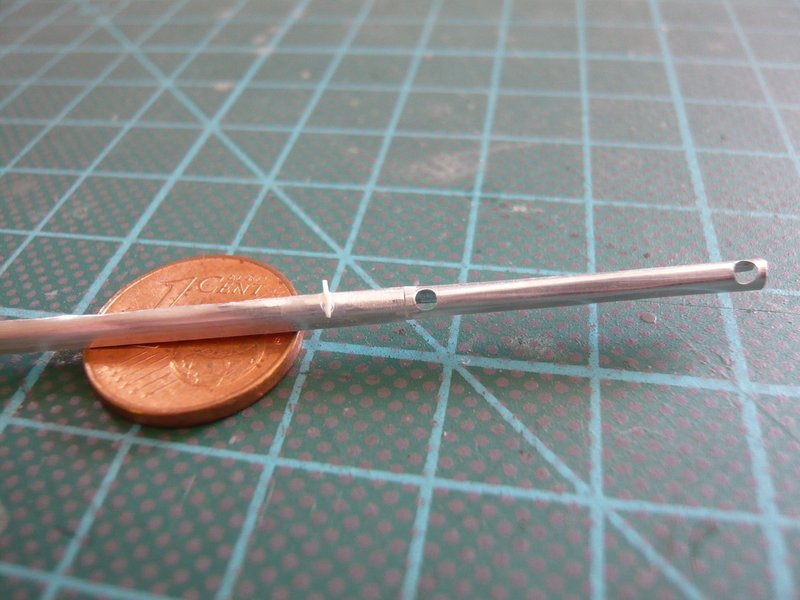 Strange, but true! As a small customer service for curious guys and prospective customers, here one can go to the witch master Kenny Loup from Sulphur (Louisiana), from whom I bought my glue a few years ago.  Source: gatorsmask.com
__________________
Greetings from Germany Manfred Under construction: Launch Pad 39A with Challenger STS-6 (1:144)
|
|
#1466
10-02-2017, 04:12 PM
|
||||
|
||||
|
Hello everyone,
and now to the still remaining Gutter 2 on the Side 4. While the rounding of the long gutter strip with the help of the half-pipe and core wires up to Ø 4 mm is relatively easy, it is known to become more tricky below this level. This is why I have clamped the brass core wire (Ø 2 mm) this time over the rounded gutter strip on the table and pressed the edges from both sides by sliding along with a rounded magnet, because unsightly kinks can be prevented this way. 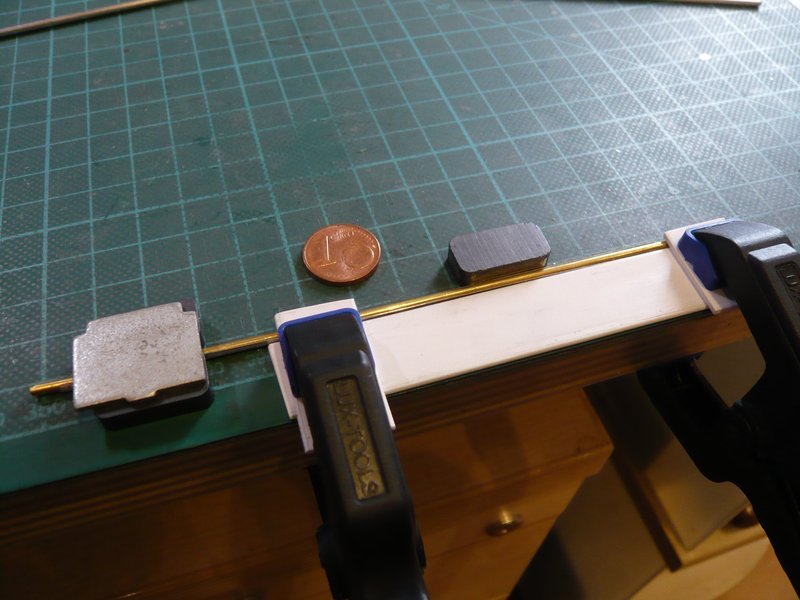 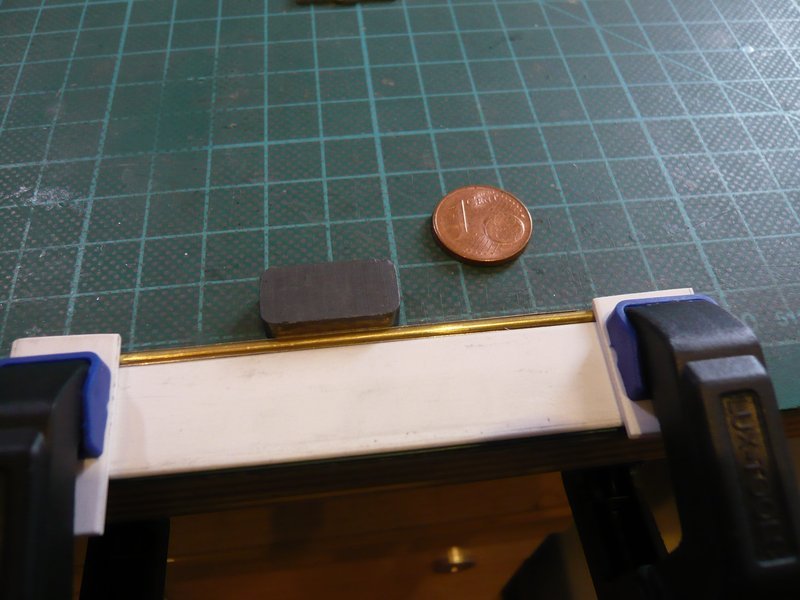  This is followed by the last rounding with the core wire Ø 1.5 mm. 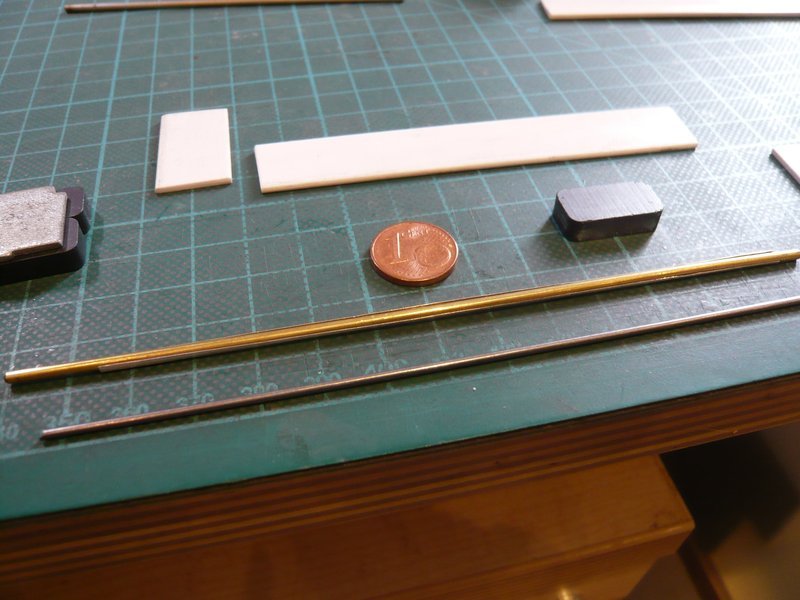 Any slight longitudinal distortions of the gutter can be compensated on the narrow rounded plastic core strip, 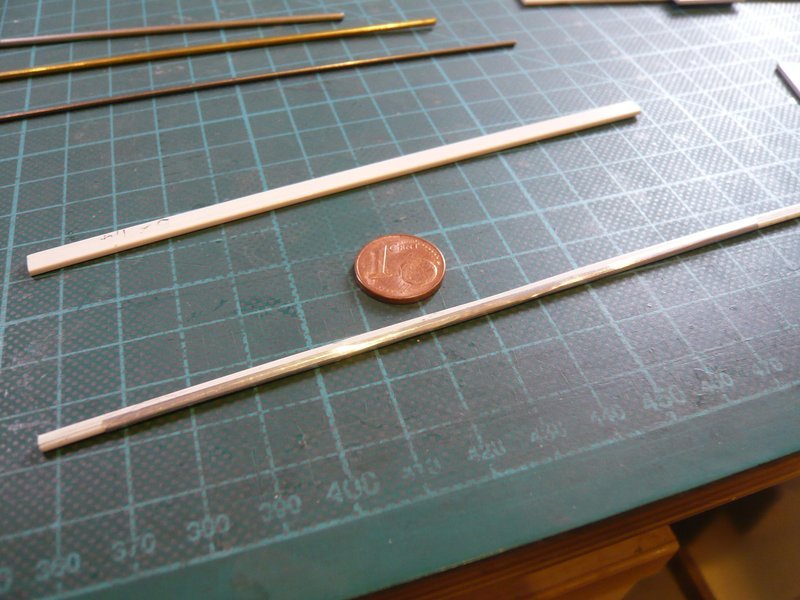 so that Gutter 2 is finally finished too. 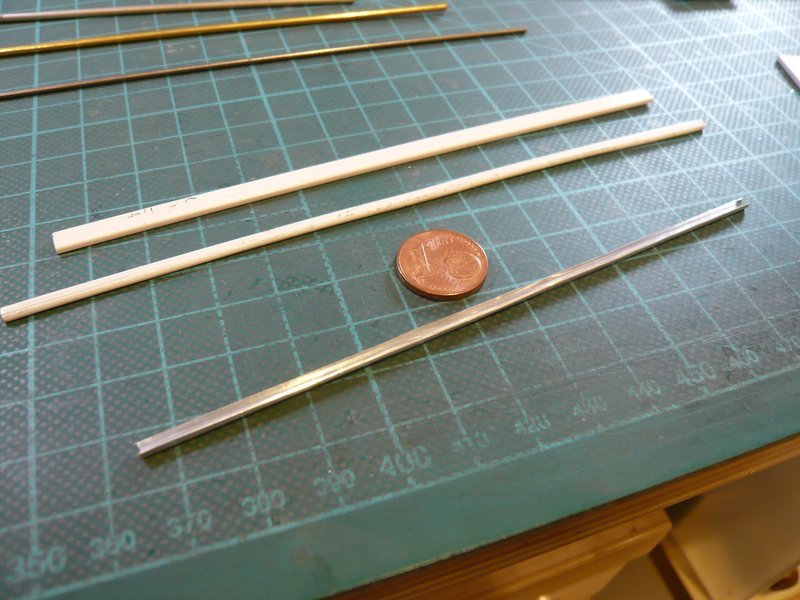 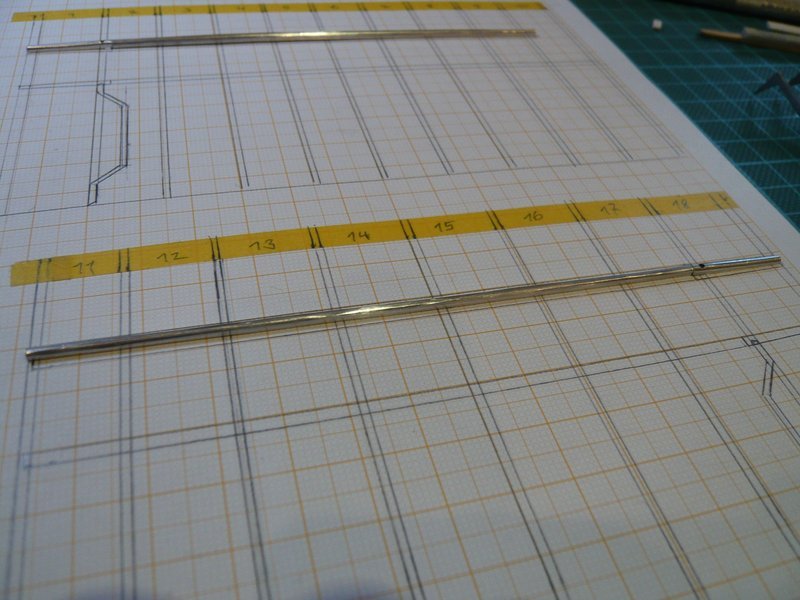 As the crowning end of the gutter chapter, next the gluing of the Gutter Supports follows, but this time also with the Gator's Grip. 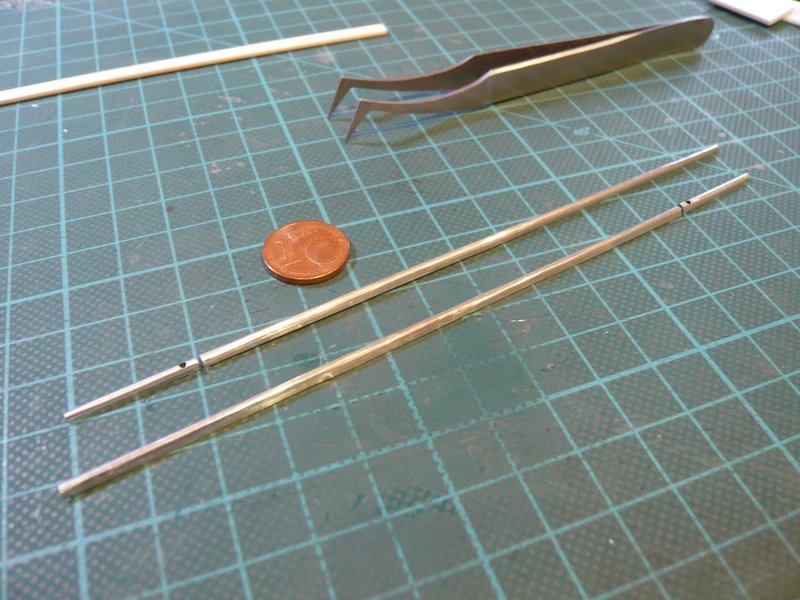
__________________
Greetings from Germany Manfred Under construction: Launch Pad 39A with Challenger STS-6 (1:144)
|
|
#1467
10-14-2017, 03:03 PM
|
||||
|
||||
|
Hello everybody,
before the 14 supports (with lower strip) could be glued to the two gutters, they had to be scratch-built, of course, with full concentration, a calm hand and good eyes.  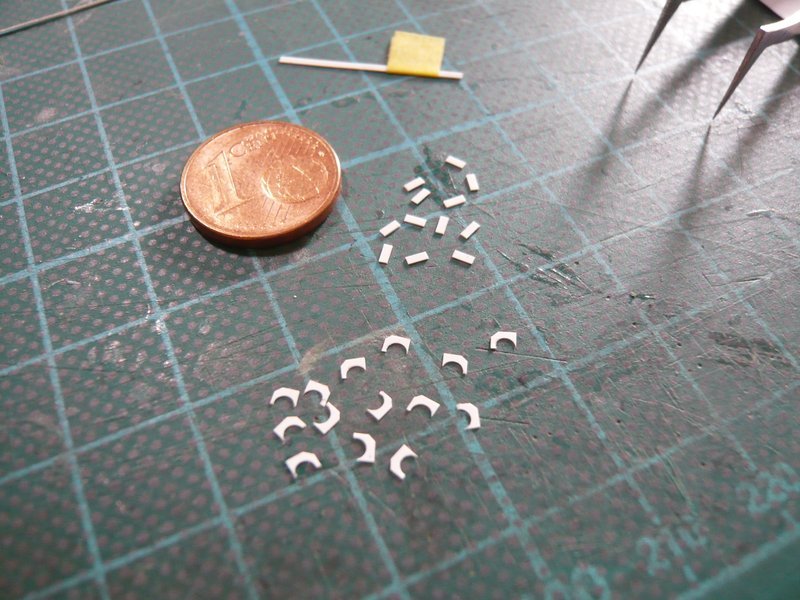 And already the gluing of the sickles on the tiny strips was again the expected tricky matter as with the gutters on the Side 2. Since these are again the same procedures and handgrips, I will only briefly illustrate them by picture. 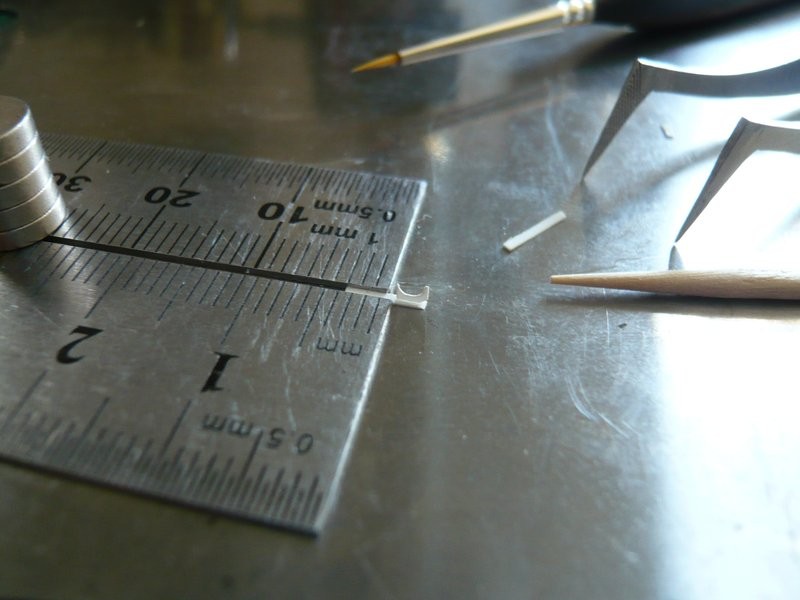 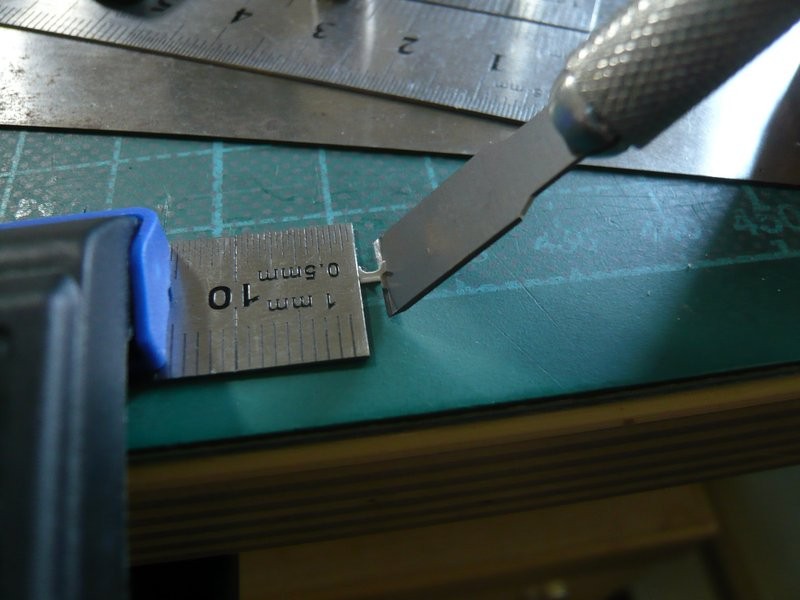 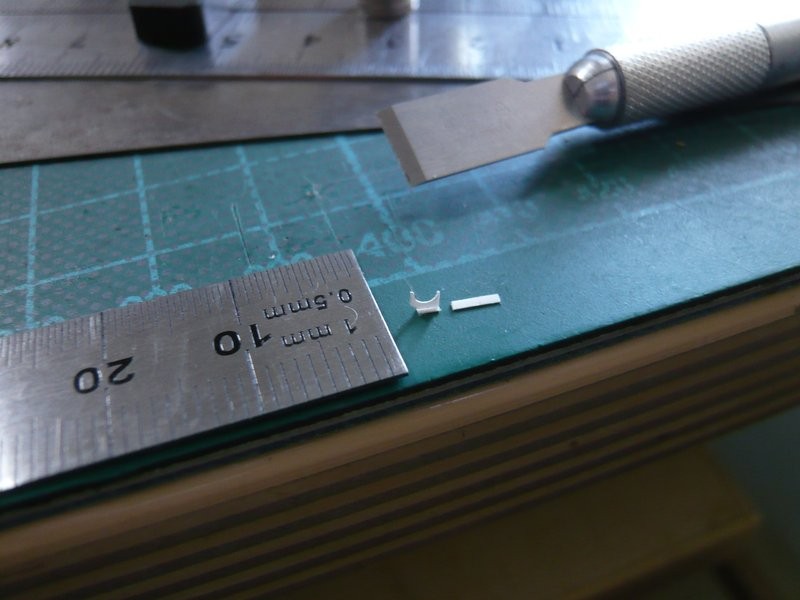 With a few supports as a reserve, the gluing of the supports onto the gutter continued. 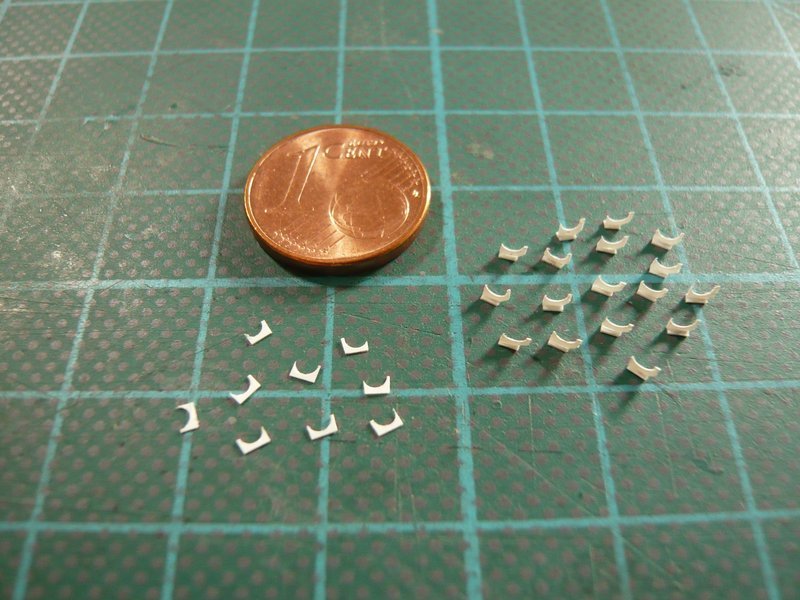 After the bottom of the gutter was glued into the short piece, the outer support without strip was glued. 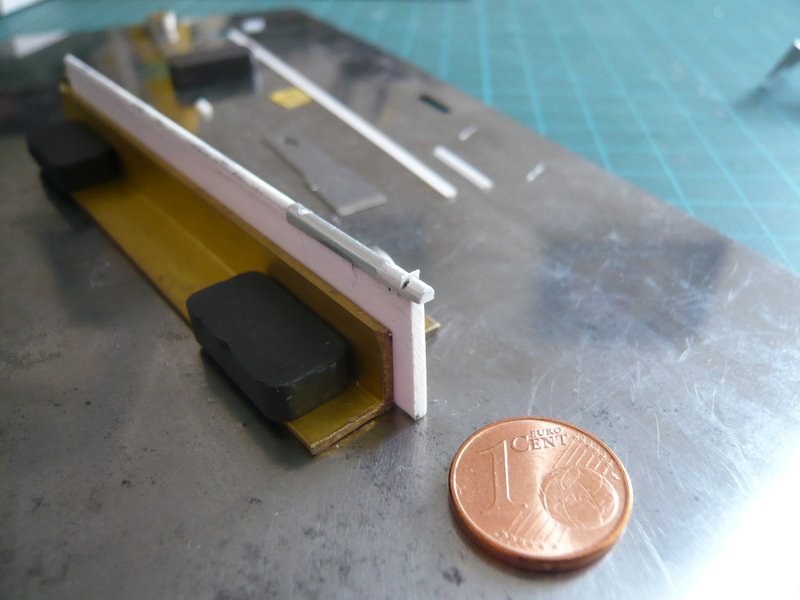 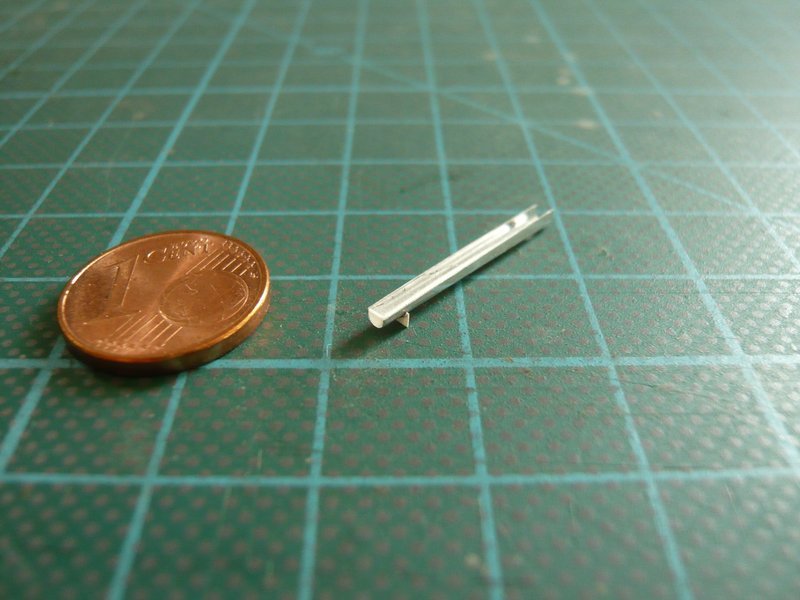 This time I did not glue the supports on the long gutter individually, but at the same time three at one go clamped between cutter edges. 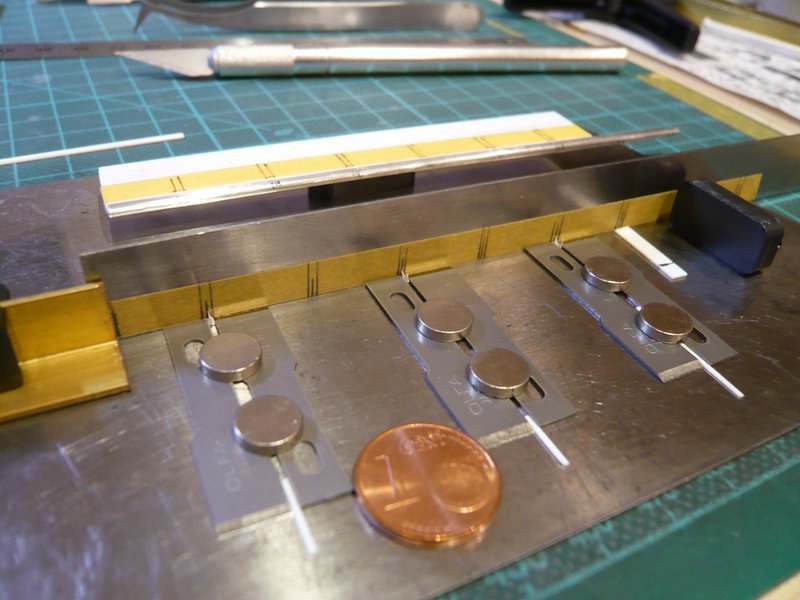 Afterwards, the contact points on the gutter were dabbed with CA and then the core strip with the gutter were lowered to the supports and thus glued. 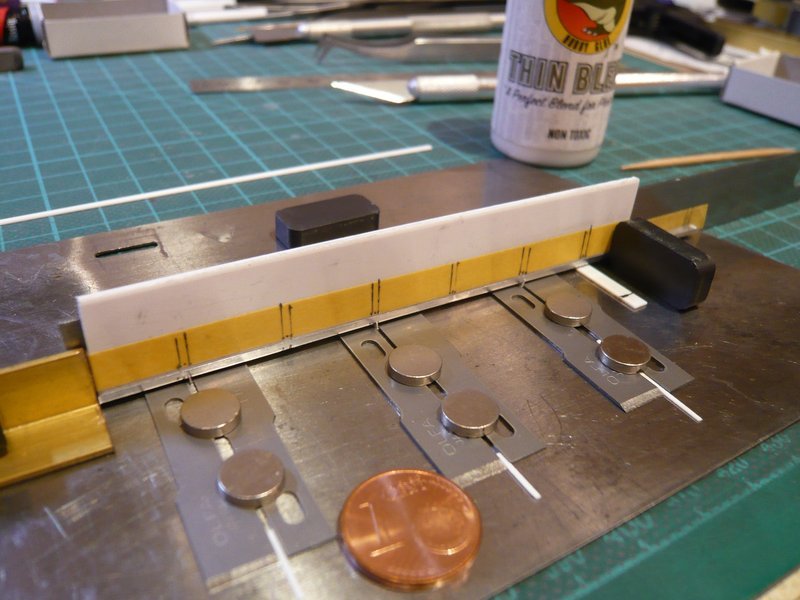 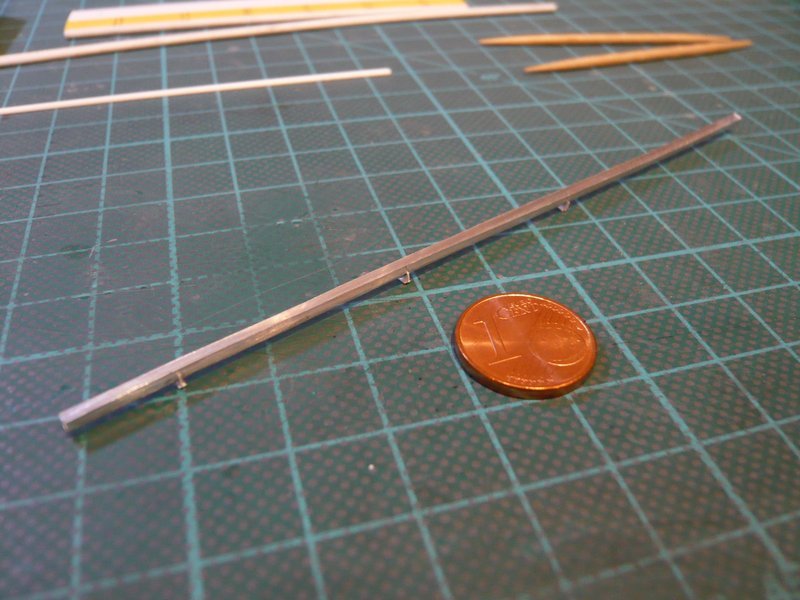 Subsequently the remaining five supports were glued. 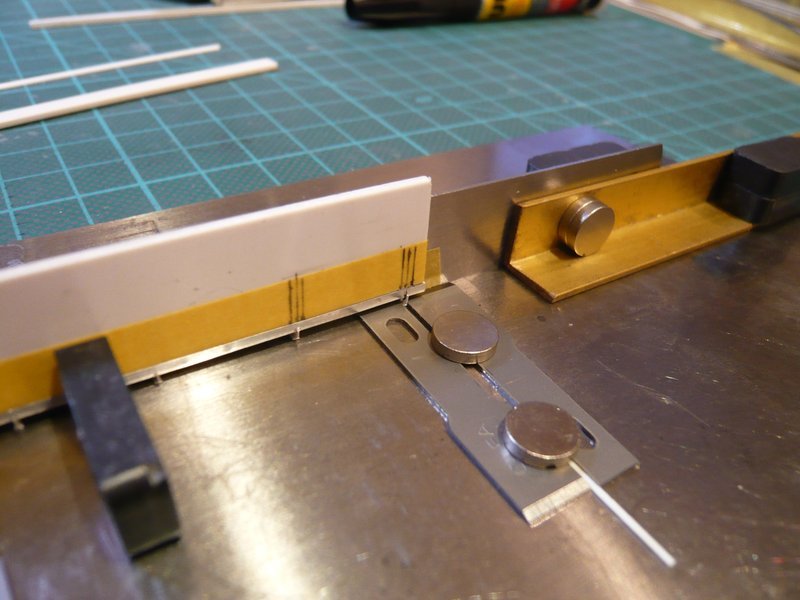 Since the last support had not glued completely, it was glued once more.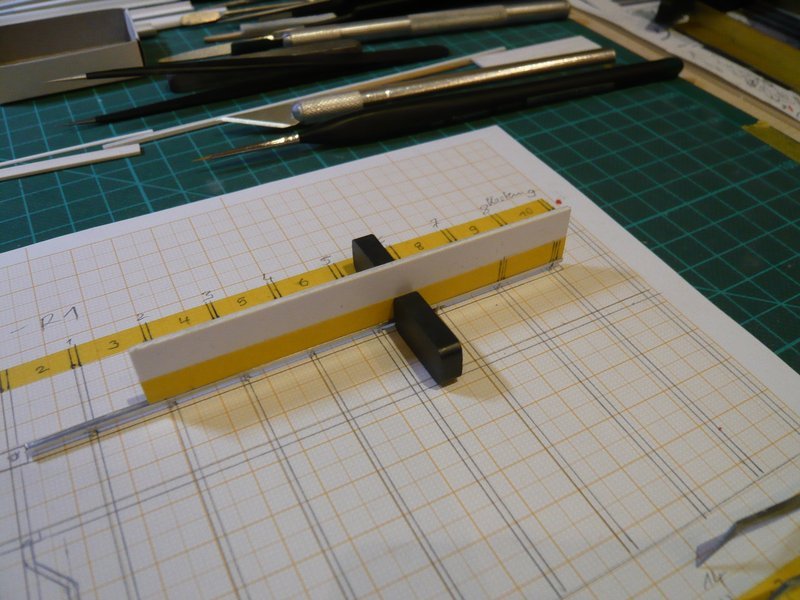 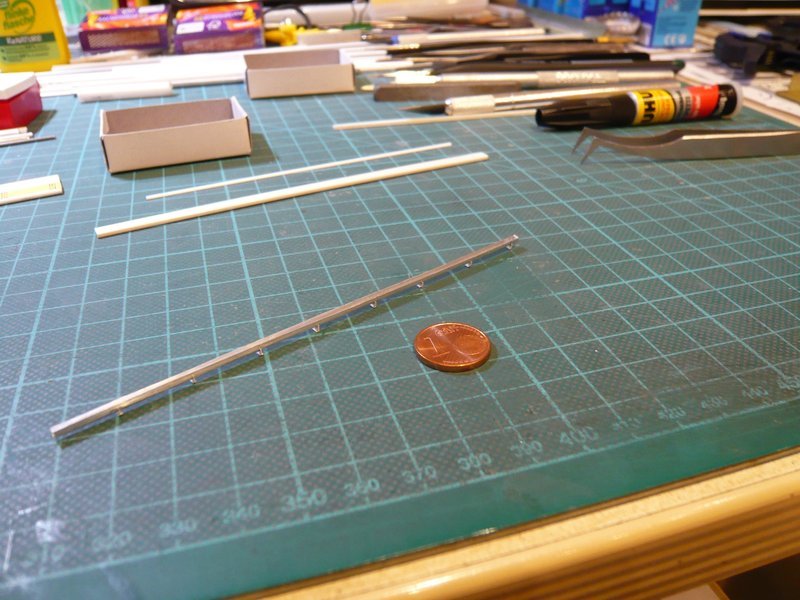 Next, the short initial gutter is glued to the long Gutter 1, this time with Gator's Grip. Later, the Gutter 2 will follow.
__________________
Greetings from Germany Manfred Under construction: Launch Pad 39A with Challenger STS-6 (1:144) Last edited by spacerunner; 10-14-2017 at 05:04 PM.
|
|
#1468
10-16-2017, 04:38 PM
|
||||
|
||||
|
Hey folks,
yeah, yeah, yeah, still these boring gutters, I can not change it, sorry. In the case of the dull gluing of the gutters,a smooth seating and an exact fixing of the position is very important, so that nothing can shift. 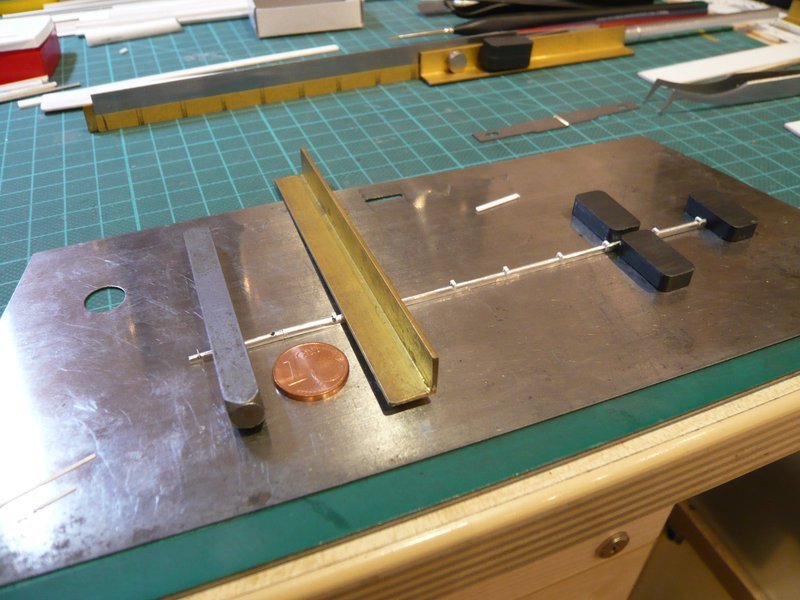 Then the seam was gently painted with Gator's Grip and let it to dry. 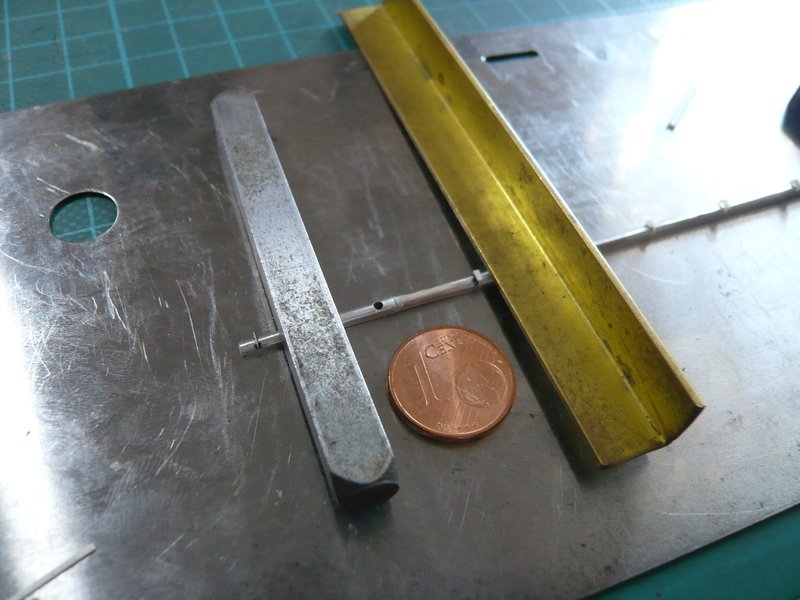 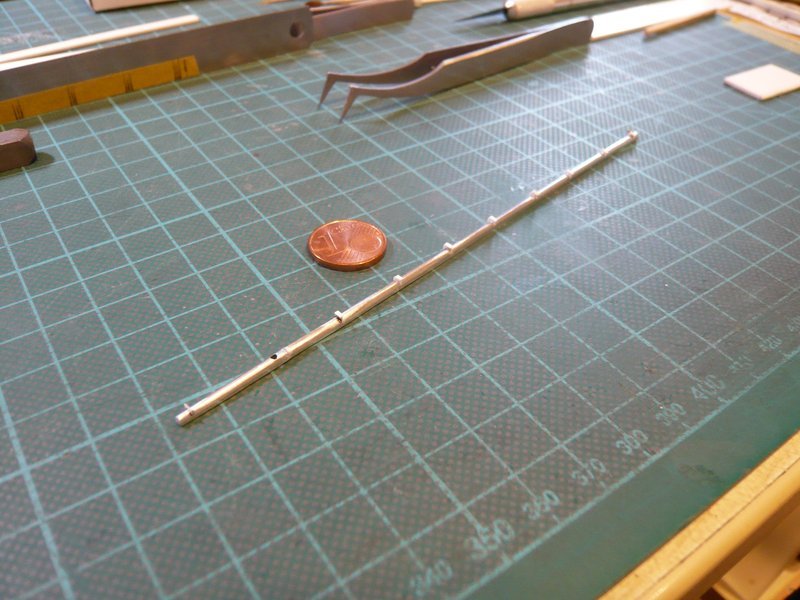 And as one can see, the gluing also holds this time. 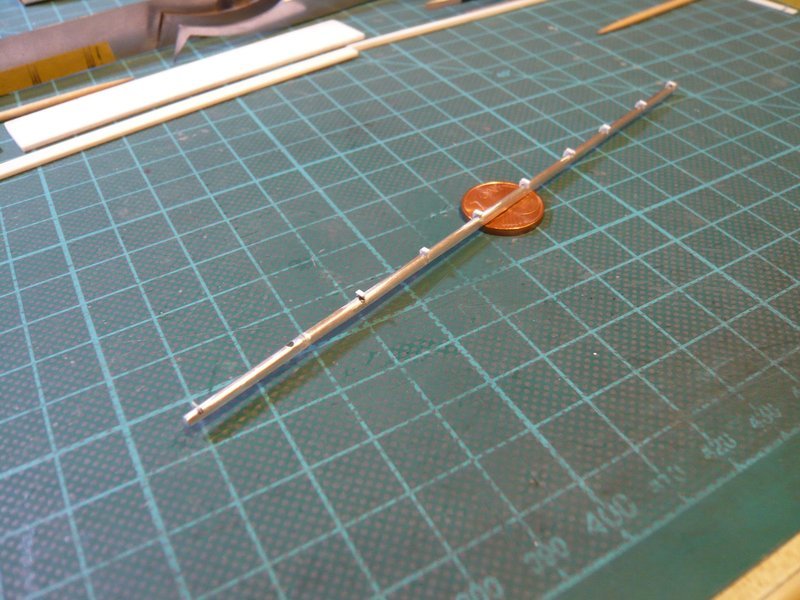 Tomorrow I will carefully smooth the seam. 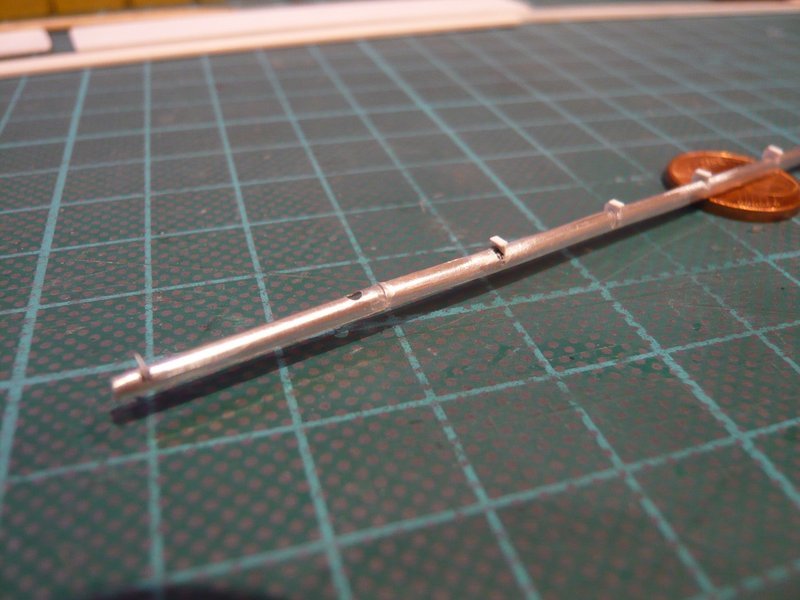 And so once again back to the Gutter 1 on the Side 2, where the two parts also had to be glued bluntly. Here, at first, the fitting test of the two parts, 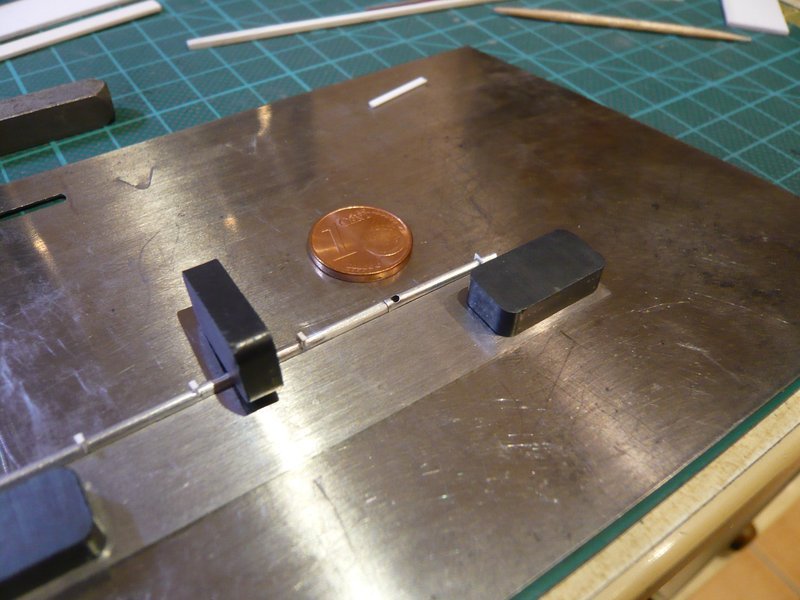 which I made this time even more securely aligned and stabilized before gluing. 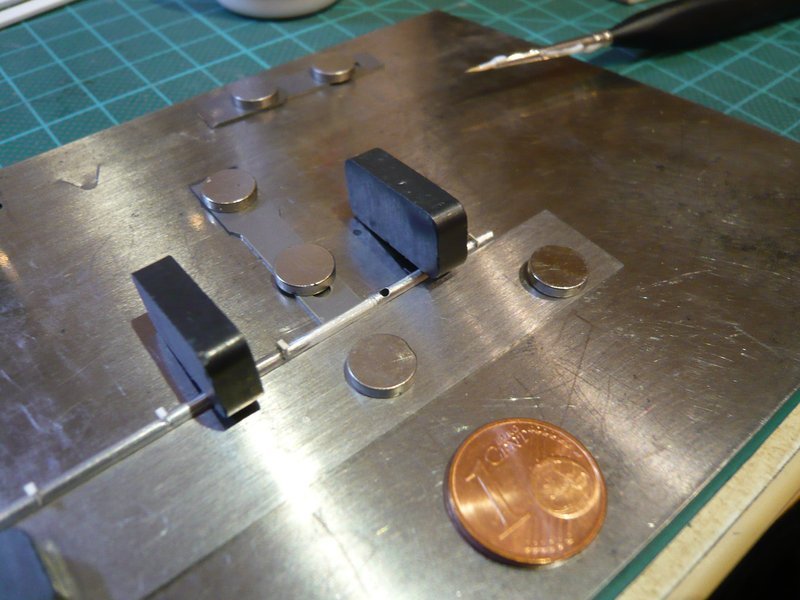 And this gluing was also successful, 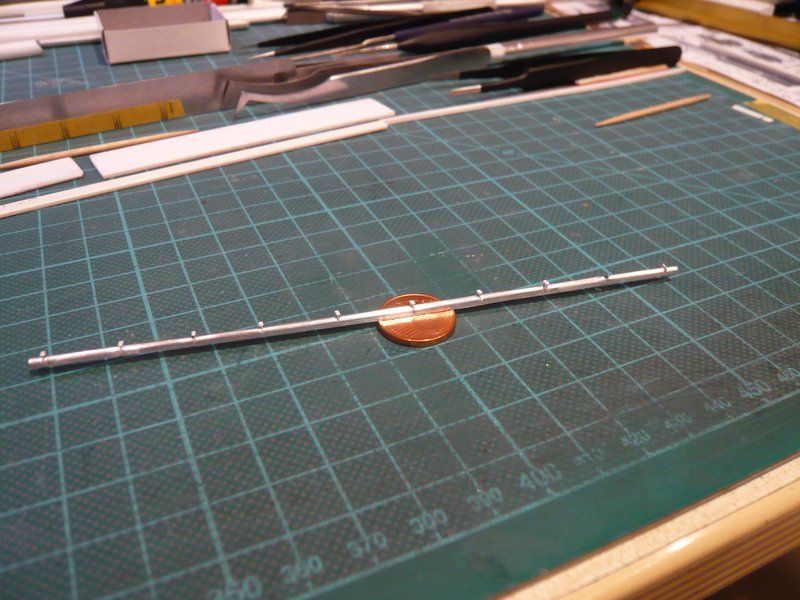 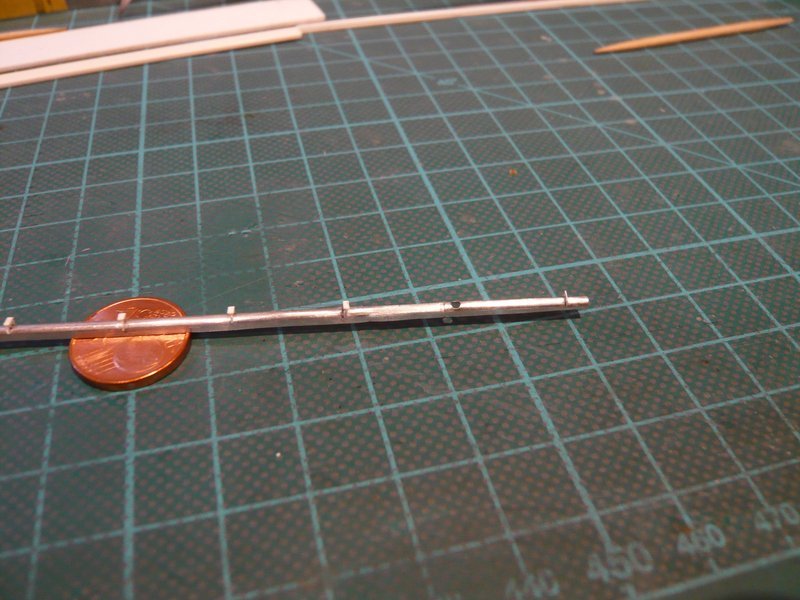 and can be smoothed tomorrow.
__________________
Greetings from Germany Manfred Under construction: Launch Pad 39A with Challenger STS-6 (1:144)
|
|
#1470
10-18-2017, 07:17 AM
|
||||
|
||||
|
Thanks whulsey for looking in on me,
 slowly but surely I'm fed up with these fragile gutters with their tiny supports, but luckily with Gutter 2 on Side 4 only still one of them left over, then I've made it.
__________________
Greetings from Germany Manfred Under construction: Launch Pad 39A with Challenger STS-6 (1:144)
|
 |
|
|


 Linear Mode

