


|
|
|
#1221
 12-06-2016, 04:33 PM
|
||||
|
||||
|
Hello guys,
and here comes a short update about cloning the second support.  The second time everything is already somewhat easier, especially since the individual parts were already prepared. Merely the handling of the individual parts of these midgets is not easy, because even holding in the tweezers is not harmless, since they can easily jump away, therefore Safety first!  But if one clamp the U-profile between two rulers, this works quite well. And the small rod to thread the individual parts is, of course, absolutely helpful and therefore indispensable.  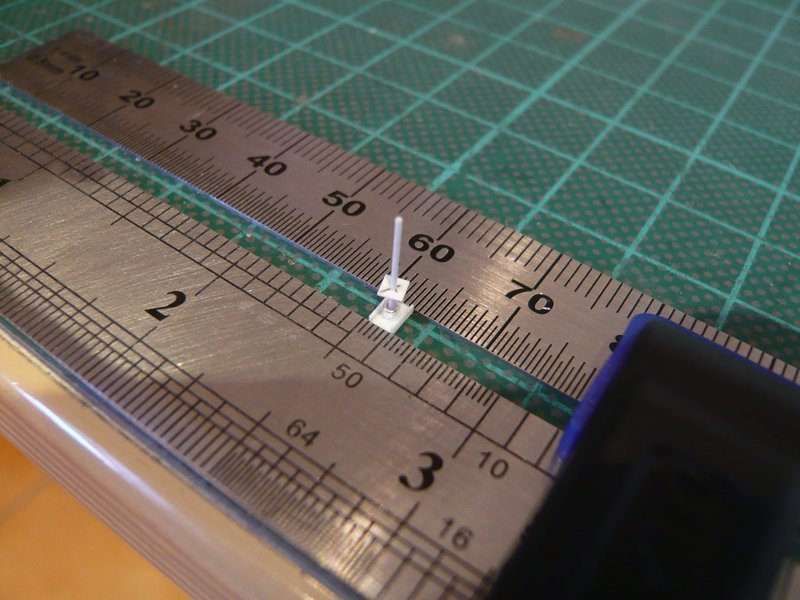 The gluing of the mini-sickle is then again the crowning conclusion. And now the umbilical stick can be separated off. 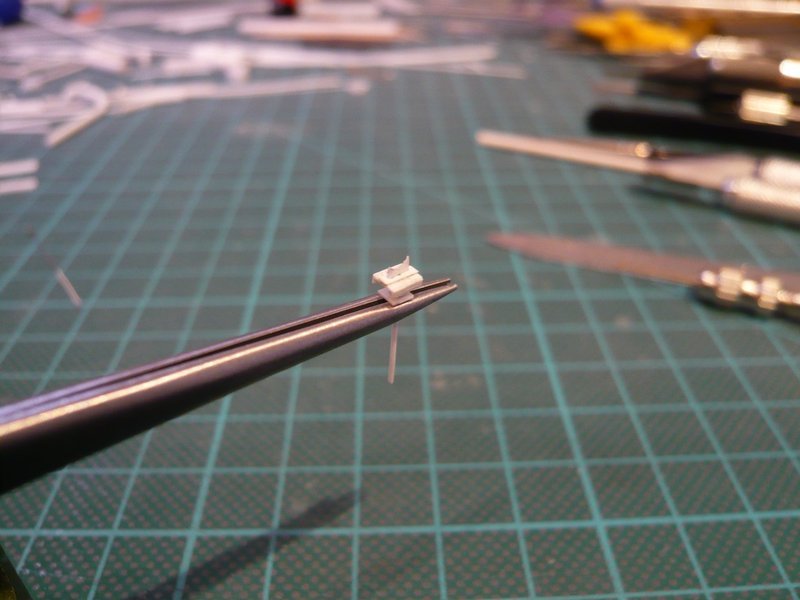 Thereby the couple is completed.  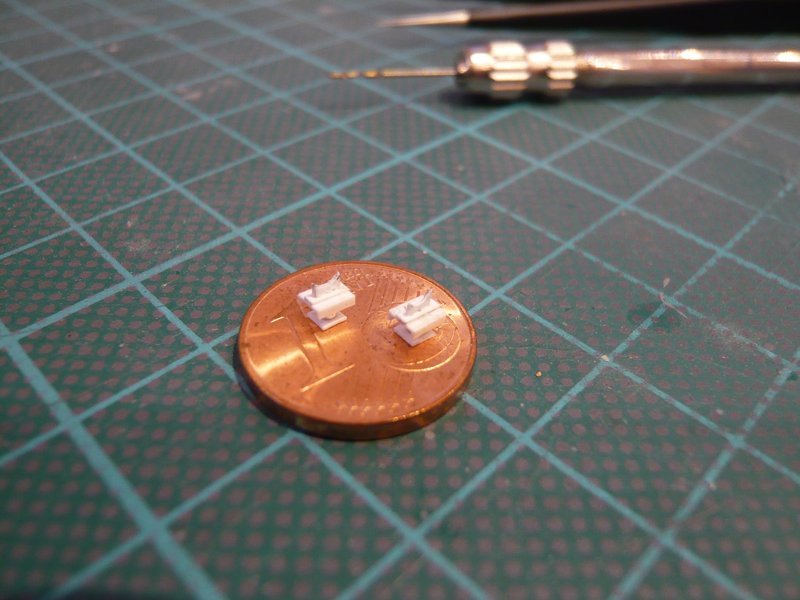 And now it can go on with the missing outlets on the other ring line.  
__________________
Greetings from Germany Manfred Under construction: Launch Pad 39A with Challenger STS-6 (1:144) Last edited by spacerunner; 12-07-2016 at 12:26 AM. 
|
|
#1222
12-08-2016, 05:57 PM
|
||||
|
||||
|
Hello together,
after the dismantling and re-mantling of the SRB-Supports, the three outer outlets were mounted on the right-hand ring line. 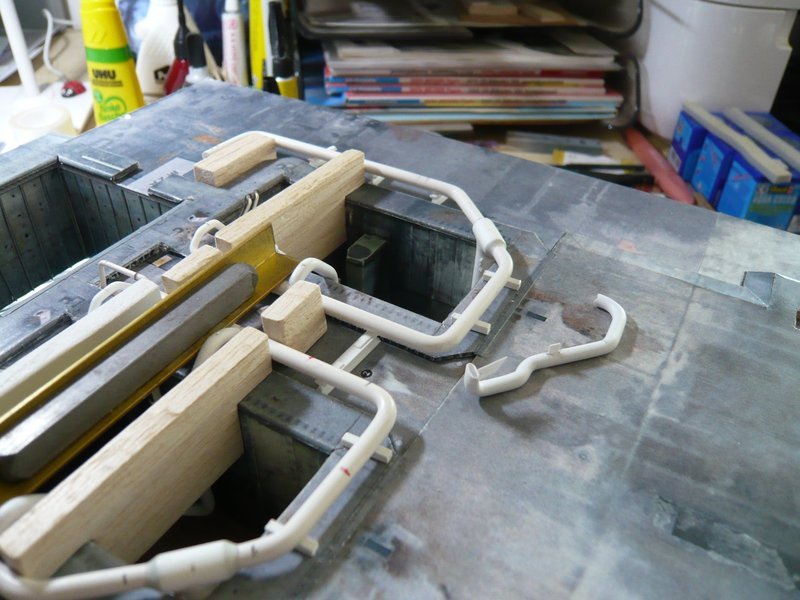 At it the bend of the rear outlet had to be adjusted somewhat, because it was a bit too long.  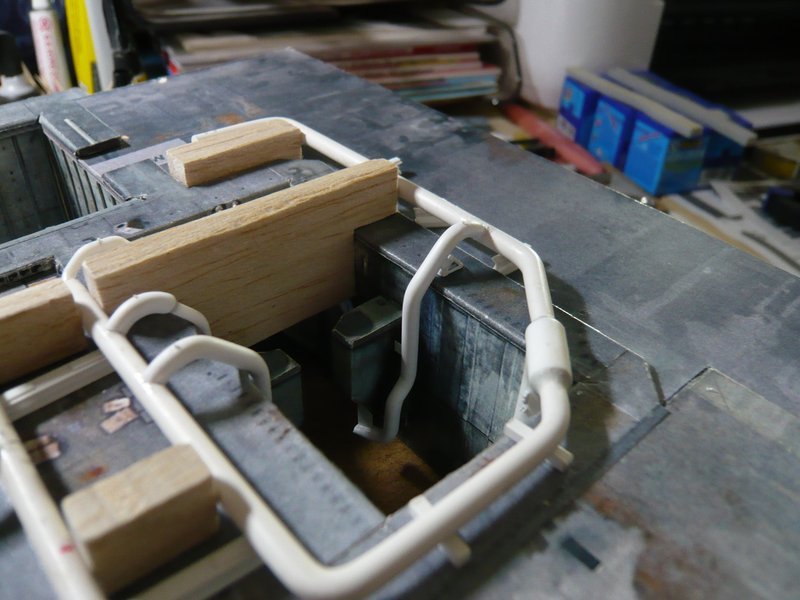 The next outlet has then fitted again right away.  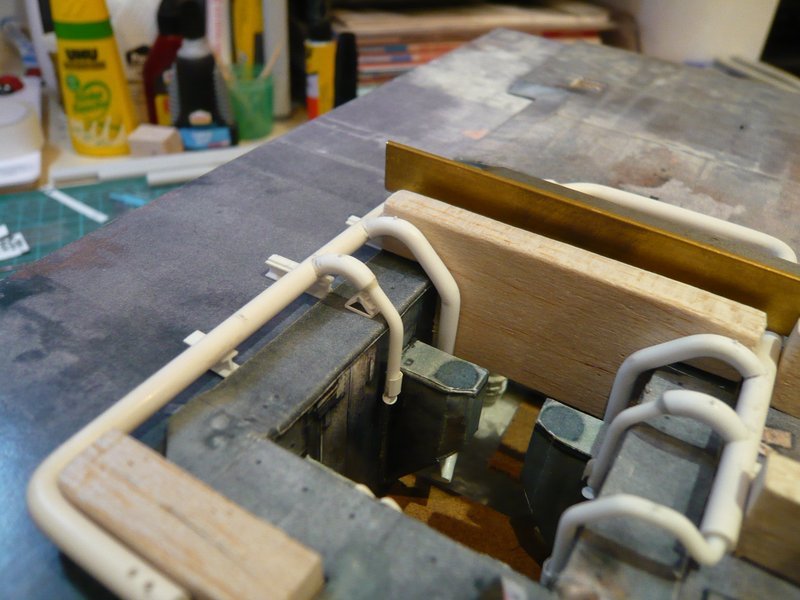 And also the front outlet had to be modified several times,  until it finally has fitted and I could give him my blessing. until it finally has fitted and I could give him my blessing. 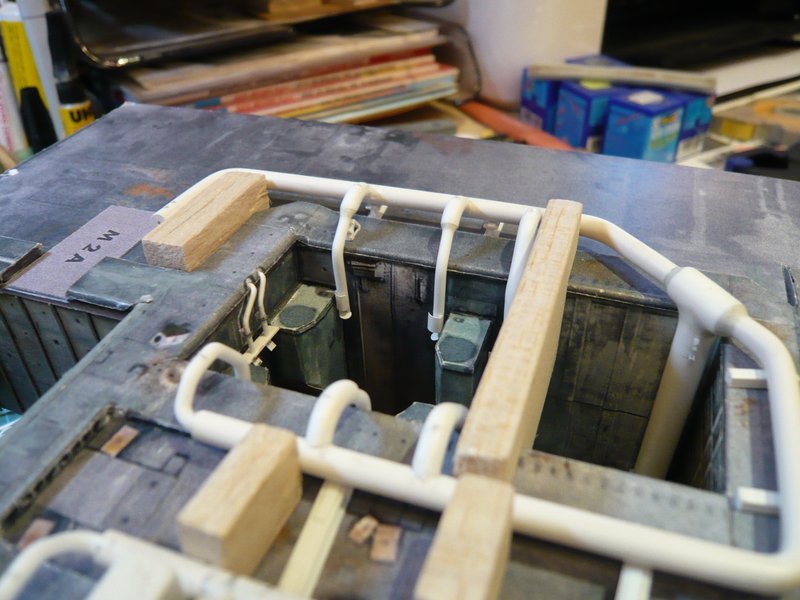 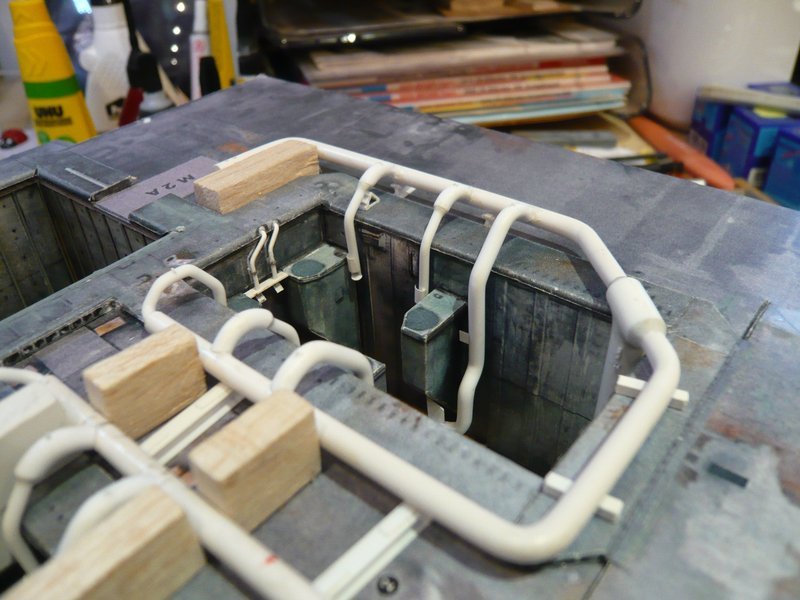 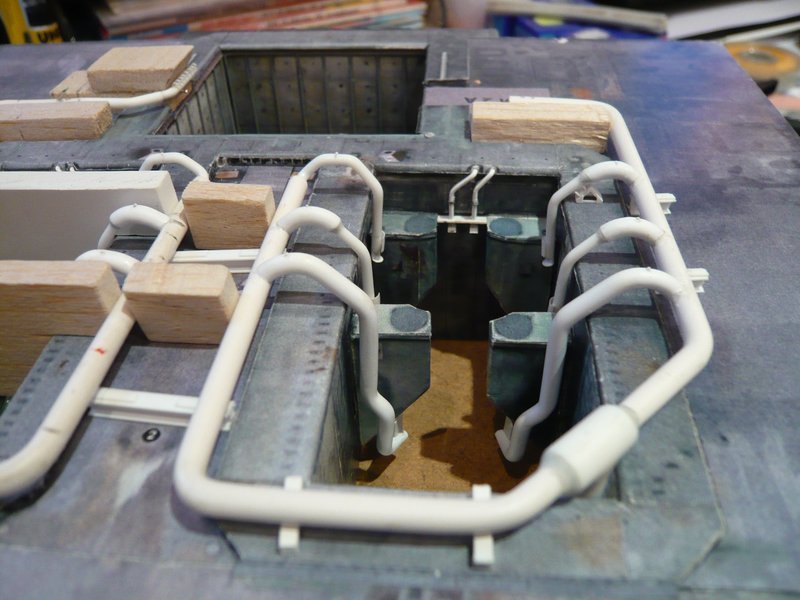 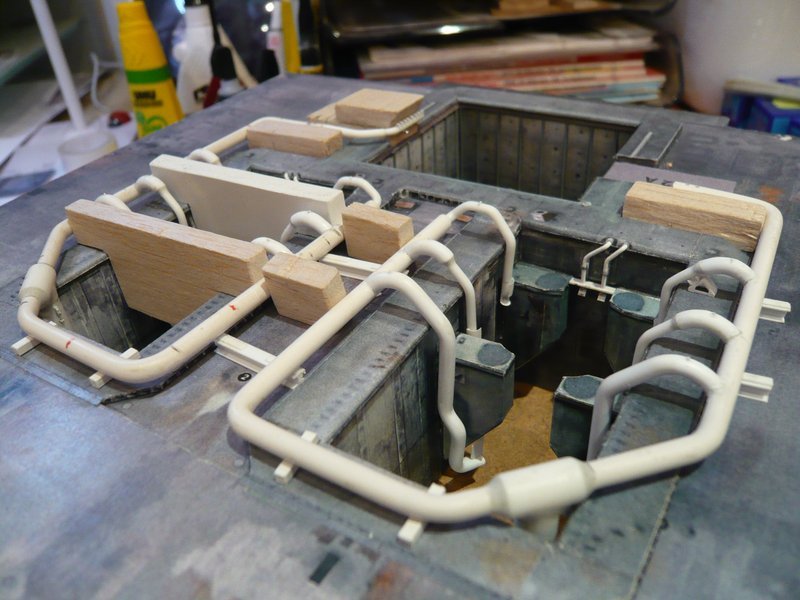 Tomorrow it will go around the corner to the extension of the ring line with the transition to the nozzle pipe behind the LH2-TSM.
__________________
Greetings from Germany Manfred Under construction: Launch Pad 39A with Challenger STS-6 (1:144)
|
|
#1223
12-10-2016, 05:52 AM
|
||||
|
||||
|
Hi there,
So, then I want to bring the extension of the ring line with the nozzle tube around the corner. When looking at some NASAtech.net panoramas, I suddenly noticed again this clamping ring on the extension, which I had actually forgotten on the other side and now has to be installed later. 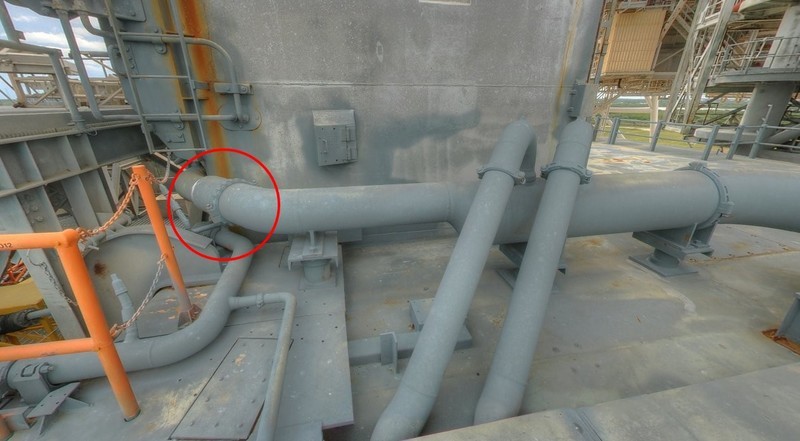 Source: NASA It is, of course, easier to mount the extension if it is not yet glued to the ring line. And so I did this, whereby I used Lead wire (Ø 0.4 mm), which I have glued with MEK, yup, with MEK!!! And that actually works whether you believe it, or not. This astonishing effect I had noticed several times unpleasantly when gluing PE parts on a sheet metal underlay, which suddenly suddenly stuck to the underlay. And this side effect benefited me this time, especially since the clamping ring has nothing great to resist.  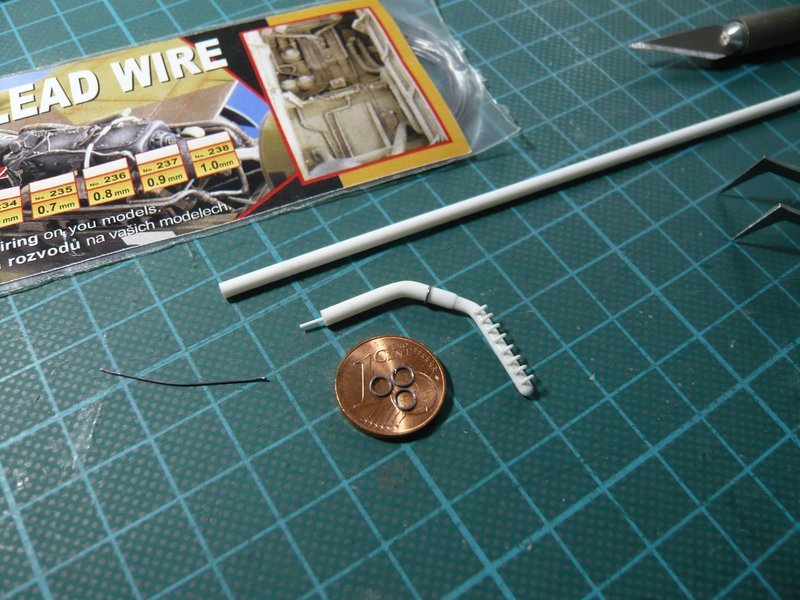 And here the extension is already glued and fits well around the corner of the TSM dummy. 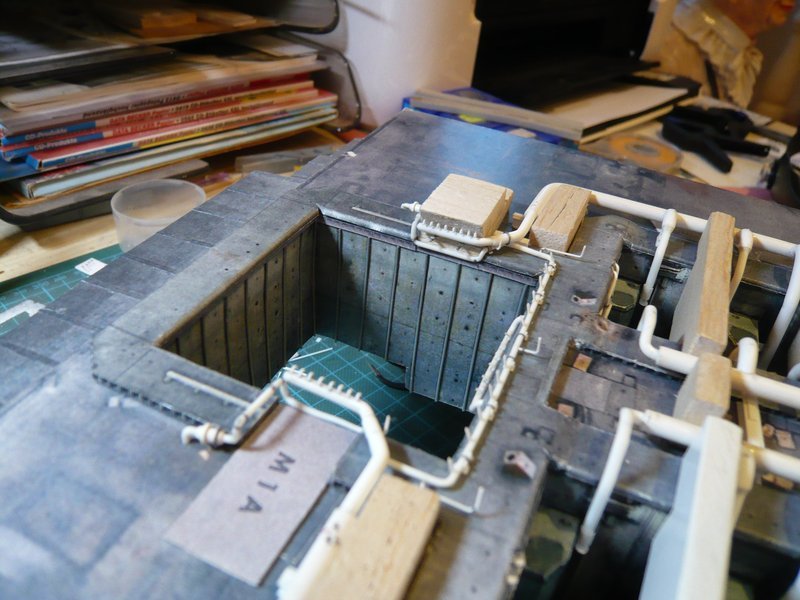 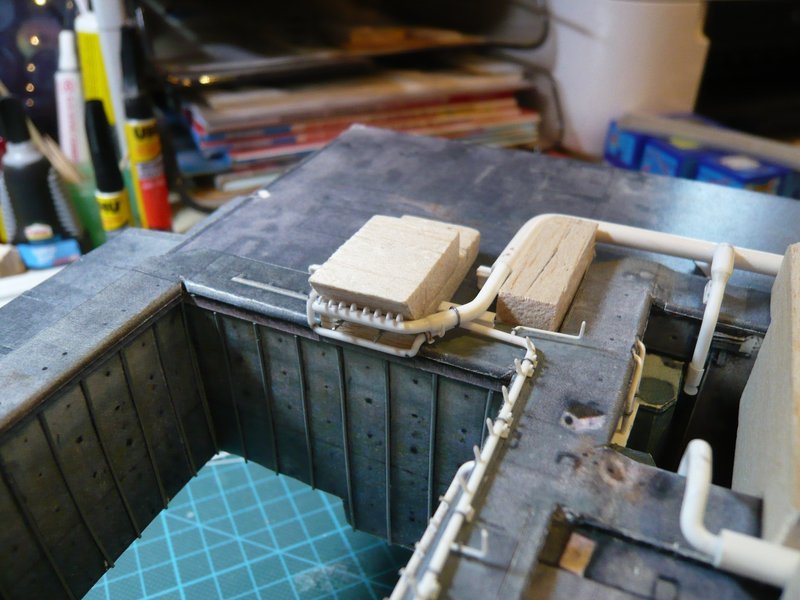 This must now harden in a stable position, 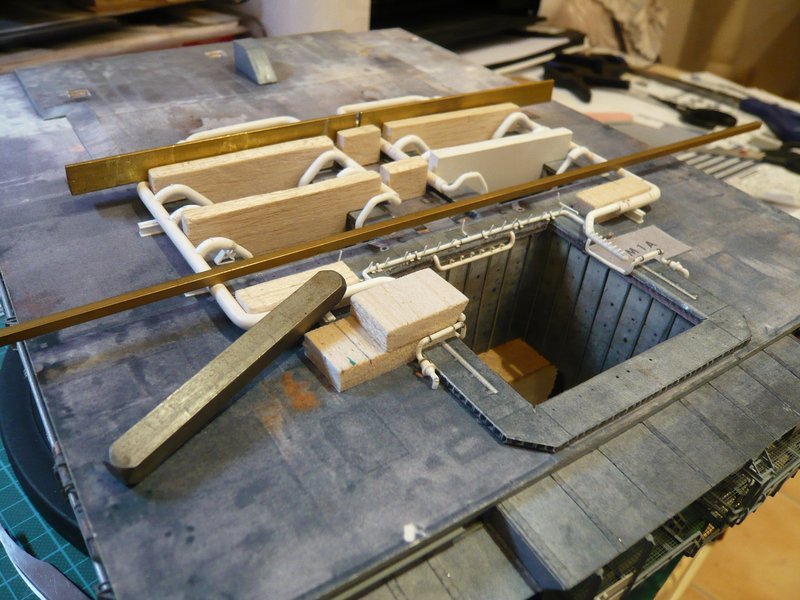 then it can go on.
__________________
Greetings from Germany Manfred Under construction: Launch Pad 39A with Challenger STS-6 (1:144)
|
|
#1224
12-10-2016, 09:39 AM
|
|||
|
|||
|
|
|
#1225
12-10-2016, 06:35 PM
|
||||
|
||||
|
Thanks Marcell,
then I am satisfied and can go on.
__________________
Greetings from Germany Manfred Under construction: Launch Pad 39A with Challenger STS-6 (1:144)
|
|
#1226
12-15-2016, 08:34 AM
|
||||
|
||||
|
Hello everybody,
since the time for drying was more than sufficient, it has now gone on. It had still been missing the two remaining 6'' outlts on the ring line behind the LH2-TSM, which got their nipples again,  and then their clamping rings. 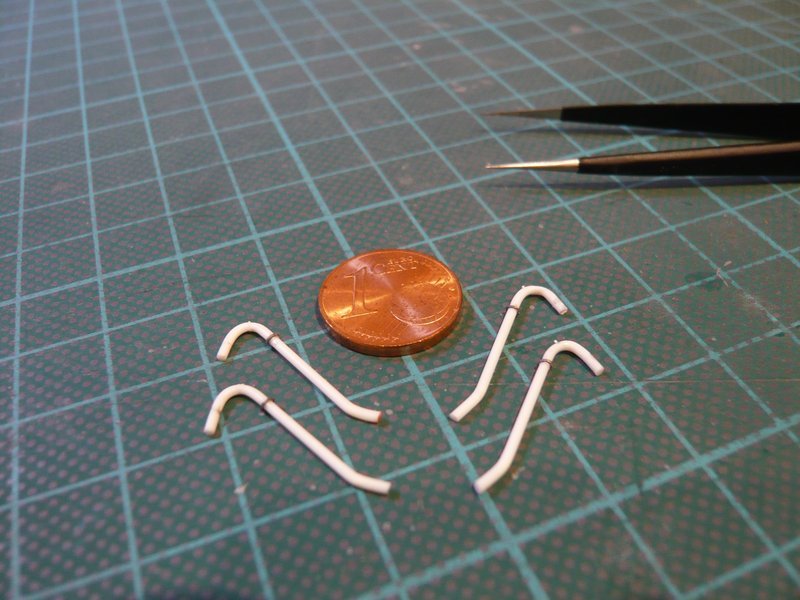 And the thickenings at the foot points I have also indicated by rings. 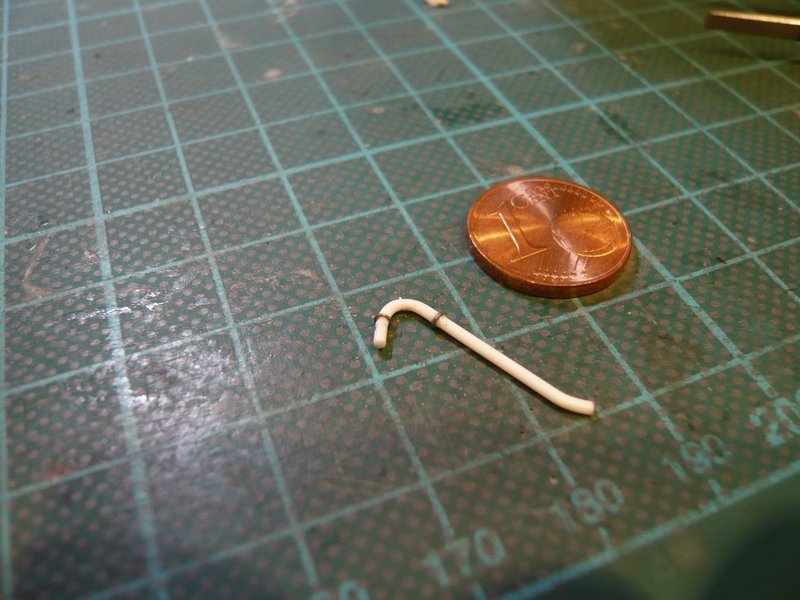 Then the two outlets were glued behind the LH2-TSM with MEK. To get the same clearance height, I have used a 2 mm rod as a spacer. 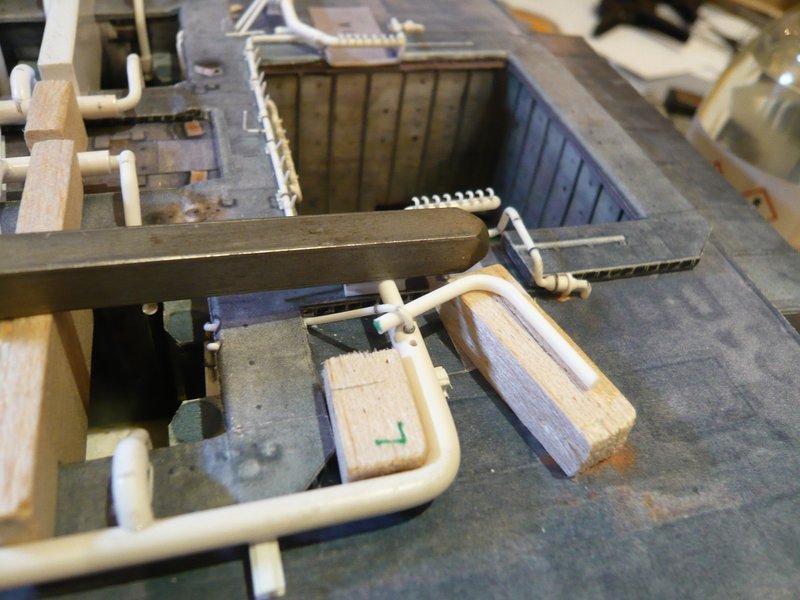 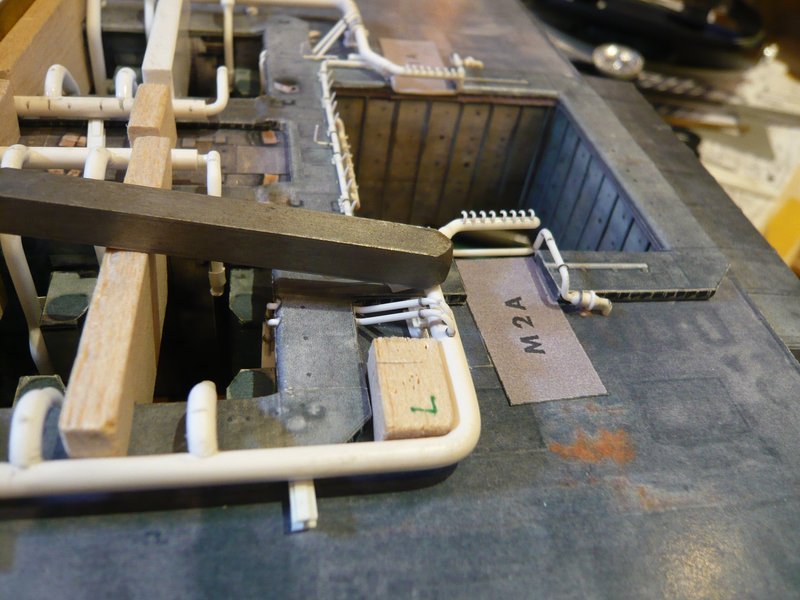 Then followed the installation of the outlets on the other side behind the LOX-TSM. 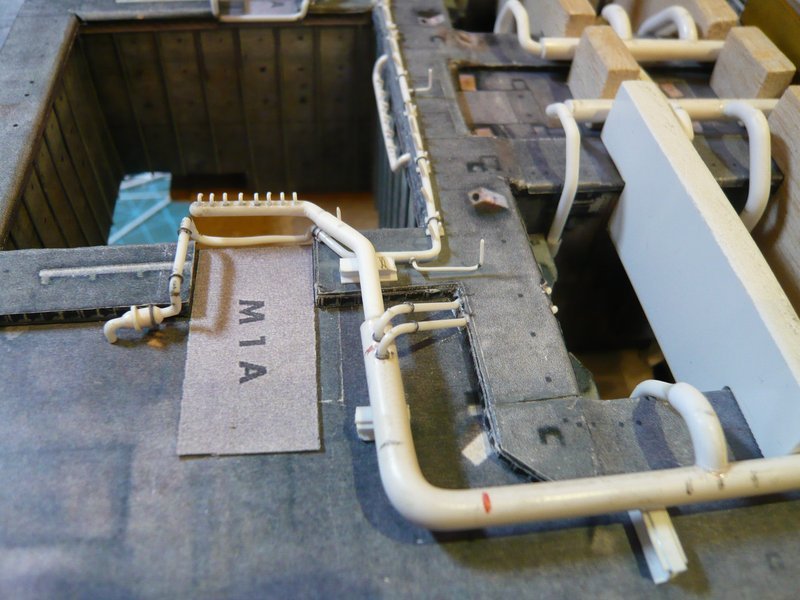 And without the annoying Balsa stabilizers it looks much more friendly. 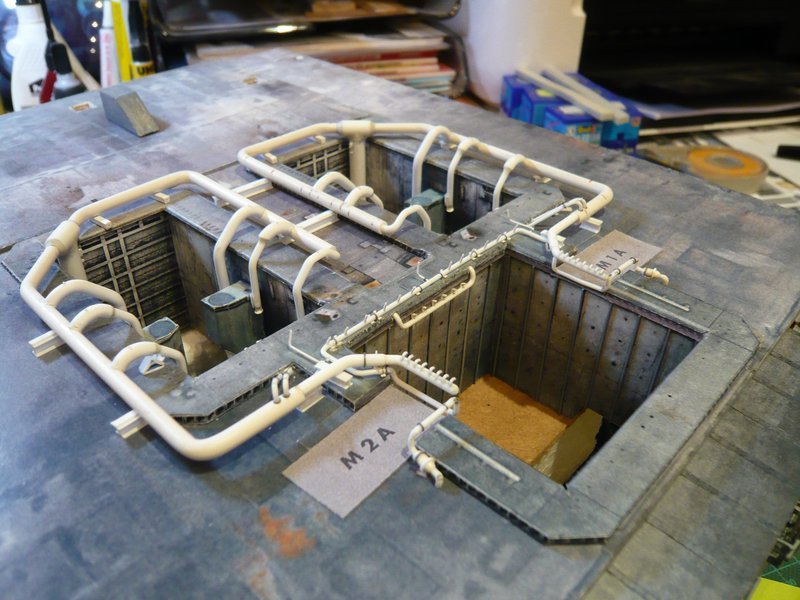 Therewith now all the pipes of the SSWS are finished and almost completely installed. 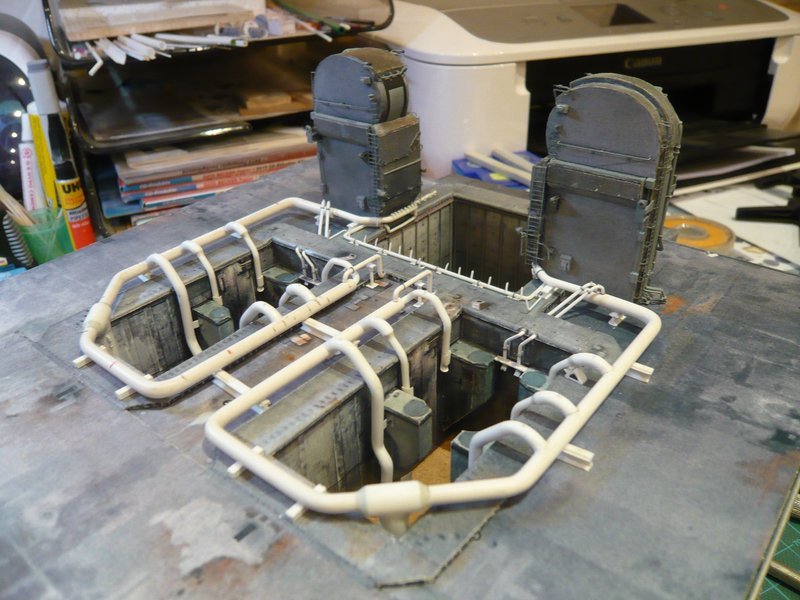 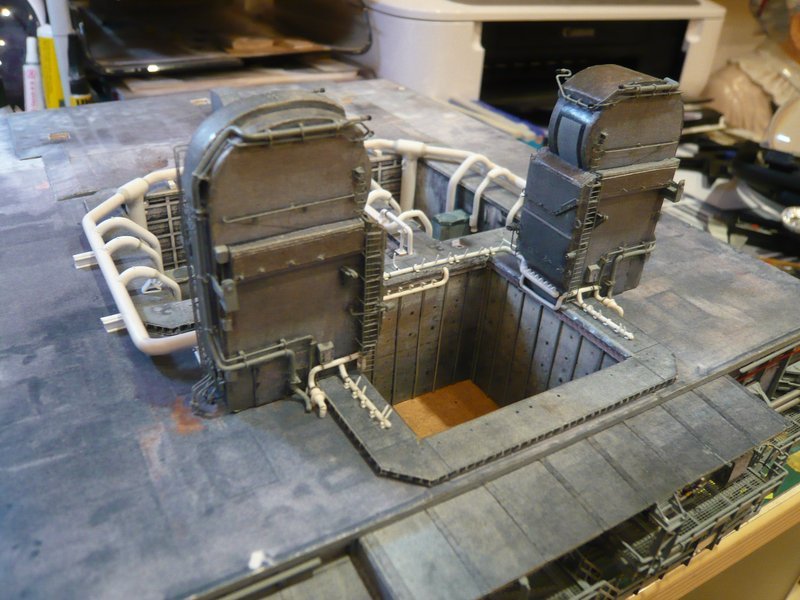 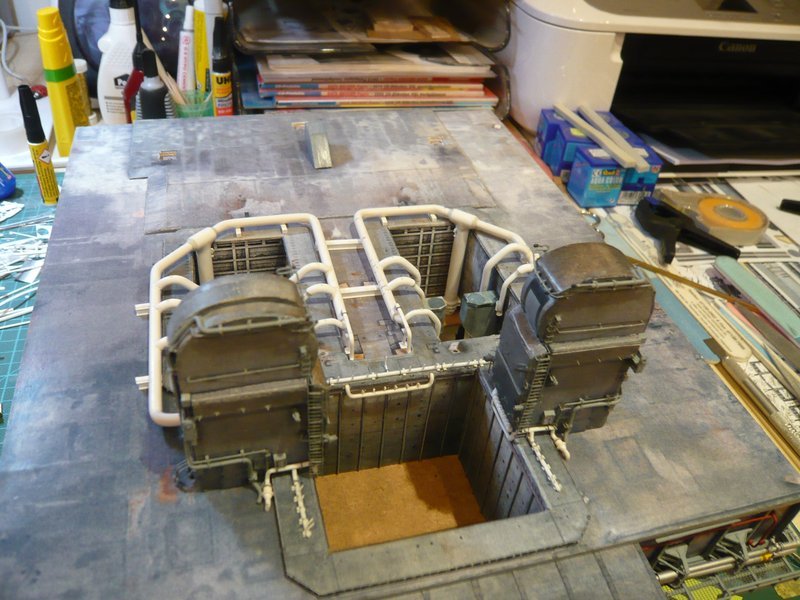 Now I can calmly turn to the remaining 11 triangular supports at the outlets.  Then both ring lines skeletons have to be removed again and all the transitions must be modeled with Apoxie Sculpt, whereby I'm scared a bit when I imagine that action in detail ... And then follows the exciting chapter Clamping rings.
__________________
Greetings from Germany Manfred Under construction: Launch Pad 39A with Challenger STS-6 (1:144)
|
|
#1227
12-15-2016, 10:23 AM
|
||||
|
||||
|
Hello folks,
but before the pipe skeletons are now removed again, I have set free the wild flock of birds once again. 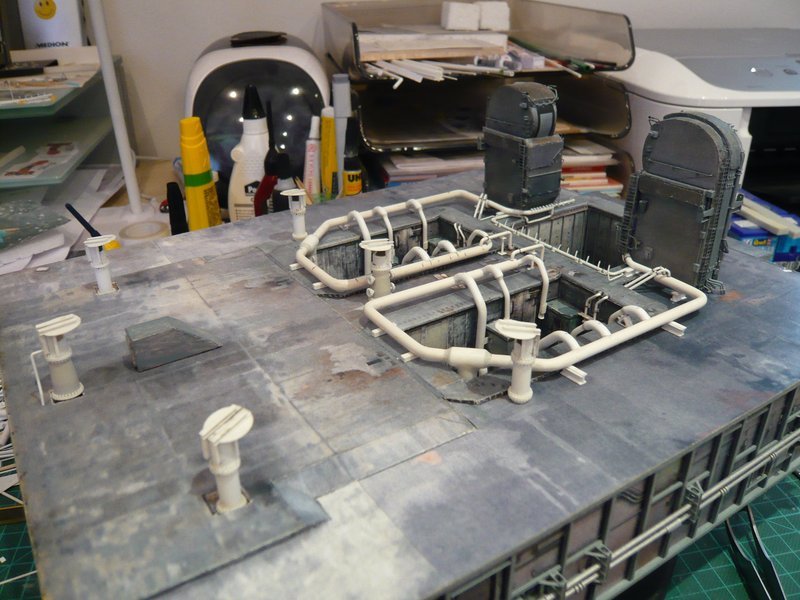 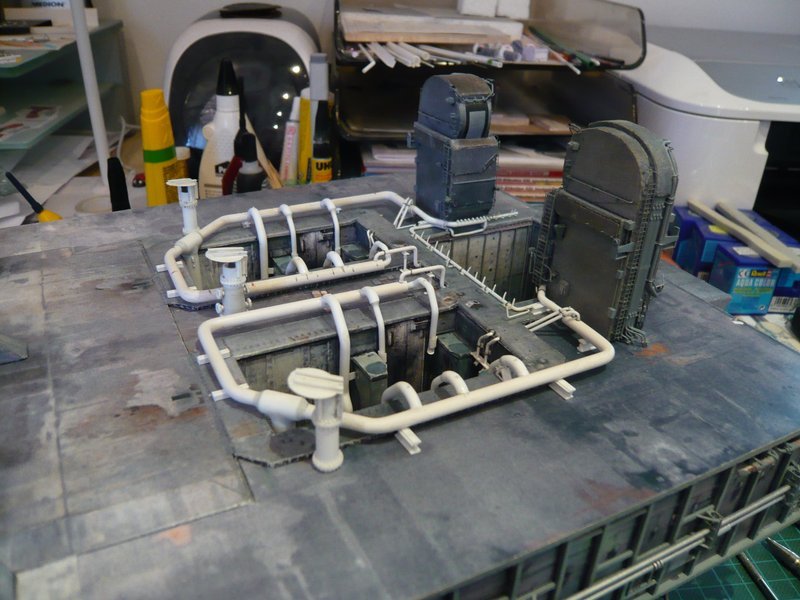 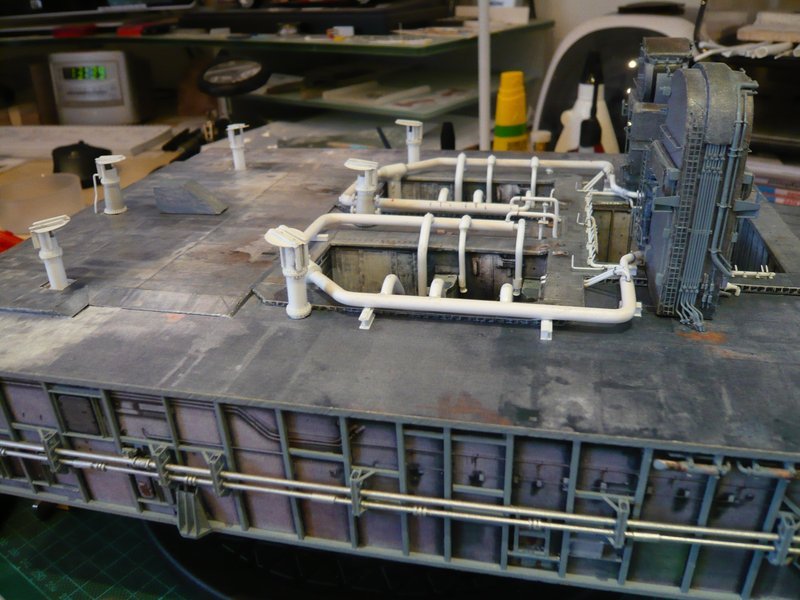 I always like to look at them again and again.
__________________
Greetings from Germany Manfred Under construction: Launch Pad 39A with Challenger STS-6 (1:144)
|
|
#1228
12-15-2016, 12:34 PM
|
|||
|
|||
|
With the rainbirds in place the SSWS really looks complete Manfred. Take a few deep breaths and plunge back in again; the SSWS finish looms ever nearer!
__________________
This is a great hobby for the retiree - interesting, time-consuming, rewarding - and about as inexpensive a hobby as you can find. Shamelessly stolen from a post by rockpaperscissor 
|
|
#1229
12-15-2016, 04:08 PM
|
||||
|
||||
|
Thanks elliott for your nice words, I fully agree with you.
 Before my mind's eye I see already all the 52 supports together with all the 28 tiny clamping rings. I can't wait to see them painted, because not until with varnishing it's going to look absolutely perfect. But until then it will still become quite tricky ... 
__________________
Greetings from Germany Manfred Under construction: Launch Pad 39A with Challenger STS-6 (1:144)
|
|
#1230
12-24-2016, 03:34 PM
|
||||
|
||||
|
Hello everybody,
today I would like to present you my Christmas update. At first, I fixed the crescent-shaped supports for the three missing rear 18" outlets (Ø 3.2 mm) in a tried and tested manner between two steel rulers and glued with MEK, 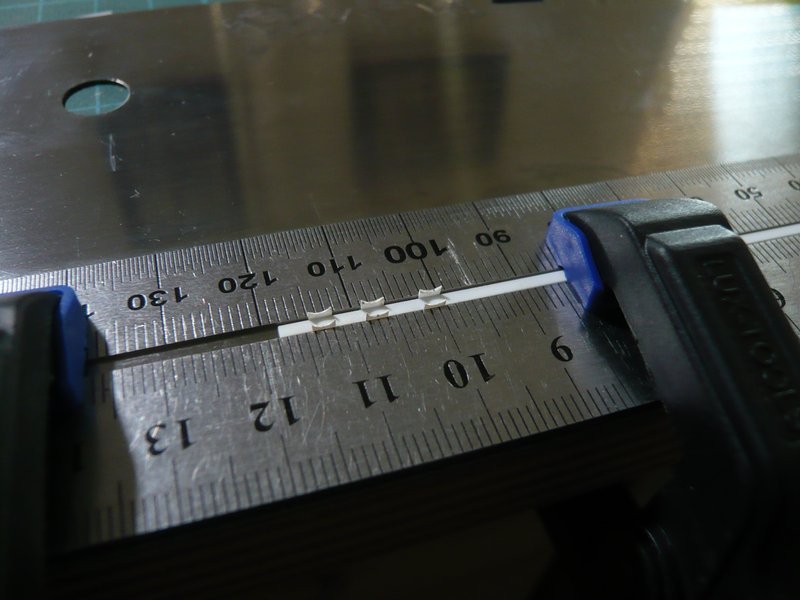 but then laid aside. 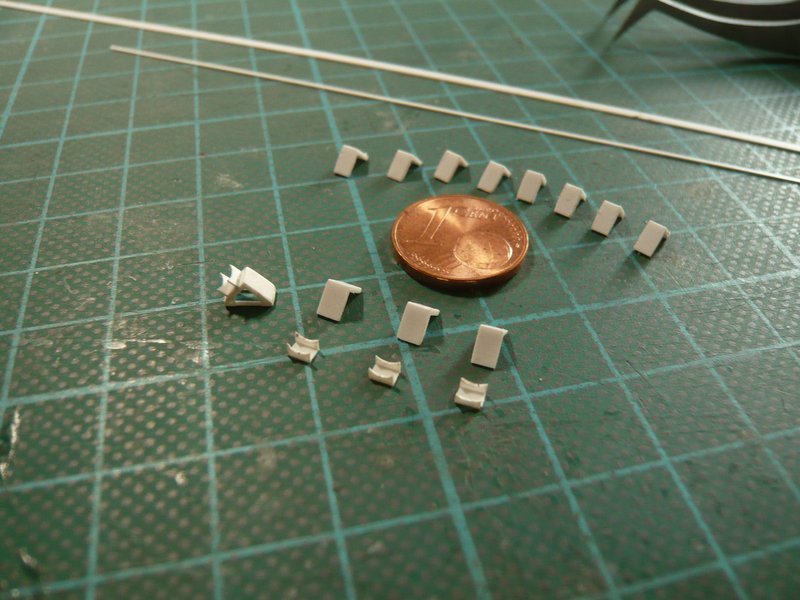 In the meantime, I had once again looked at the supports of all the outlets on the MLP-2, because they have differently shaped stiffening points, at which I had already pointed out in this summer, #1063. This image, however, belongs to the MLP-3 and is therefore not relevant to me, 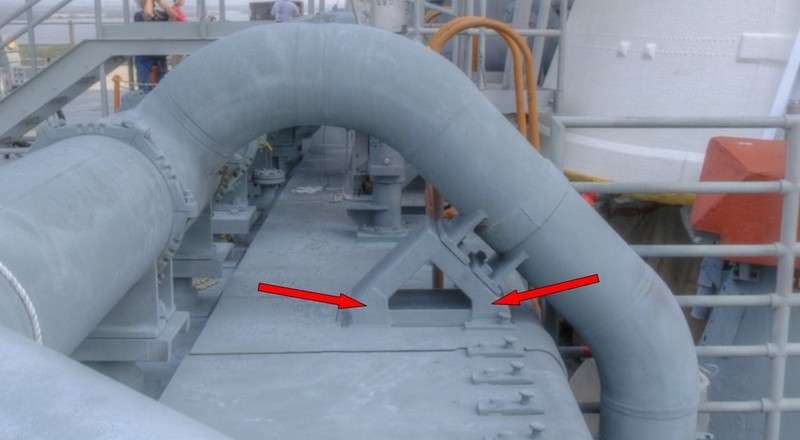 Source: NASA because this support at the MLP-2 looks like this and has both at the rear, 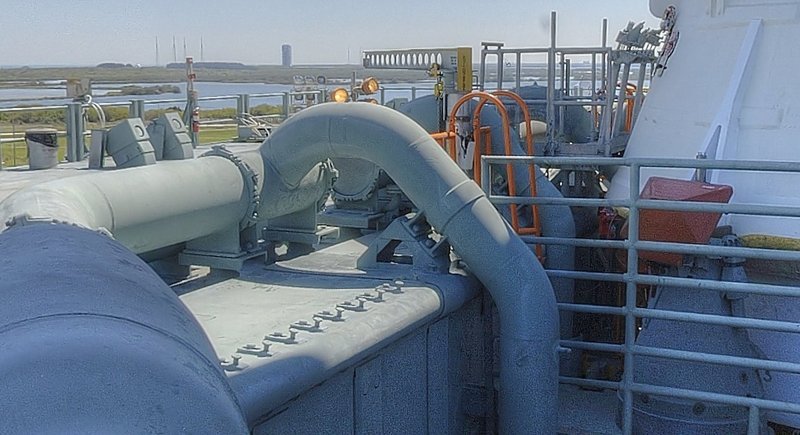 Source: NASA as well as at the front, three such stiffening corners, as can be seen. 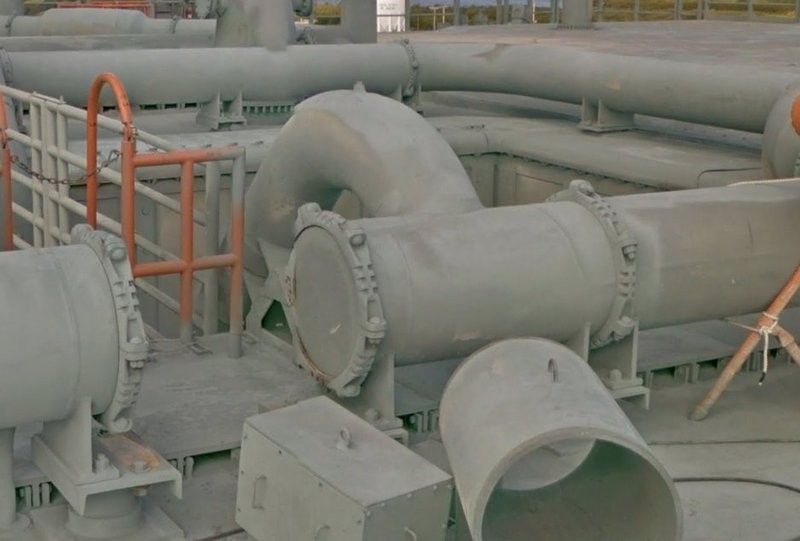 Source: NASA Street View Admittedly, these are all very difficile detail differences, but I'm taking it a bit more precisely, as you know. That is why we remain at this support, which I have so far completed as first and used for the test fitting of the outlets. However, he had so far only the two lower triangles on the front (to the LOX-TSM), and now I have glued also the three triangles on the back. 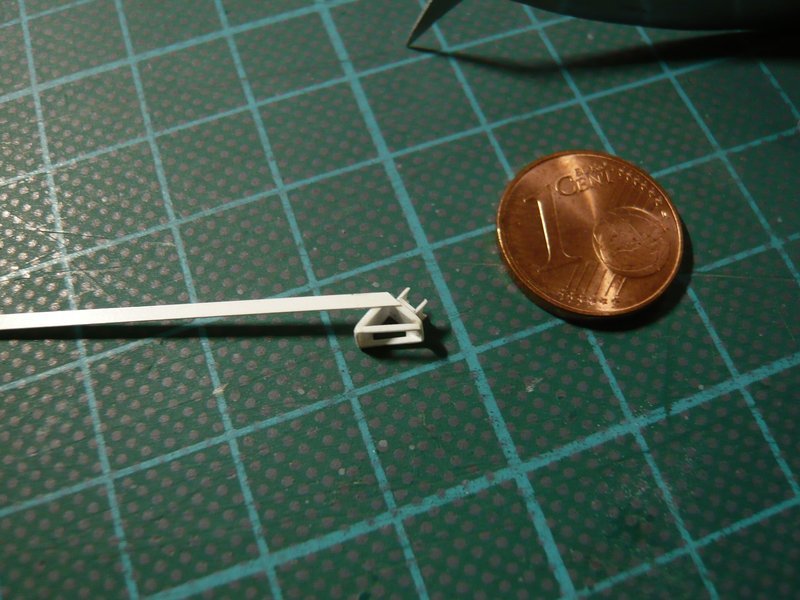 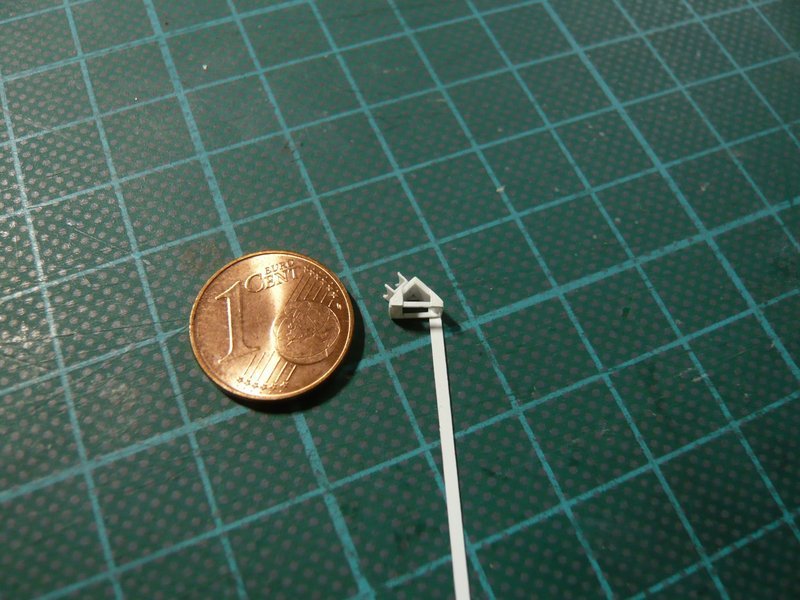 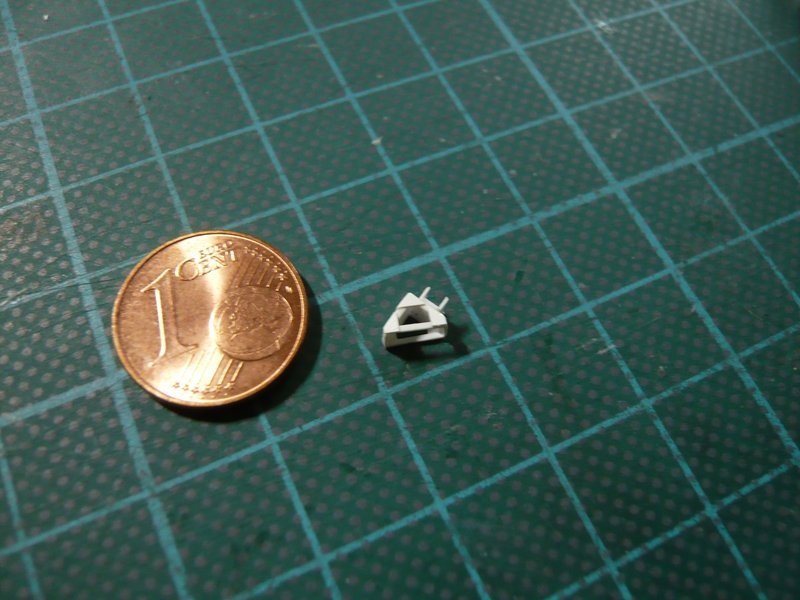 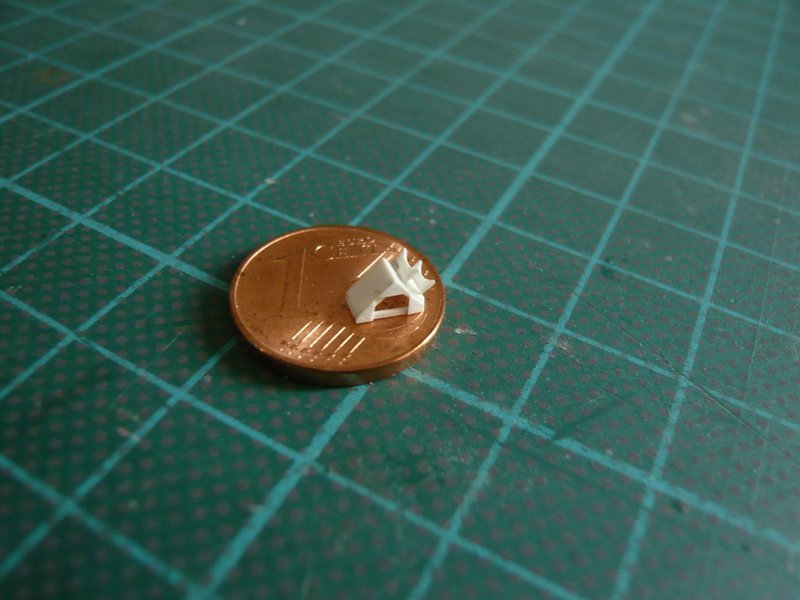 Now only the upper triangle on the front was missing, 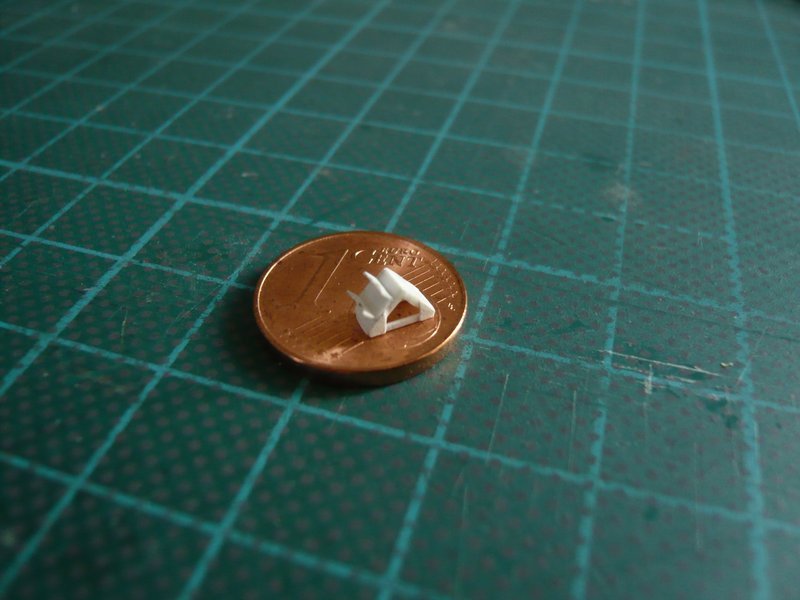 which I have attached now, and with which this support would now be complete. 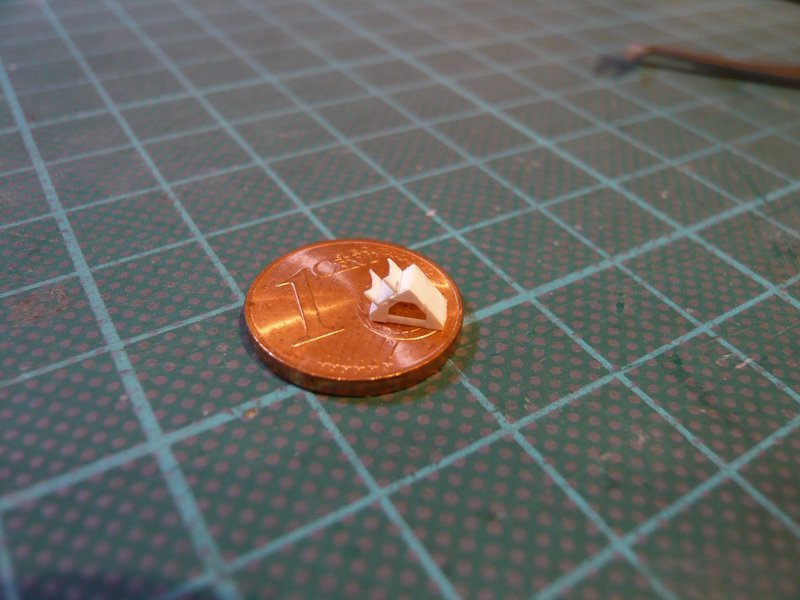 This was followed by the gluing of the filigree frame (0.25 mm x 0.5 mm) for the next support, whereby I initially wanted to go back to my previous gluing and bending technique, 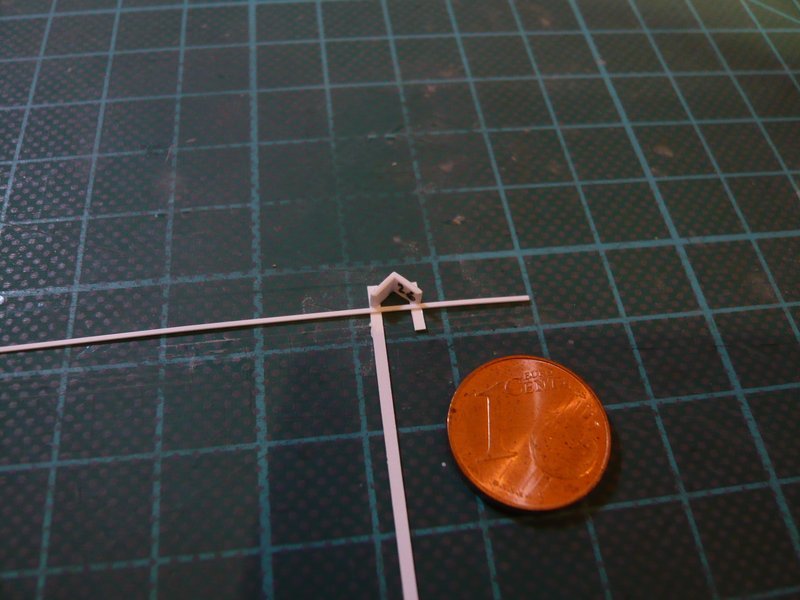 but which annoyed me as much as the first time, wherefore I have rejected it, because the corners are not bent exactly enough. Therefore, I have considered the following technique, which initially looks somewhat inconvenient, but ultimately provides better results. For this purpose I have glued strips 0.5 mm x 0.5 mm under the two undersides of the angle with a little supernatant, between which I have glued matching strips 0.25 mm x 0.5 mm, everything again with MEK, which has worked well for these minimal gluings. 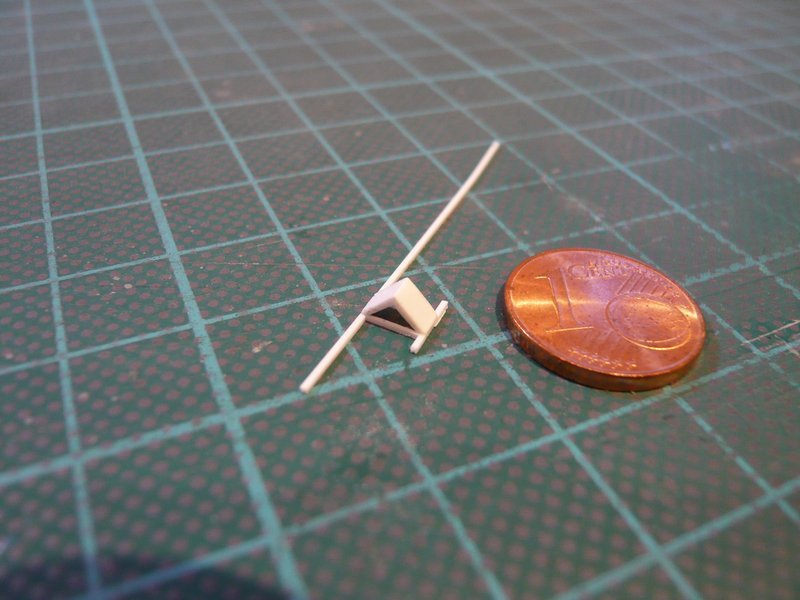 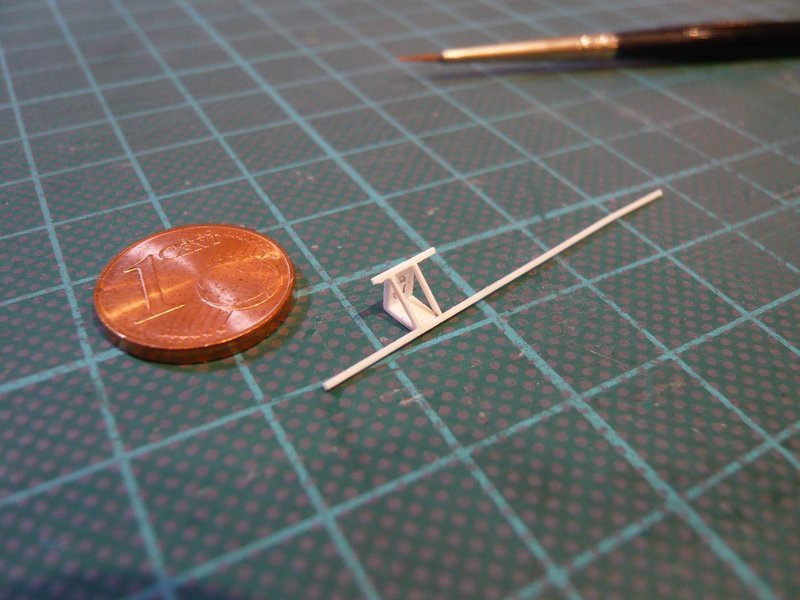 And after the supernatants had been separated, I had this small but fine roof with beautiful square frame edges. 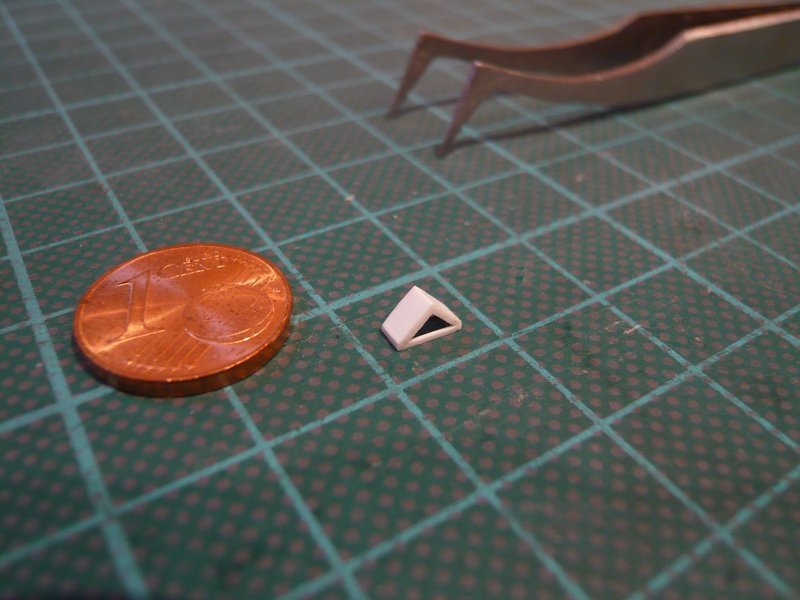 And now I wish you all Merry Christmas. 
__________________
Greetings from Germany Manfred Under construction: Launch Pad 39A with Challenger STS-6 (1:144) Last edited by spacerunner; 12-25-2016 at 01:14 AM.
|
 |
|
|


 Linear Mode

