


|
|
|
#1271
 02-20-2017, 11:49 AM
|
||||
|
||||
|
Spacerunner, your work is beyond any imagination.
I'm following your thread with religious silence, but I'm ever watchful, taking any suggestion, hint about the subject and about the masterful technique that you use. Your work is also inspiring me in my effort to make credible the rough ancestor of the MLP in my current project ( see my signature ). My compliments also for your costancy in so large endeavour. Best, Nando 
__________________
My builds Last Udon's LM @ 1/96;Colliers Ferry Rocket (1952);Gundam Sinanju MS-06S Current Apollo CM 1-24 Fat Man & Little Boy available here 
|
|
#1272
02-21-2017, 07:50 AM
|
||||
|
||||
|
Thanks rgmarine for your nice words,
 I am fascinated by these details, but thereby it takes longer because I try to make it as perfect as possible, which is a great challenge on this scale day by day.  
__________________
Greetings from Germany Manfred Under construction: Launch Pad 39A with Challenger STS-6 (1:144)
|
|
#1273
02-21-2017, 08:00 AM
|
||||
|
||||
|
Quote:
I am happy if you can get new suggestions this way.  As I have seen in your projects, you are also a friend of the tiny details. Keep it up!
__________________
Greetings from Germany Manfred Under construction: Launch Pad 39A with Challenger STS-6 (1:144)
|
|
#1274
02-22-2017, 05:31 PM
|
||||
|
||||
|
Hello everybody,
and now to the final spurt of the clamping ring chapter, which has occupied me long enough, where now these two six-part clamping rings on the SRB Blast Shield follow.  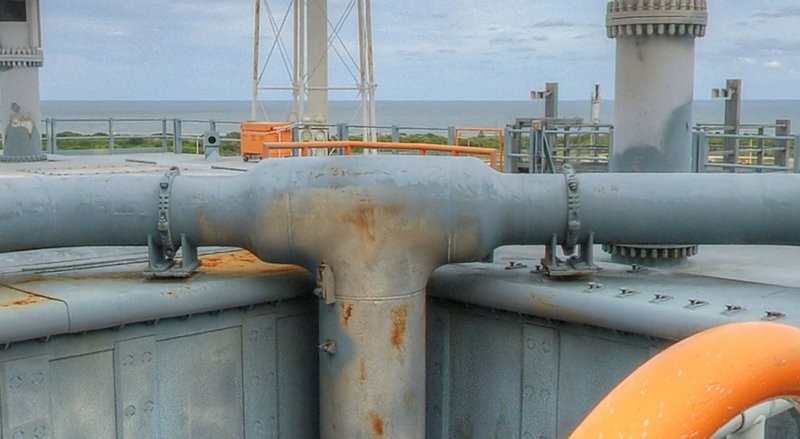 Source: NASA 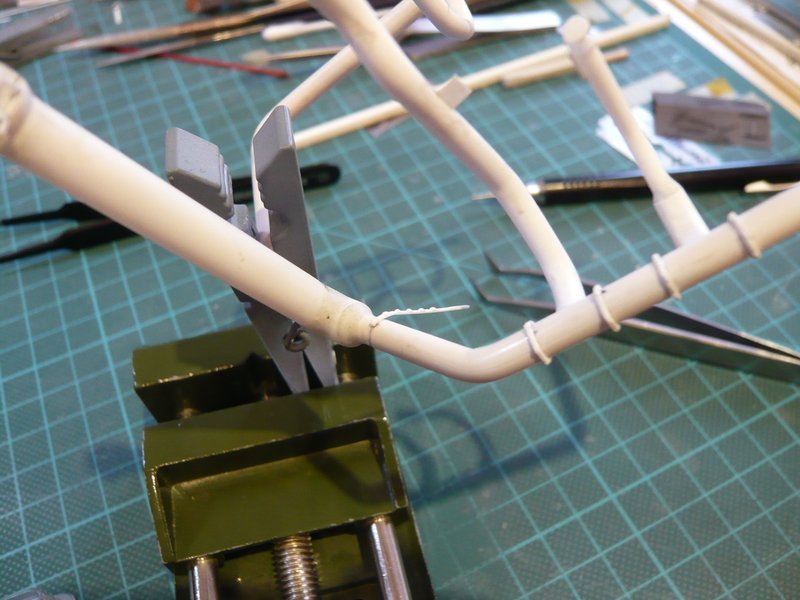 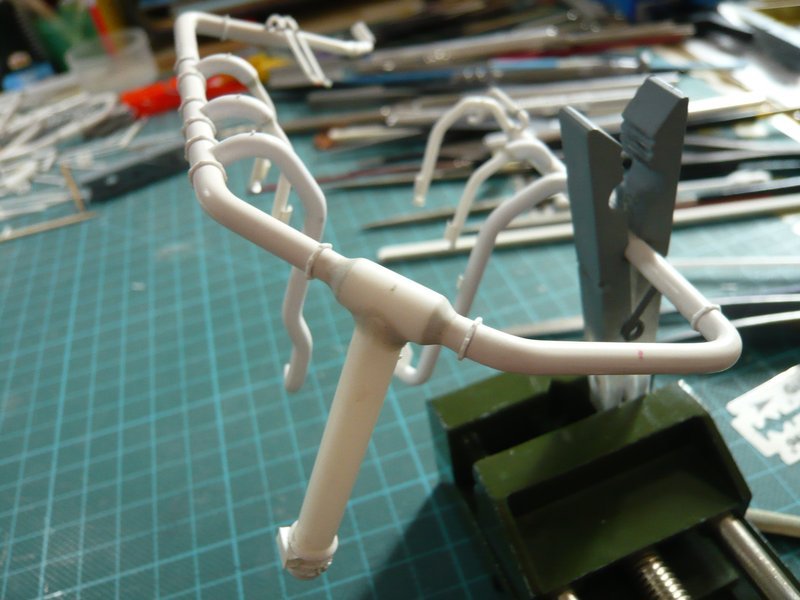 The arrangement of the following five clamping rings can be clearly seen in this picture (right strand), where behind the bow a six-part clamping ring is followed and then a four-part and three six-part rings.  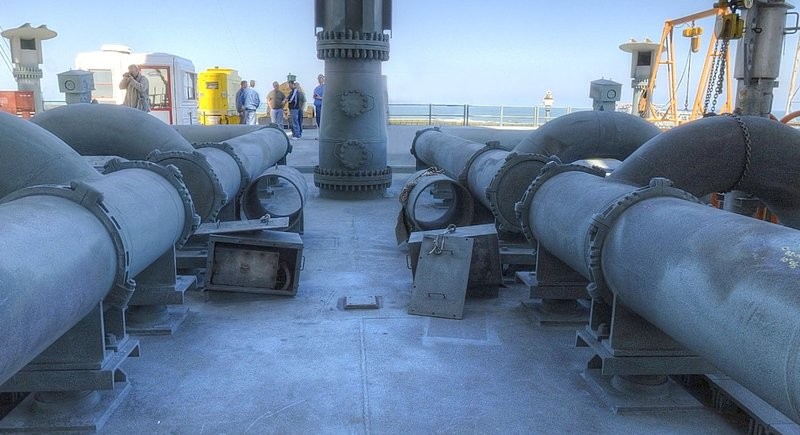 Source: NASA  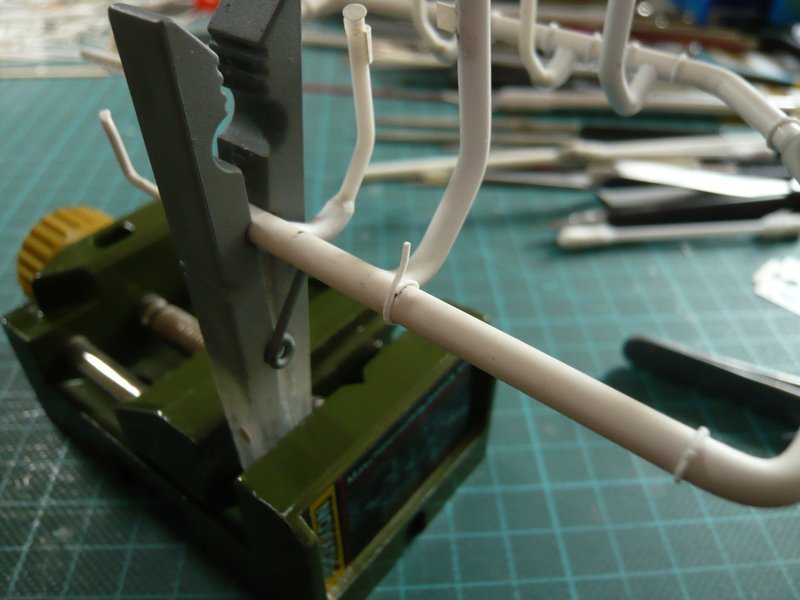 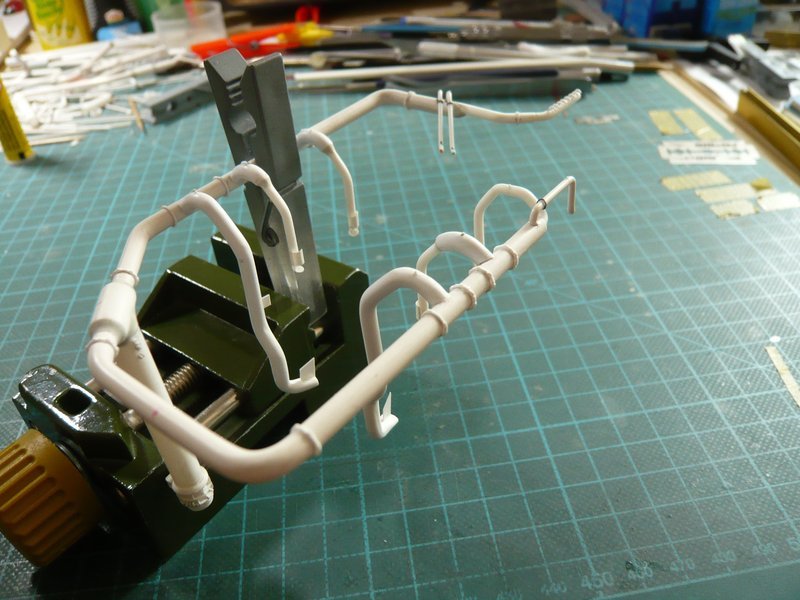 Therewith this crazy chapter has finally been done,  because this Sisyphus work of the tricky 28 clamping rings with a total of 150 screw connections was extremely exhausting and moreover very stressful. because this Sisyphus work of the tricky 28 clamping rings with a total of 150 screw connections was extremely exhausting and moreover very stressful.  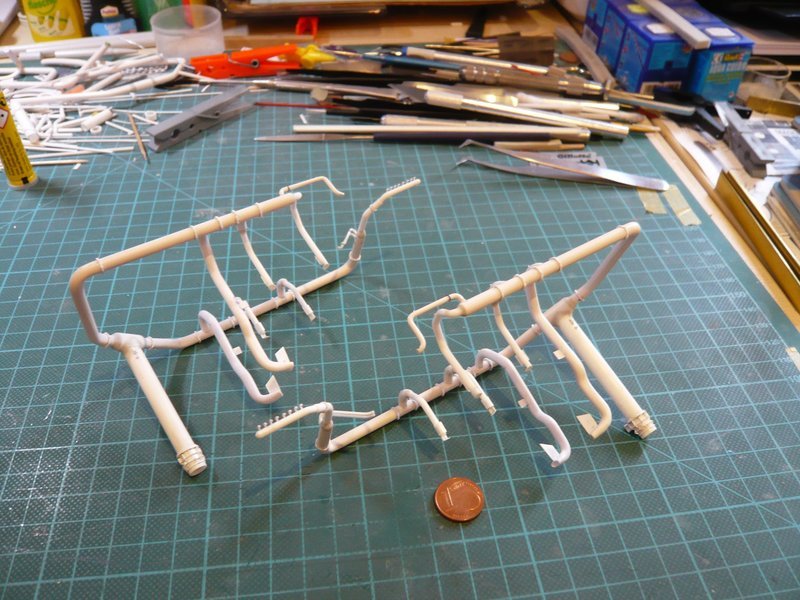 And so I have now to relax and regenerate a little bit ...
__________________
Greetings from Germany Manfred Under construction: Launch Pad 39A with Challenger STS-6 (1:144)
|
|
#1275
02-28-2017, 05:34 PM
|
||||
|
||||
|
Hello everybody,
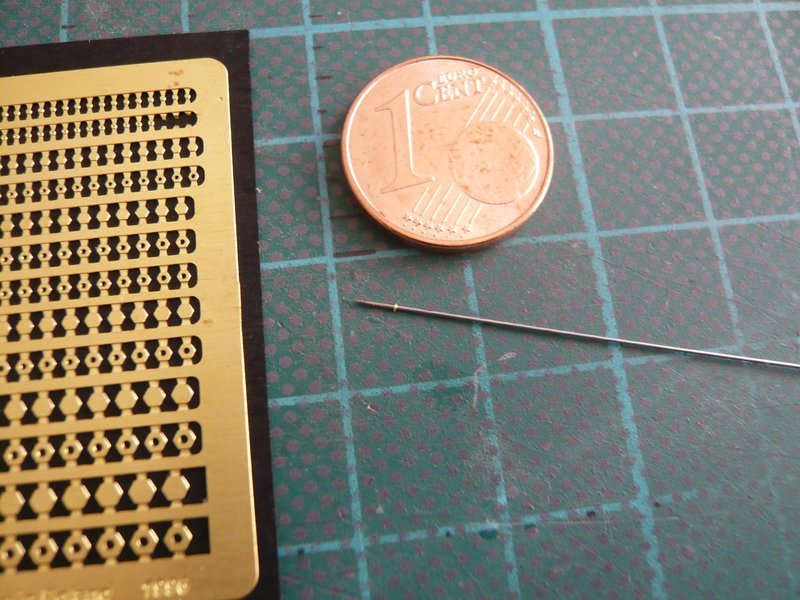
after a welcome pause and deflection by various winter sport world championships last week, I will now return to the base and have been busy in the meantime again with the Water Bags, which also belong to the SSWS.  Source: flickr.com (Jen Scheer) I have already reported on the task of this sub-system a long time ago, where you can read once more again. Whether these water bags were already red and yellow, or uniformly red in the early missions such as STS-6, I have unfortunately not yet been able to find out.  On this older picture here, it looks as if they were uniformly red at the time. Perhaps someone of you knows the answer. On this older picture here, it looks as if they were uniformly red at the time. Perhaps someone of you knows the answer.  Source: capcomespace.net To warm up, I have looked around again and followed up some details, which I noticed during the analysis of the clamping rings again and again. These are, on the one hand, these rings on the anterior four outlets of the two ring lines, which one can zoom within the panorama pic. 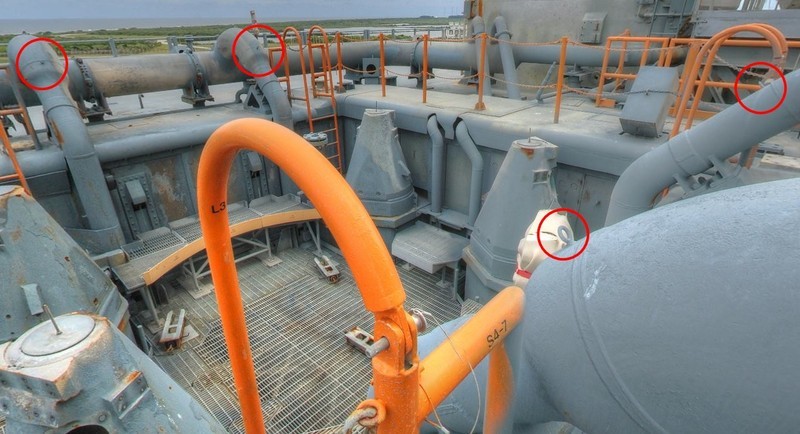 Source: NASA And then there are also several fastening hooks for the yellow water bags suspended around the SRBs, 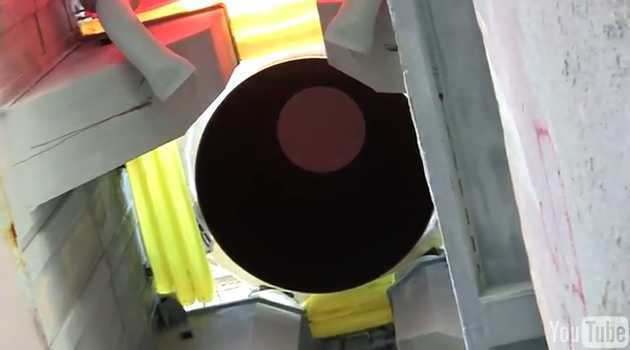 , ,Source: Your browser is deprecated. Please upgrade. - YouTube which can be seen on these pictures, 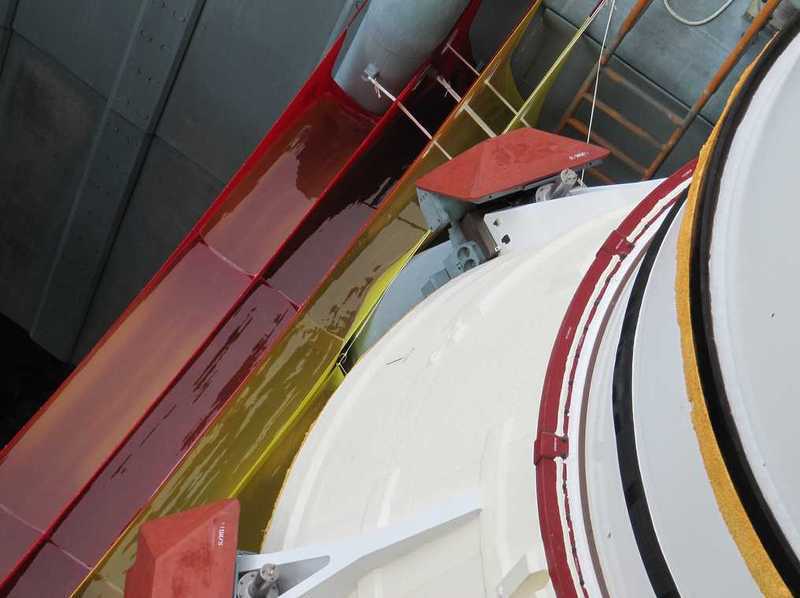 Source: flickr.com (Jen Scheer) and are marked here. 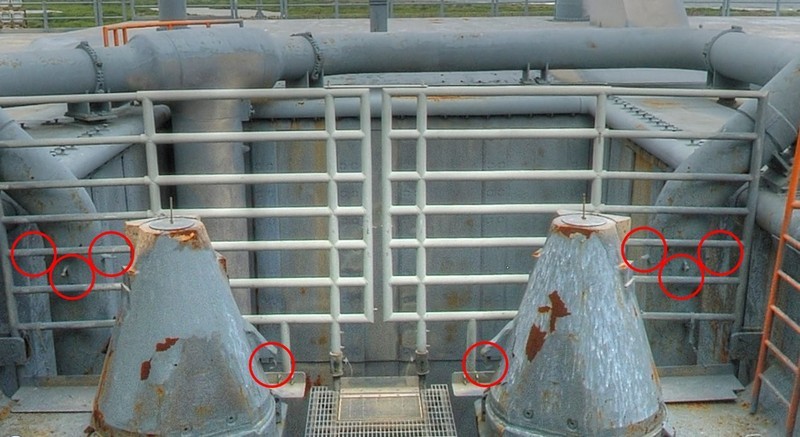 Source: NASA At first I have tried the rings and searched for a suitable insulating sleeve to cut off thin discs, just as I had made the transport rings on the covers of the Rainbirds between the H-beams. While I was able to use a Ø 0,7 mm sleeve at that time, these rings had to be even smaller with Ø 0.4 mm, so I wanted to try it with my smallest insulating sleeve (Ø 0,5 mm), what certainly would be still a little too big.  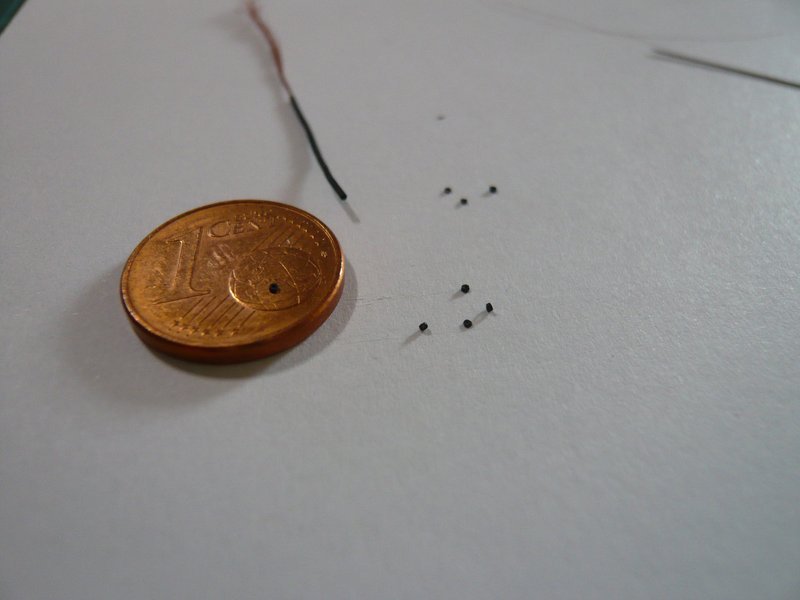 And then I remembered PE Bolts and Nuts by ABER of different size, which I had bought earlier, which should be suitable, if a suitable diameter were thereby.  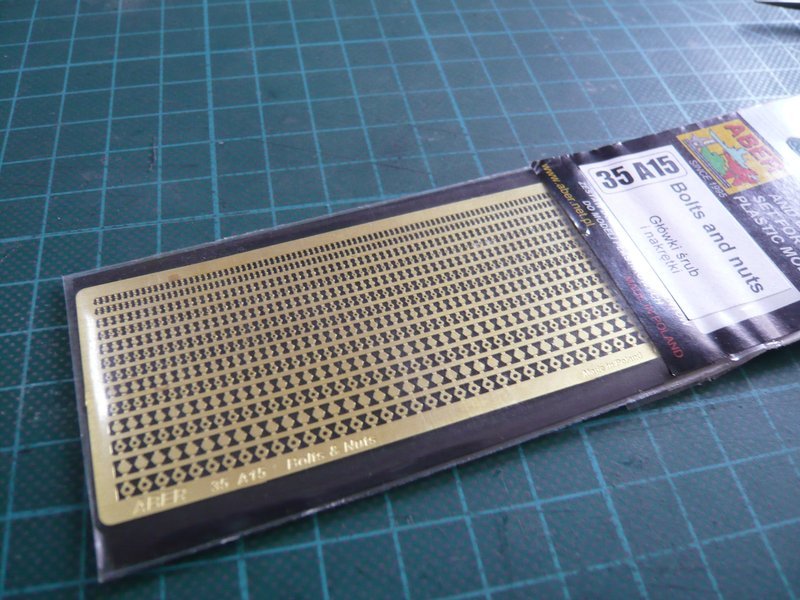 Source: ABER These are bolts and nuts in increments of 1.5 mm - 1.25 mm - 1.0 mm - 0.8 mm - 0.6 mm up to 0.4 mm, , which however are so tiny that one can hardly see them in the last two rows.  And from these nuts I then have drilled out the first two (right) with my smallest drill with Ø 0.25 mm, And from these nuts I then have drilled out the first two (right) with my smallest drill with Ø 0.25 mm, 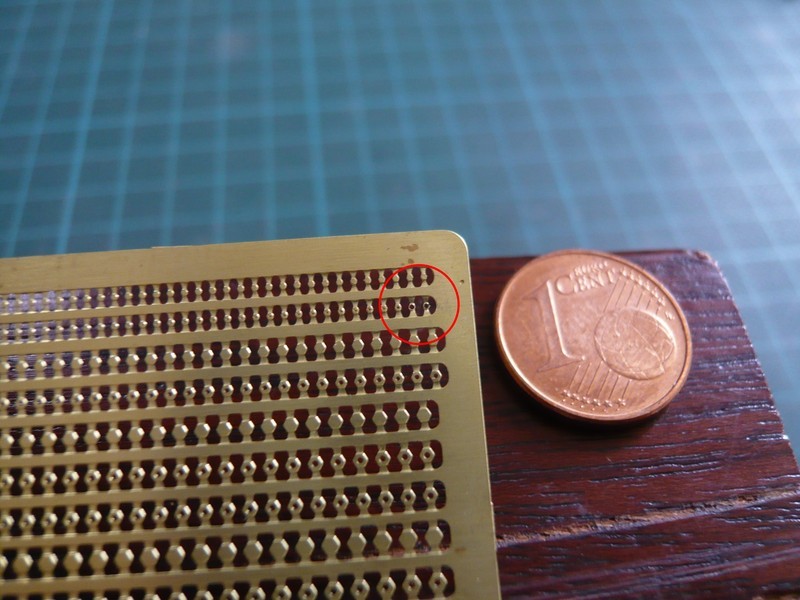 and then cut out, which should become even better. 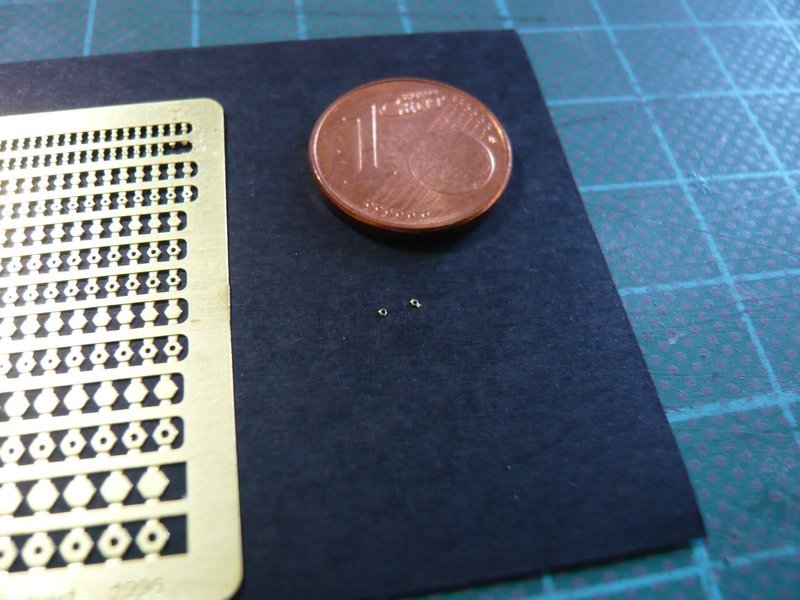 And then I tried again with a smaller cutter.  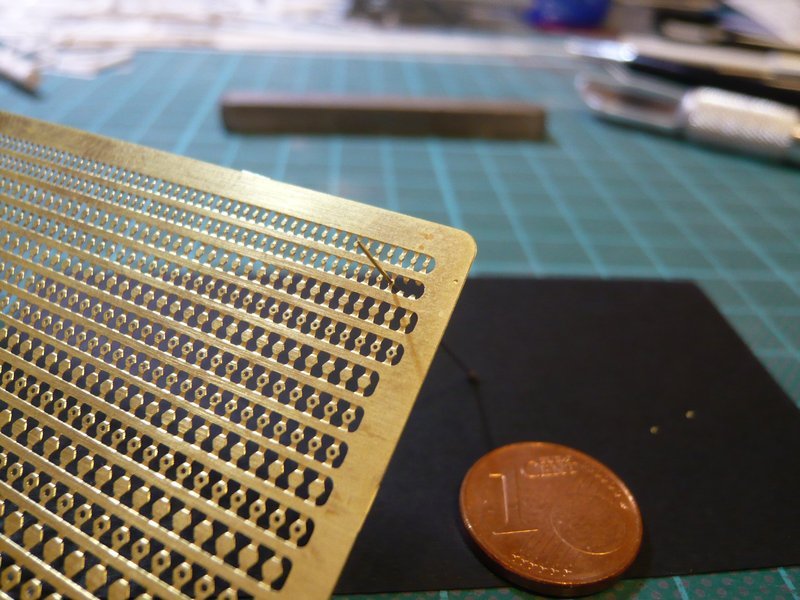
__________________
Greetings from Germany Manfred Under construction: Launch Pad 39A with Challenger STS-6 (1:144) Last edited by spacerunner; 02-28-2017 at 05:51 PM.
|
|
#1276
02-28-2017, 05:35 PM
|
||||
|
||||
|
But how to fix this tiny ring onto the 18'' outlet, which is sitting on an insect needle (Ø 0.25 mm), which can not be held in place with the most pointed tweezers.
  That took a bit longer and was pure stress, which is why I almost wanted to give up.  For this I have dabbed a tiny CA droplet to the bending and then tried to place the ring, which was sitting on the tip of the needle, so carefully, and at the same time pull out the needle, so that both do not glue together.  After several failed attempts, it actually worked well, and the result looks pretty good as I find.  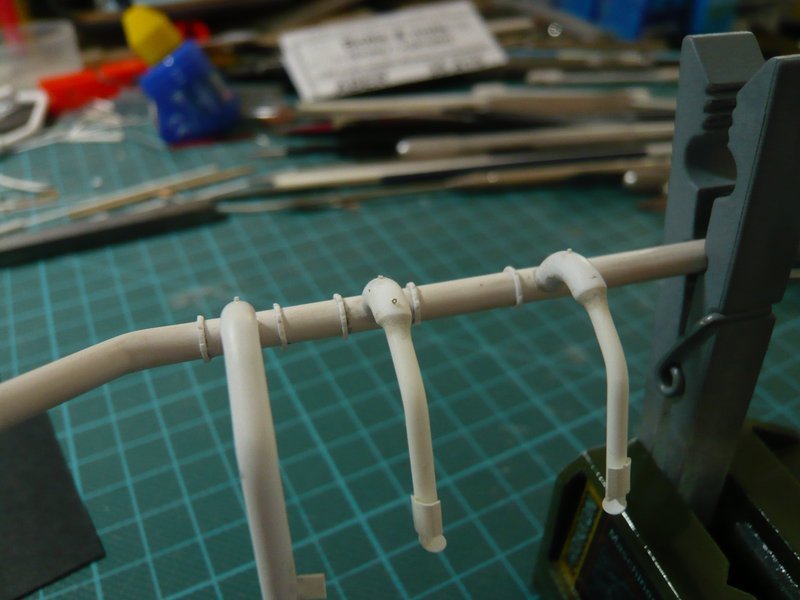 But whether I should really do this effort, I do not know yet,  if so, then I would have to come up with a better gluing handling. if so, then I would have to come up with a better gluing handling.
__________________
Greetings from Germany Manfred Under construction: Launch Pad 39A with Challenger STS-6 (1:144)
|
|
#1277
02-28-2017, 10:09 PM
|
||||
|
||||
|
Its hard to not freak out when seeing this!
Awesome work! I definitely want to see this model in realy life!
__________________
Cheers from germany, Chris Currently building: Colonial Viper from Uhu02 Finished:Yoav Hozmis Kfir
|
|
#1278
03-04-2017, 11:25 AM
|
||||
|
||||
|
Thanks Chris for your nice words,
I'm glad that you like what I'm doing here.
__________________
Greetings from Germany Manfred Under construction: Launch Pad 39A with Challenger STS-6 (1:144) Last edited by spacerunner; 03-04-2017 at 03:06 PM.
|
|
#1280
03-04-2017, 03:05 PM
|
||||
|
||||
|
Thanks David for stopping by again,
at the top of the list is my home as my castle.
__________________
Greetings from Germany Manfred Under construction: Launch Pad 39A with Challenger STS-6 (1:144)
|
 |
|
|


 Linear Mode

