


|
|
|
#1321
 04-13-2017, 04:20 PM
|
||||
|
||||
|
Hello everybody,
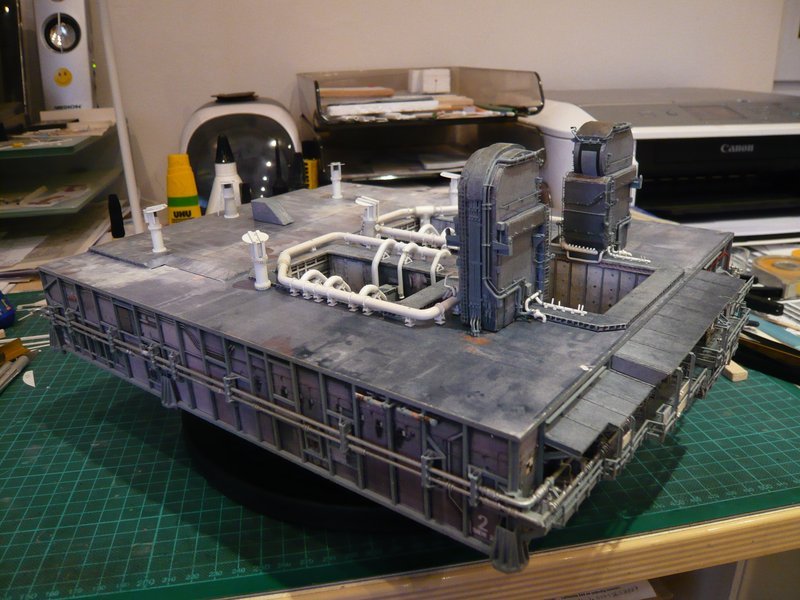
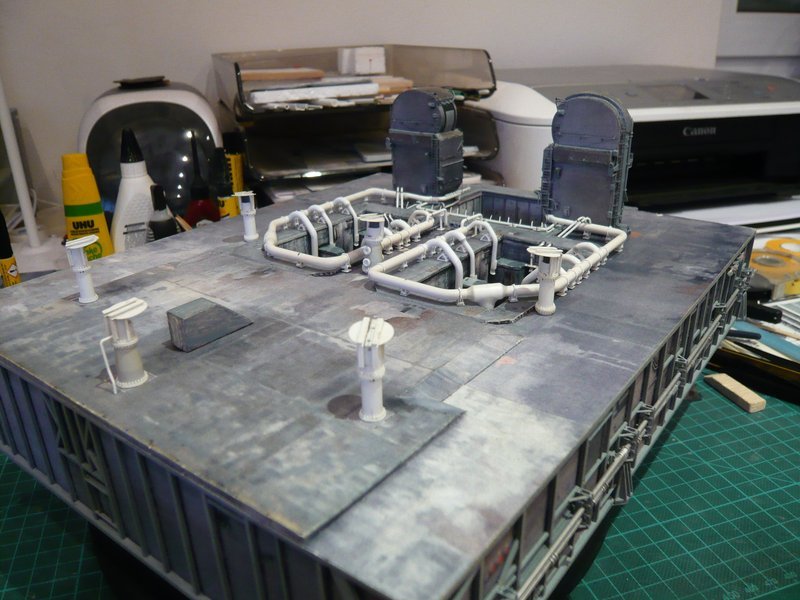
today to the gluing of the Pipe Supports under the ring line behind the LH2-TSM. First, I have glued the three supports on the SRB Blast Shield, because this determines the clear height of the ring line over the MLP deck, under which the rest of the supports must find place.   How remeasurements of the height of the supports have shown, the latter fluctuates by 0.1 - 0.2 mm,  which is why I initially placed them only provisionally under the ring line, which is why I initially placed them only provisionally under the ring line, 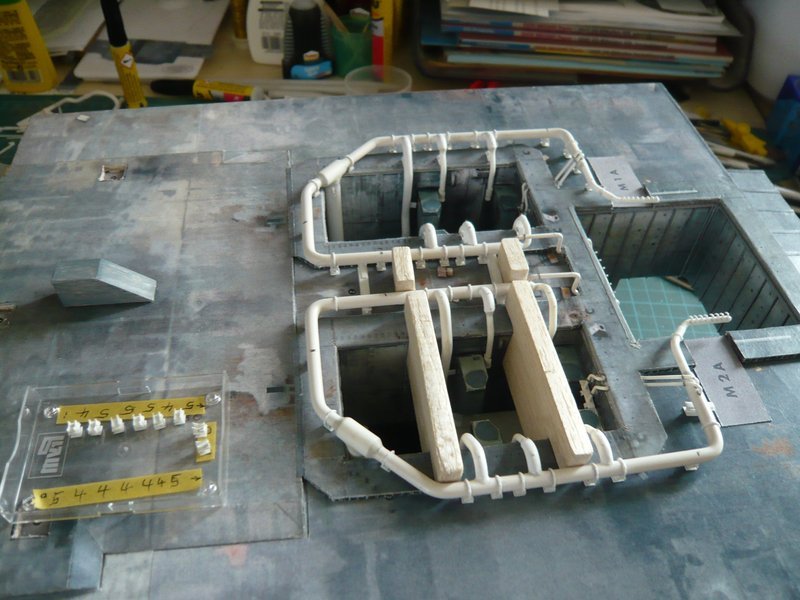 so as to be able to compensate for minor differences by replacing the supports.  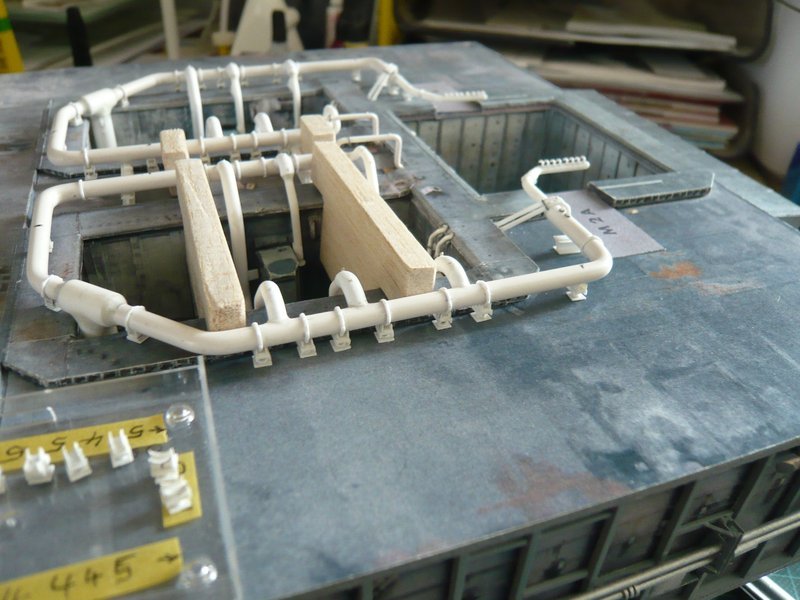 Afterwards, I then glued the front, middle and rear support, so as to get a uniform alignment in the longitudinal direction.  After that, I have removed the ring line again and went back to the bracket holder in the mini vise, which offers more degrees of freedom for the gluing of the supports.   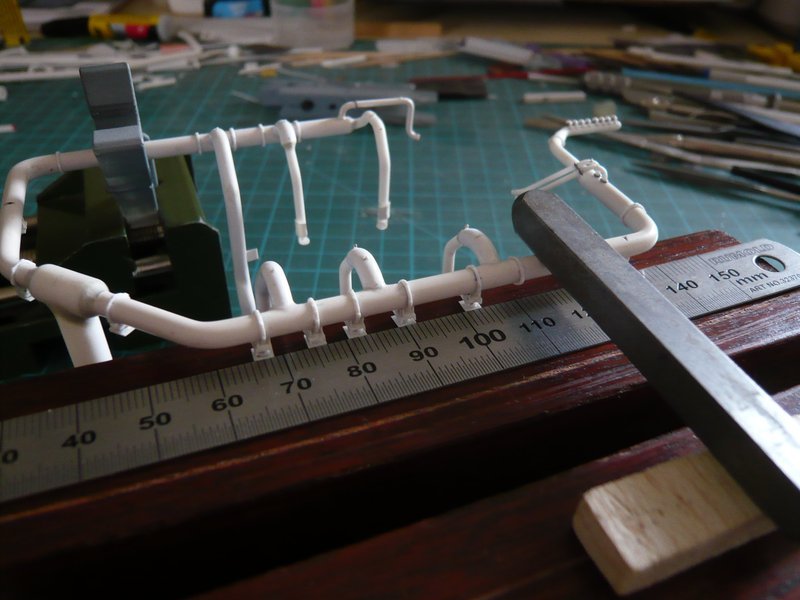 After this strand was completely equipped, 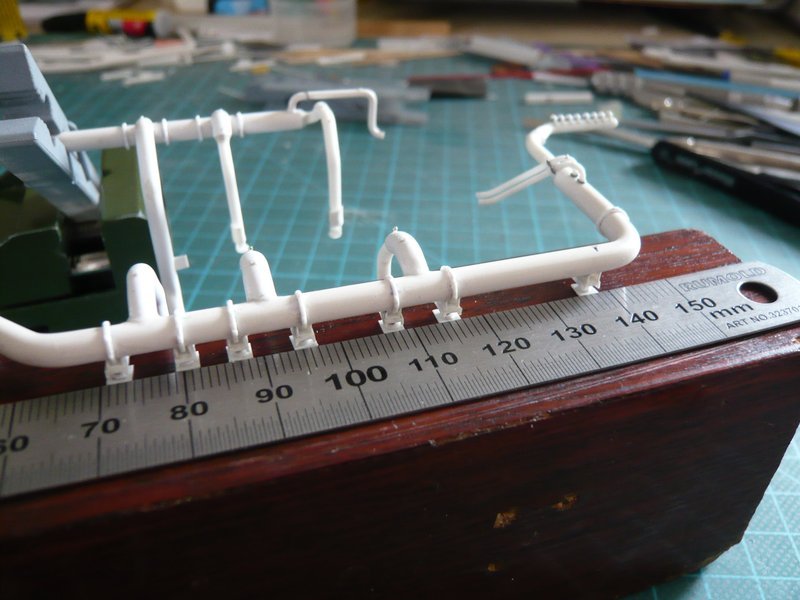 it went on behind the front bow. 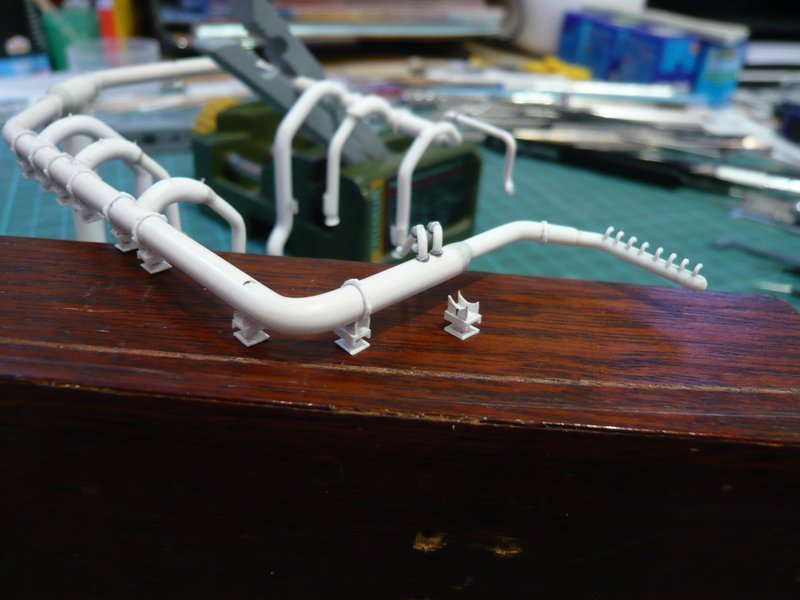 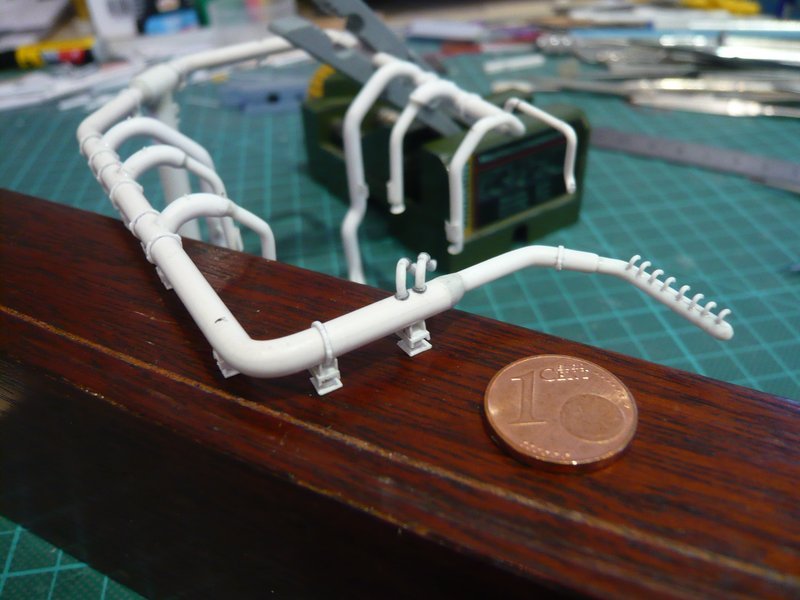 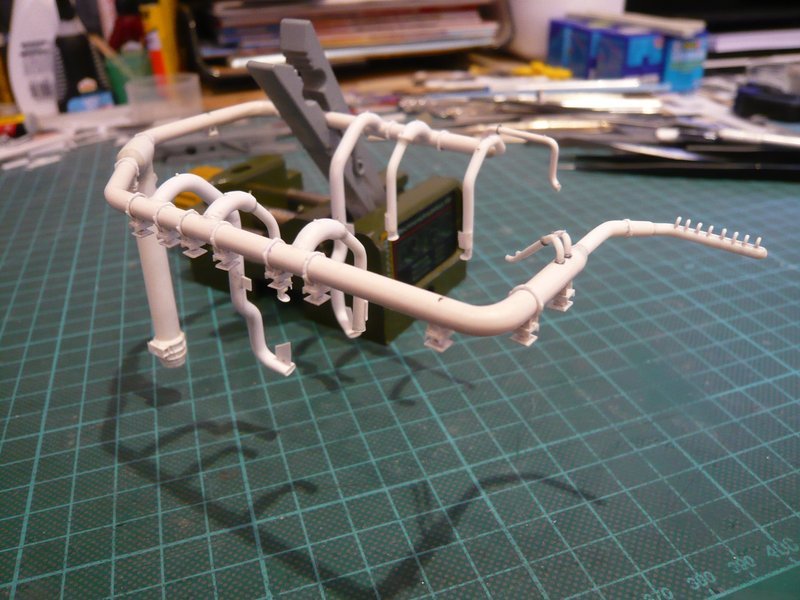 For gluing of the six supports on the inside of the line and the six triangular supports under the outlets I then have inserted the ring line again into the shaft. 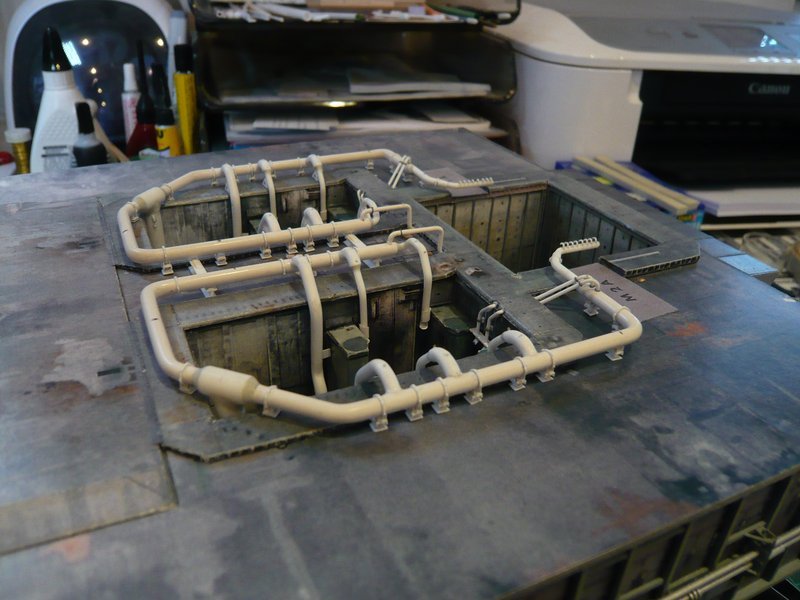 So far again for today.  
__________________
Greetings from Germany Manfred Under construction: Launch Pad 39A with Challenger STS-6 (1:144) 
|
|
#1322
04-15-2017, 01:33 AM
|
||||
|
||||
|
Hello everybody,
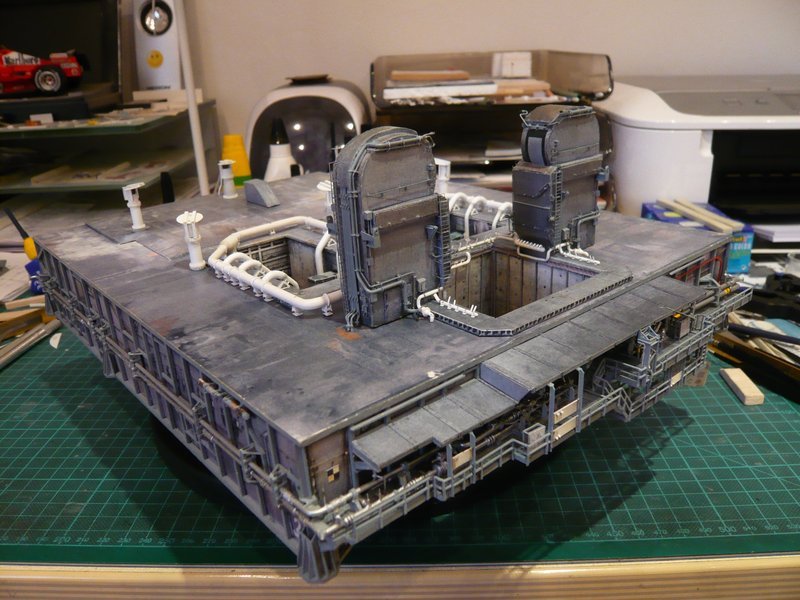
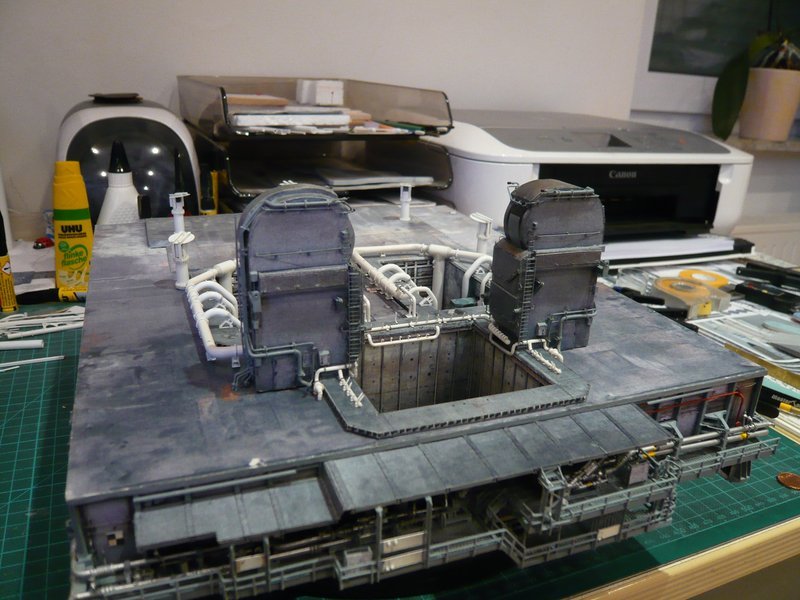
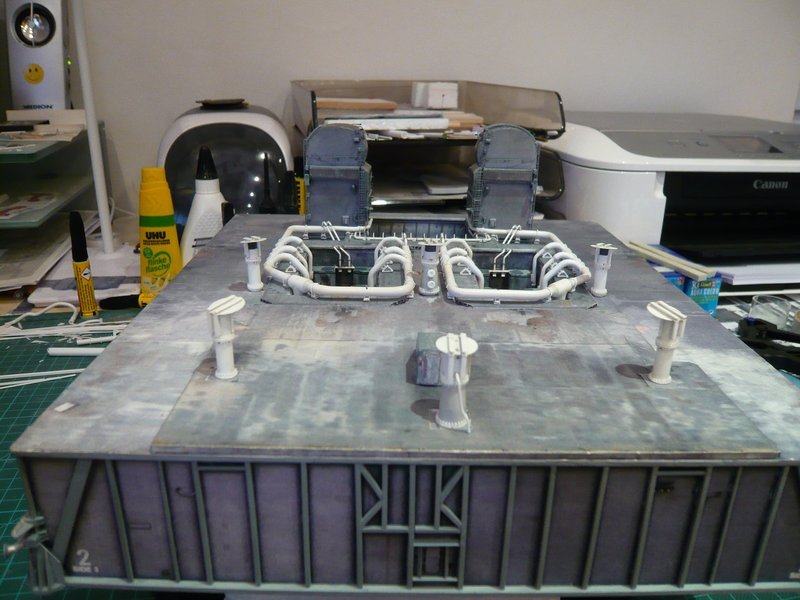
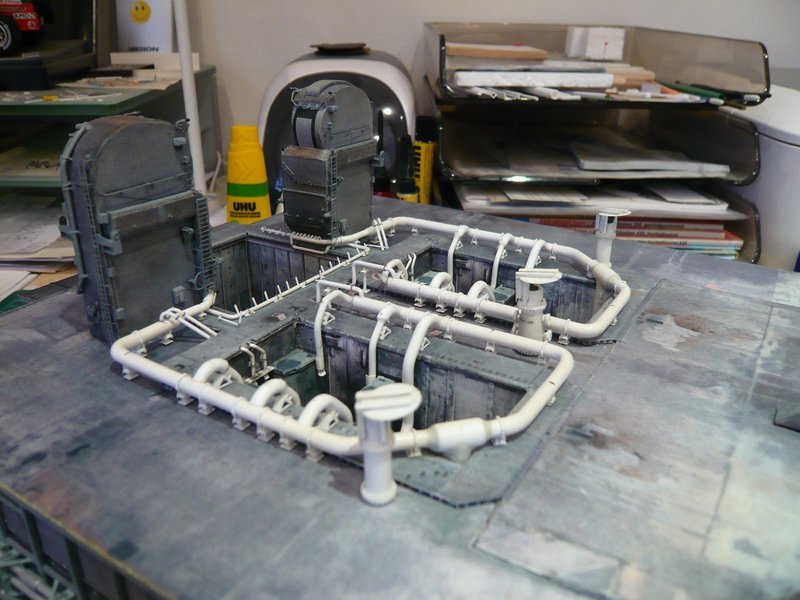
now there is only one last assembly step to complete the difficult SSWS chapter, which I want to do today.  Now there are only 12 supports left, and after the position of the ring line was stabilized, I have begun with the gluing of the first six supports under the ring line, 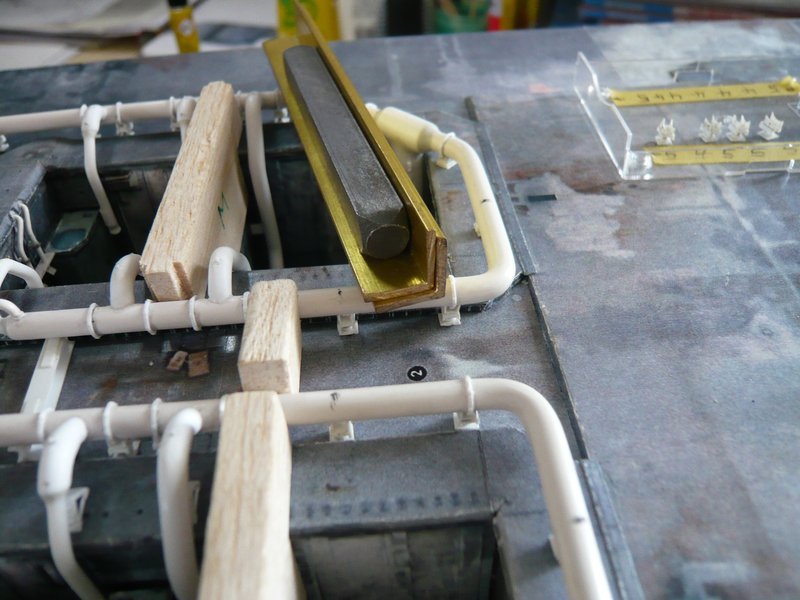 and so it went on to No. 6. 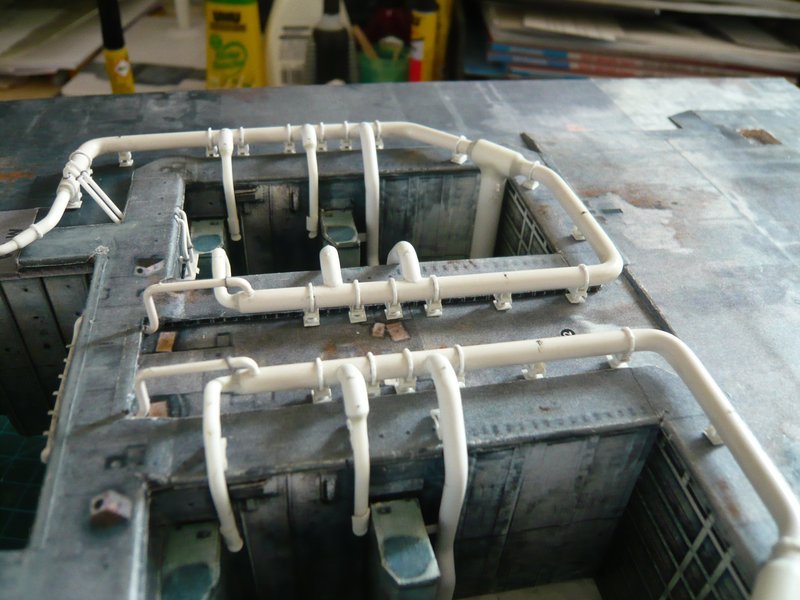 Next came the six triangular supports under the outlets, 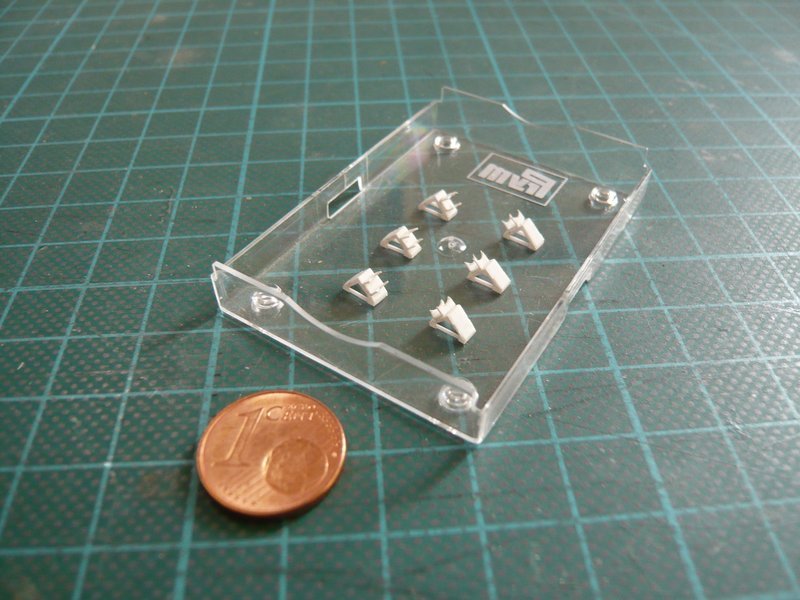 First on the Blast Shield at the inside of the shaft, 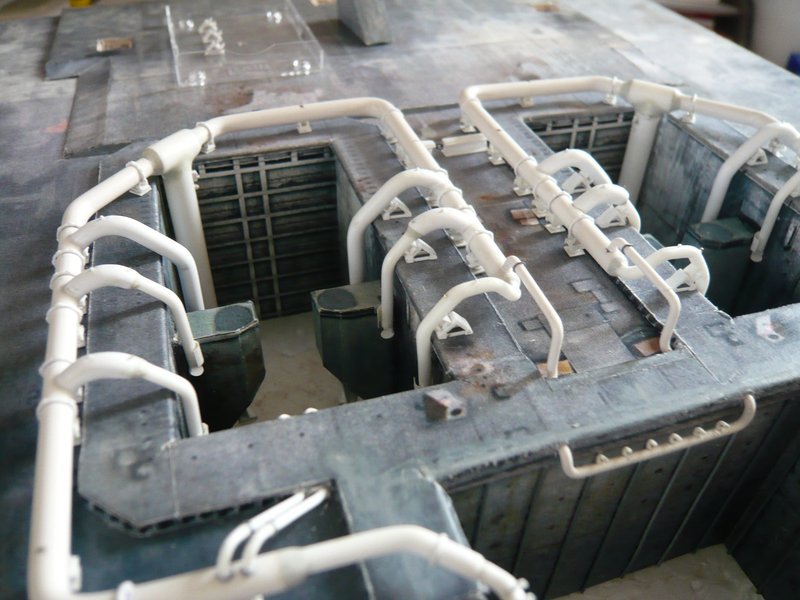 and then on the outside. 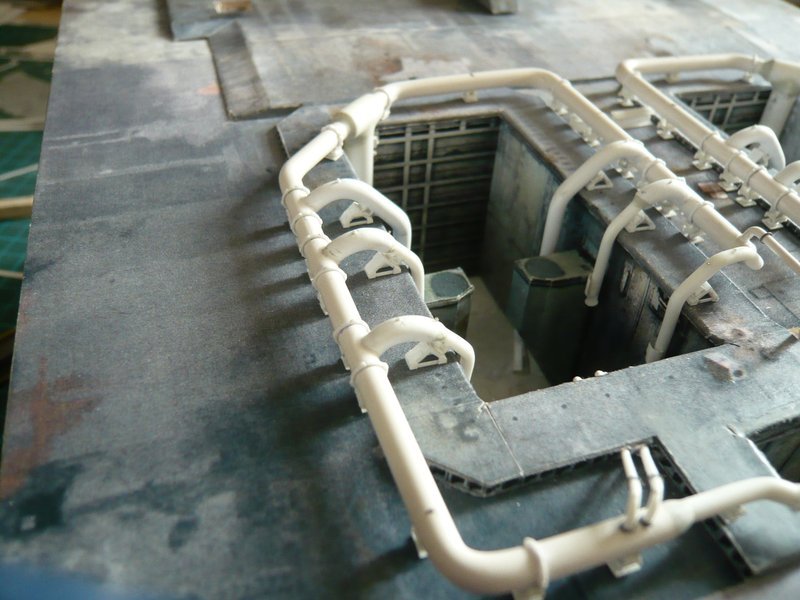 And after the small support under the 16'' rejuvenation was glued still, the deed is actually done and the SSWS thus finally completed,  or is there still something missing? or is there still something missing?  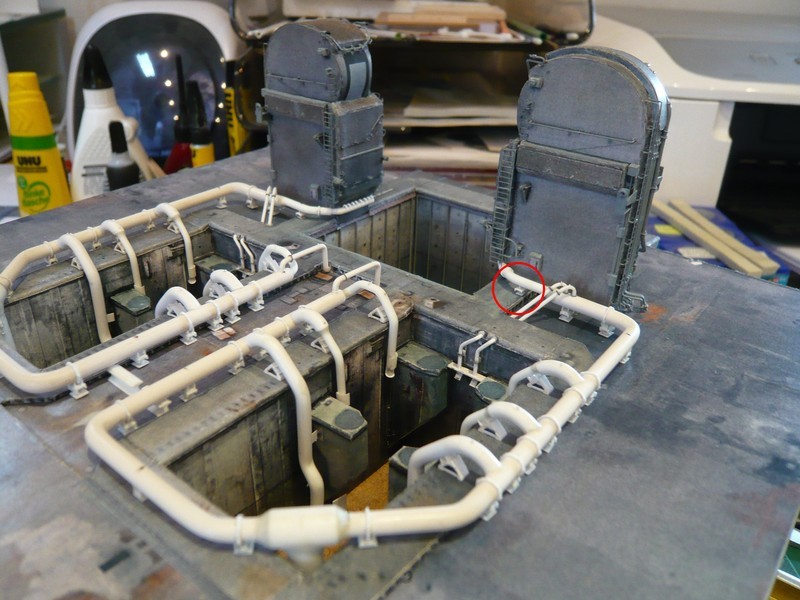 You are right, of course, since the two slim Supports are still missing under the 9'' transitions, which I quickly added. And to the celebration of the day the Rainbirds are also coming along in order to finally round out the picture.  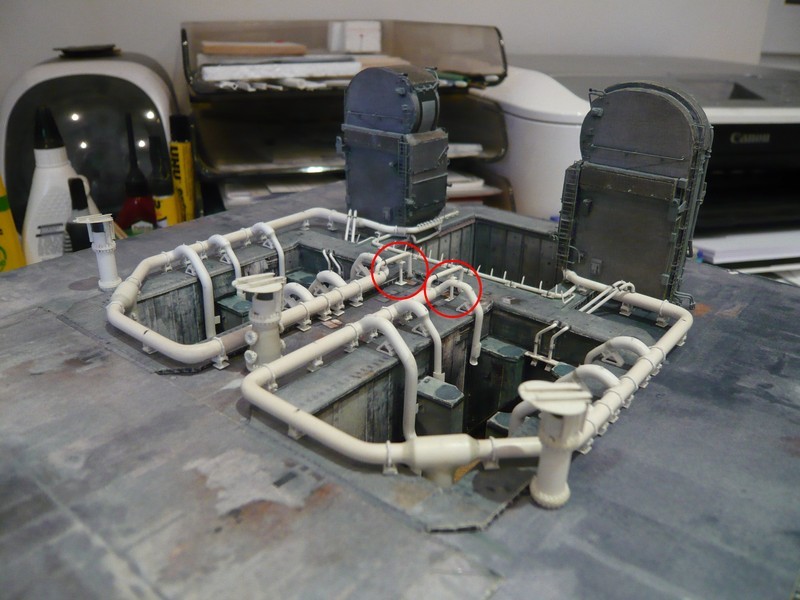 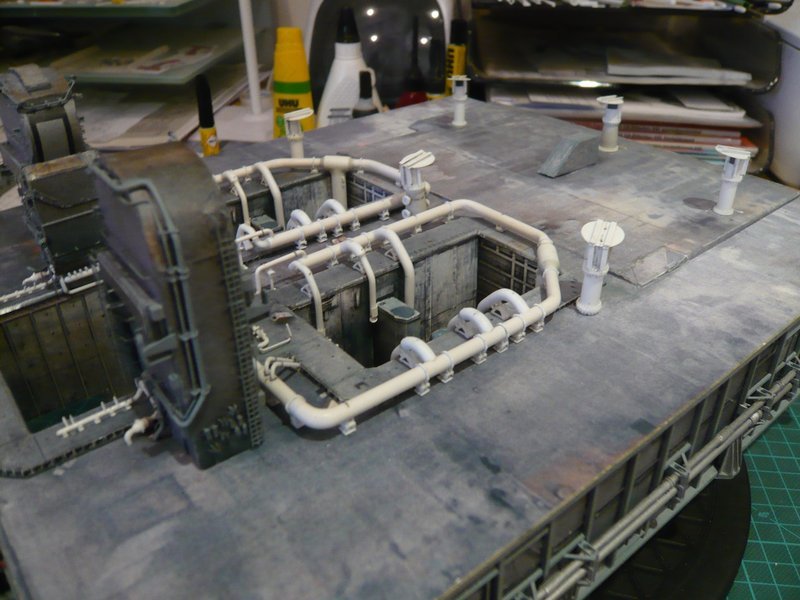 Wait a minute ...
__________________
Greetings from Germany Manfred Under construction: Launch Pad 39A with Challenger STS-6 (1:144)
|
|
#1323
04-15-2017, 01:33 AM
|
||||
|
||||
|
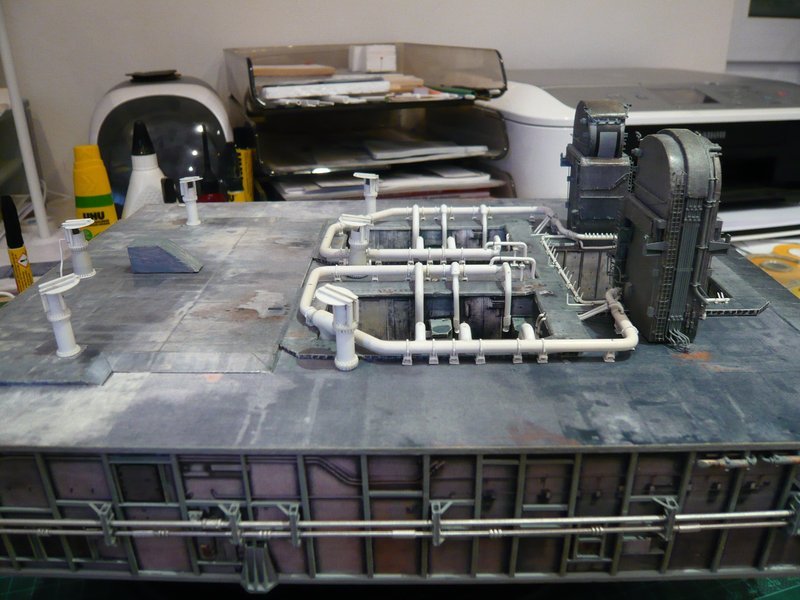
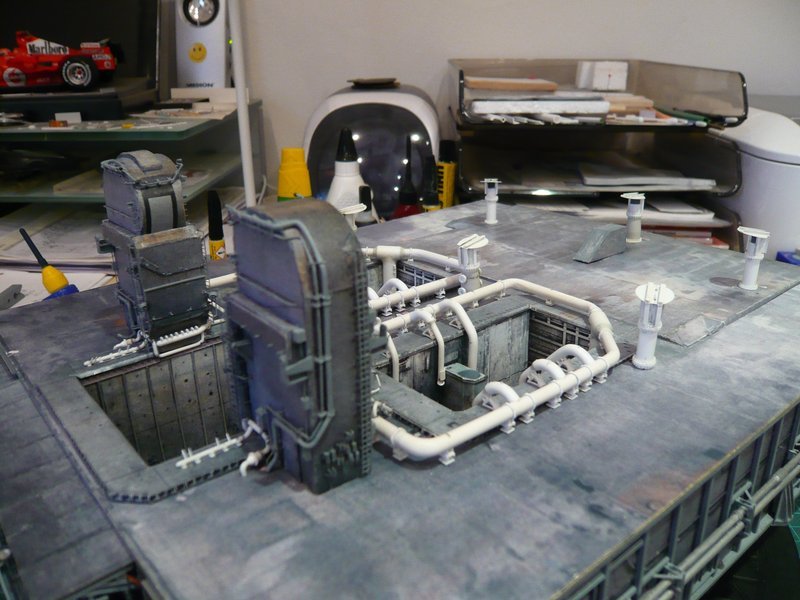
And here with a little better light, further panorama perspectives of the SSWS Status Quo.
         But this should be enough now, and so I will now look in on the paint shop, whether the guys eventually have time and desire. But before Easter nothing will happen anyway, and so I just want to wish you all 
__________________
Greetings from Germany Manfred Under construction: Launch Pad 39A with Challenger STS-6 (1:144)
|
|
#1325
04-15-2017, 03:24 PM
|
||||
|
||||
|
There have been many discussions of plastic vs paper vs wood vs whatever.
I do not care what side of the fence you fall on, this is a show stopper, a Best of Show winner, in any competition. Simply amazing work.
__________________
Ray Respect the Paper, RESPECT IT! GET OFF MY LAWN!
|
|
#1326
04-15-2017, 05:57 PM
|
||||
|
||||
 Happy Easter! Happy Easter!
|
|
#1327
04-16-2017, 02:12 AM
|
||||
|
||||
|
Quote:
Stay tuned!
__________________
Greetings from Germany Manfred Under construction: Launch Pad 39A with Challenger STS-6 (1:144)
|
|
#1328
04-16-2017, 02:25 AM
|
||||
|
||||
|
Quote:
 BTW, I use all kind of materials, e.g. paper, plastic, wood, as well as metal ... In Germany we say: The end justifies the means!
__________________
Greetings from Germany Manfred Under construction: Launch Pad 39A with Challenger STS-6 (1:144)
|
|
#1329
04-16-2017, 02:29 AM
|
||||
|
||||
|
Quote:
 I also wish you and your family Happy Easter. I also wish you and your family Happy Easter.
__________________
Greetings from Germany Manfred Under construction: Launch Pad 39A with Challenger STS-6 (1:144)
|
|
#1330
04-29-2017, 05:45 PM
|
||||
|
||||
|
Hello everybody,
the break was really long enough, but after the SSWS stress it has benefited me.  To the warm-up I have first done some small things, which I have kicked so far down the road again and again. There were initially still to do the openings for the Rainbirds, what were now finally made. Since the openings in the paper kit were somewhat too small, they had to be corrected anyway. In addition, I had deepened them too far already, since they should only be about 0.5 mm deep. 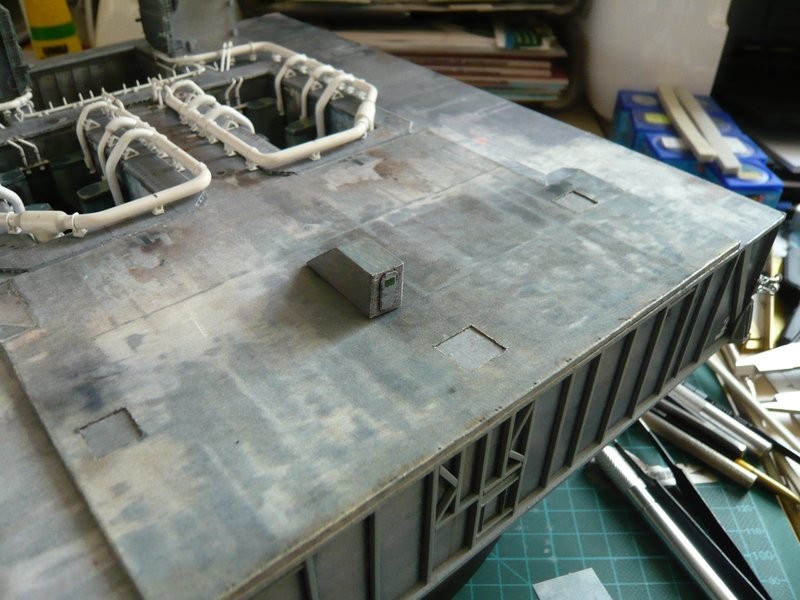 And so the MLP deck looks now from above. 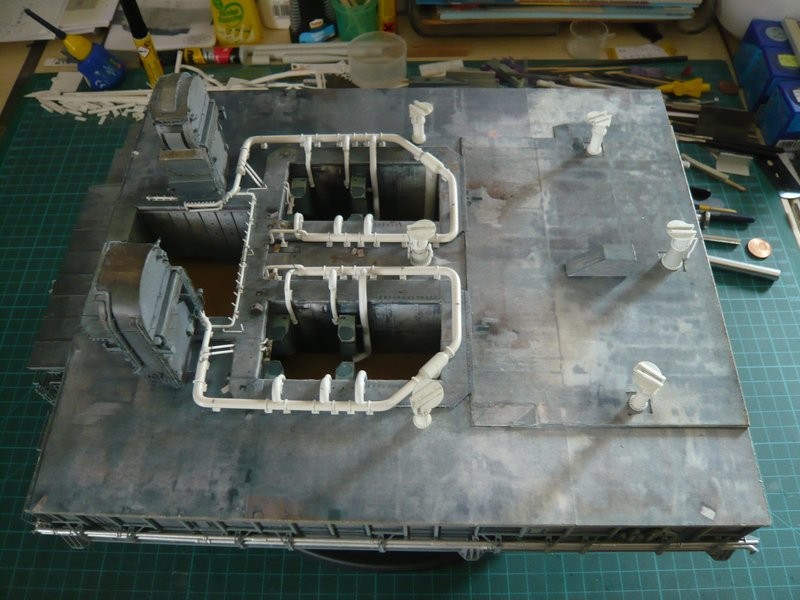 After that, I went to the Stair Housing once more, with which I was not completely satisfied, especially since it was built in an early stage, in which I was still not as exacting and crazy for details as today.  Since the housing from the Paper Kit especially at the back with the door looked relatively pale,  I had it at that time a bit weathered, which then but became a bit too dark. In addition, I had now found some detail photos, which have naturally animated me for scratching.  In this picture one can see some details that seemed to me feasible, especially this red warning bell in the upper left corner. 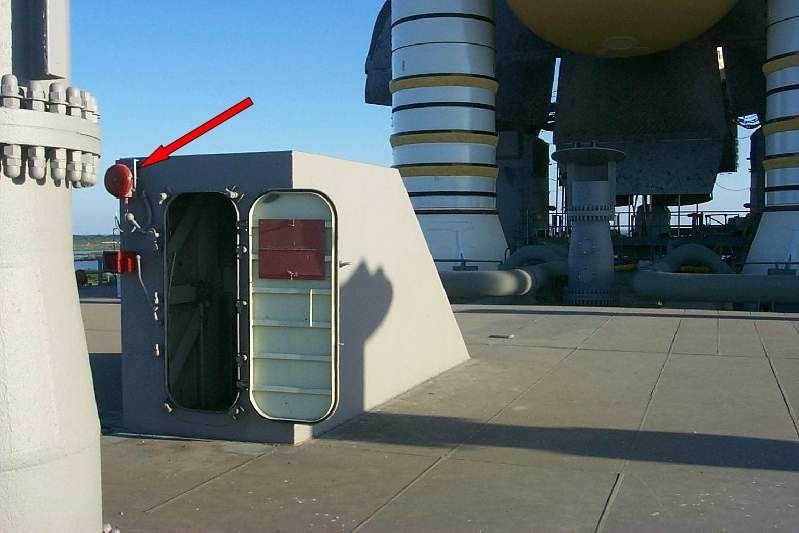 Source: capcomespace.net Here is a similar picture from that time from the other side. 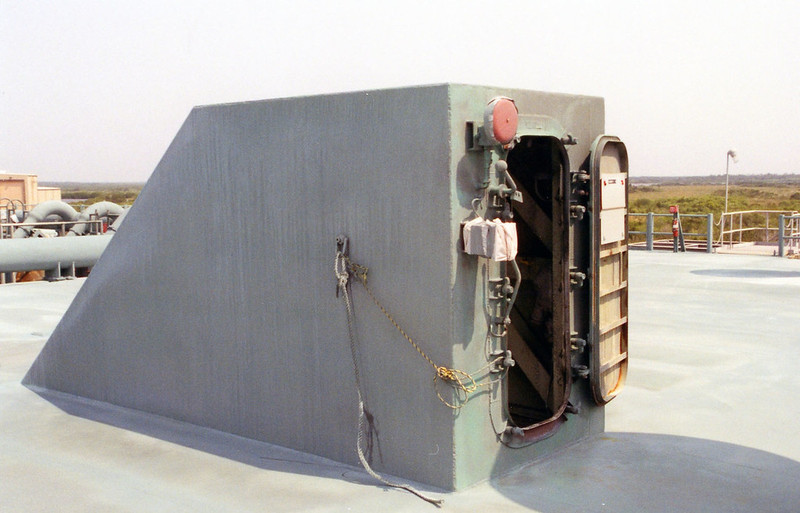 Source: www.apollosaturn.com (John Duncan) This is why I built the housing once again, and now I find that the coloring, except for the too bright door, it fits better into the picture than the old one, which in turn is pure taste.  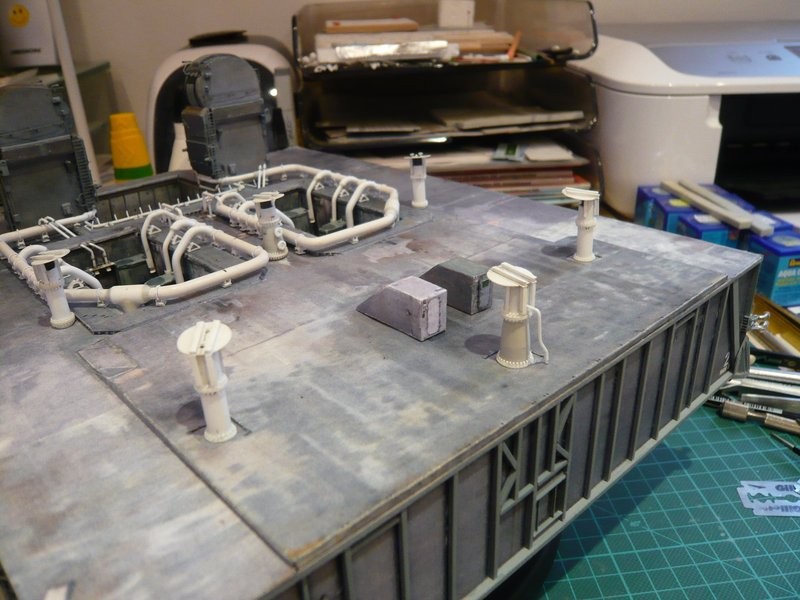 And now to the required small parts, e.g. this bell. At first, I had thought of small red discs, which I had punched out of the cap of a thumbtack, which should be about 1.4 mm in diameter. Then, of course, there are also pin needles with correspondingly small, flat head, which I dipped briefly in red color, which looks almost even better. For the red box underneath the bell, I used the holder of an interdental brush, from which I have cut off one of these side pins, which correspond to the required size with 1 mm x 1 mm.  As one can see in the pictures, the bell sits on a small support or socket, which I still need to color. 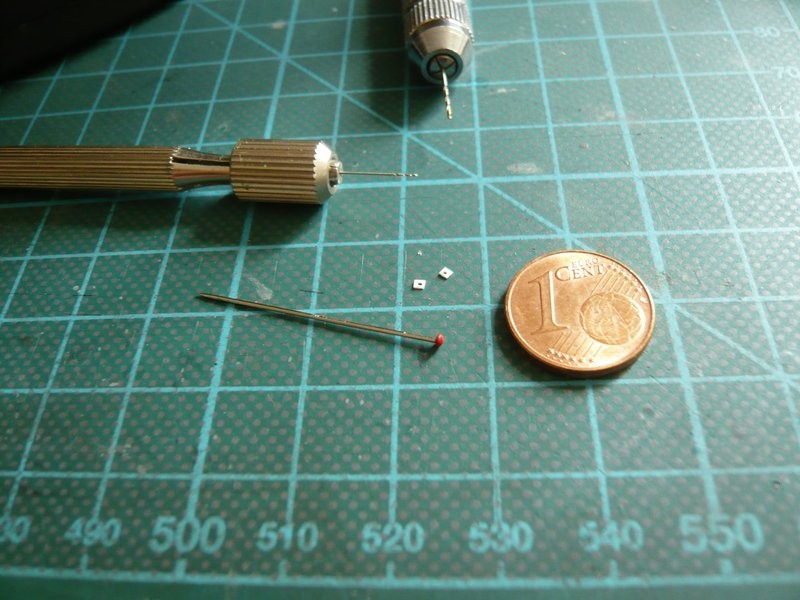 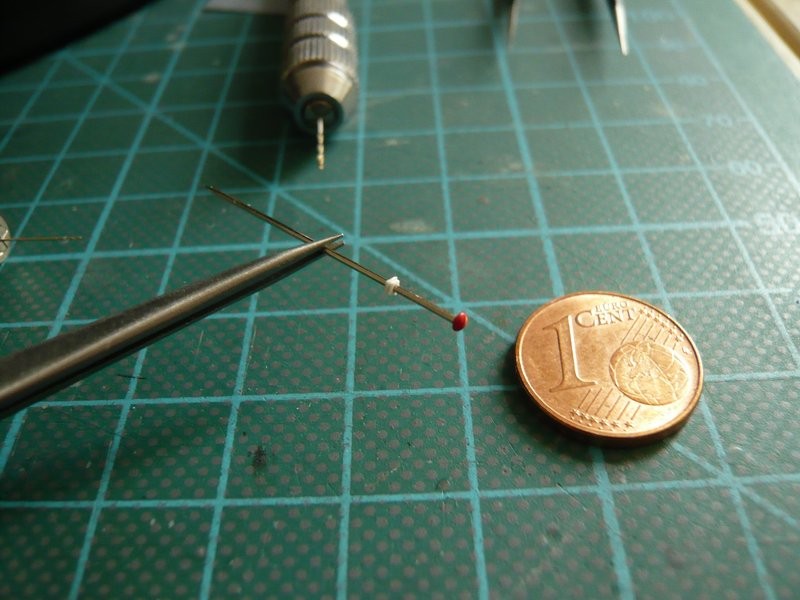 Then I tried the lower longer locking lever made of 0.3 mm steel wire, which is inserted in a brass pipe (0.4 mm) and could be rotated thereby. The ball handle is a glue drop, but it is still a bit too big. 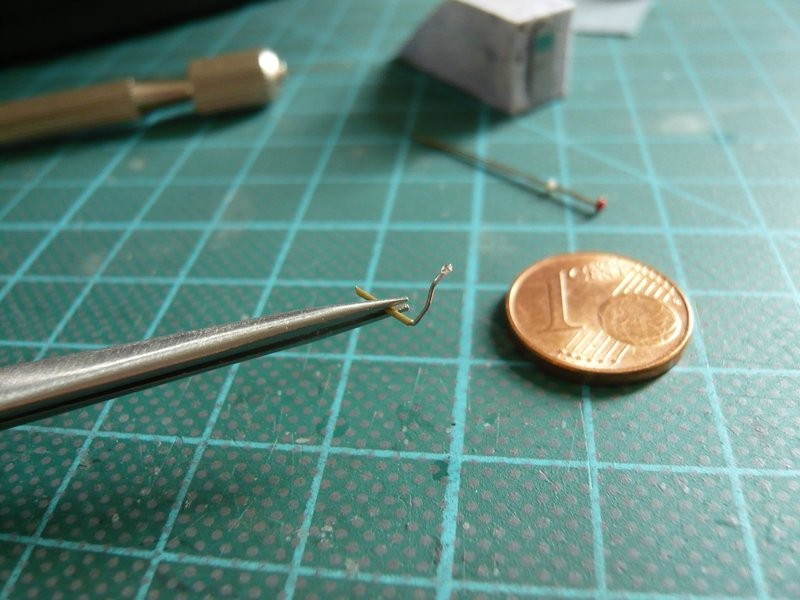 Since the lever seems to be too long and too thick on the housing, I have tried the whole thing again a little smaller and shorter, with brass wire 0.2 mm in a 0.3 mm brass tube, but still without a ball handle. 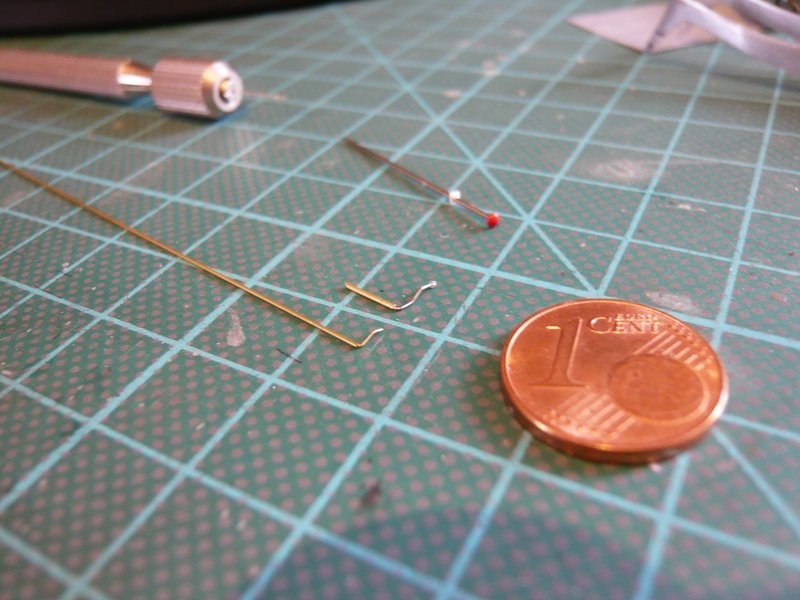 This could already look better and should be tried on today.
__________________
Greetings from Germany Manfred Under construction: Launch Pad 39A with Challenger STS-6 (1:144)
|
 |
| Thread Tools | |
| Display Modes | |
|
|


 Linear Mode

