


|
|
|
#542
 12-18-2018, 06:49 AM
|
|||
|
|||
|
1/24 interstage (1 to 2) finished
Dear all
For some reason whilst still doing interstage 2 to 3 I had a look at interstage 1 to 2. So to finish off the interstage 1 to 2, all that needed doing were the retro rockets. It turns out these are constructed differently from the instruction (from what I could tell) so I thought I would detail what I did. First cut out the bits as shown and then glue as in the second picture (so the long part is now double thickness)   Next cut out the next part shown, fold and then (no given in instruction) notch as shown    Now fold and glue into a triangular shape, which is much narrower than the width of the retro rocket (again this is different to instruction)  And then glue down the centre of the retro rocket (like a spine). This just acts as a strengthener and not support for the fairing (which is still to be attached)  Next cut out the bottom section of the fairing (cut the tabs out accurately. Then glue to the retro rocket but only gluing the tabs on the long part (which are excellently marked where to go. Leave the "bottom" of the rocket unglued.   Next cut out the middle, top and joining parts of the fairing, and join the middle part to the joining part. Note that the markings on the middle part are not equal so make sure you get all 4 oriented the same way on the 4 retro rockets. Then glue the middle fairing to the retro rocket using the underneath markings of where the tabs should be placed (as shown). A dowel is really useful at this point for "sliding inside" and pressing down which is why you want the bottom of the retro rocket "open" for now.    Note that the middle part of the fairing (very nicely) just slides over the bottom part and there is no need to glue together. hen glue the top part of the fairing. I found a kebab bamboo skewer very useful for this glue  Now (for me) I attached the magnetic paper   (Again using dowel was vital), which give this  Now glue the bottom of the rocket to finish them  As you can see this was the point when I learnt that the middle fairing part is not symmetrical! Finally I added the ferrous paper onto the body of the interstage. Here are some pictures of the finished interstage.    Not sure if I will get anymore done before Christmas, so in case not, Merry Christmas everyone and a Happy New Year! Regards Kevin
__________________
Normally the most advanced tech I use is a pencil. 
|
|
#544
12-18-2018, 10:01 AM
|
||||
|
||||
|
Quote:
__________________
"Rock is Dead, Long Live Paper and Scissors" International Paper Model Convention Blog http://paperdakar.blogspot.com/ "The weak point of the modern car is the squidgy organic bit behind the wheel." Jeremy Clarkson, Top Gear's Race to Oslo
|
|
#545
12-18-2018, 10:33 AM
|
|||
|
|||
|
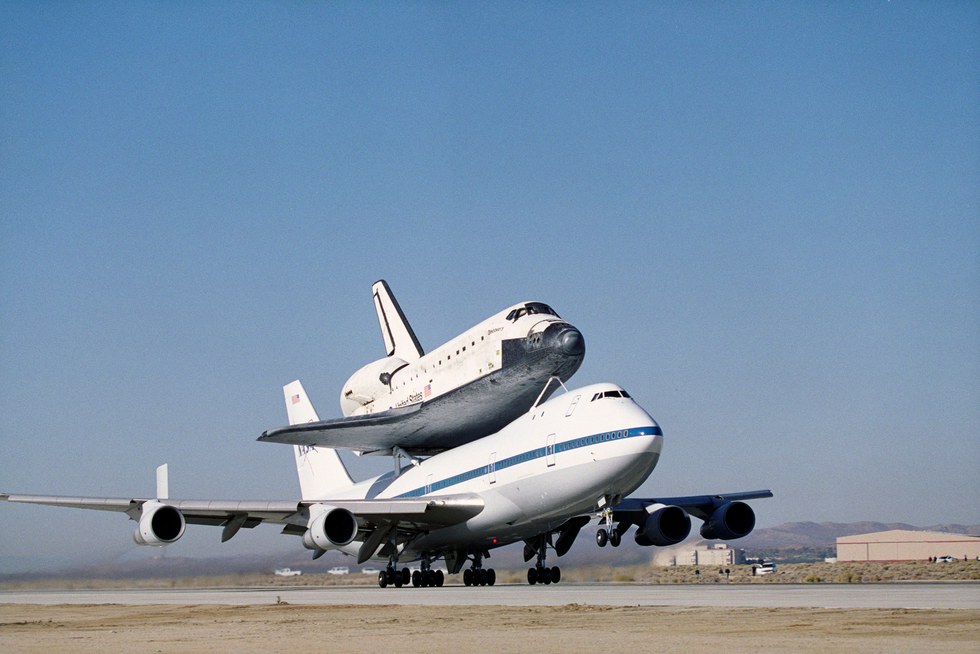
The SCA hosted by Alphonso was designed by Richard De Vries. Those T-38s are his as well.
|
|
#546
12-18-2018, 12:37 PM
|
|||
|
|||
|
Quote:
. . . "DAMN!!! That's one HELL of a Jump Plane!!!"
|
|
#547
01-02-2019, 02:40 PM
|
|||
|
|||
|
Quote:
Quote:
Regards Kevin
__________________
Normally the most advanced tech I use is a pencil.
|
|
#548
01-02-2019, 02:44 PM
|
|||
|
|||
|
Quote:
I also stumbled on a very unusual use of a net It looked pretty close to me! Regards Kevin
__________________
Normally the most advanced tech I use is a pencil.
|
|
#549
01-02-2019, 03:27 PM
|
|||
|
|||
|
Start of 1/24 stage one umbilical tunnels
Dear all
Happy New Year. I decided to start on with the last bits for stage 1, the umbilical tunnels. At well over 5 feet long each it is not viable to have them as a single piece which is then glued to the body of the rocket (as is the design). Instead I decided to construct them in sections and then attach them to the body of the rocket using the favoured magnetic and ferrous paper. So I decided to use make them as in the sections they are printed except for the the two bits that run on the corrugated section (part 11) and the USA section (Part 12) which I cut into half each. Each section is going to be made (essentially) the same way. So doing the lowest part of the umbilical first, I made the triangular inner strengthener and then the "rolled" outer tunnel as well as the "end cones" and joiners. Then glue al together except for the end cone.   Then cut the self adhesive magnetic paper and attach to the tunnel using a dowel pushed inside the tunnel to press firmly down to secure the magnetic paper (hence the reason for not joining the cone end on for now)   Now attach the end cones  So that is the first section done. Next the "USA" section (which I have done in two parts for each tunnel) is made in the same way   The second photo above shows the length of the tunnel for the USA section. So just need to continue with the two tunnels which should be straightforward Regards Kevin
__________________
Normally the most advanced tech I use is a pencil.
|
|
#550
01-04-2019, 04:14 PM
|
||||
|
||||
|
Quote:
Times have changed here I see. :(
__________________
Current (forever) Builds: -1:60 Scale Launch Umbilical Tower, and Milkstool. Next Build: 1:60 Shuttle Stack and MLP
|
 |
| Tags |
| apollo, moon, rocket, saturn v |
|
|


 Linear Mode

