


|
|
|
#12
 04-06-2009, 10:49 AM
|
||||
|
||||
|
Bottom parts
Ok i get home late so I didn't work on boat yesterday. But today I made the bottom part of the ship.
I used my scrapbook tool to burnish the inside so it is round like the front structure part. I use Marvy Uchida permanant pen to color line red so you dont see the white edge. I forgot this on one part  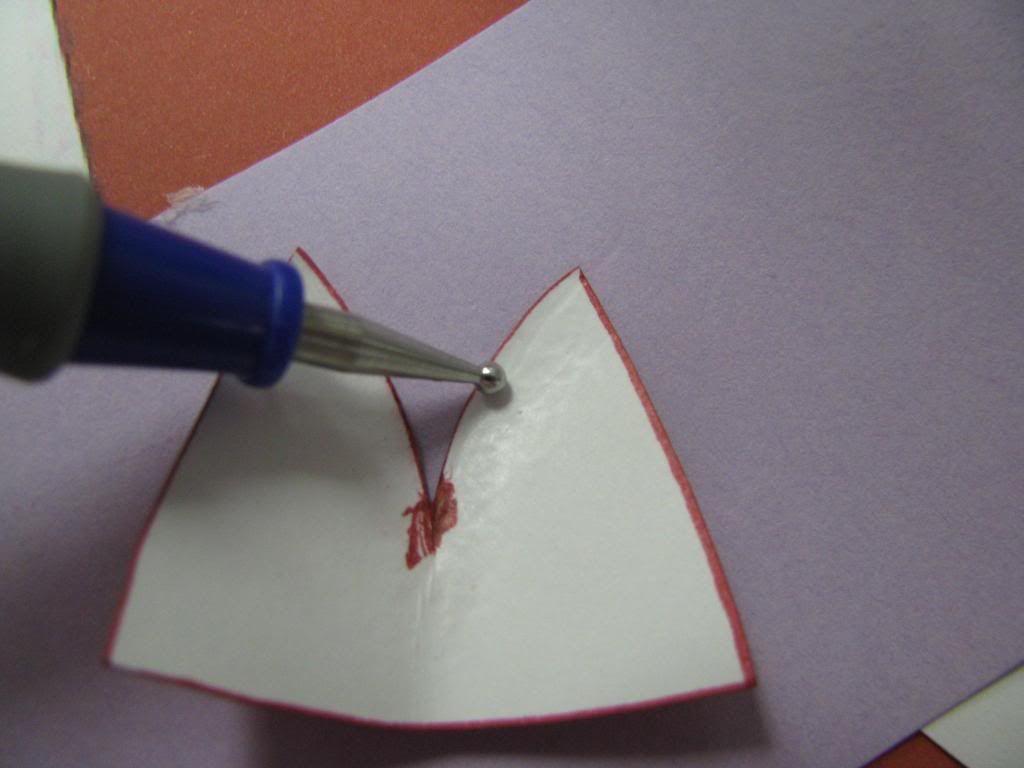 Now on outside you can see it has a lot of the shape without being glued in place. 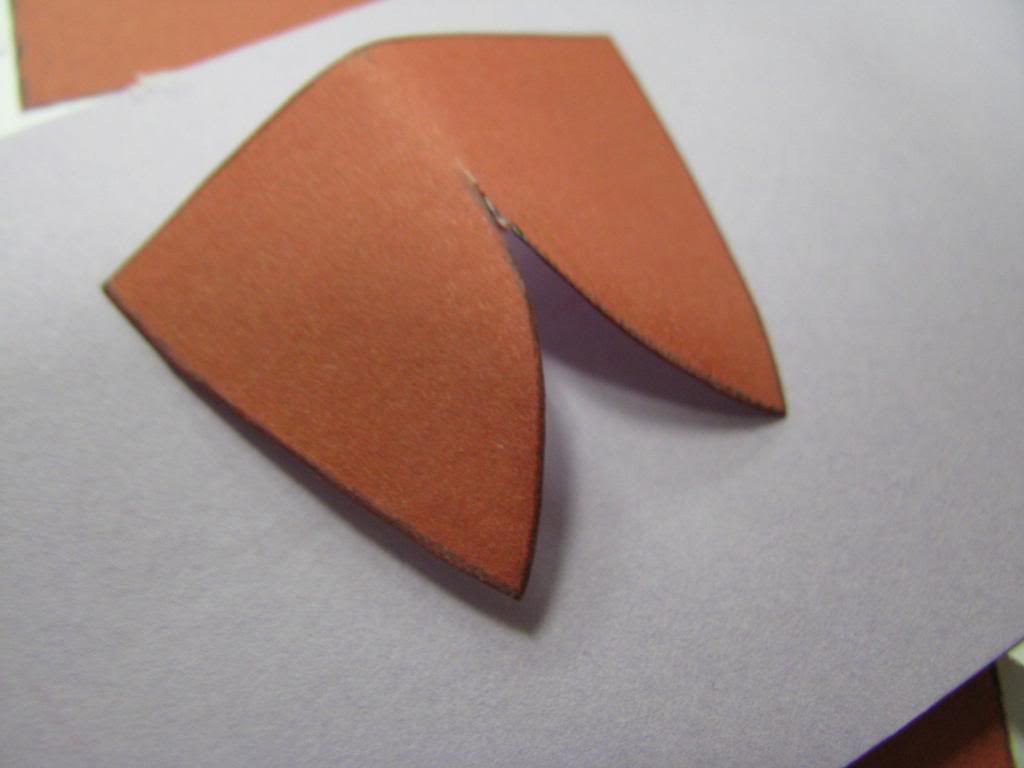 I use Impact Glue to fix these parts. You put it on both parts and let sit a few seconds then push together. 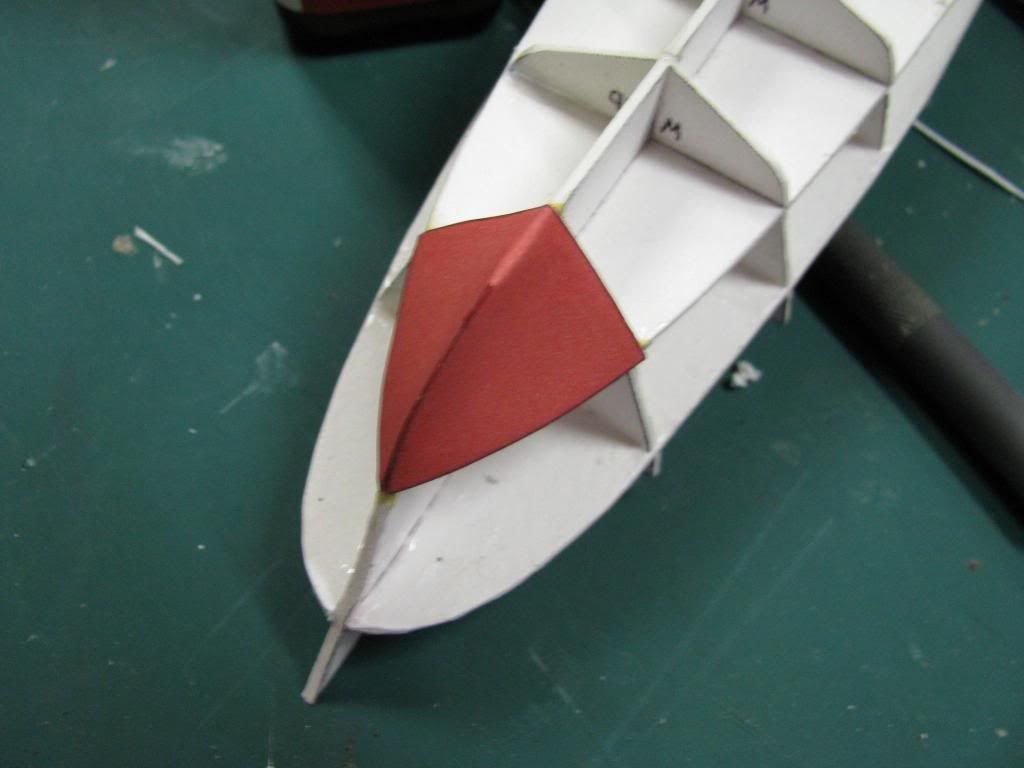 I form the large parts around a pencil 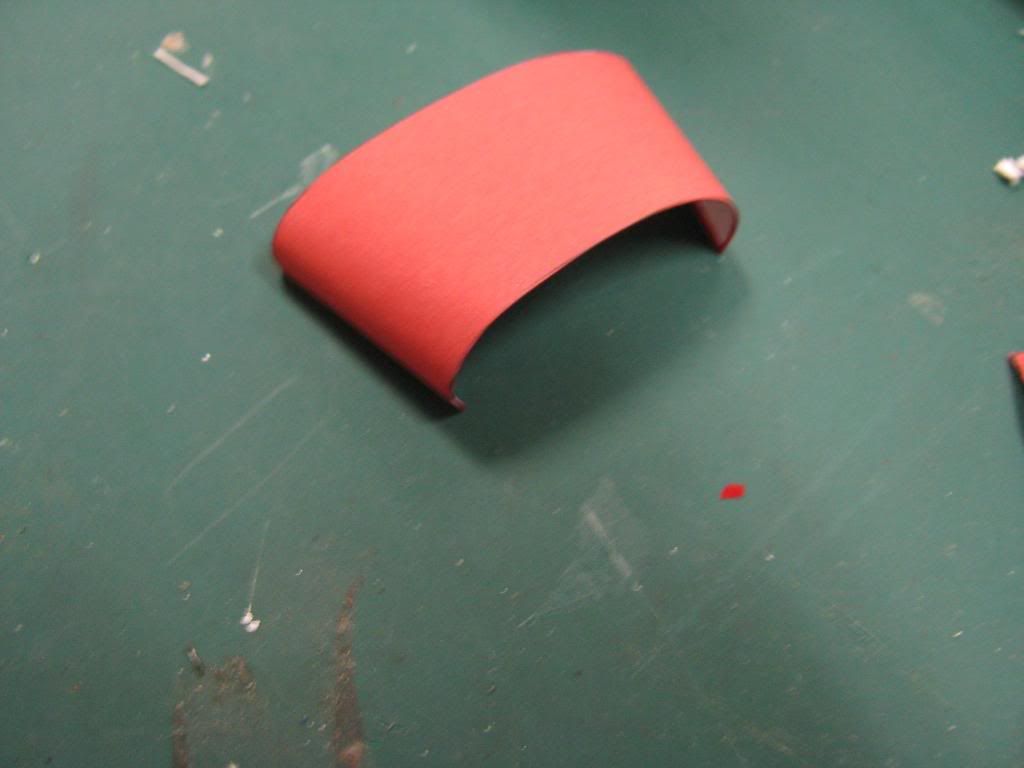 I had a problem with parts seem to be too small or getting smaller. So I made new last part using extra middle part. It is about 1mm longer on each end. This shows also what I did not like with kit part. Kit parts have dark shaded edge that shows. My part has clean colored edge and doesn't show black line. If part is long in back, I can cut it shorter later on. 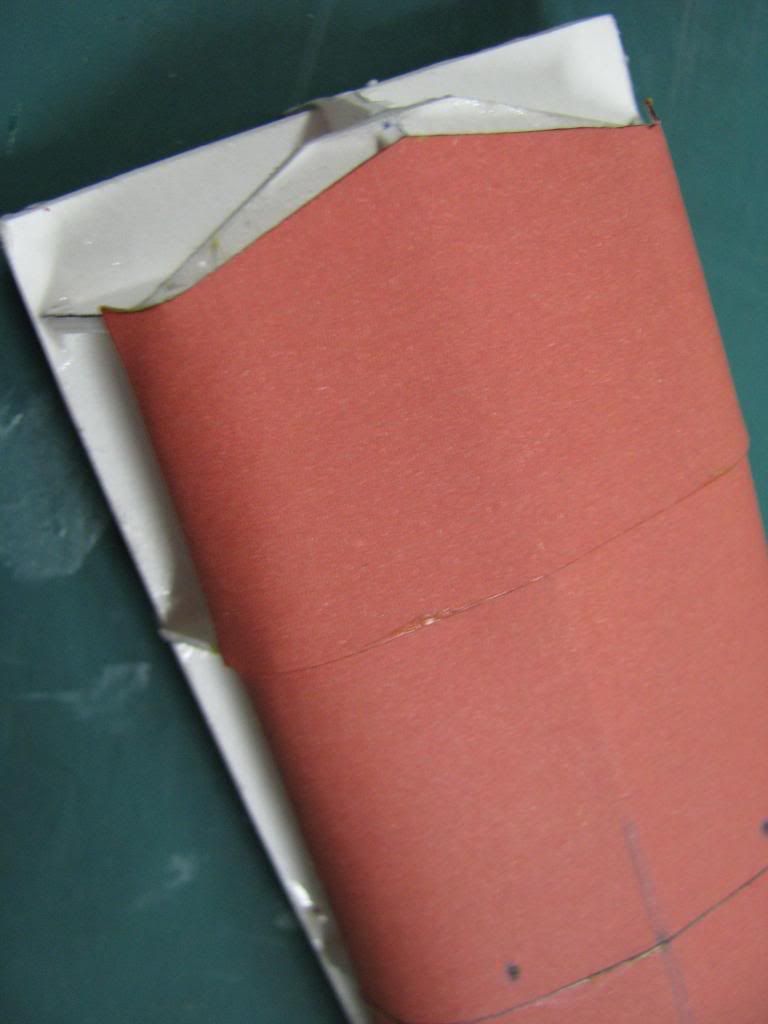 This is all the bottom. It looks shingled because of the dark lines printed on the parts. The real parts are smoother. I wish the parts were printed just in red color without a dark faded edge. This all took about two hours. Now I stop . http://i417.photobucket.com/albums/p...lle/bottom.jpg 
|
|
#13
04-06-2009, 01:19 PM
|
||||
|
||||
|
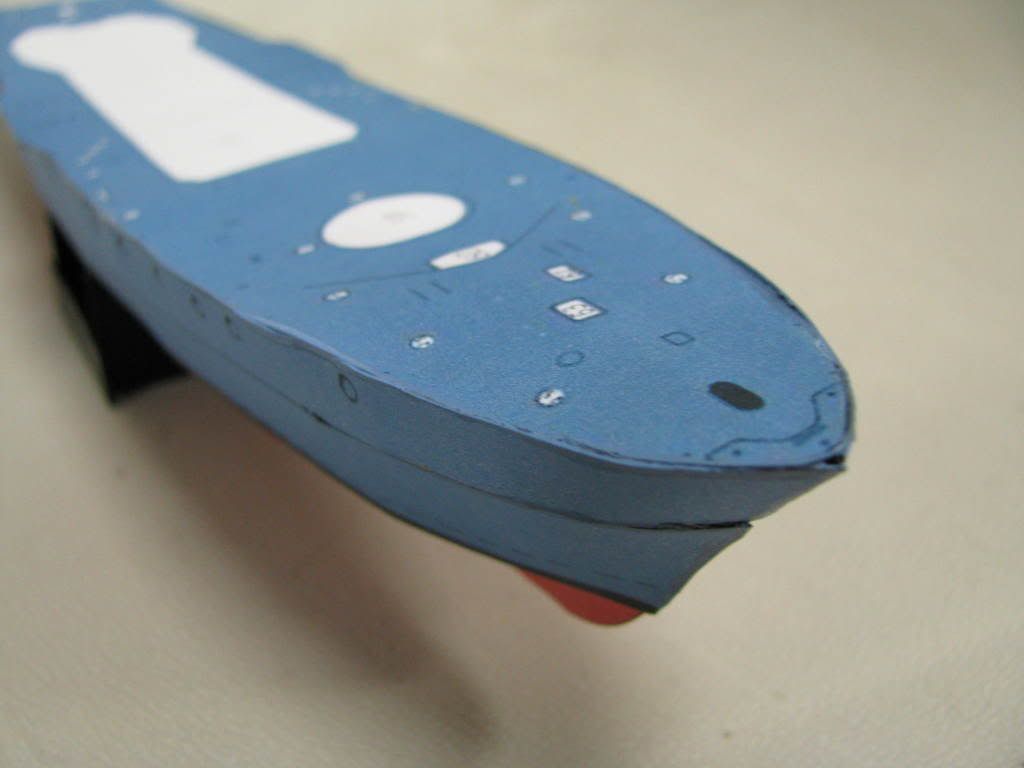
I put the sides on but they look bad around the deck. The water line part is good but the top is sloppy and you can see glue. I touched up with good match of paint but I am not happy. I will probably throw it away and start over
|
|
#14
04-06-2009, 01:45 PM
|
|||
|
|||
|
Depending on the type of glue used, you might be able to rub it off the parts.
You would have to be very carefull not to damage the print of course....
__________________
Constructive criticism of my builds is welcome - if I messed up and allowed others to see it, I certainly deserve it  Michael Krol
|
|
#15
04-06-2009, 01:58 PM
|
||||
|
||||
|
I'm not sure what impact glue is, but it almost sounds like rubber cement. There's a thing called a cement pickup that looks kind of like an eraser that might work. Also, once you put railings on, they might cover it up...
Crepe Rubber Cement Pickup - BLICK art materials
__________________
Jim
|
| Google Adsense |
|
#16
04-06-2009, 02:17 PM
|
||||
|
||||
|
ok bottle says Contact Cement. I have it "fixed" but am not happy. But I learn a lot so far. There are not a lot of instructions. The drawing shows the side and the deck even. But then there migh tbe parts that go inside the side above the deck... But on my boat the side is even with deck. There is no railing but there are dots around deck where I think rails go.
Things I learned: make deck or edge of deck thicker. Side would be easier if whole boat was not one big side. Maybe model either larger or smaller is easeir than this size which is 26 cm about. And not to push too hard here and there! I did make nice support for it using extra card and spare hull former parts for the shape to make a cradle.
|
|
#17
04-06-2009, 03:56 PM
|
||||
|
||||
|
I will probably leave it as it is and not finish...
 Trying to fix side made it worse. I hate having something I make be sloppy.  I did make a nice stand from extra paper and paint it black with spray paint. 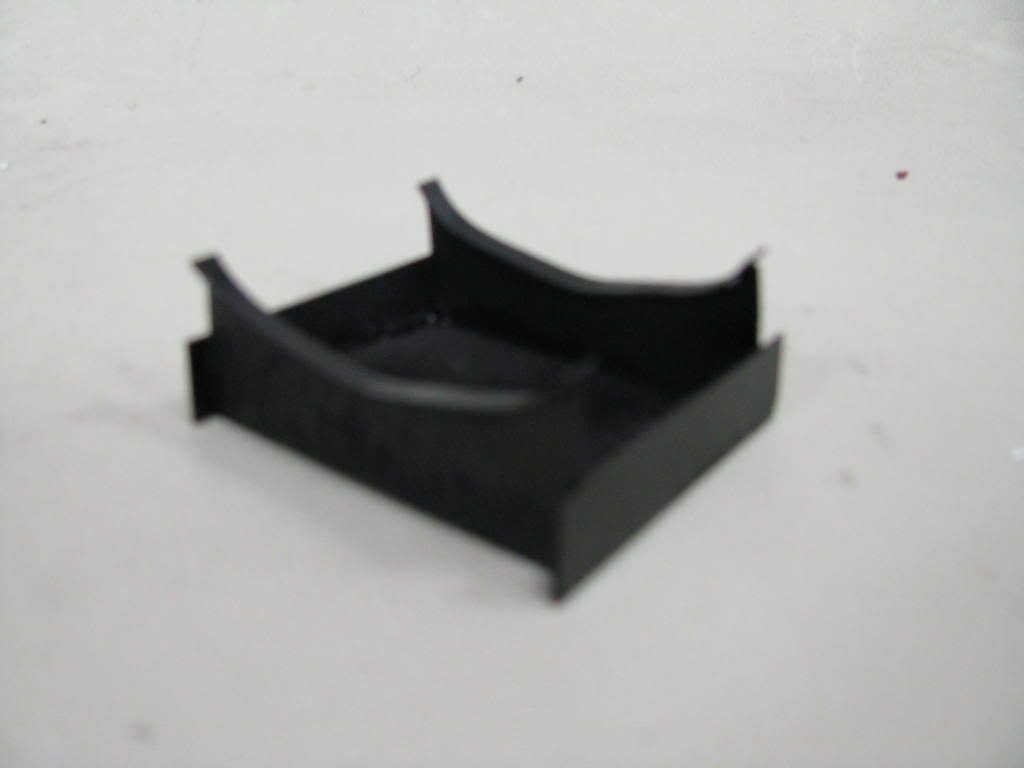
|
|
#18
04-06-2009, 05:21 PM
|
||||
|
||||
|
Hi Lala,
I know the feeling well about having a problem with some parts and starting over. Getting those hull sides on and mating them up with the decking and lower hull plates is a real trick. Don't feel too badly, just keep at it and go over the other threads on the site and you will pick up ideas on how to make it a little easier. If you don't like what you have, just redo it and go on from there. You certainly won't be the first or the last one of us that has done the very same thing. I do like your little base that you made up, it would appear that your paint job turned it into just what you wanted. Looking forward to your updates as you work your way through your project.
__________________
Jay Massey treadhead1952 Las Vegas, NV
|
|
#19
04-06-2009, 05:56 PM
|
||||
|
||||
|
I always cut the keel plates oversize vertically so that if there is a problem they can be painted to match the underwater hull. Gives a bit more latitude fitting the hull sides.
|
 |
|
|


 Linear Mode

