


|
|
|
#1
 04-04-2009, 11:03 AM
|
||||
|
||||
|
ORP Rolnik Boat
I decided to start with GMP Rolnik boat. It says it is Polish Boat but It is same as Russian boat. Ukraine does not I think have this boat but it is part of Black Sea Fleet.
I was afraid of messing up the pages so I made a copy. That was smart as I had to start over already. I made the parts too thin. I think this is an older model but it is simple which I like. 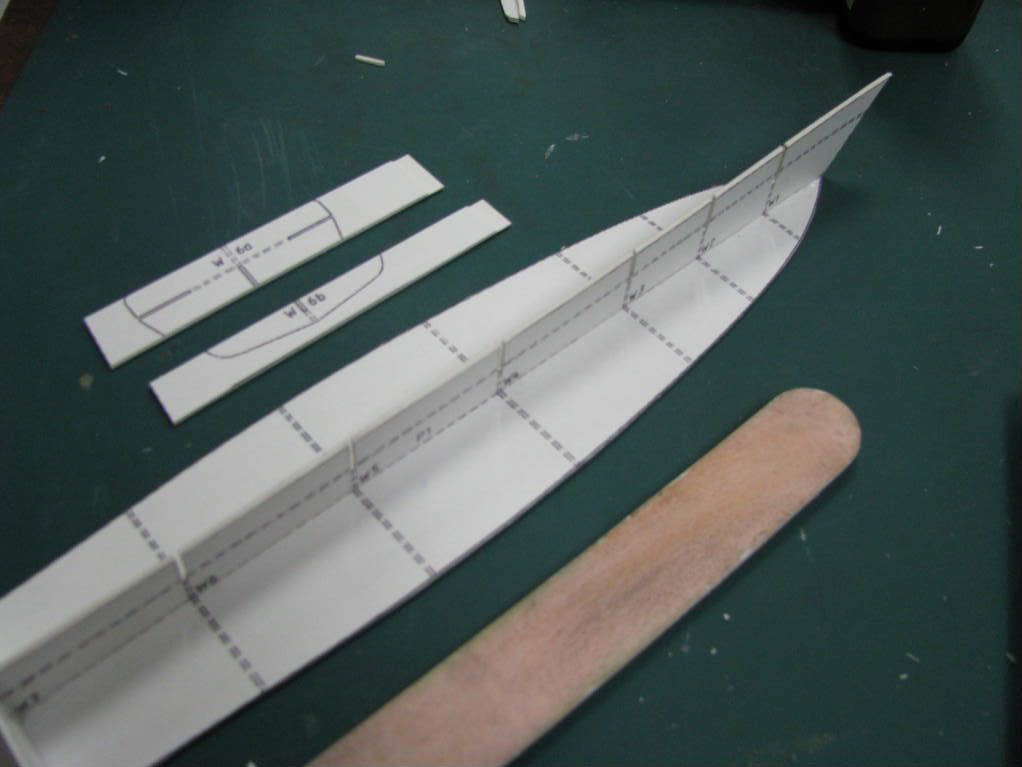  I printed parts on card and glued to Bristol Board. But it was not thick enough. So I glued card to two pieces of Bristol Board. Now it is thick but hard to cut out. I will use nail file to make curve smooth at back of boat (I think it should be smooth). I hope making the middle of the boat thicker doesn't make the sides too tall now. 
|
| Google Adsense |
|
#2
04-04-2009, 11:42 AM
|
|||
|
|||
|
ORP Rolnik is a Soviet Project 1241.1 Molniya (NATO - Tarantul) missile corvette used by Polish Navy.
Are you building this ship as a waterline model? If yes, this should make it much easier as the lower hull plating is the difficult part to get right, since any fit issues will be more difficult to hide or fix. Looking at the framework I would say that everything alligns pretty nicely so far so there shouldn't be any nasty surprises. As for the hull sides being to short vertically, after you have the frame completed and deck attached, leave some extra card on the bottom and dry fit the hull sides, make sure they have good fit at the deck, and whatever is missing you can cut the sides larger and paint the add-on black to mark the waterline.
__________________
Constructive criticism of my builds is welcome - if I messed up and allowed others to see it, I certainly deserve it  Michael Krol
|
|
#3
04-04-2009, 11:44 AM
|
||||
|
||||
|
Nice start.....if it is fairly modern the stern is likely to be angled not curved
|
|
#4
04-04-2009, 01:54 PM
|
||||
|
||||
|
Thank you. I am building the bottom. But you glue that on the underneath of the middle "deck" part. I had to draw lines there for the lower former parts as they are printed just on top.
What I mean by curved is if you look at the picture. The middle deck is square but there is a slope to the rear of the boat, so I will bevel the part smoothly. You can see where the back of the boat cuts inwards but will hit the middle part.
|
|
#5
04-04-2009, 02:46 PM
|
||||
|
||||
|
It's looking good. You got really straight edges on the cuts, mine tend to end up bevelled and then I have to go back and take off a little bit more.
__________________
Jim
|
| Google Adsense |
|
#6
04-04-2009, 02:56 PM
|
||||
|
||||
|
I use a fine scissors on thin parts. These I cut with a knife and ruler. I sand the edges also to make them flat. I will sand the parts you see now so the corners and edges are smooth. I used a lot of glue here so it is a little sloppy but you wont see any of this later on. I have to go to work now tonight. So it will dry until tomorrow afternoon. I did this in one day.
These are forms for the bottom. 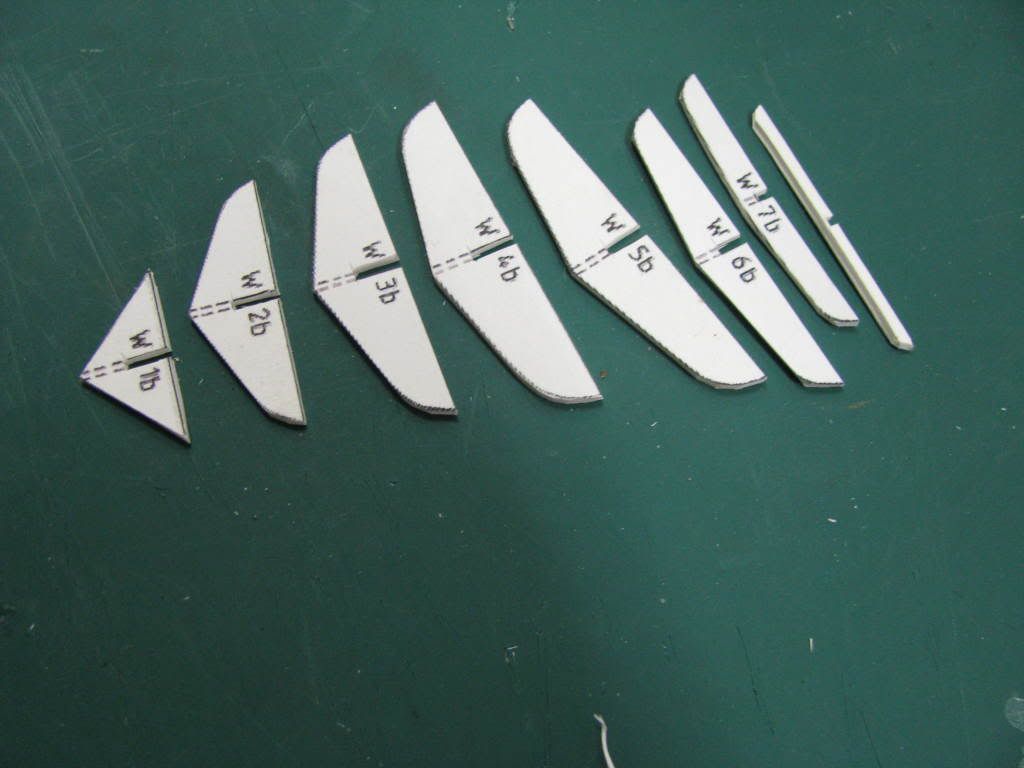 And the whole boat with all the inside parts together now. 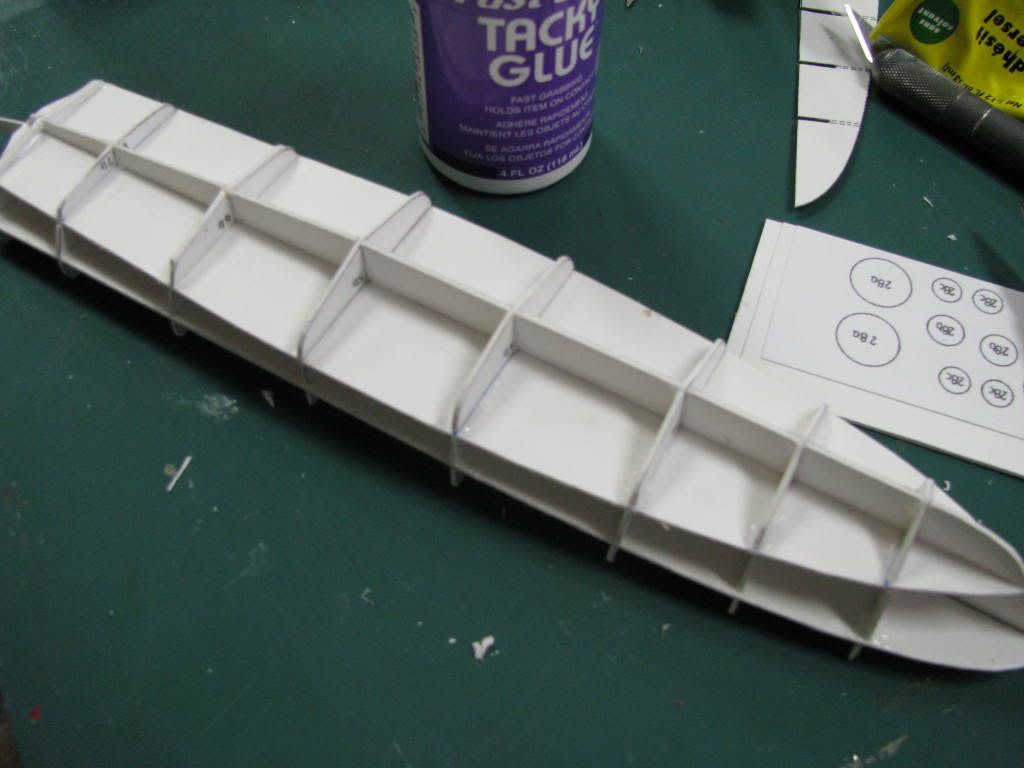 The front 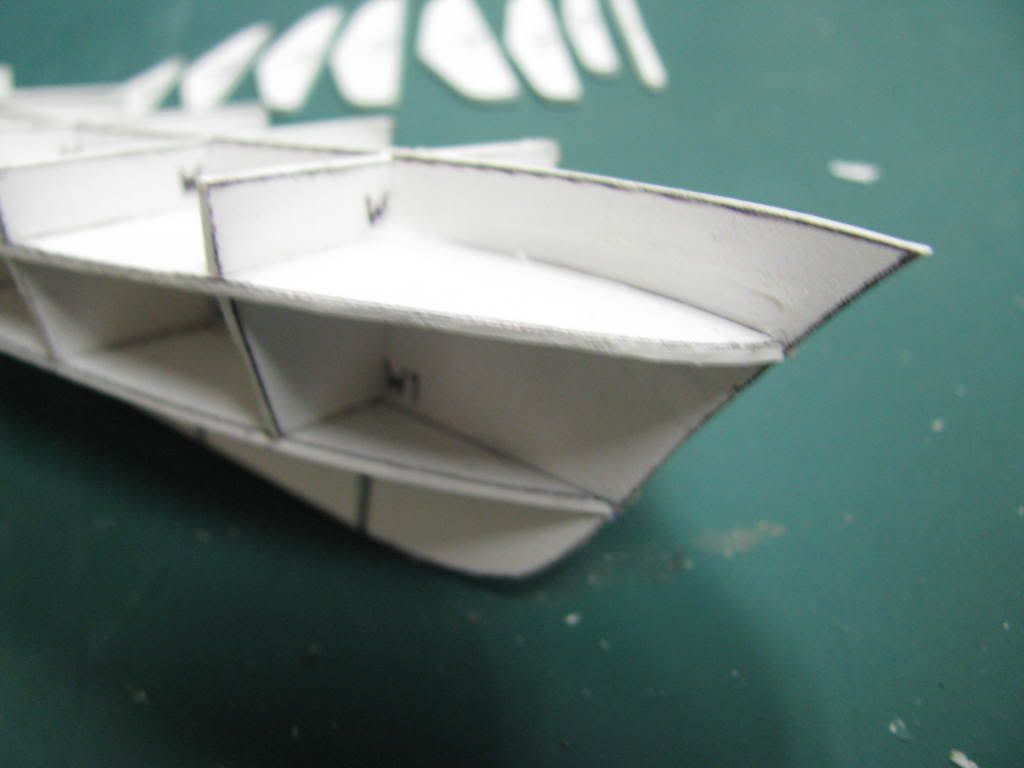
|
|
#7
04-04-2009, 04:39 PM
|
||||
|
||||
|
Nice to see those European skills at work here. So far so good.
Mike
|
|
#8
04-04-2009, 05:07 PM
|
||||
|
||||
|
Looks like you are off to a good start on your project. Don't worry about any extra glue stuff on the hull formers, it only counts when you start adding the exterior parts.
Looking forward to more as you go.
__________________
Jay Massey treadhead1952 Las Vegas, NV
|
|
#10
04-05-2009, 08:31 AM
|
||||
|
||||
|
Very neat work. I am looking forward to more
|
| Google Adsense |
 |
|
|


 Linear Mode

